Bear0902
-
Posts
36 -
Joined
-
Last visited
-
Days Won
1
Content Type
Profiles
Forums
Events
Everything posted by Bear0902
-
Cool didn’t see this till now
-
exciting !!!
-
I put this link into the wrong users post please disregard. I did not see where I was posting thought it was my own post and I’m still learning how to use these forums and websites so I apologize for posting my info in some one else’s post
-
https://imgur.com/a/RvKr4r1 https://imgur.com/a/oNl7DQi this link above is all the photos from start to finish. In no way am I a pro so please use CRL for reference as much as possible I have a few things I need to fix so please in no way follow my pictures completely always reference the crl I don’t wanna be held responsible if something is wrong. Thanks
-
I put this in the wrong area lol this is what I get for not paying attention
-
Yeah same for me
-
. Wrong place I posted in sorry
-
I tried posting photos but won’t Allow me I can’t figure out how to ?
-

New CRL Proposal - Sith Trooper (TROS)
Bear0902 replied to RAIDER's topic in First Order Sith Trooper
The anticipation is making me coo coo for coco puffs lol but so excited for the release ! -
Yes I know he’s doing great with it ! Super nice !
-
I just added the link to my Instagram where I posted the painting photos that the painter sent me. Just an update.
-

-
I literally went out and bought another tool just yesterday haven’t tried it yet.
-
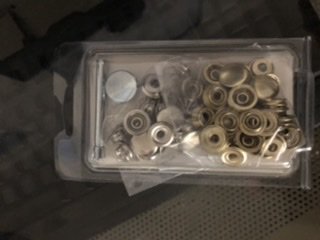
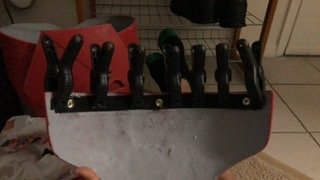
So I’m having trouble making proper snaps that can actually hold up the cod and butt I guess I didn’t get a proper tool for it so gotta re do that again.
-
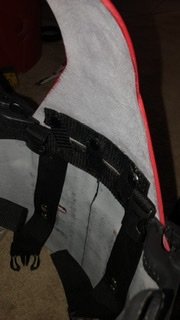
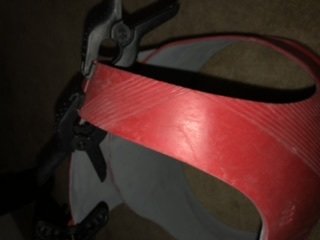
Where can I go to get the black straps you use to connect the parts ? Do you have a link
-
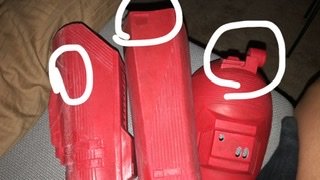
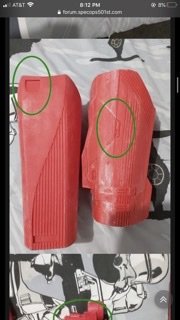
The white circles are mine. What was it that got changed with these photos ? Because I’m looking at it and it looks exactly the same and also my shoulder lines aren’t correct and I noticed on your post it says that he had fixed them was wondering if that’s how their supposed to look or if this is an old kit I have with none of the parts updated ?
-
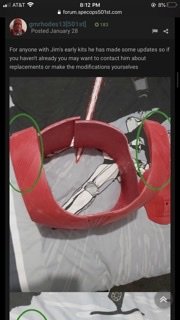
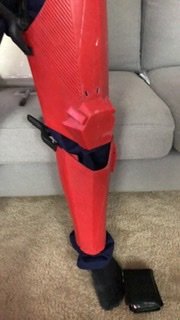
Okay kool I was looking at your photos and I’m short was wondering if you cut the part where the knee is and down. Did you cut that part to make shorter and also their is a lot extra on the side as well as you can see in the photo I attached did you also trim that as well? What does the inside of that part look like for you. I’m trying to follow your photo
-
Ah ok ok
-
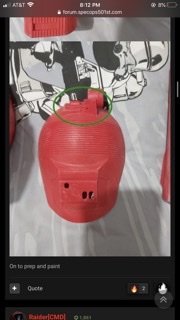
It’s okay to glue this part together? I saw that you didn’t just now but I already glued it ? oops
-
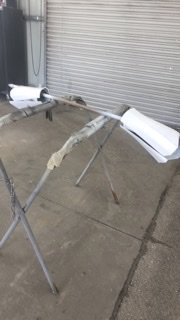
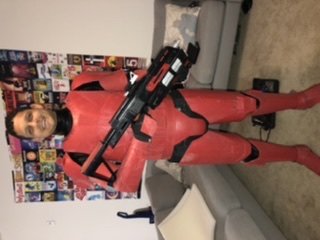
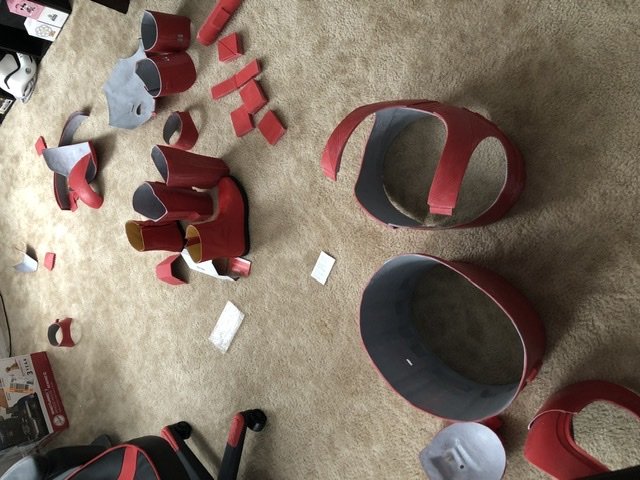
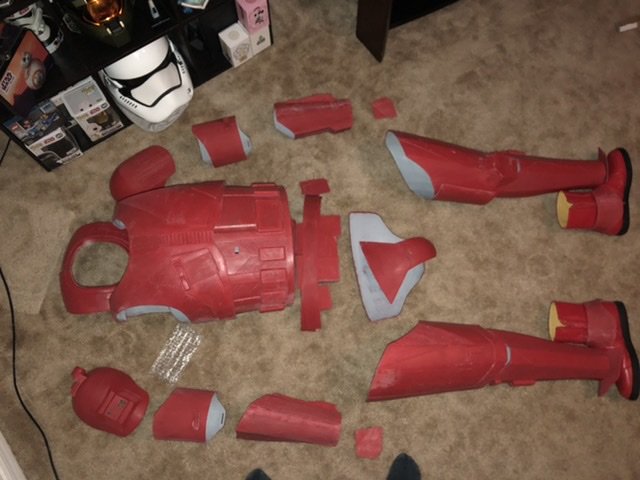
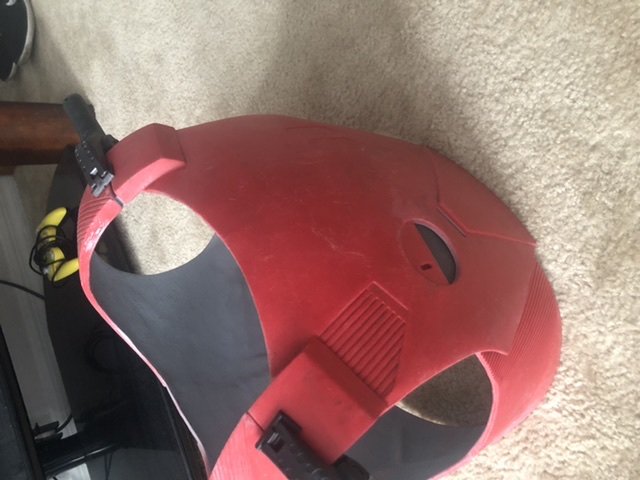
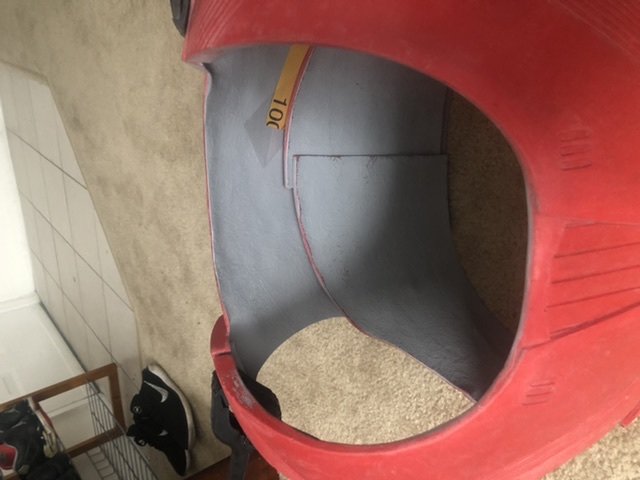
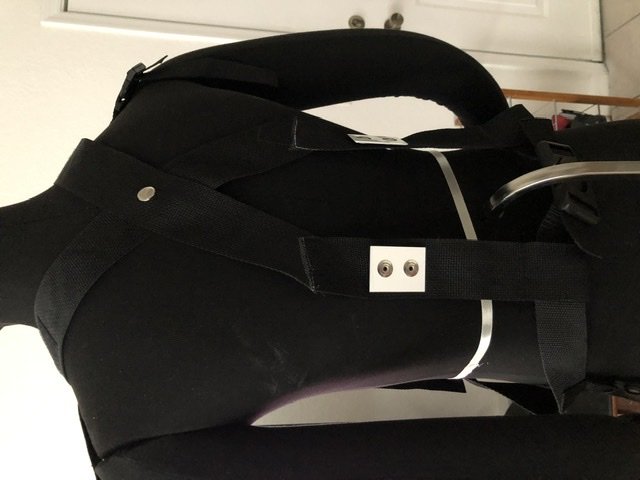
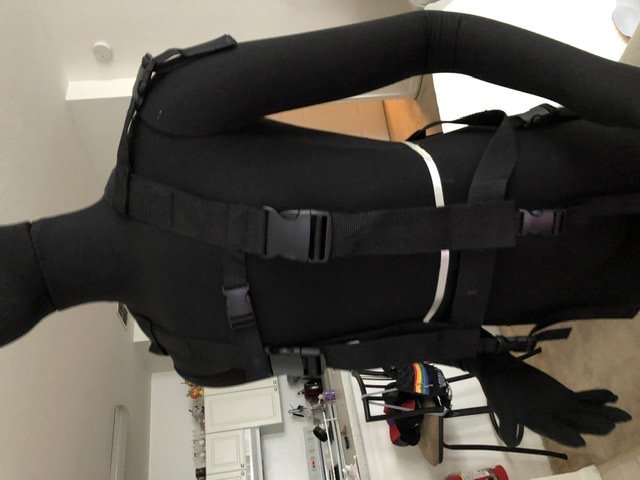
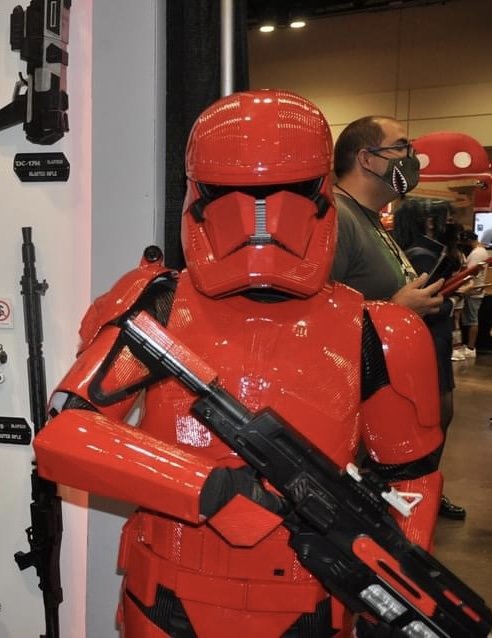
Bright suns, Some of you might remember me and some might not I 4 years ago, set out to join the 501st I even attended a few troops as a handler it was so fun and an a couple armor parties just to meet people Florida Garrison makaze . Also I do apologize if I’m in the wrong section to post this I read and say others post the same so I thought it would be okay please please do tell me if it’s in the wrong place I will remove immediately I don’t want to be in anyone’s way or get in trouble I mean no harm. I’m still new and learning. Thank you So unfortunately that didn’t go to well, since I never got the rest of my armor from ANOVOS (tons in the same boat). So I got tired of waiting and during the quarantine I went ahead and just got another kit and that armor is a sith trooper in fiber glass from Jim Tripon super great looking but I made the first mistake and I put it on straight out the box lol well fiberglass didn’t go to well with my skin hahah so anyways let’s catch up to where I’m at ! First thing please please please jump in and say something if you know an easier way or more proper way to do something. this is my first time working on an armor so I would love any help it will only make it better, I’m open to any opinions. Yes I’m a newb don’t be too hard tho lol Alright, so I’ve already cleaned the armor I’ve been looking at other posts with in this forum to get a sort of tutorial but that wasn’t happening lol you guys too professional for me to understand pictures light up my world lol. and then I went ahead and filler primer the inside of the armor so that the fiber glass doesn’t hurt me then dunked it in water and went ahead and sanded the inside so now it’s just glossy and smooth but no more pain when I put it on lol ! So now where I’m at is cutting the armor to fit me and that’s where i hit a wall because tho I’ve gone onto the spec ops forums under sith trooper wasn’t really a tutorial because it’s still fairly new, I really wish I had hands on help but that’s not going to happen anytime soon so hopefully a zoom armor party will happen soon. But here’s another photo of where I’m at with trying Some parts on I’ll keep adding photos and adding more as I continue building and all the way till it’s completed. boots gloves- imperialboots sith kit- Jim Tripon harness-Tony Jobe helmet- both from Jim Tripon and armor shop I love both. Soft gaskets- Jim Tripon ST-W48 sith trooper blaster-Etsy premier props https://imgur.com/a/RvKr4r1 https://imgur.com/a/oNl7DQi this link above is all the photos from start to finish. In no way am I a pro so please use CRL for reference as much as possible I have a few things I need to fix so please in no way follow my pictures completely always reference the crl I don’t wanna be held responsible if something is wrong. Thanks clamped then down to see how it looks about to glue the top parts together.
-
This is helping me a lot thank you I’m actually starting to buy paint just so I can have everything ready as i wait for the kit to arrive super excited! Thank you for your time
-
What type of red is the actual color Red ? Is it car paint or spray can ?
-
sithtrooper Sith Trooper reference pictures
Bear0902 replied to gmrhodes13's topic in First Order Sith Trooper
@gmrhodes13 I notice the ones with the back extender have the white then the short ones with out the extender have the black on them so I see what you are seeing its super cool though, i need this in my life to mount on my wall lol ! -
sithtrooper Sith Trooper reference pictures
Bear0902 replied to gmrhodes13's topic in First Order Sith Trooper
so you see it too , I knew I wasn't too crazy lol I could see the light reflecting off the one in the table as well. that's neat the details they put in it so pretty -
sithtrooper Sith Trooper reference pictures
Bear0902 replied to gmrhodes13's topic in First Order Sith Trooper
Oh so the prop show aren’t actually accurate? thanks for explaining I’m learning so thanks! here’s the photo zoomed. https://imgur.com/1XsFaoU