minimo
-
Posts
152 -
Joined
-
Last visited
-
Days Won
3
2 Followers


About minimo
SpecOps Info
-

-
Costumes
Mudtrooper
Recent Profile Visitors
693 profile views


minimo's Achievements
")


-
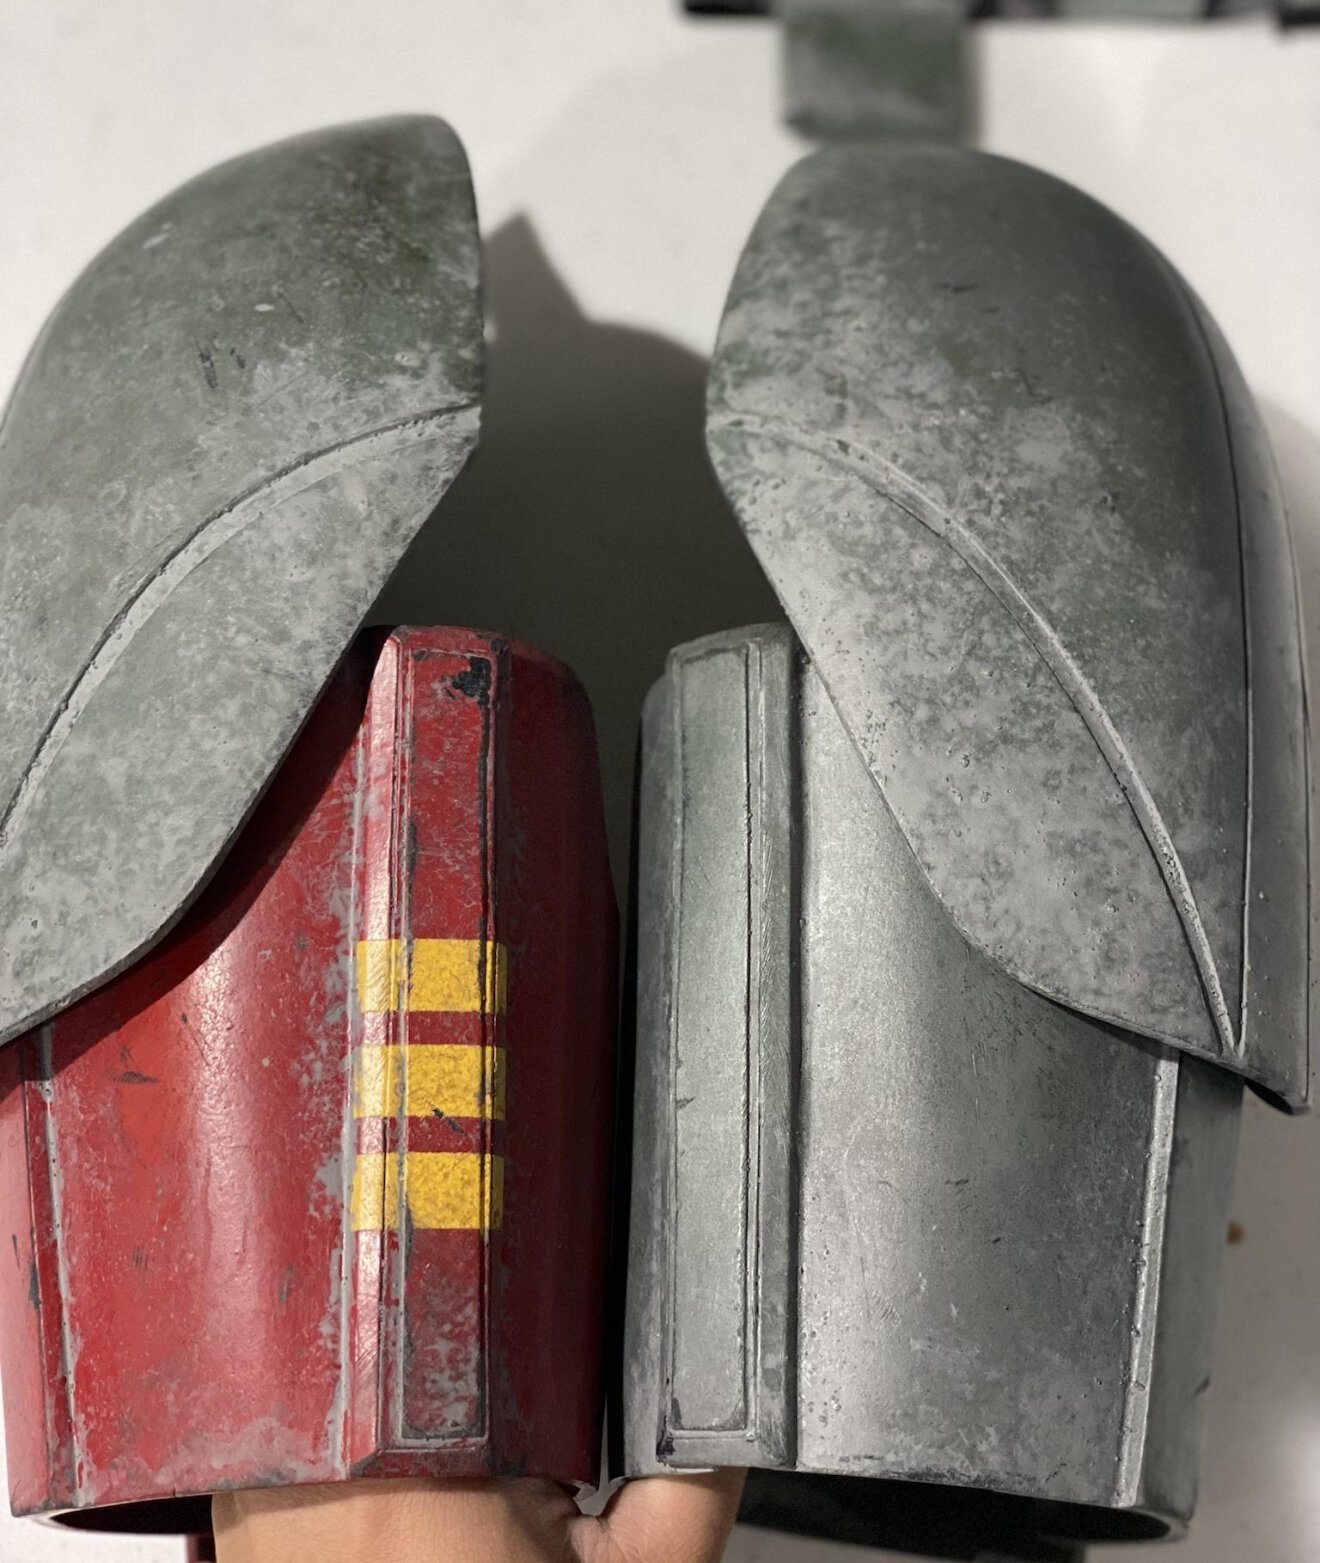
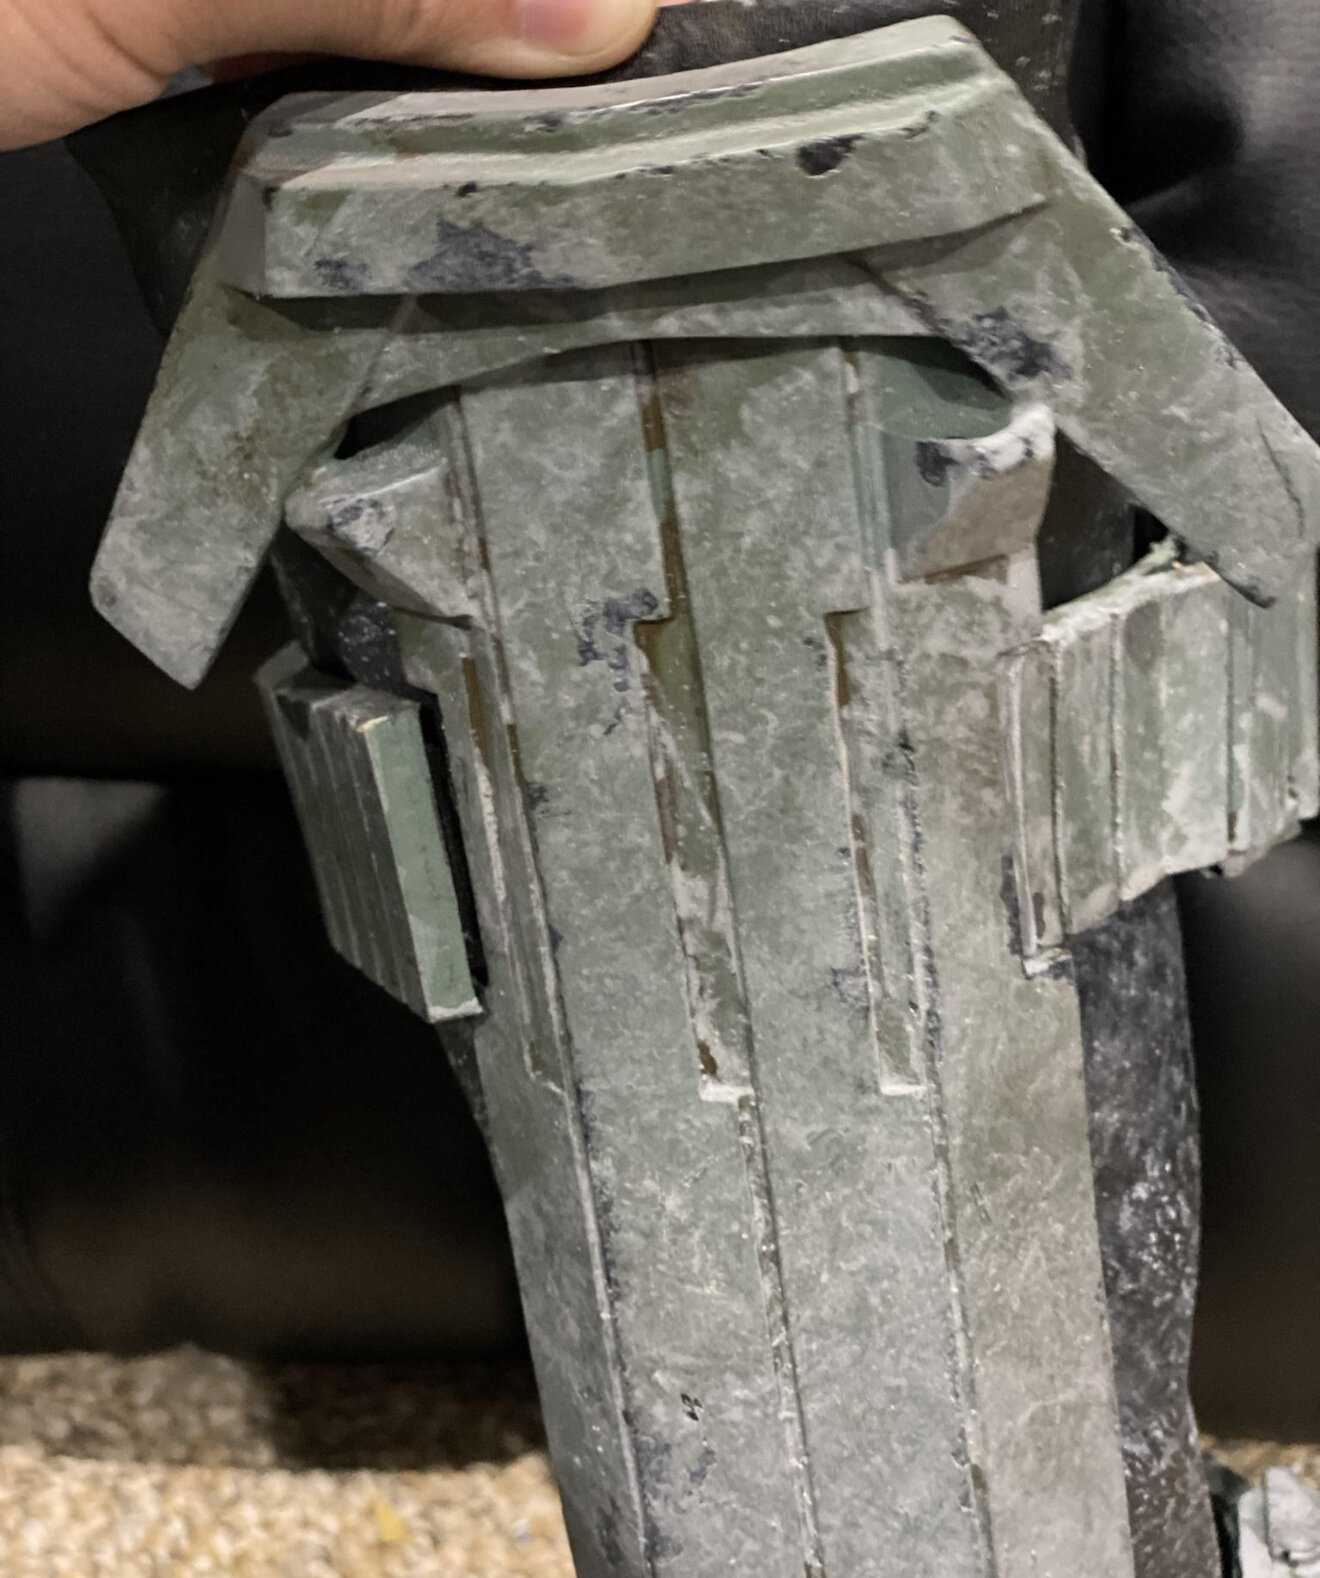
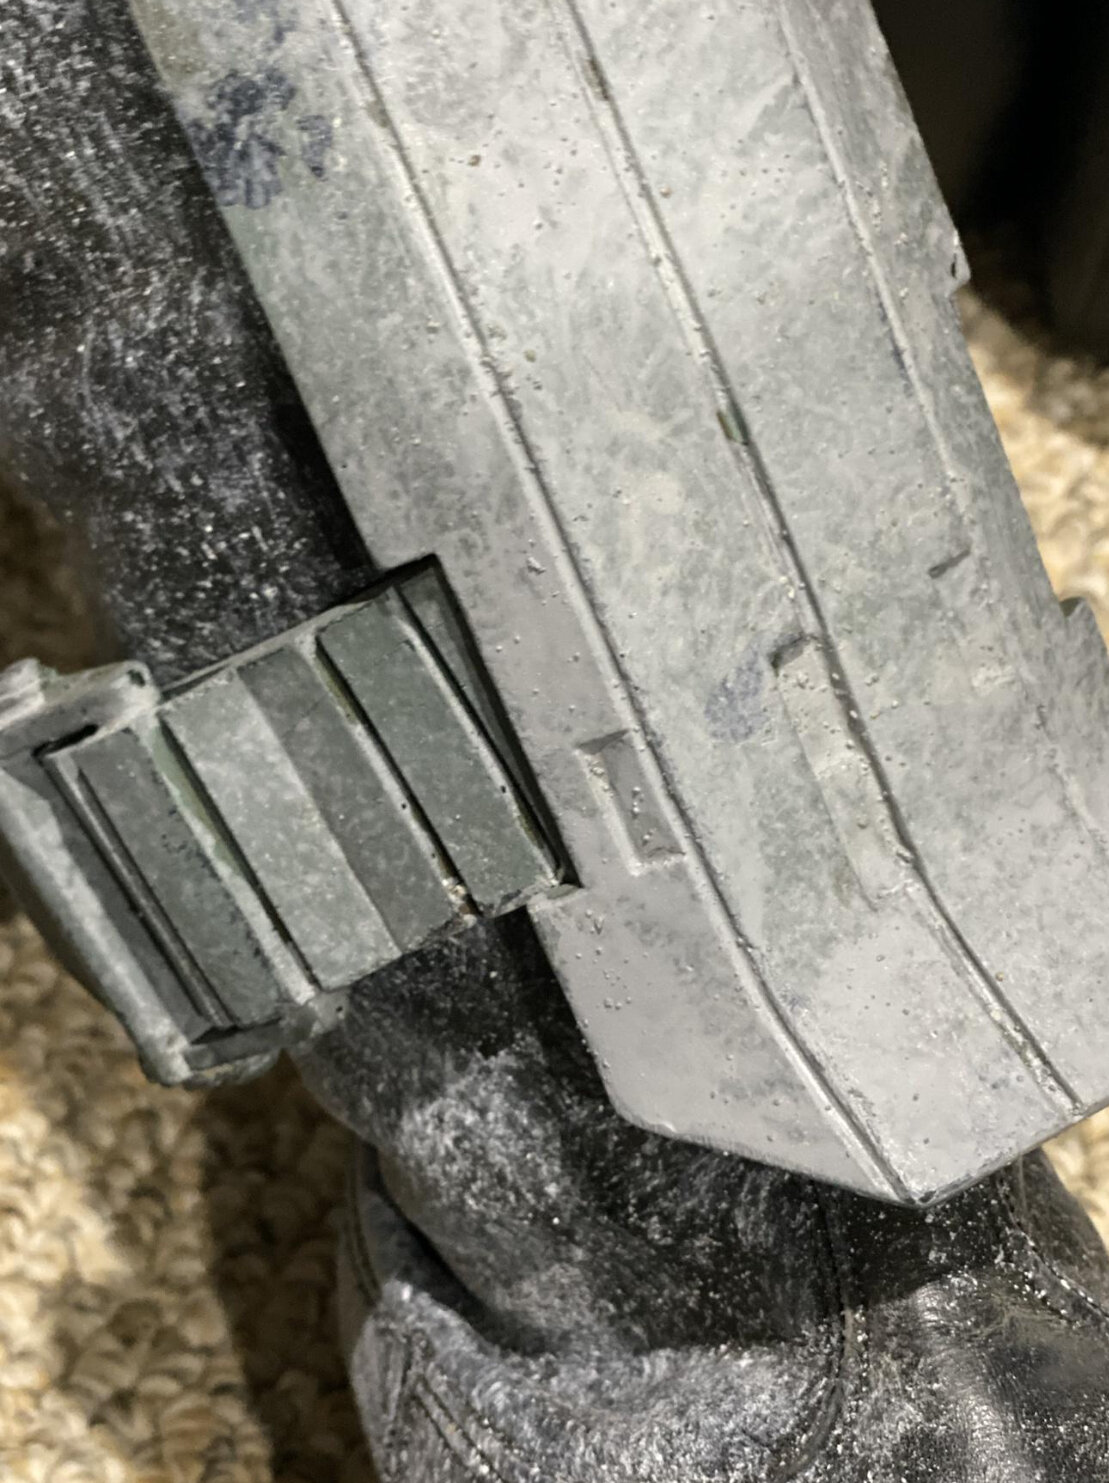
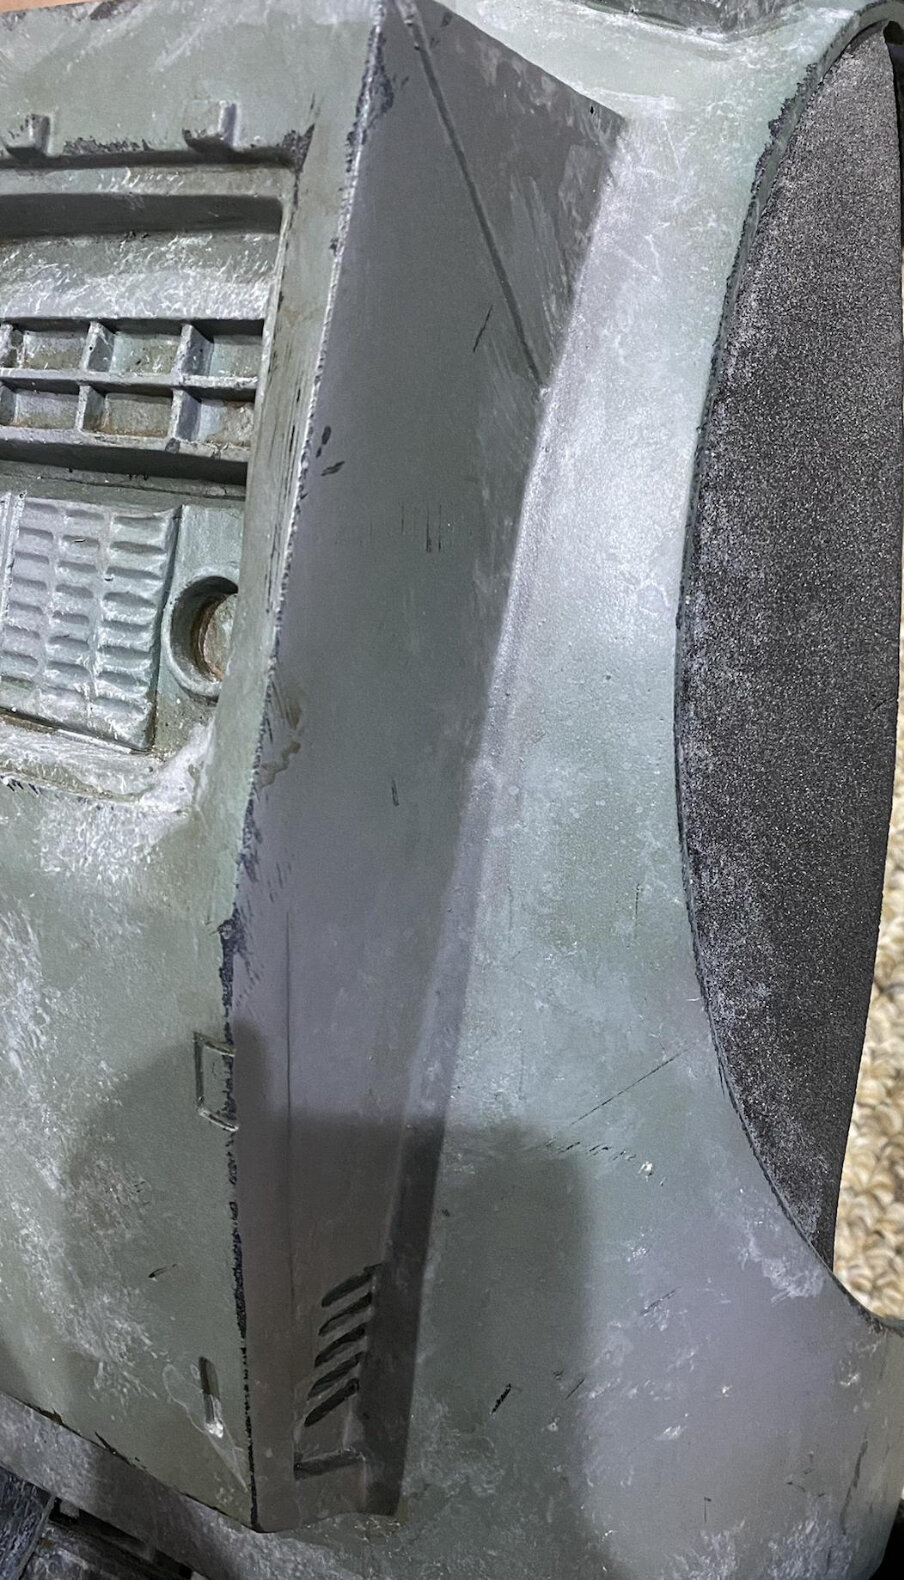
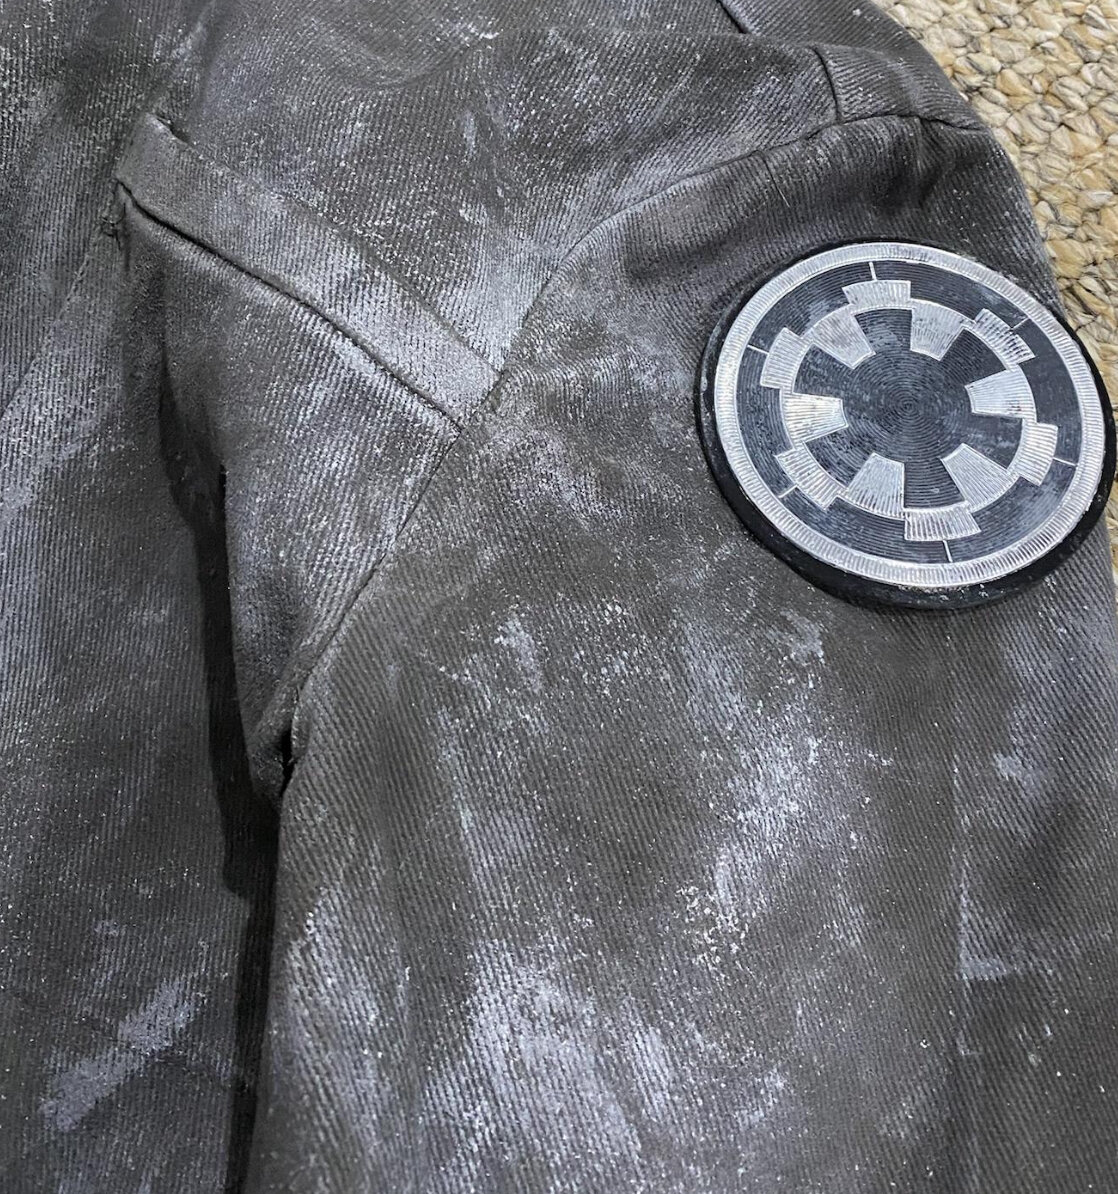
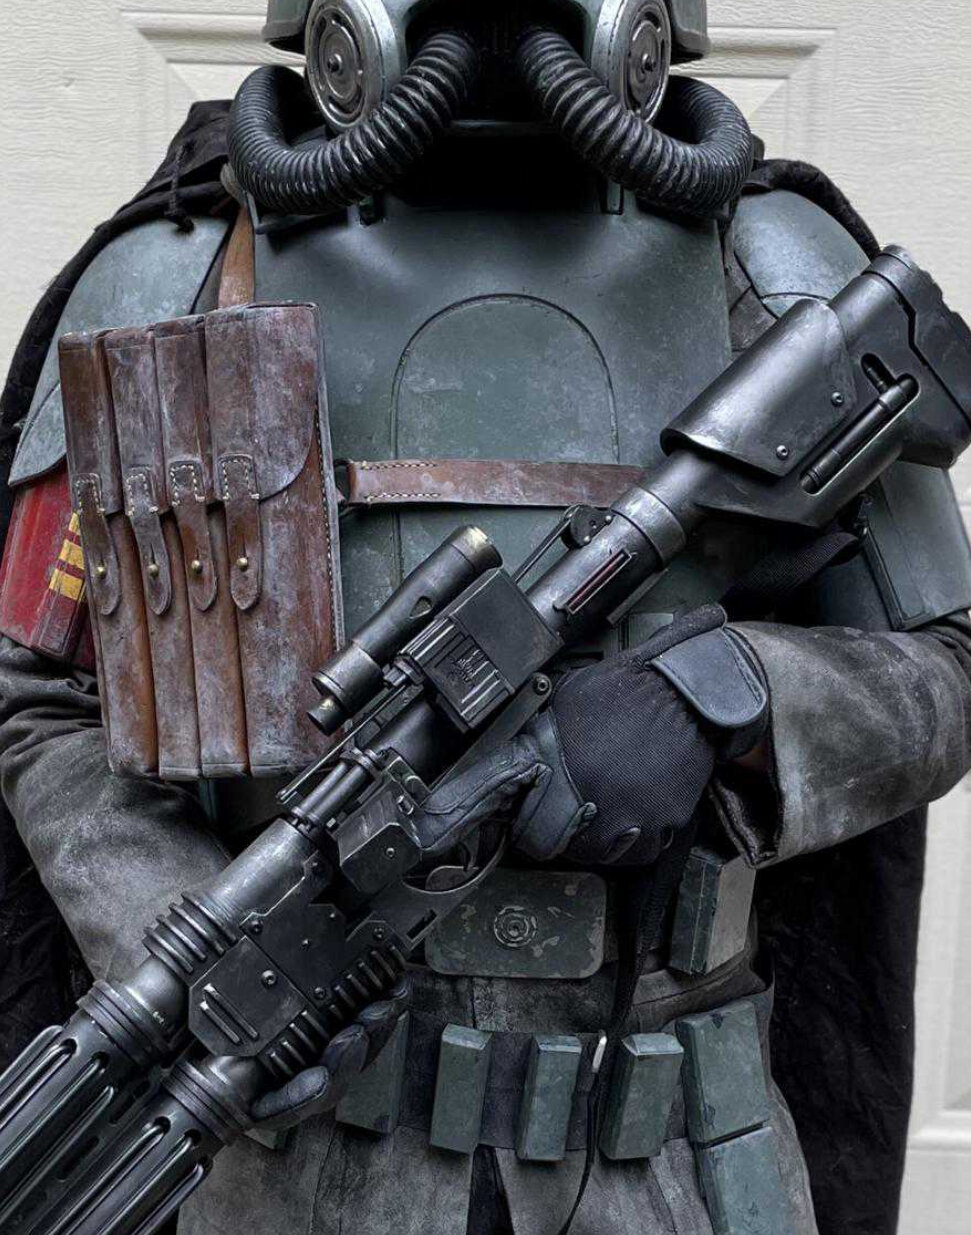
I masked the black undercoat in several areas to create a natural chipping effect. Then I scuffed up the armor using a wire brush and a bit of sandpaper, and added some deeper scratches with a metal file. For the weathering, I made my own Mimban mud using a mix of acrylic grey paint, real sand, and Fuller’s earth. I applied it with different brushes and sponges, mostly using a dabbing technique to build up the texture. Finally, I finished it off with some pastels mixed with water to bring out the finer details and add variation to the grime. Some pics of how it ended up:

-
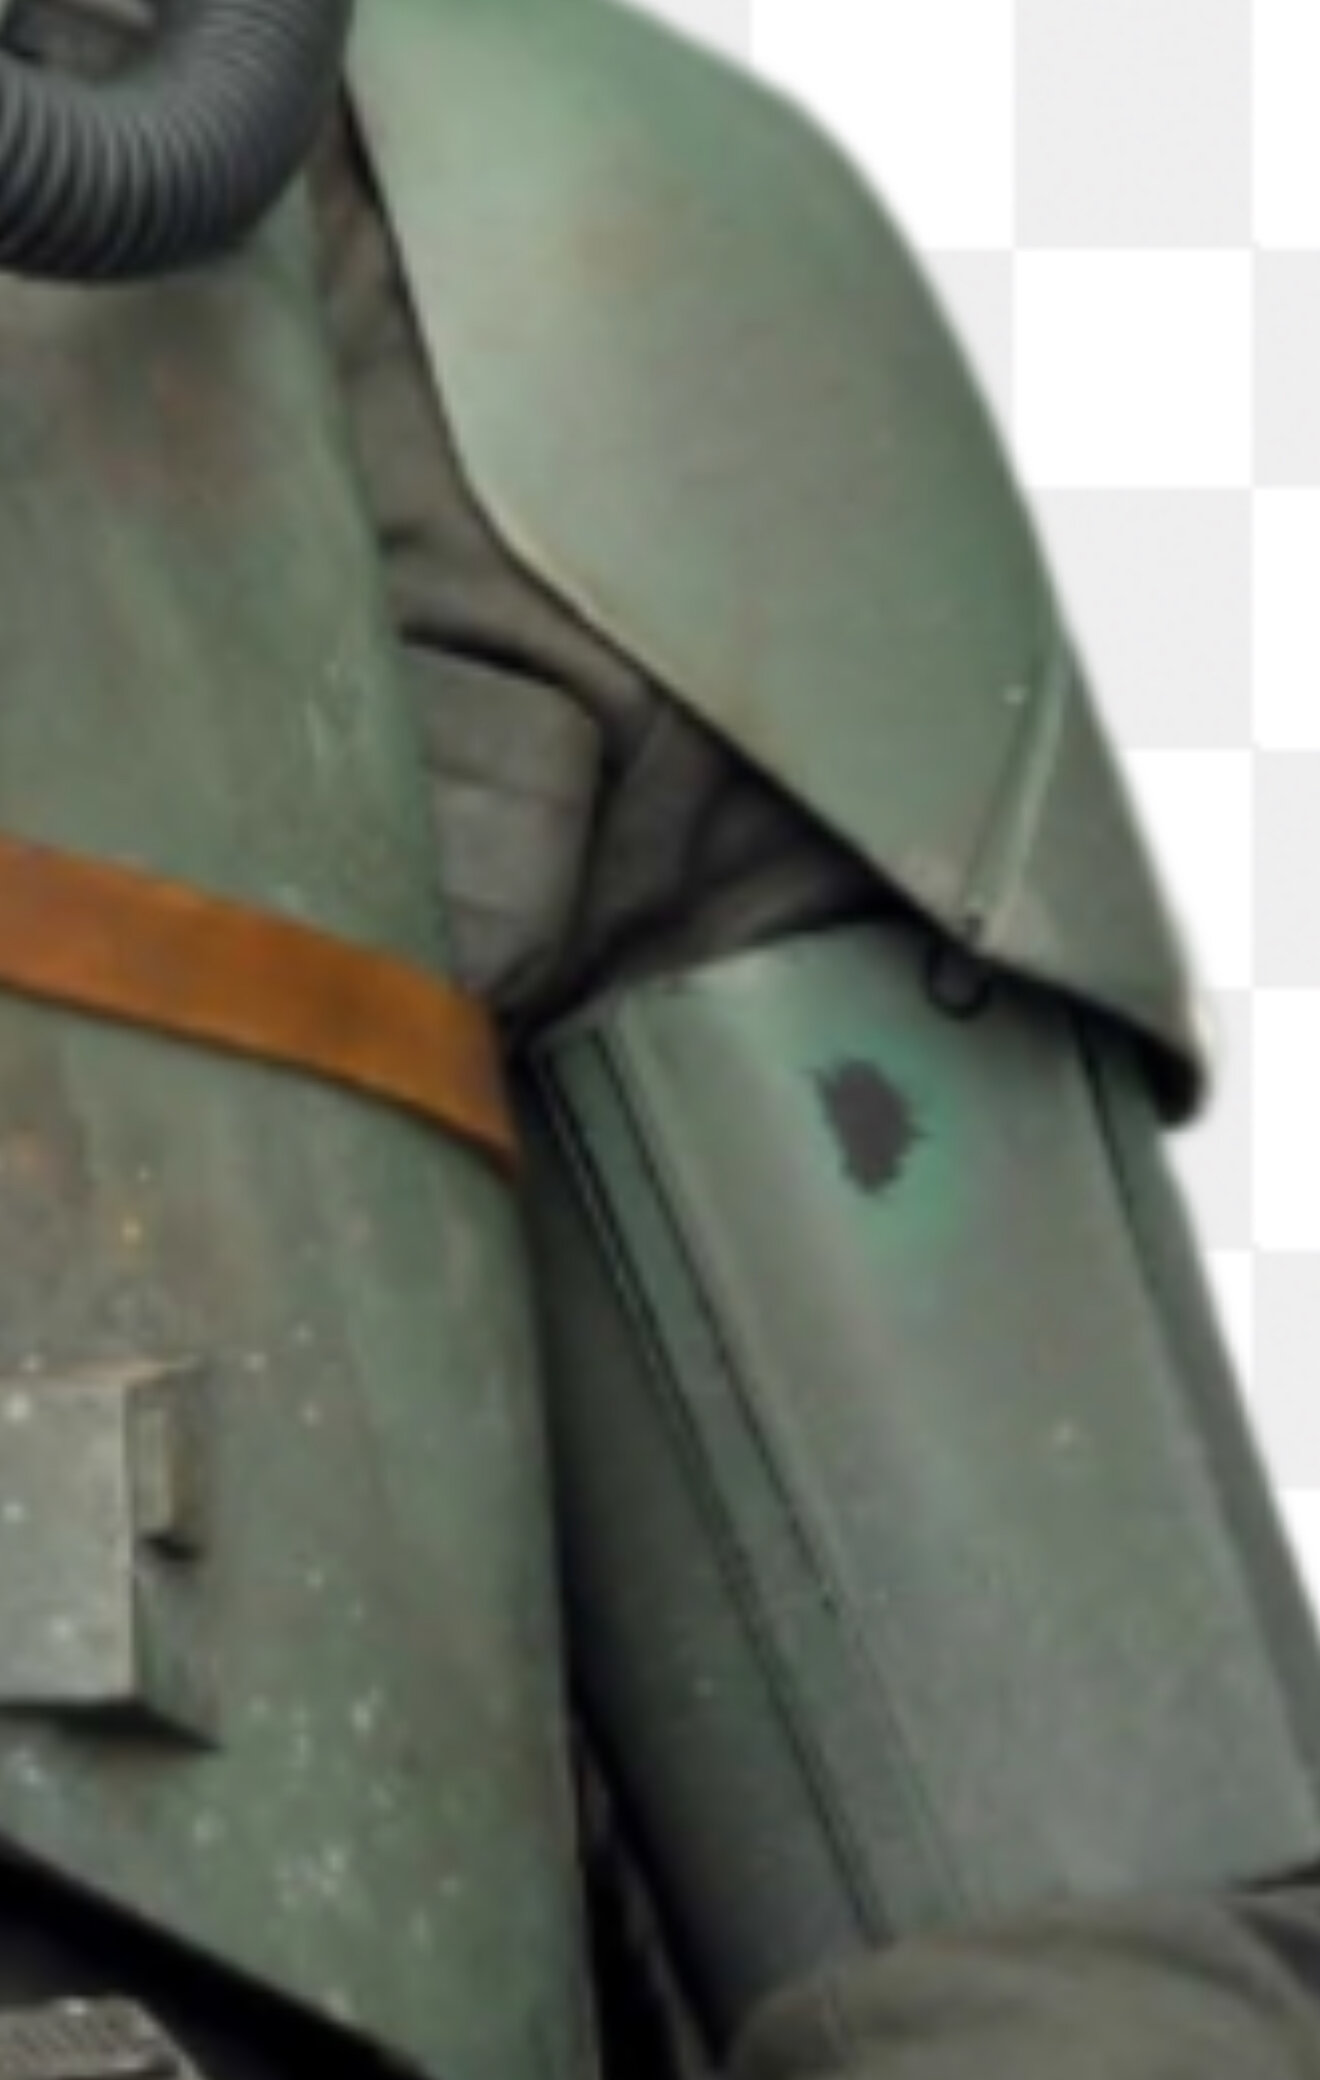
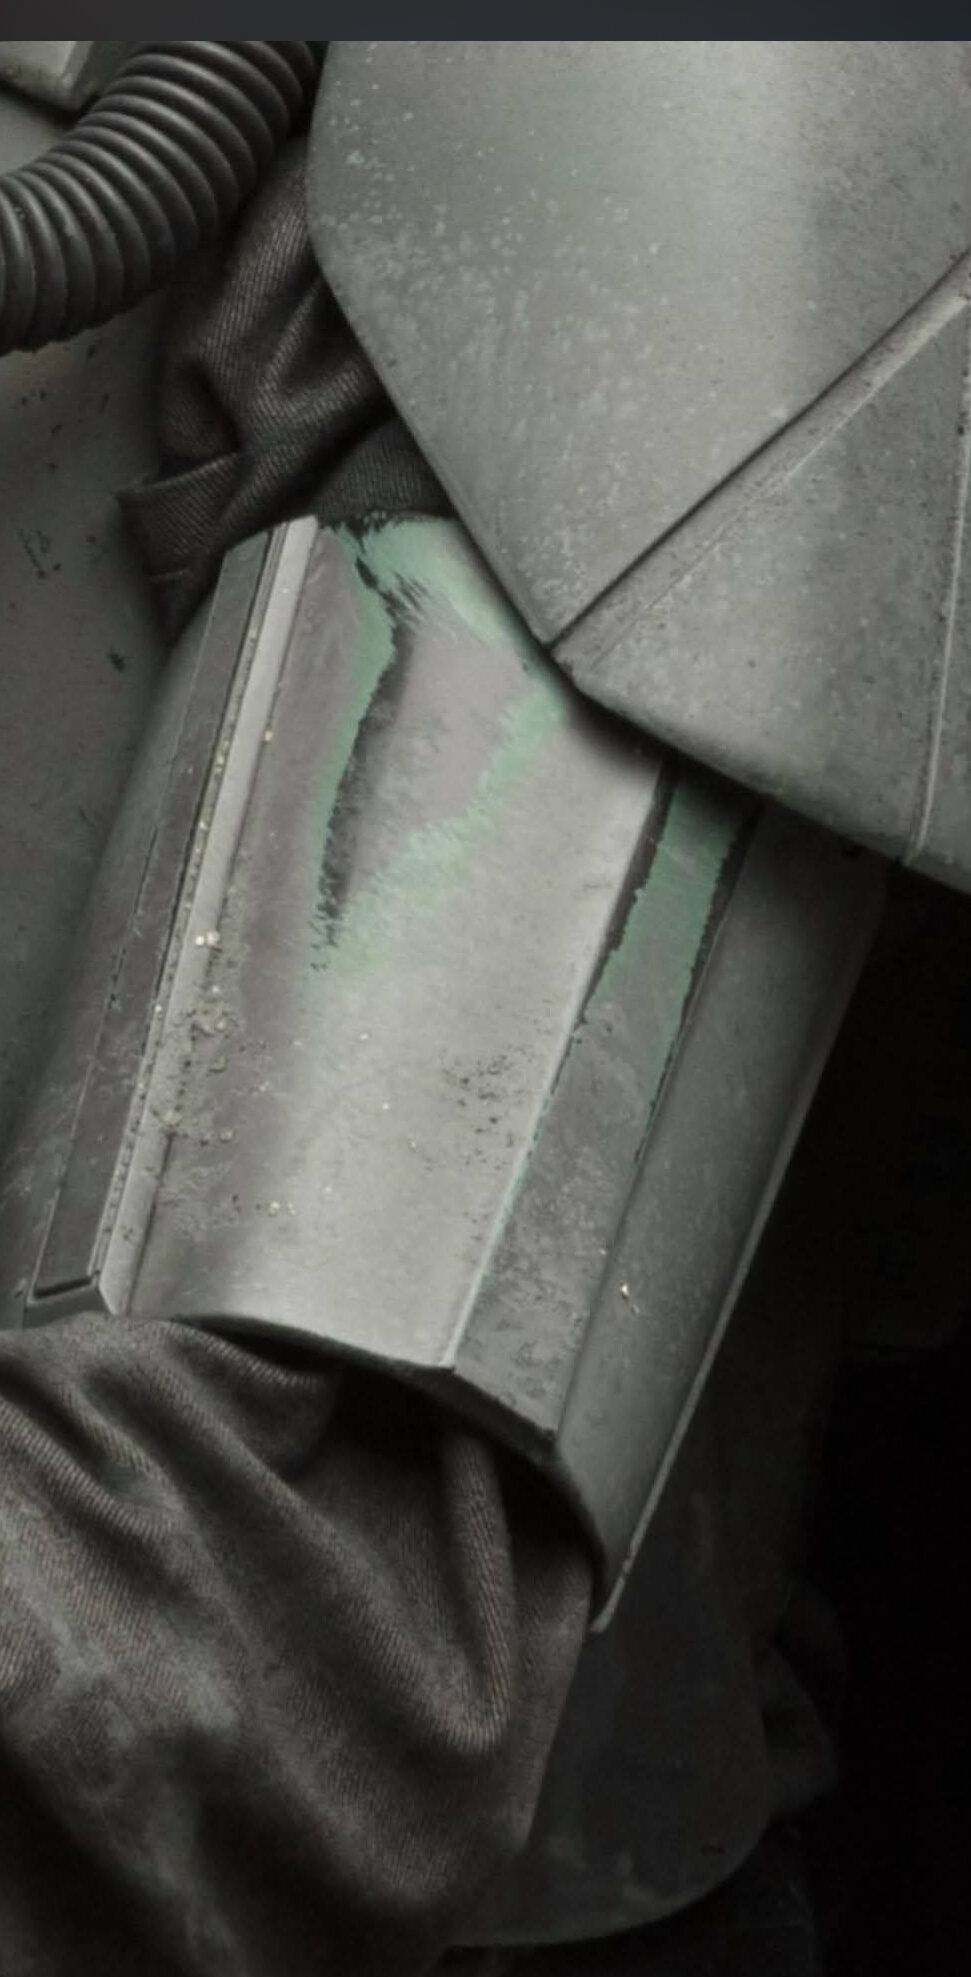
Inconsistency and overspray will be your friend. It’s not a uniform layer. Here are some screen used pieces:
-
Looking great! My only recommendation is to cover the upper part of the boots with weathering. It would make sense that if you had mud from head to toe, that the upper part of the boots would not be clean! Hahah
-
Woohooo, welcome! The plash has a protective waterproof treatment that needs to be removed prior to being dyed. The most successful way of doing this is heat. I recommend doing 3 30 minute baths in hot water (around 150-200 degrees). That should remove the weatherproof treatment. Subsequently, give it a few more baths in similarly hot water with the black dye in it! Let us know if you have anymore questions! Have fun!
-
Apologies, here ya go:
-
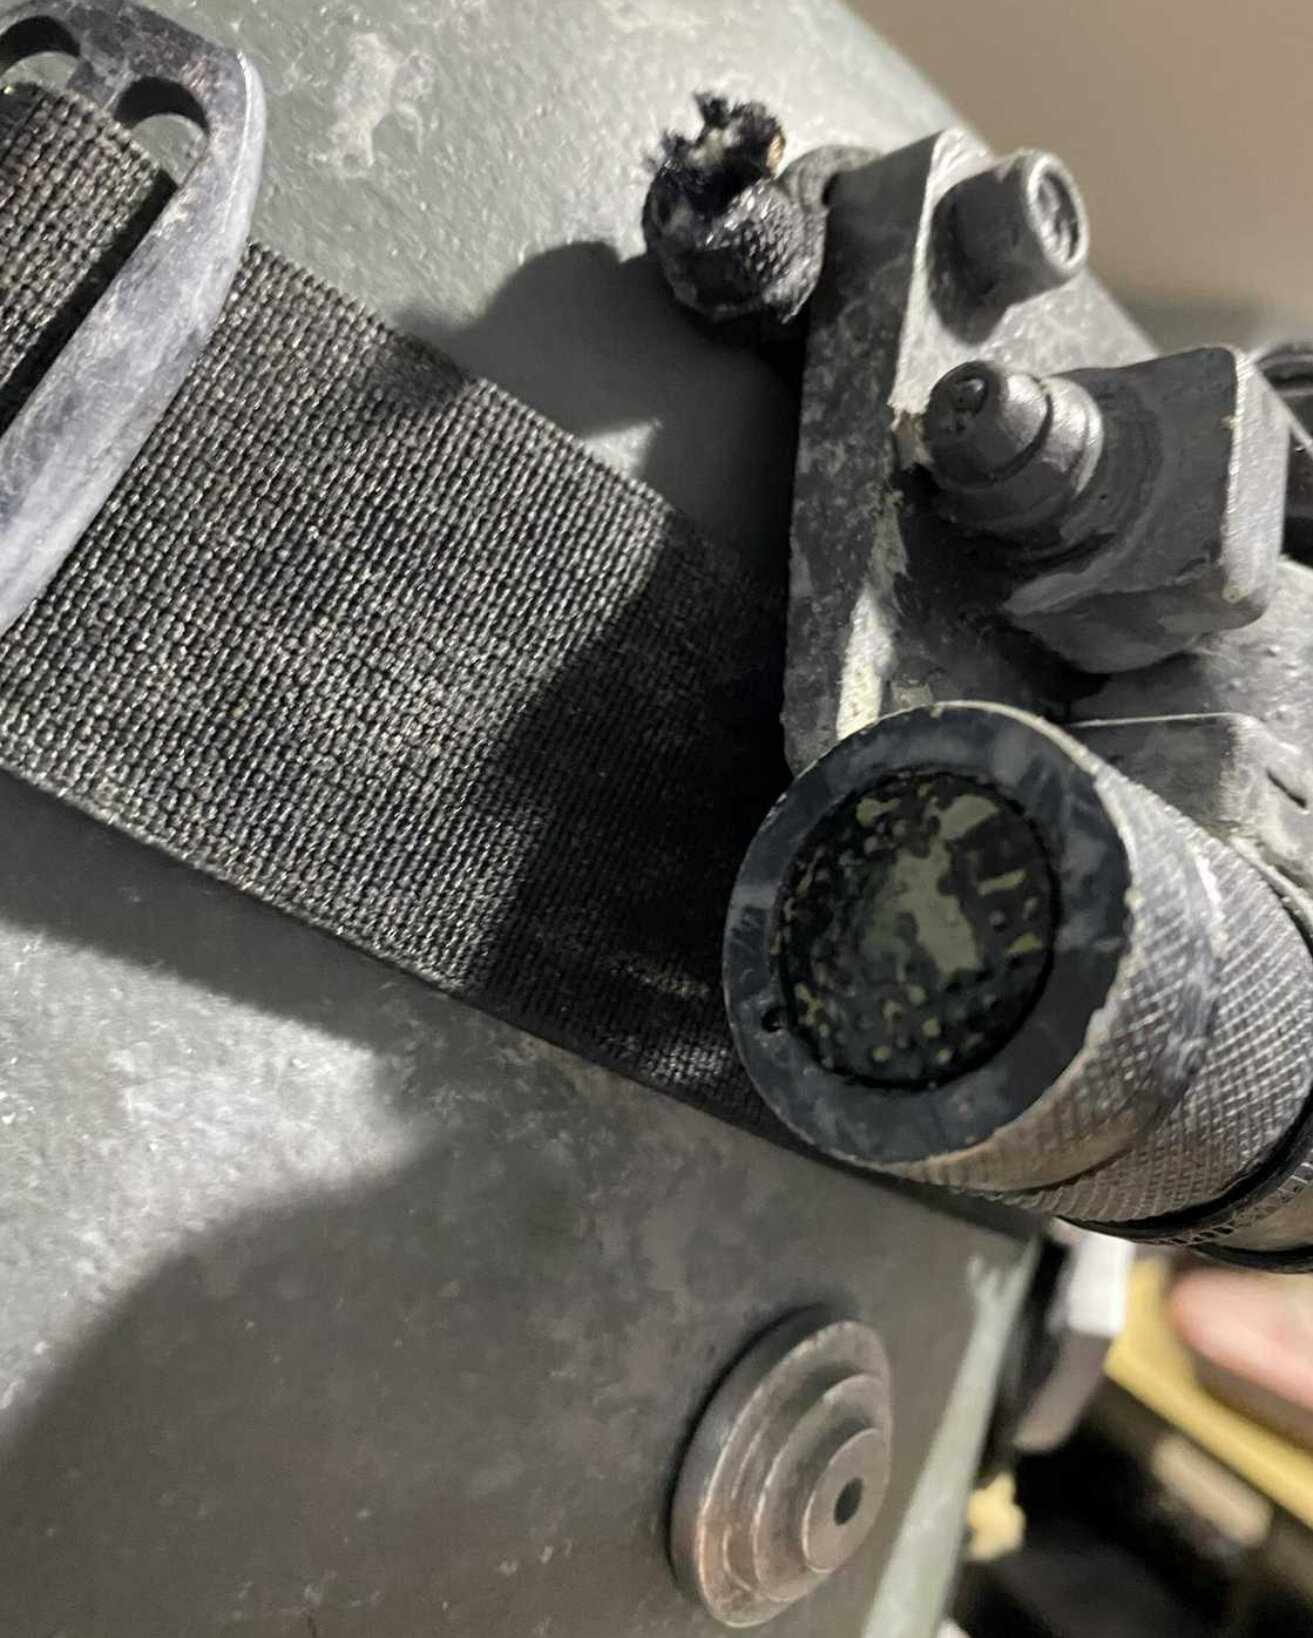
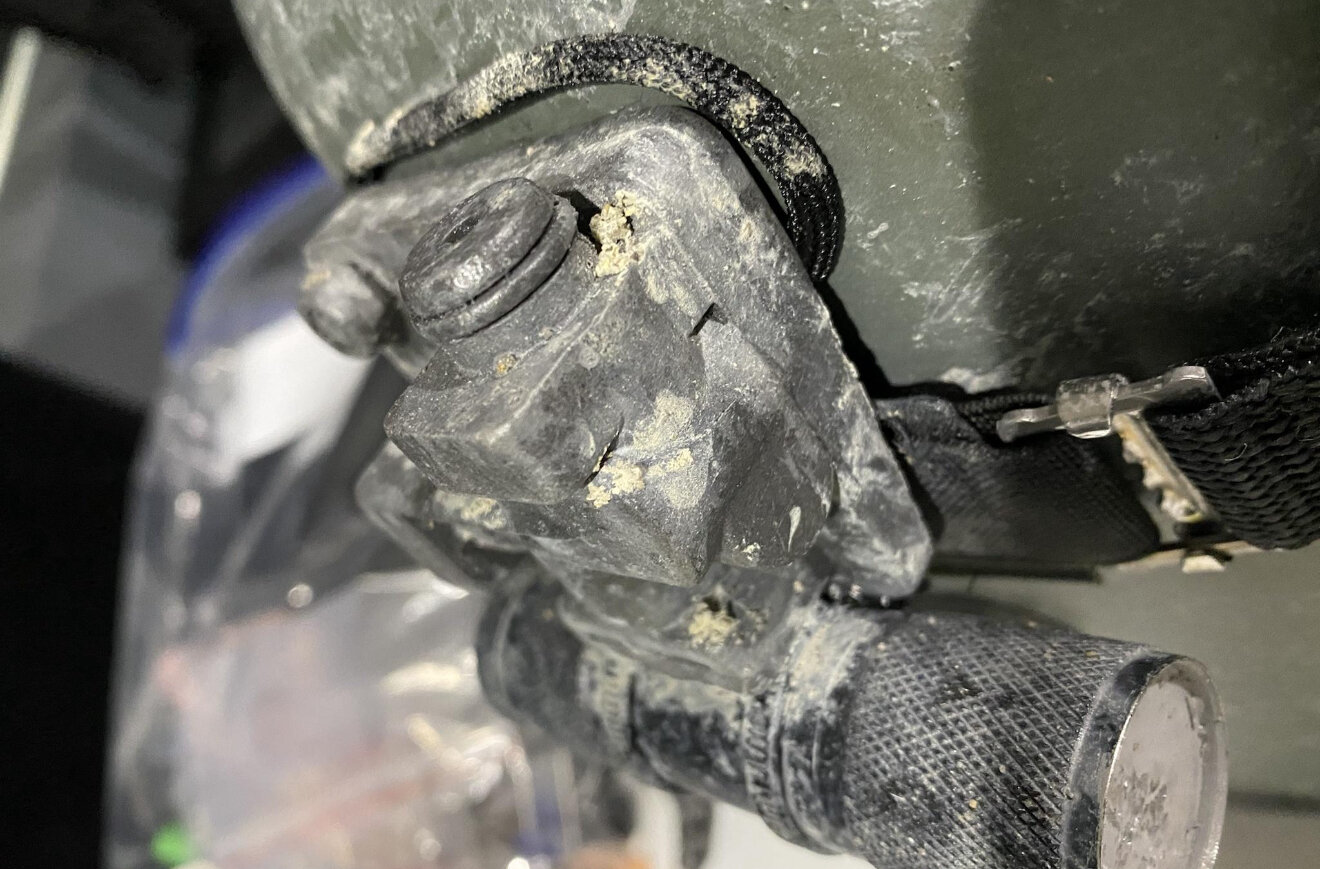
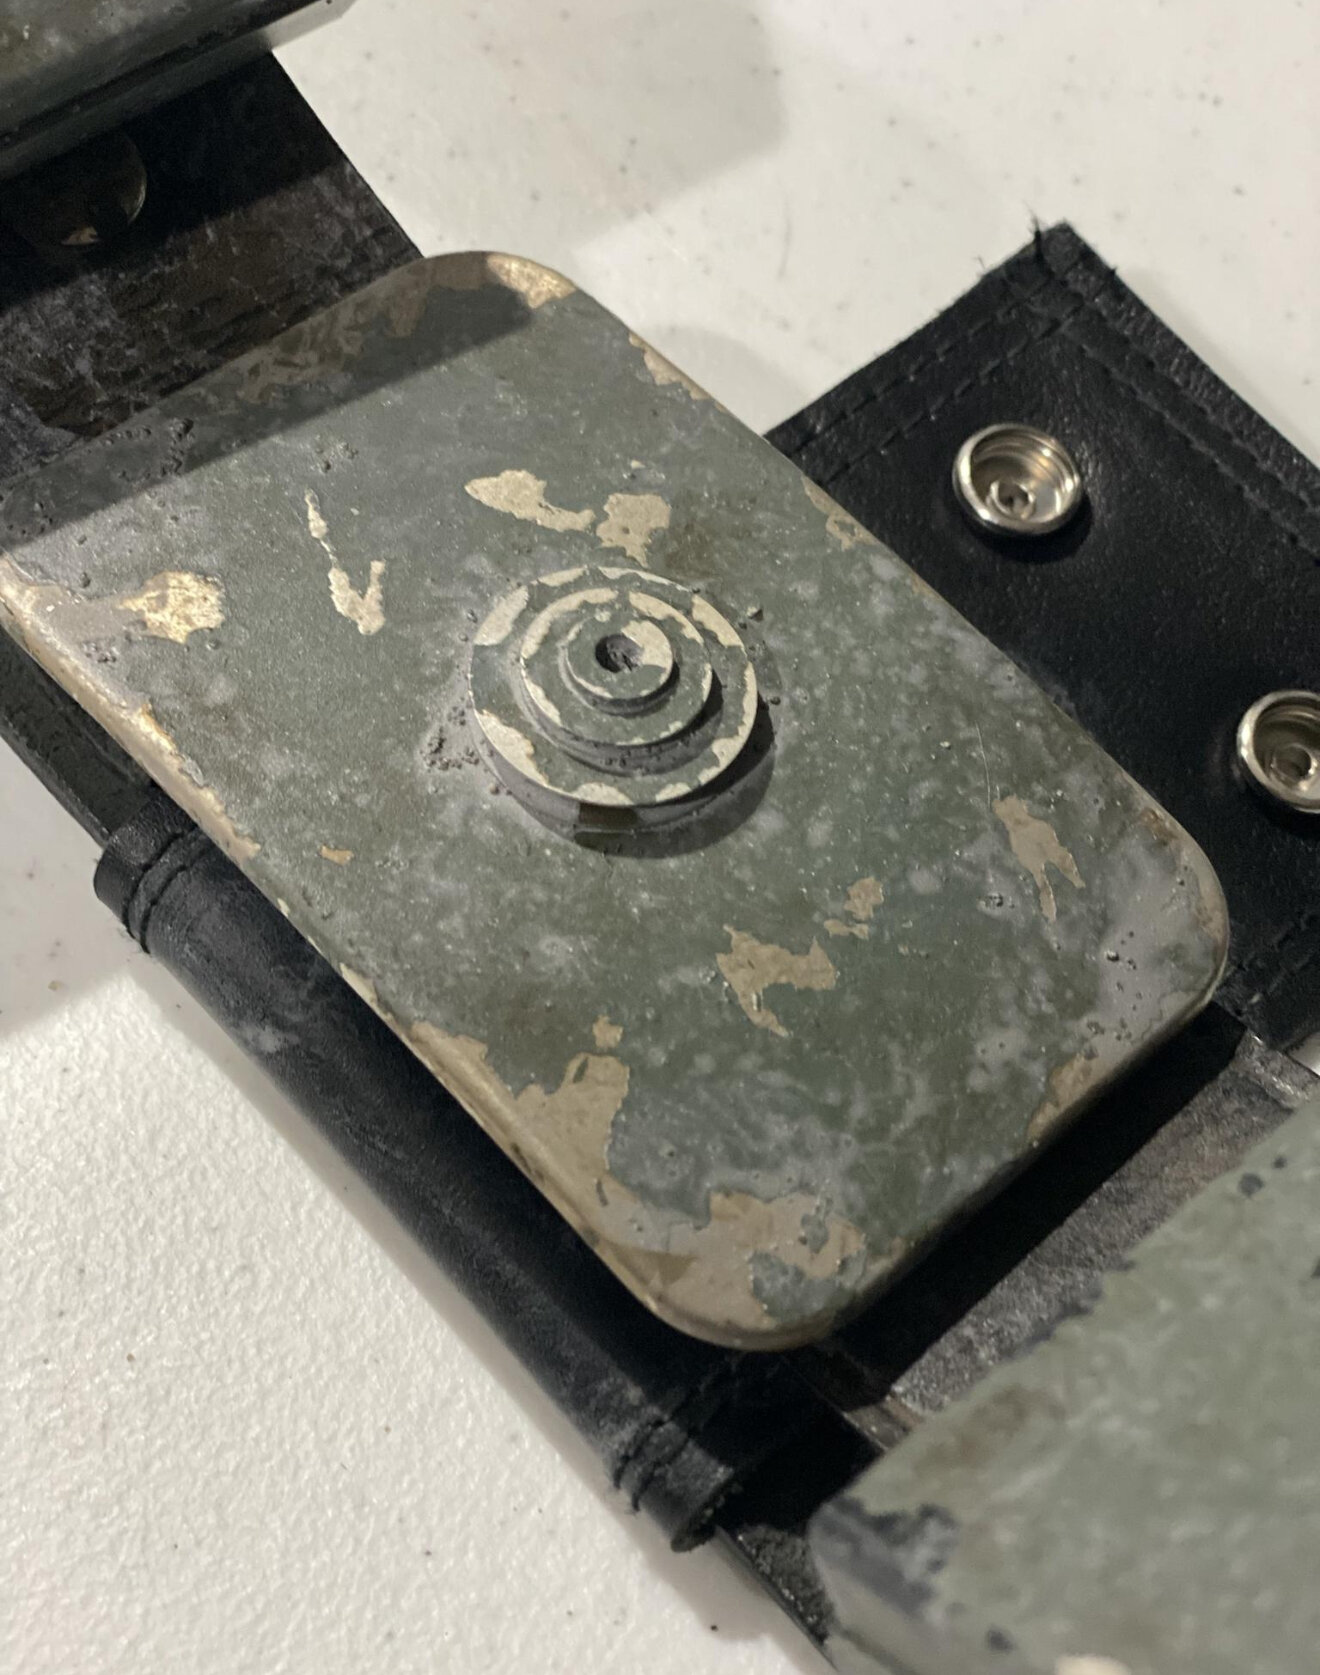
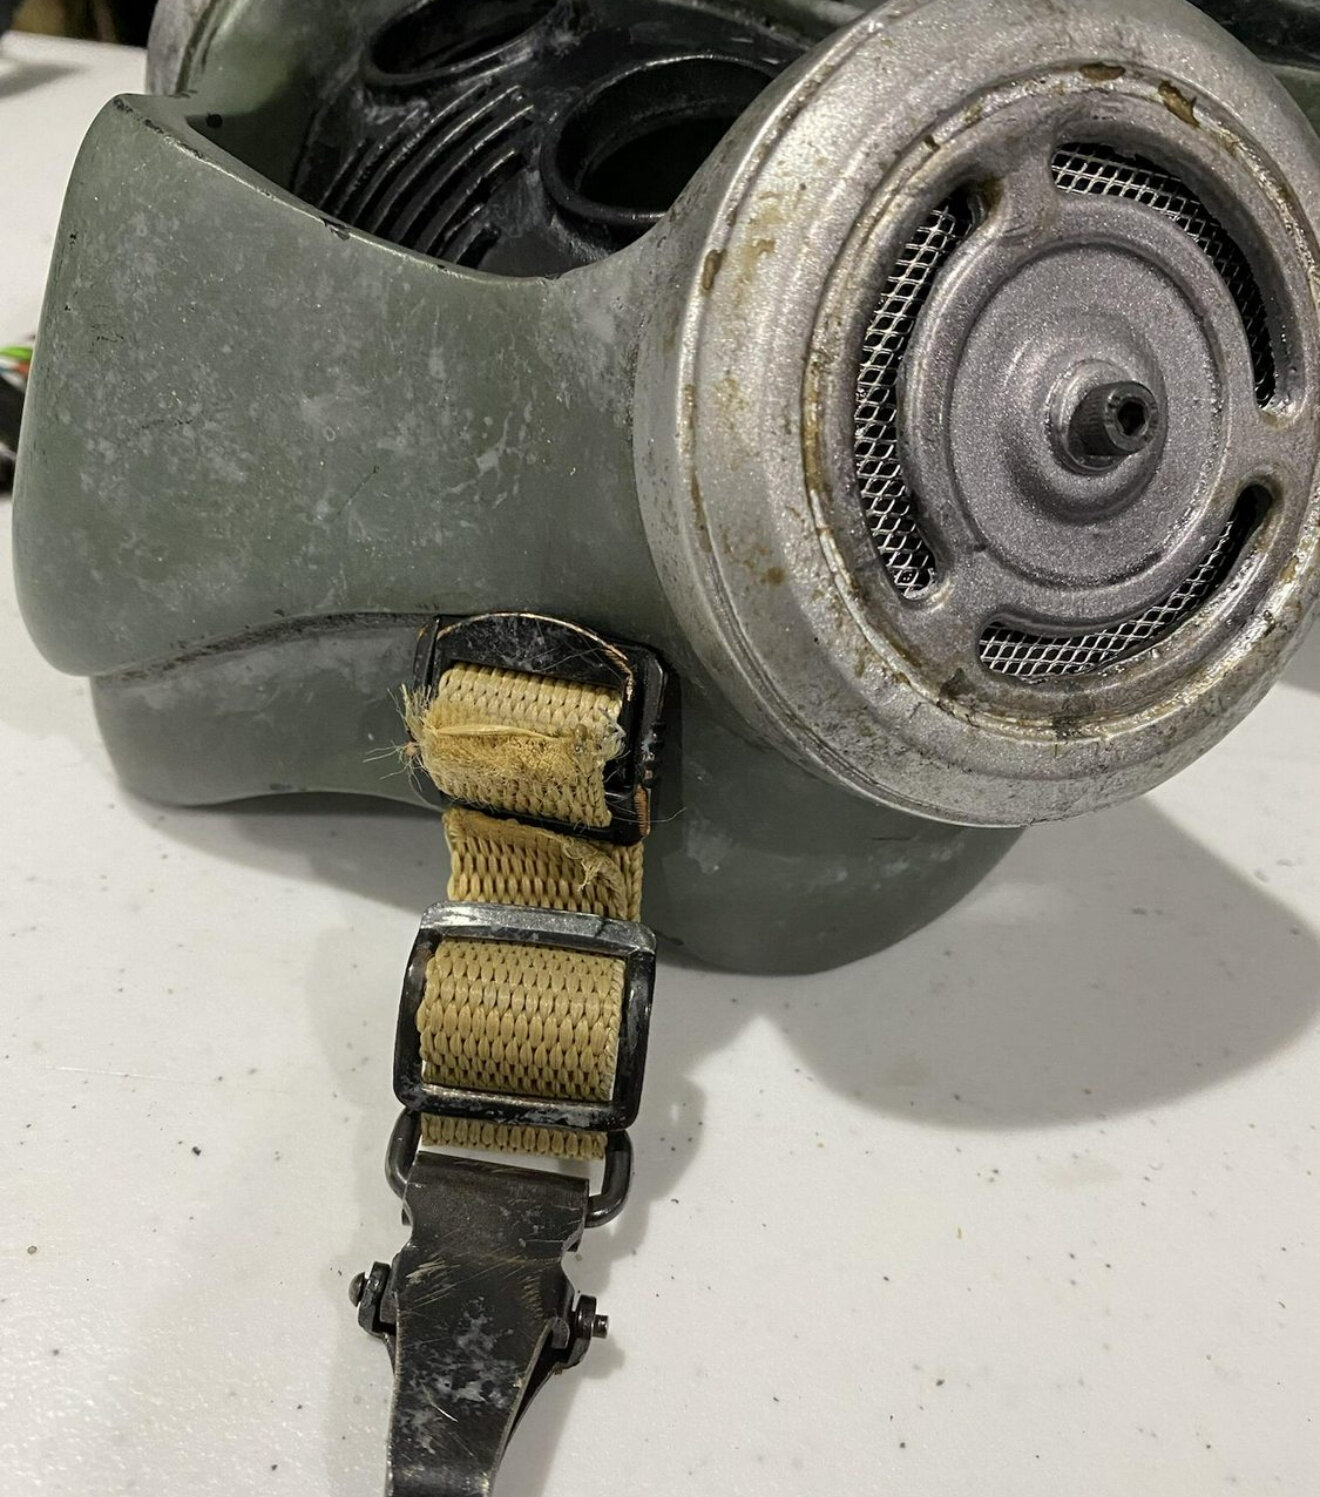
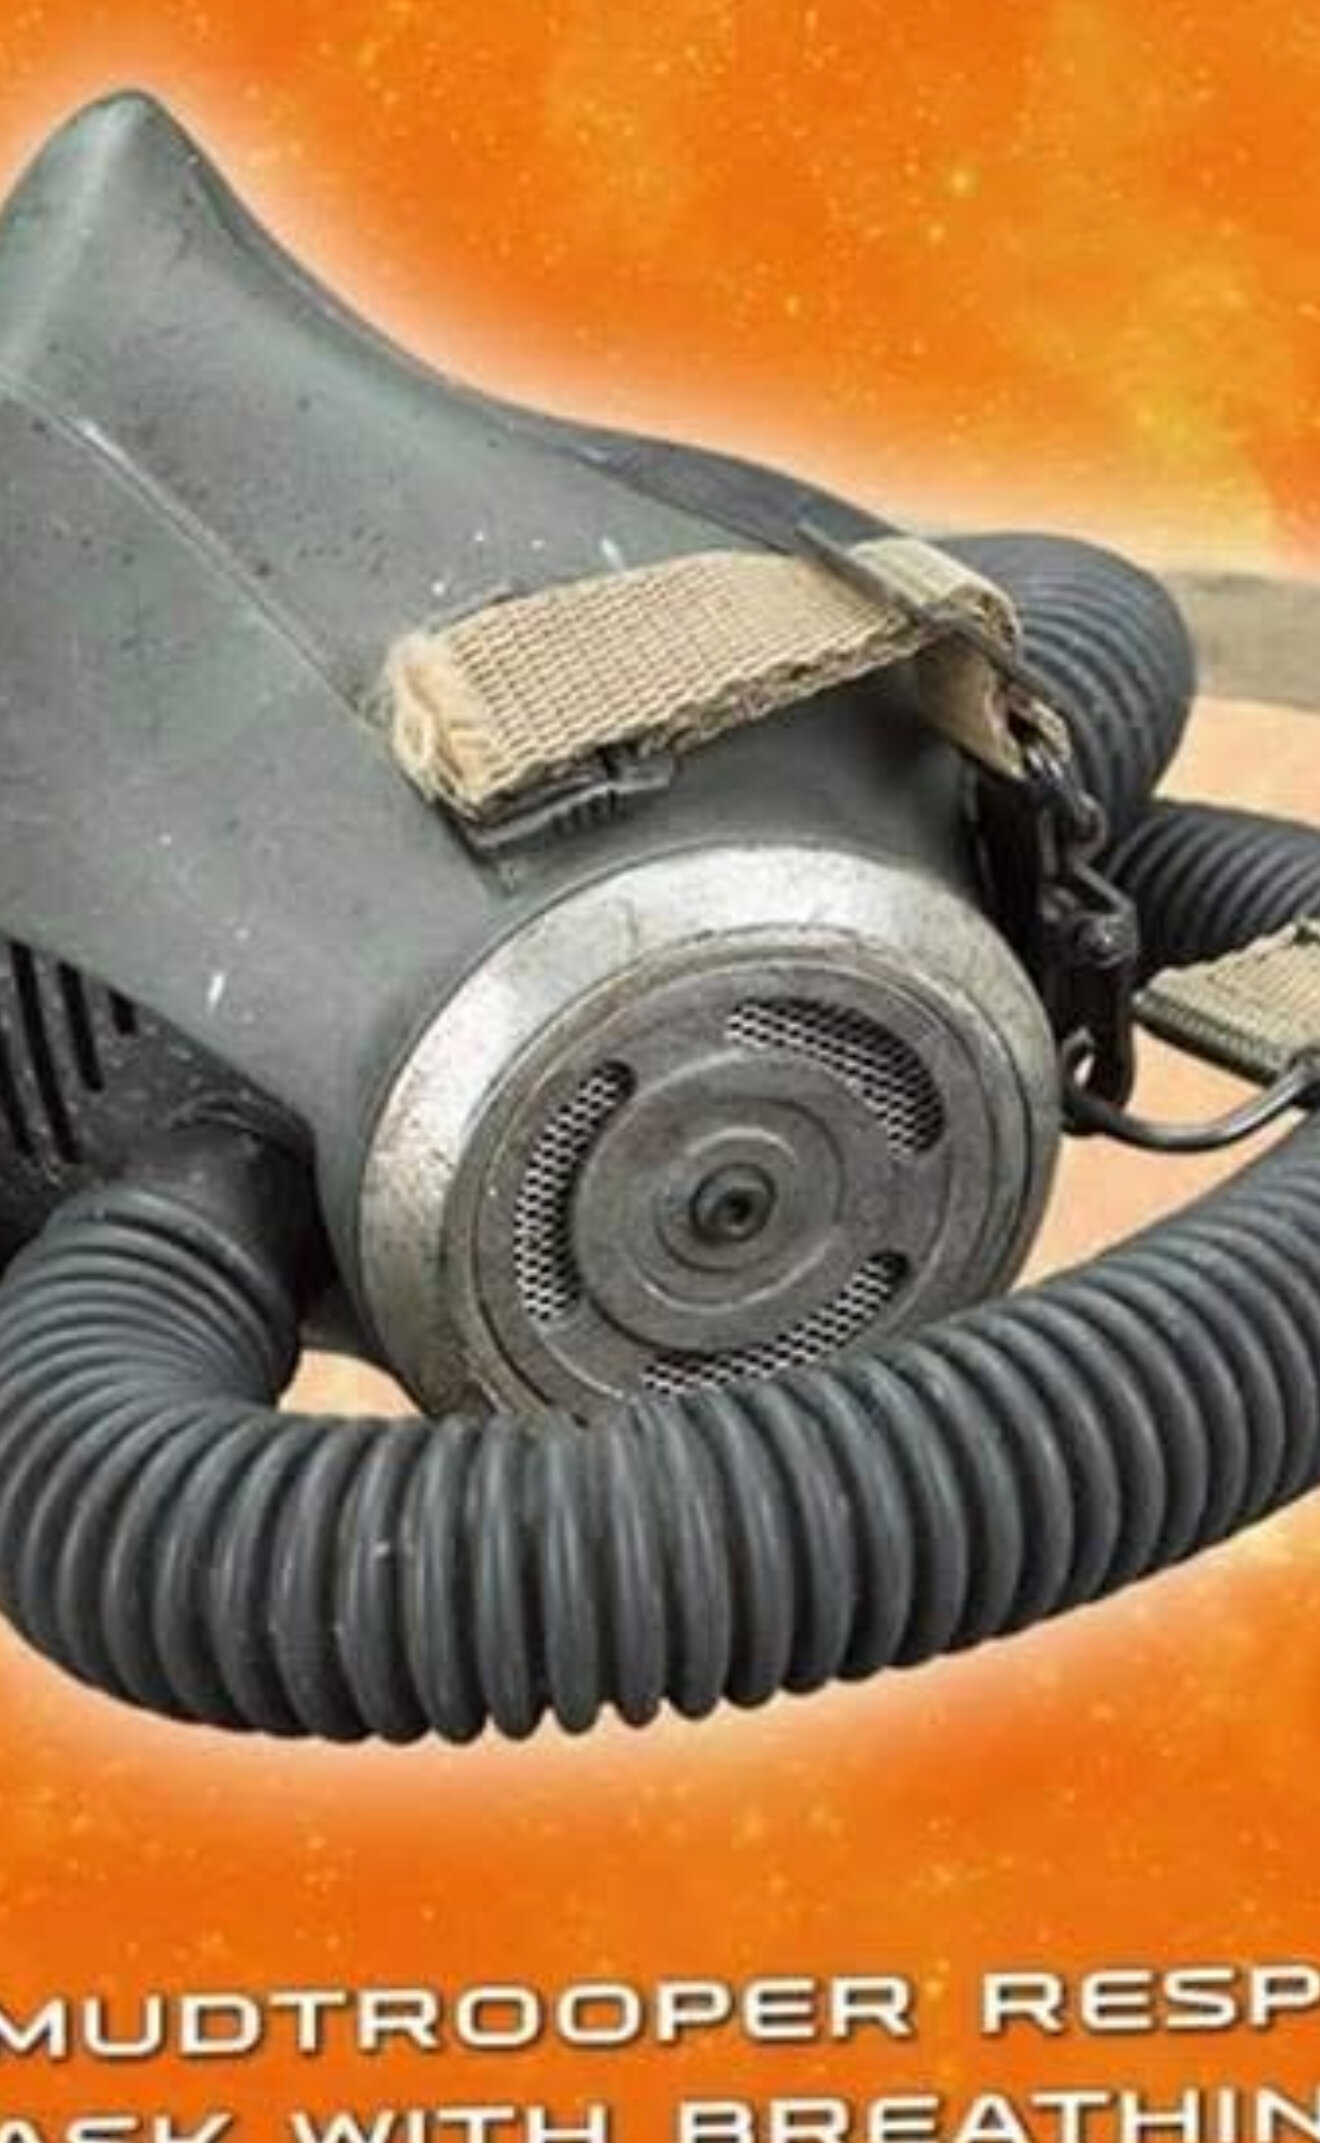
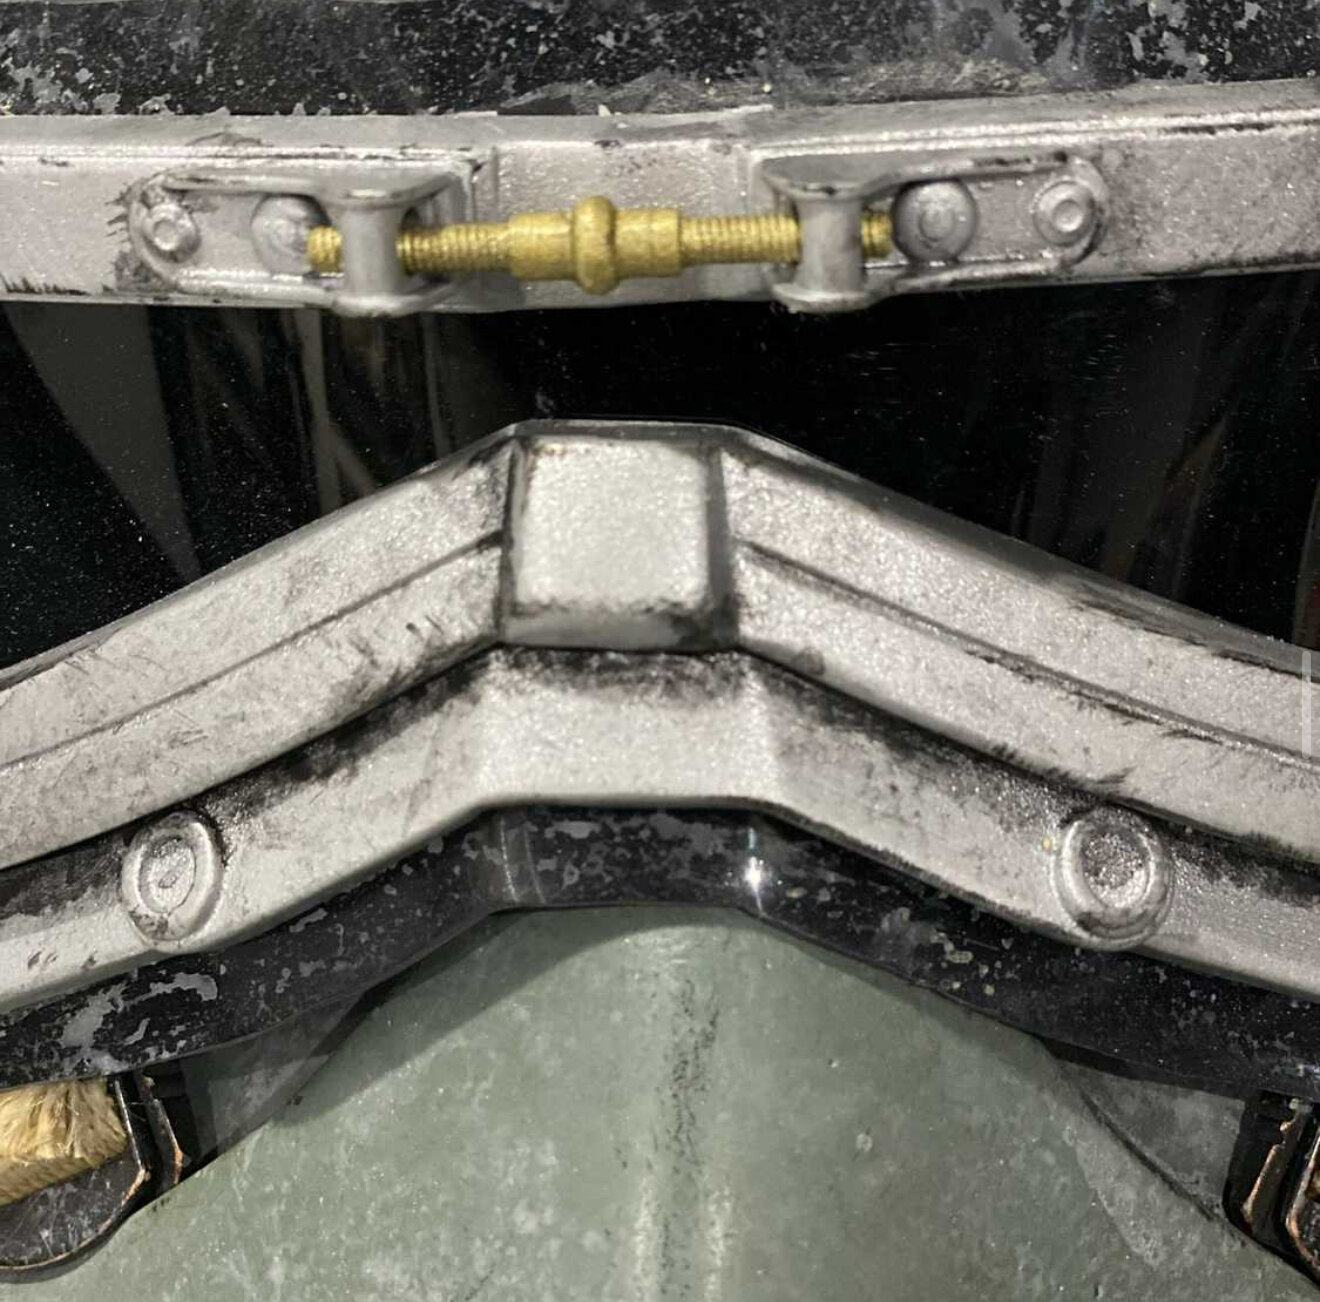
Awesome, can’t tell on yours, but respirators have a darker inner, kinda like this: Also the middle screw is brass, just in case!
-
Scarf should work. I used this paint on the goggles and subsequently weathered:
-
@SirCalcium This is not a screen grab, but it’s a close representation:
-
Hmmm, at least in the shore, the fishhook faced inward towards the middle of the bicep. There was also one on either side, this was used as a rigging device. See screen used shore:
-
From what I am seeing looks to be about centered with that bottom left cutout.
-
Woohooo congrats!
-
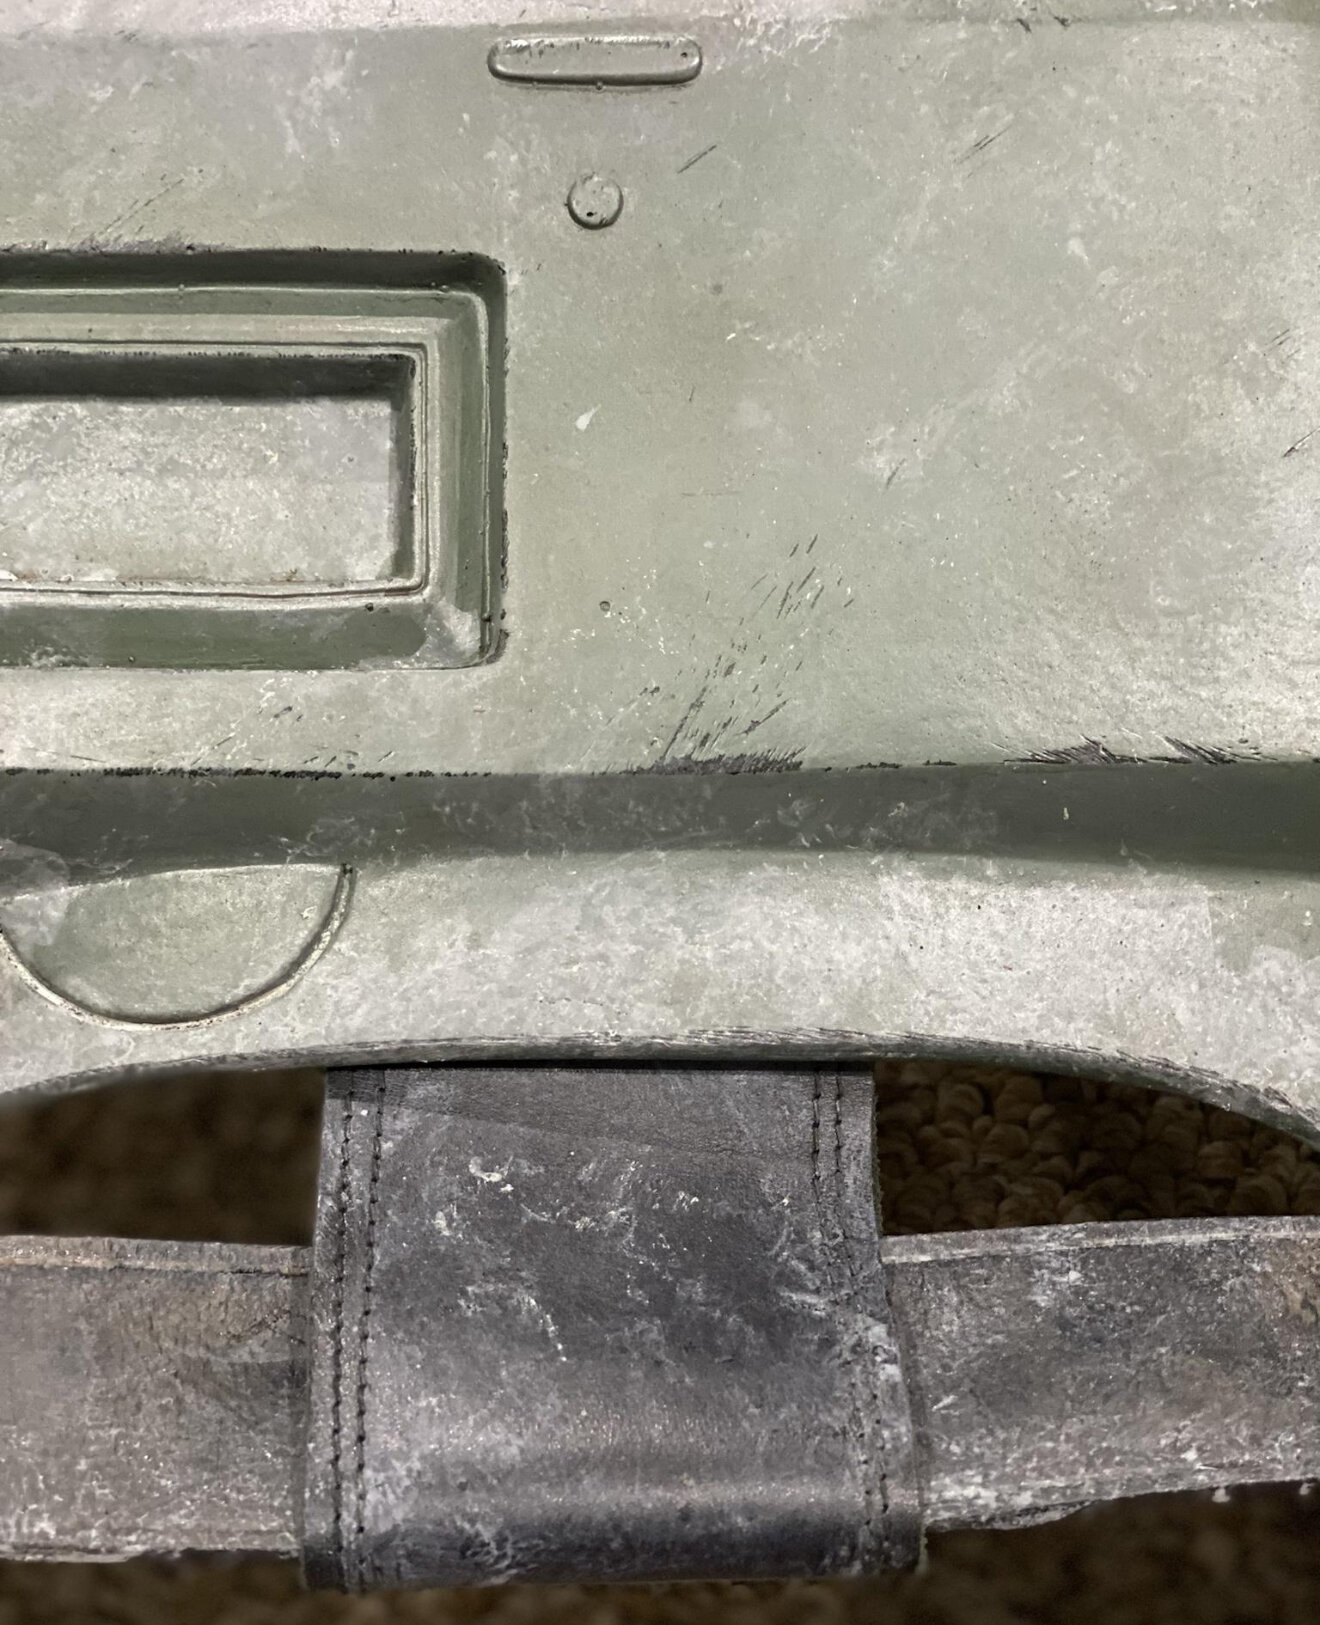
Hiya! Glad to see you back at it! In my armors the half circles are 5cm and 5.5cm at their widest and 2.5cm and 2cm at their tallest. The half circles are not deep at all, just a slight indent. But not all armors are the same size. The important thing is that it be proportionate to yours. There are some details missing in your back armor, mainly in the greeblies, but the crl doesn’t make specific mention of them, so I wouldn’t be too concerned. I think your main edit is going to be that half circle.
-
You look fantastic, well done! It’s in the bag!
-
Everything looks great! This is where the fun begins, time to go swimming in a puddle!!!
-
Fantastic work!!!