
All Activity
- Yesterday
-
Got them from “Jim Lau” through FB. Not sure he is selling them anymore. They are only needed if you are going for specialist.
-
@minimo I've seen plenty of weathering techniques out in the wild, but I'll be using some of yours when I get to weathering. Out of curiosity where do the cog patches come from?
-
Thanks @Blackwatch! Any updates? Anything I can do to help?
- Last week
-
Thank you for the quick reply!! that is really helpful! Thank you buddy!
-
Greetings! For remain active in our forum you must login once a year, thats all you must do
-
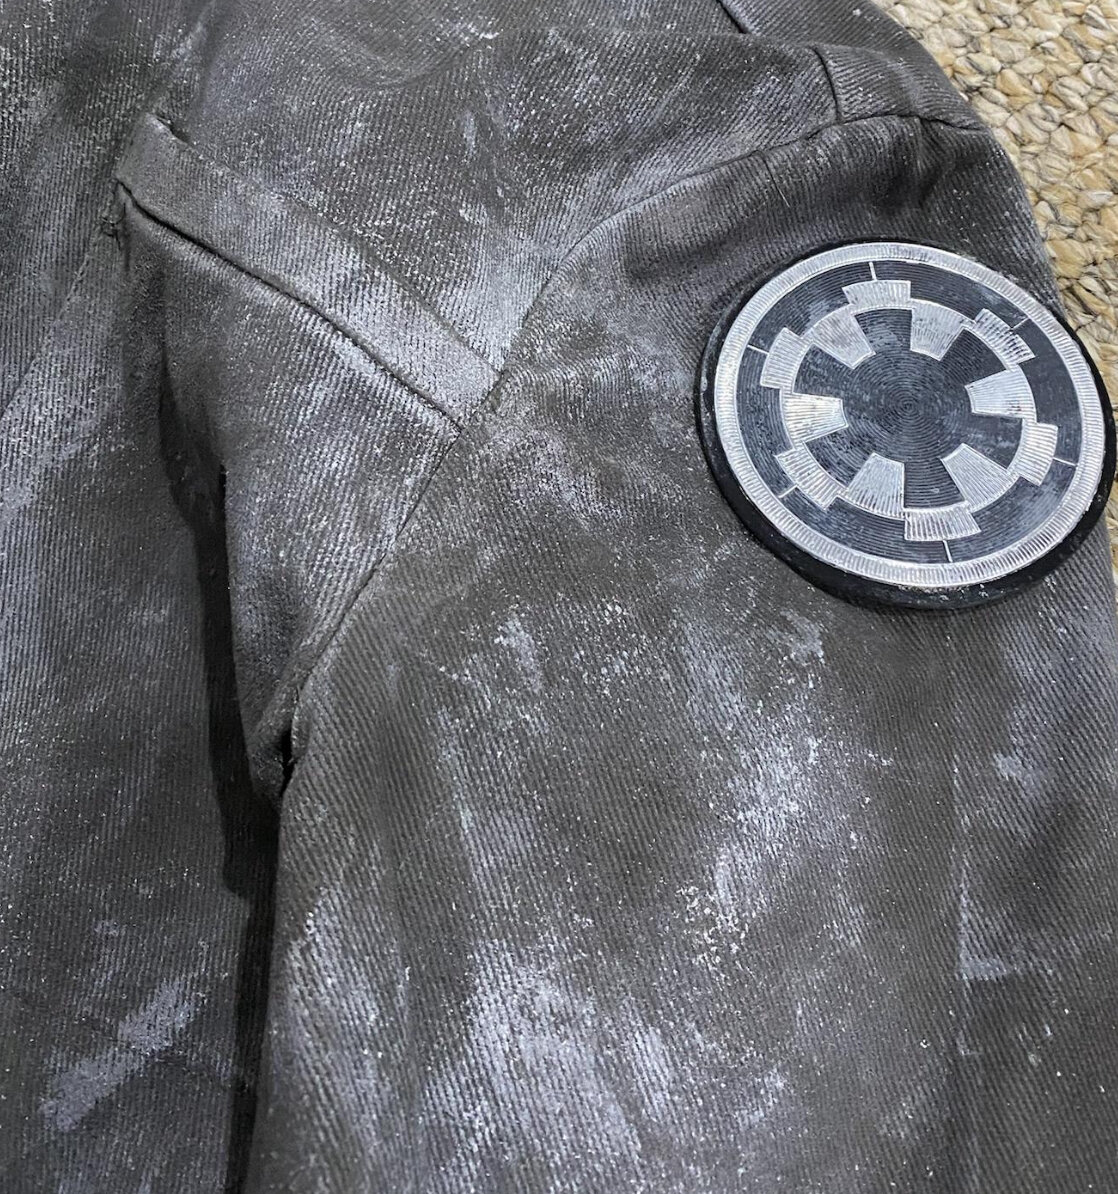
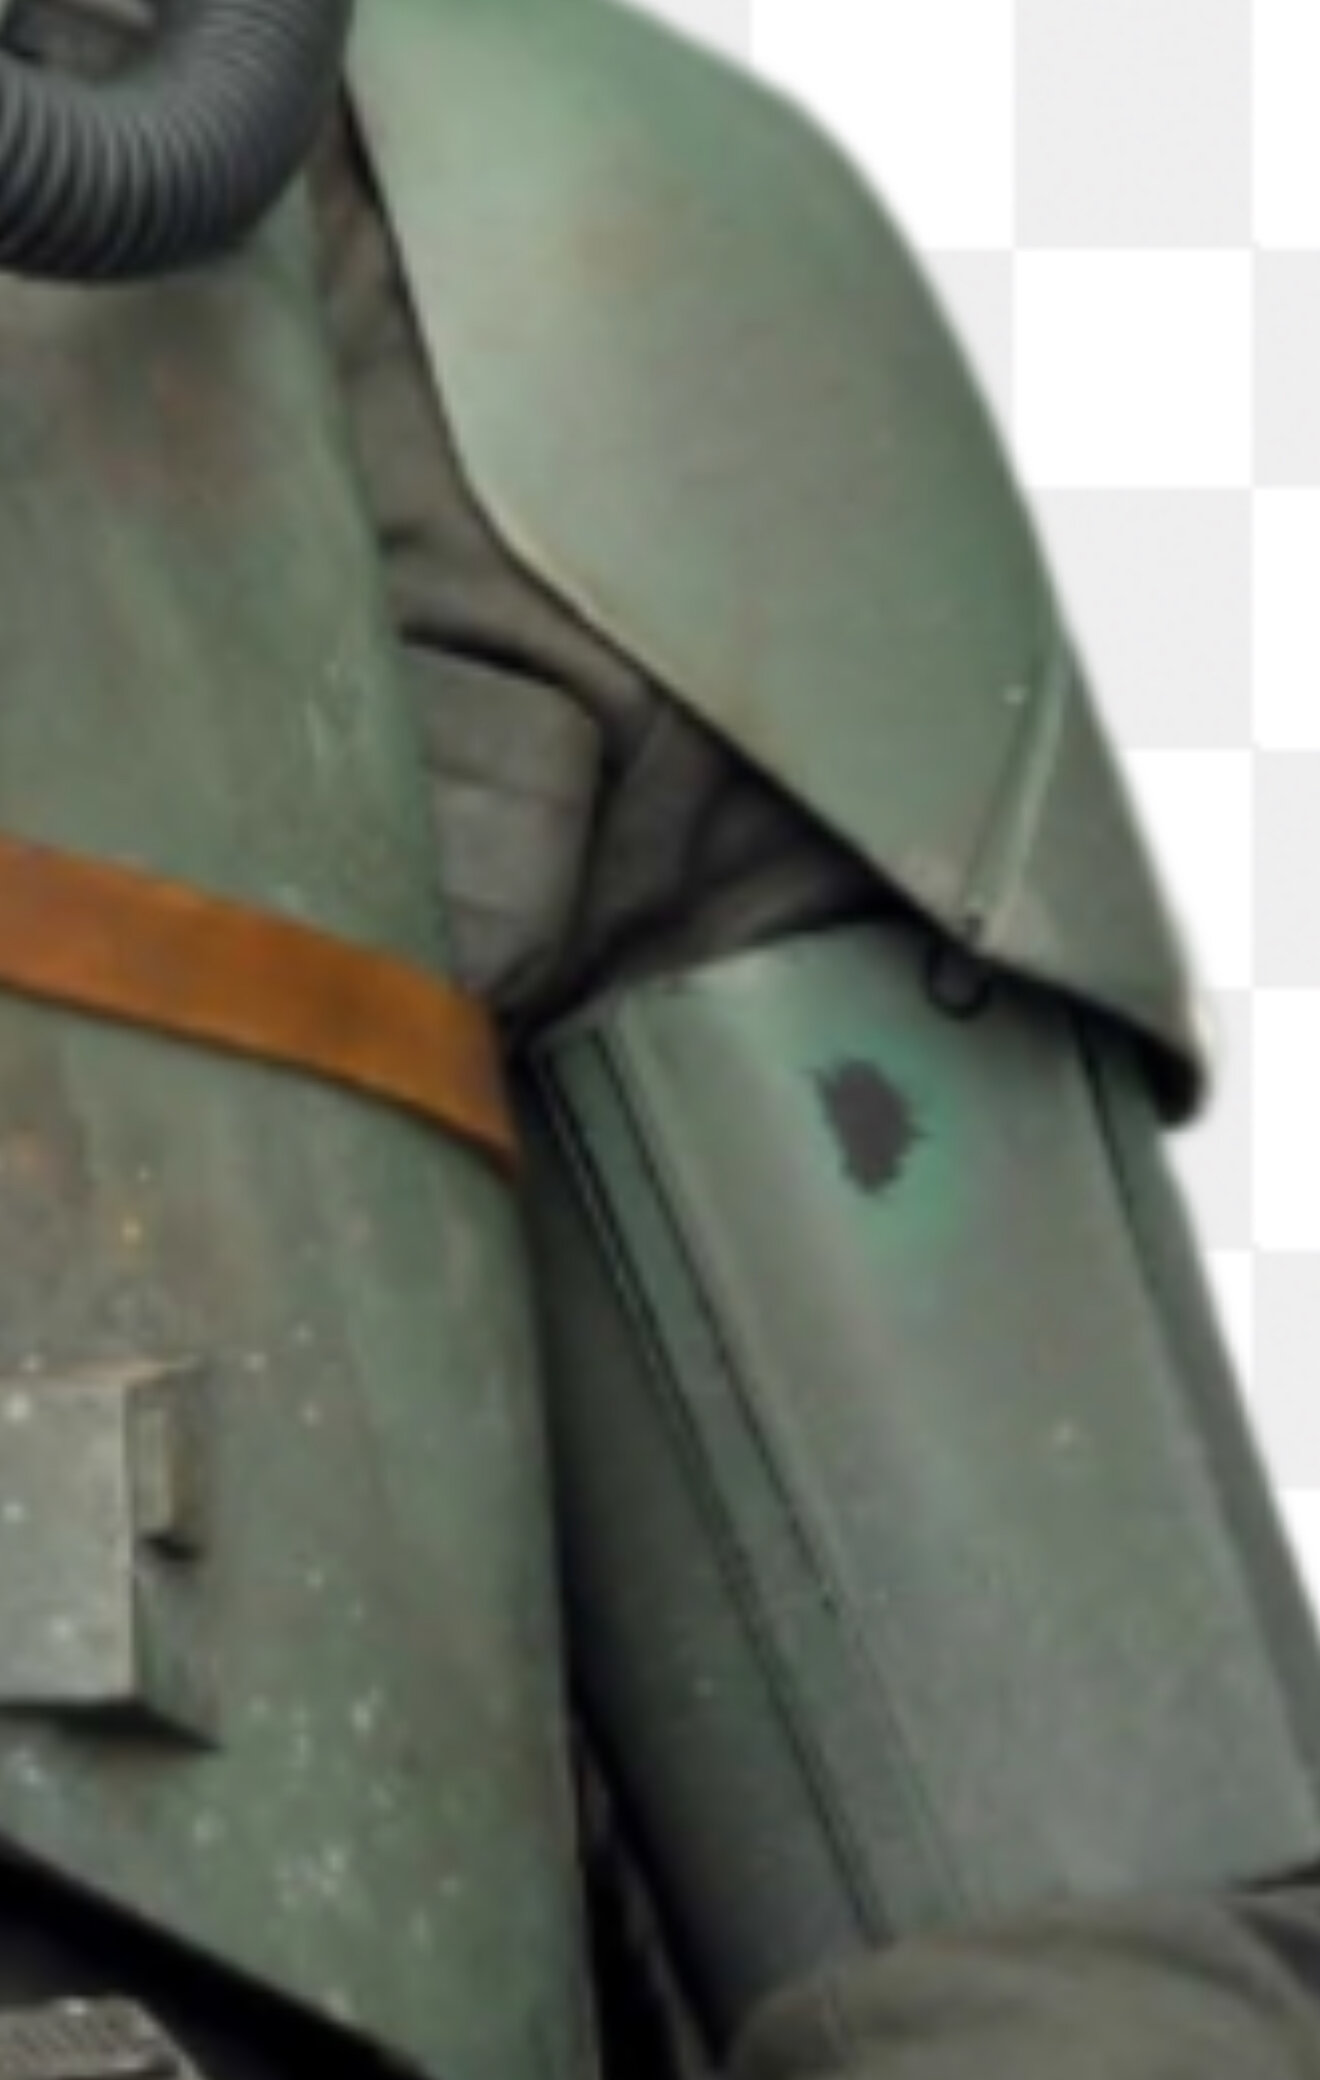
I masked the black undercoat in several areas to create a natural chipping effect. Then I scuffed up the armor using a wire brush and a bit of sandpaper, and added some deeper scratches with a metal file. For the weathering, I made my own Mimban mud using a mix of acrylic grey paint, real sand, and Fuller’s earth. I applied it with different brushes and sponges, mostly using a dabbing technique to build up the texture. Finally, I finished it off with some pastels mixed with water to bring out the finer details and add variation to the grime. Some pics of how it ended up:

-
Hi from Spanish Garrison! one year ago I could activate my account here and I am not sure if there is any steps I need to follow to keep everything running ia there any step to take here for the census? thanks in advance! Blood TX-25518
-
I've had a go with the 433U . What's next? Apply the yellow marks and weather the red bicep Purchase the shin and shoulder straps Glue the mesh onto the respirator Fix the hoses onto the backplate and respirator Finish the belt boxes And anything else i remember to get done.
-

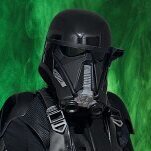
DeathTrooperIAm's Death Trooper Work In Progress
DeathTrooperIAm replied to DeathTrooperIAm's topic in Imperial Death Trooper
Oh I forgot to mention that I just recently bought my DT kit from 850 Armor Works. Now I’m waiting for it. Very excited about that! I’m currently working on finding the soft parts. -
Benvenuto Vic! It will be great to have a new Inferno team in Italy. I was lucky to meet some of your Garrison on a visit in 2022, and I hope to get back again soon. We do have a list of recommended vendors, but if you have questions about any specific parts please feel free to post here. We will do all we can to assist. Buona fortuna!
- 1 reply
-
- 1
-

-
My apologies for my absence from this topic, especially as it is one that I started myself. I haven't had much free time in recent months, but I hope to put together a definitive guide to this in the near future. Many thanks for all the contributions so far!
-
Hello there! I'm Vic and I started my first project for the 501st legion. Since I have always been in love with the Del Meeko costume, I decided to make his costume, and with my fellow friends who are building the Iden Versio and Gideon Hask costumes, our experience will be awesome for sure! I hope to reach my goal with your help and opinions! I already have the flightsuit (with patches) and the armor kit from HerotecX, I will post some photos as soon as i can. In the meanwhile I'm looking for the other pieces I need, and I quickly ask you if you know some vendors (possibly Europe based) who sells what I need. Actually I'm in contact with A&J Projects and Jimmiroquai and I'm doing some evaluations with my partners (we are trying to make combined shipping with their pieces too), but we are open to any kind of help you can suggest! Thank you!
- 1 reply
-
- 1
-
-
Night Death Trooper - CRL Discussion
PiotrRasputin replied to IcyTrooper's topic in Night Death Trooper
With the recent move to the new CRL site, and a few CRL's being dropped this week, just wanted to see if there was any more progress on this. Especially since the Black Series figure has been released. -
You can't beat those long winded build projects 😉
-
 Valafar changed their profile photo
 -
I feel this, I have had a nova as a WIP for over a year!
-
 Mars-Trooper joined the community
 -
Valafar joined the community
-
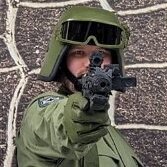
Well, now that the Shadow Scout is done, it is time to work on the Shadow Trooper, again. It has only been 17 months since I started on this build, so I figure I'm half way there. LOL...
-
I attached mine the same way I did the Biker Scout TD with leftover clips. Only difference is I did not loop the zip tie through the TD cap like on scout, and it's zipped into a zip tie anchor that's glued into the inside of the cap.
-
 Honestly I don't remember. I'm currently at my university, but I'll check when I'm home in 2 weeks!
 -
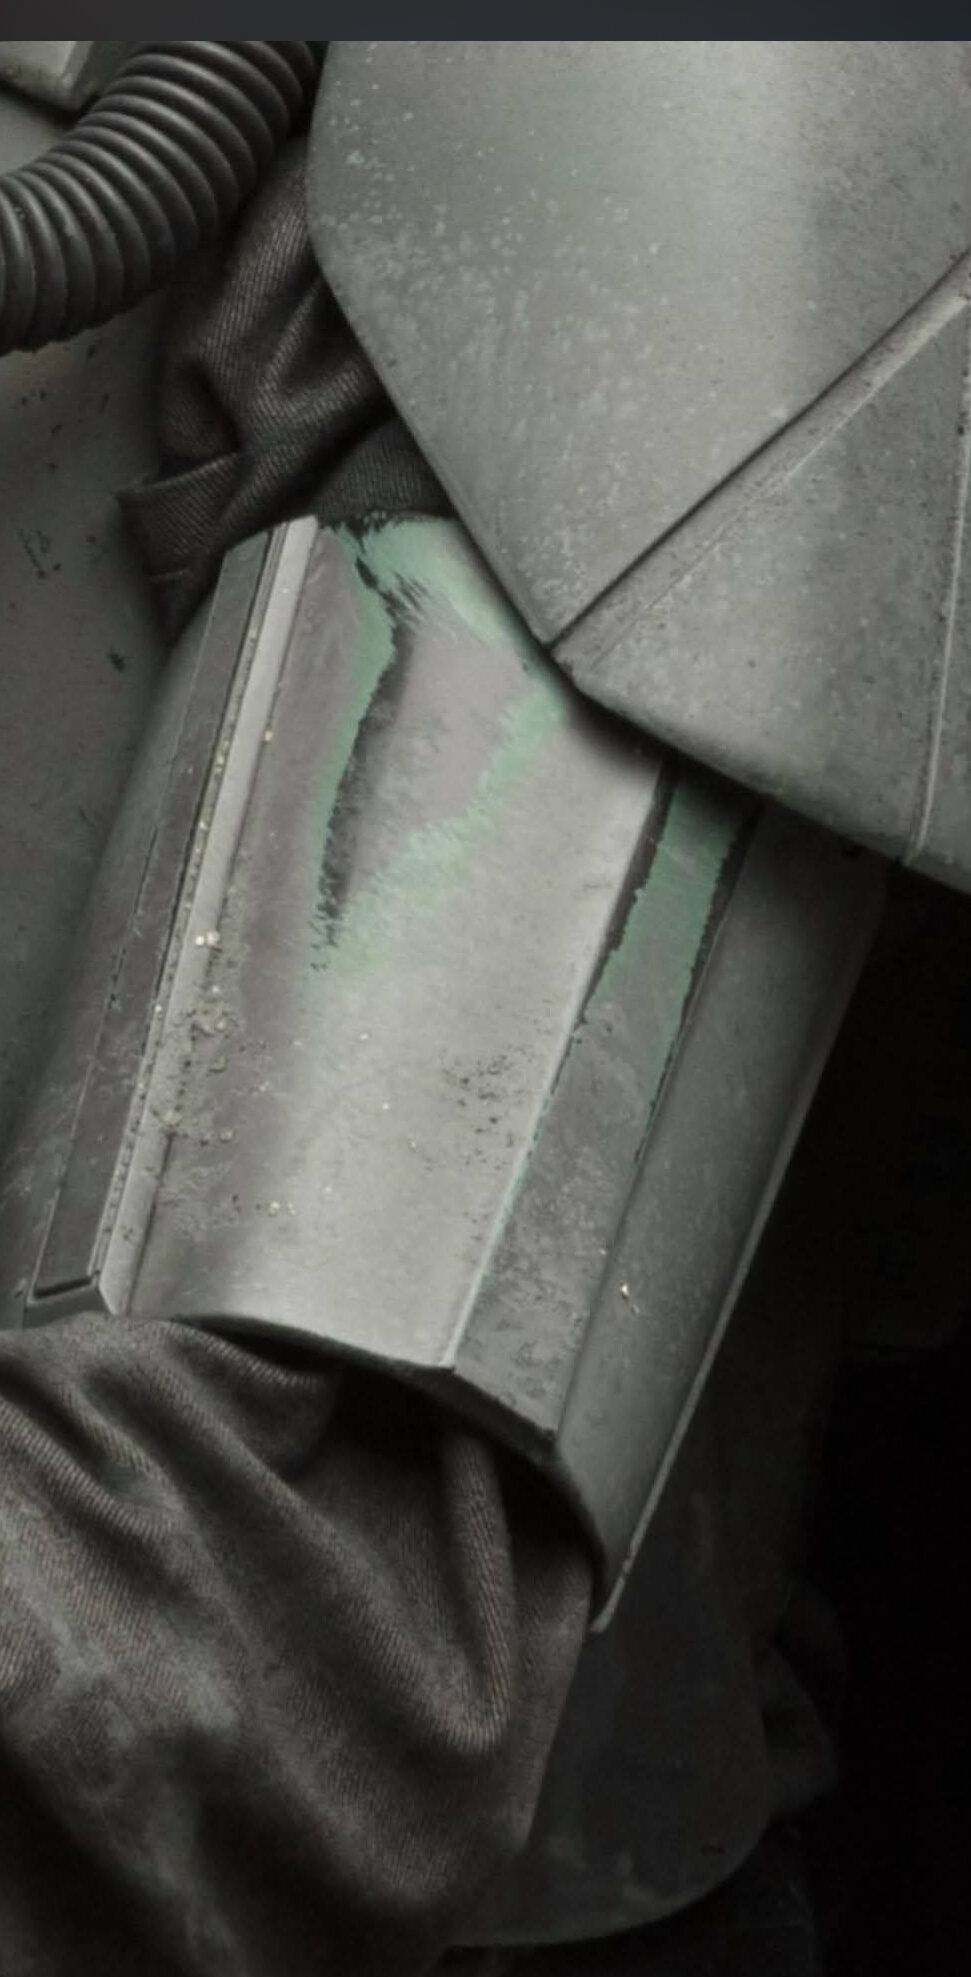
Inconsistency and overspray will be your friend. It’s not a uniform layer. Here are some screen used pieces:
-

ISB Tactical Agent - CRL Discussion
kwdesigns replied to IcyTrooper's topic in Imperial Security Bureau
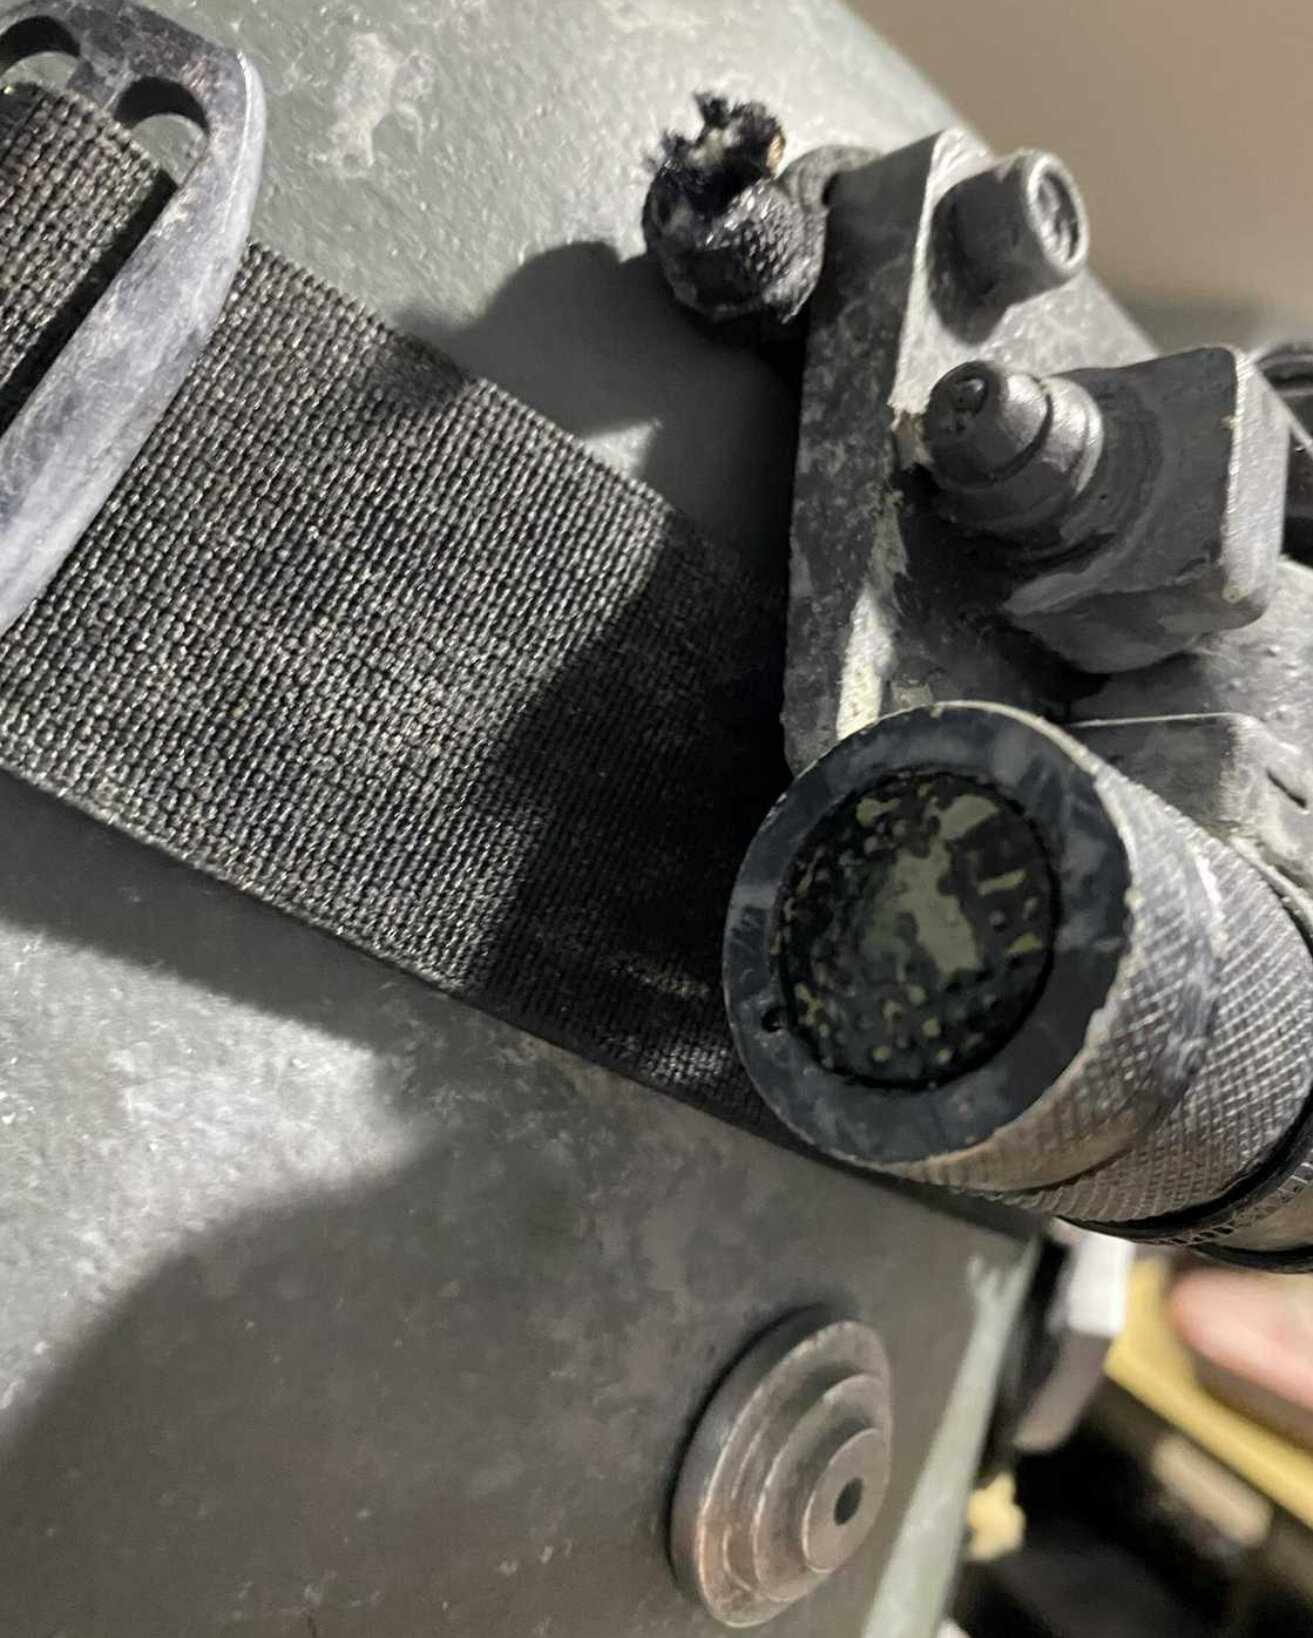
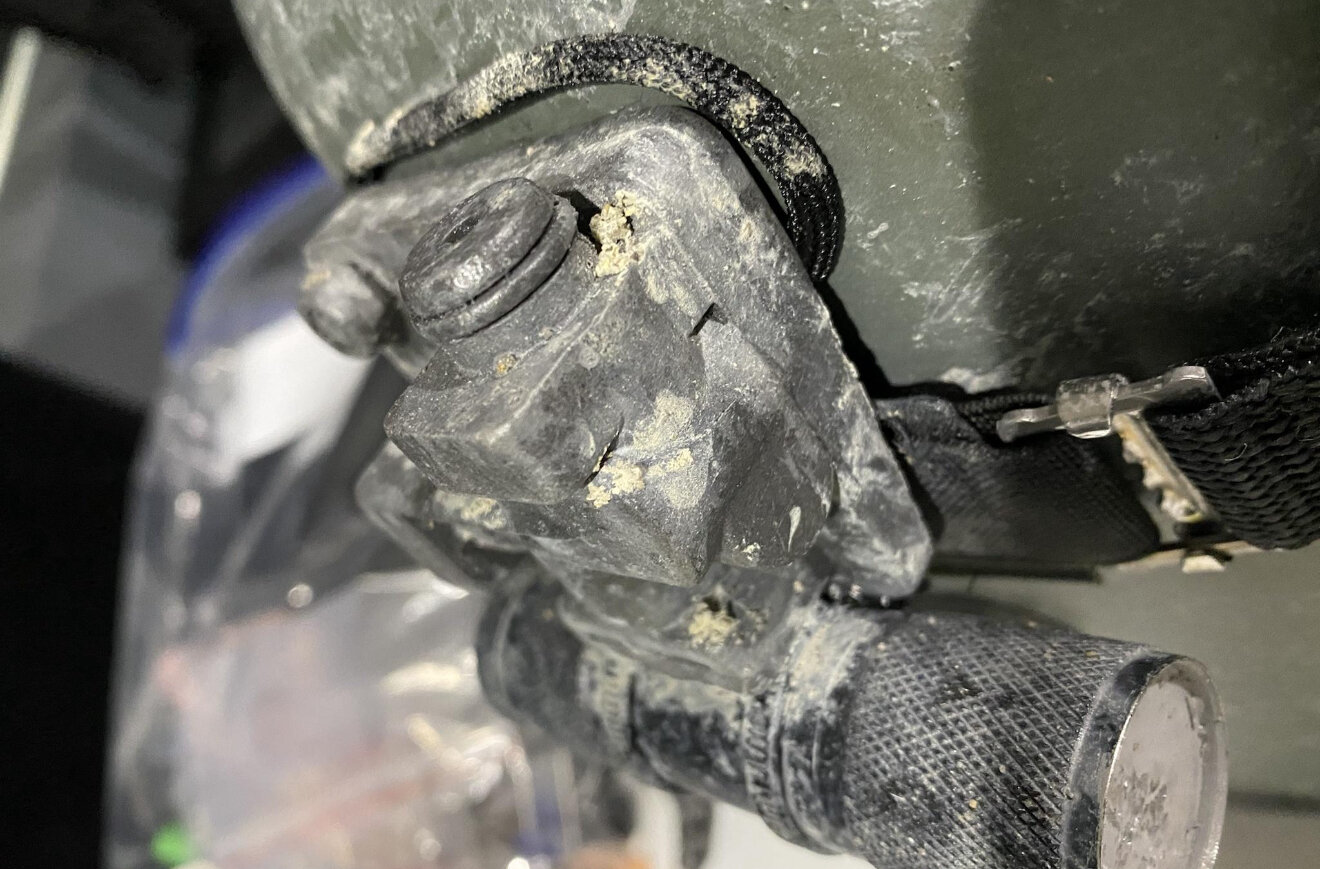
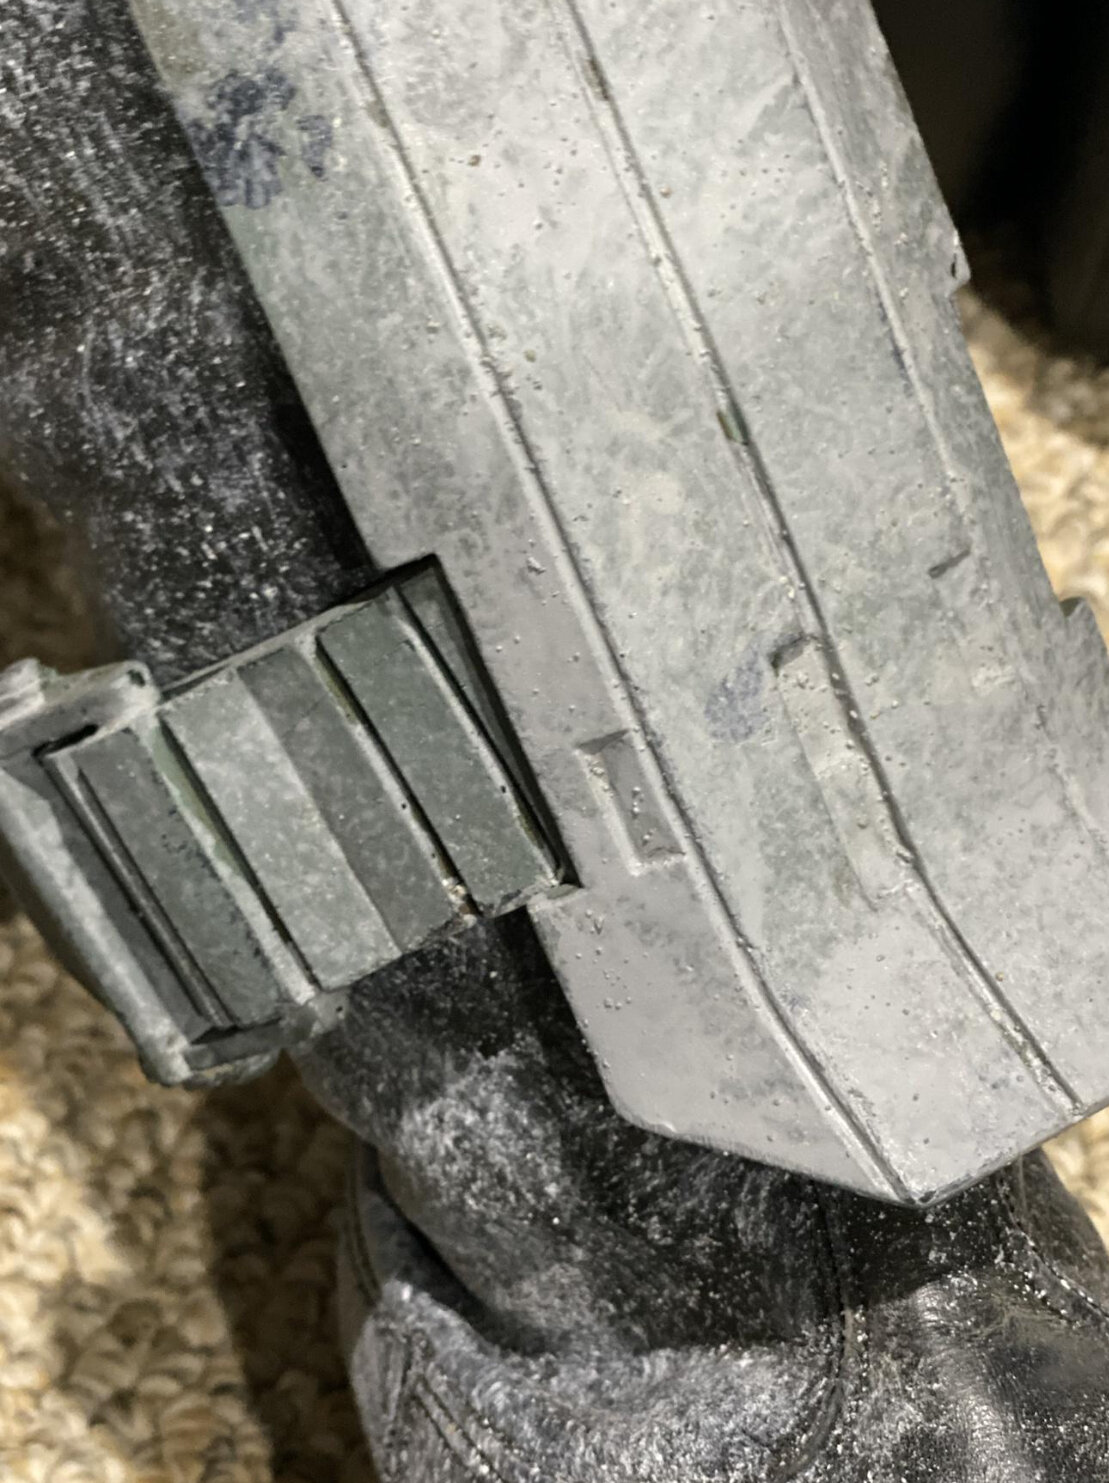
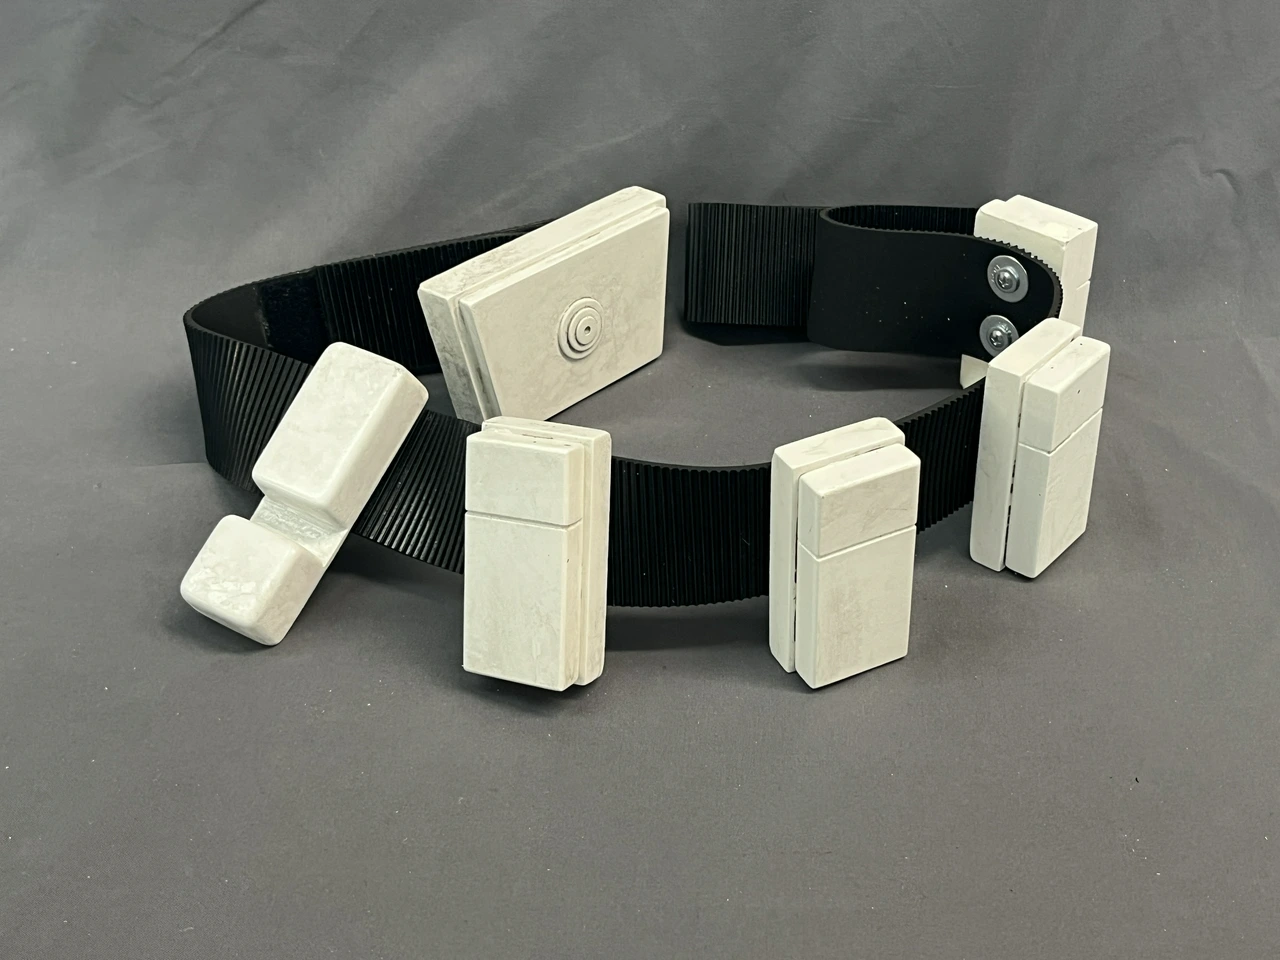
Black Flexible Lower Belt. Rubber belt has vertical sharp peeked ribbed design. Four cast square shaped stepped blocks with upper groove in each are evenly spaced and affixed with screws. On the Right side only has a different rectangle box and a lower square box , both with smooth rounded edges. Screws and washed are used to affix the cast boxes to the black ribbed rubber belt. A Large Rear trapezoid block with two levels, sharp edges and a circular three layered disc on center, is where the rubber belt is adjusted to fit.
-
ISB Tactical Agent - CRL Discussion
kwdesigns replied to IcyTrooper's topic in Imperial Security Bureau
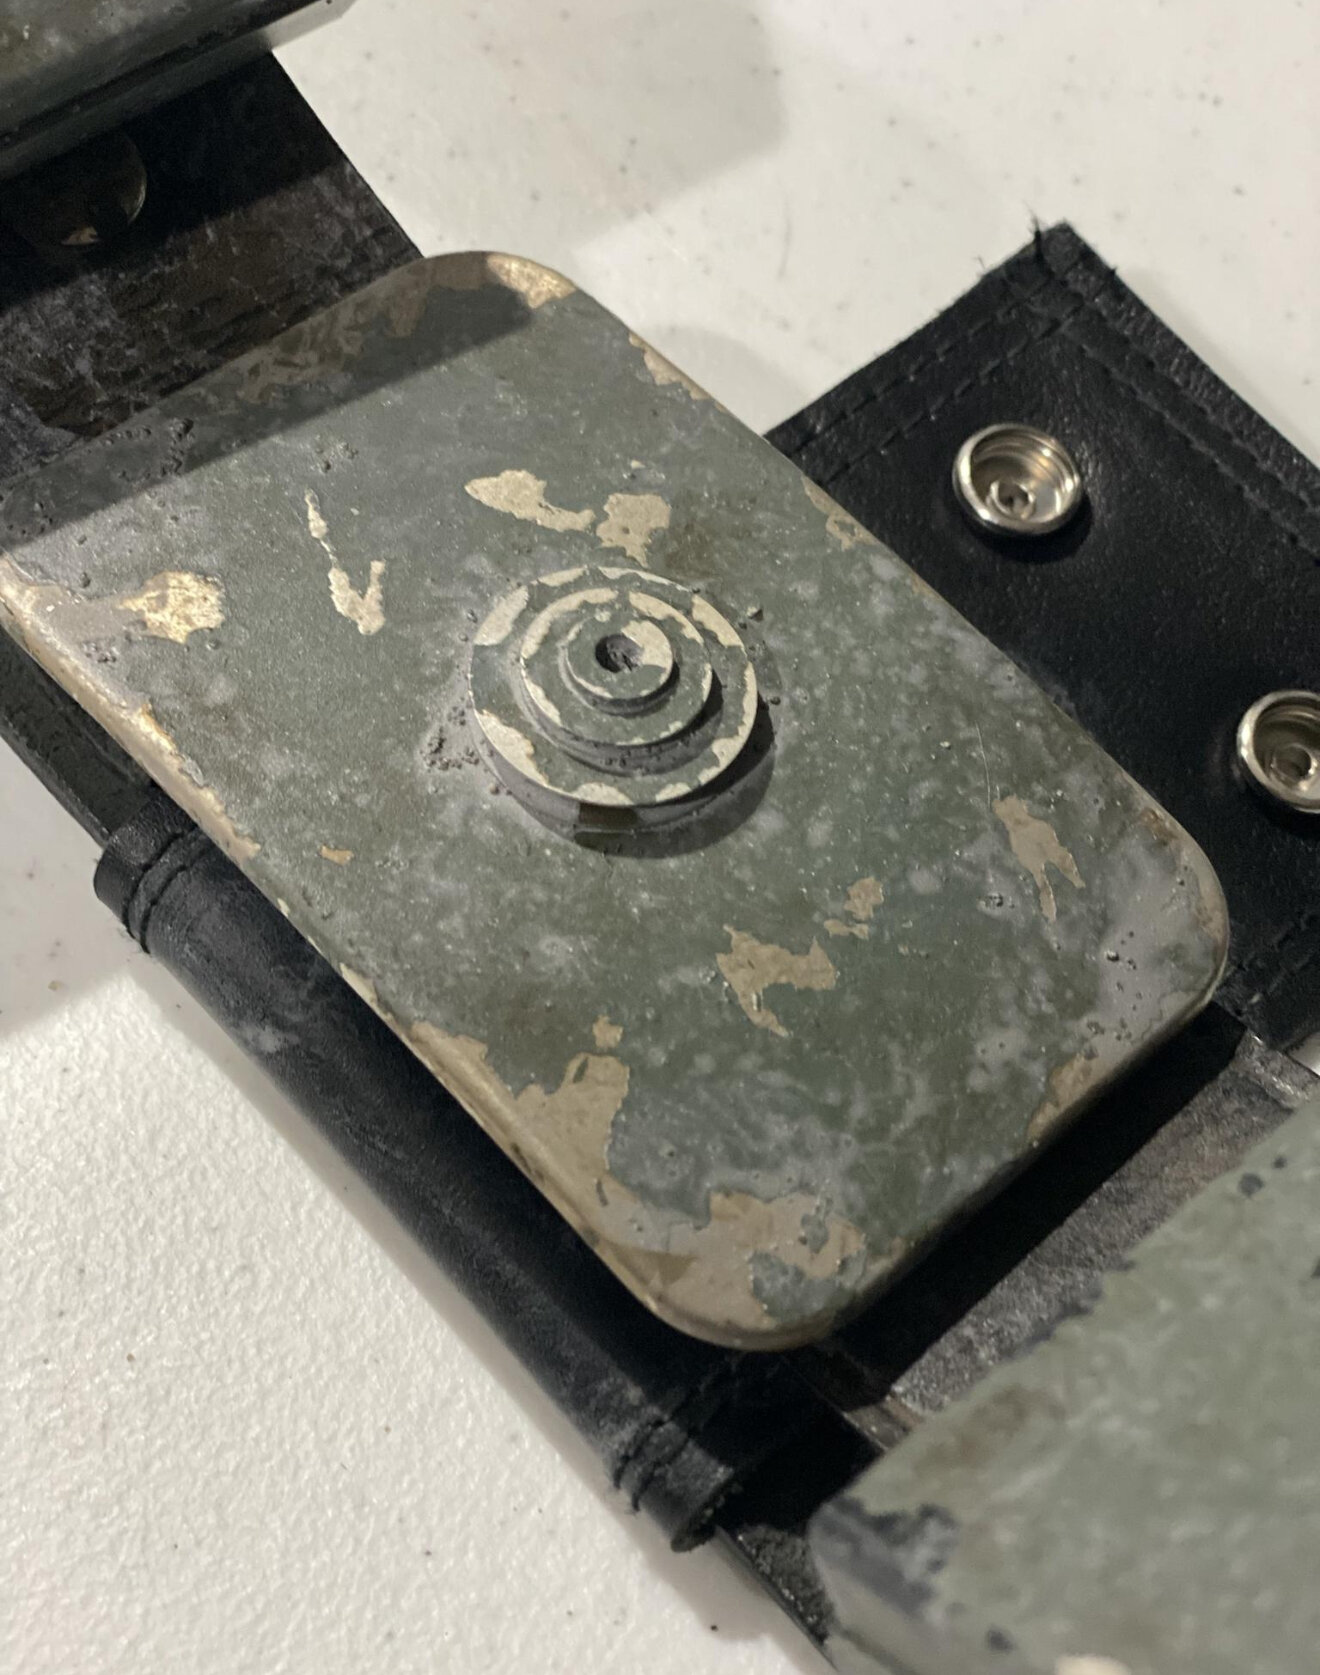
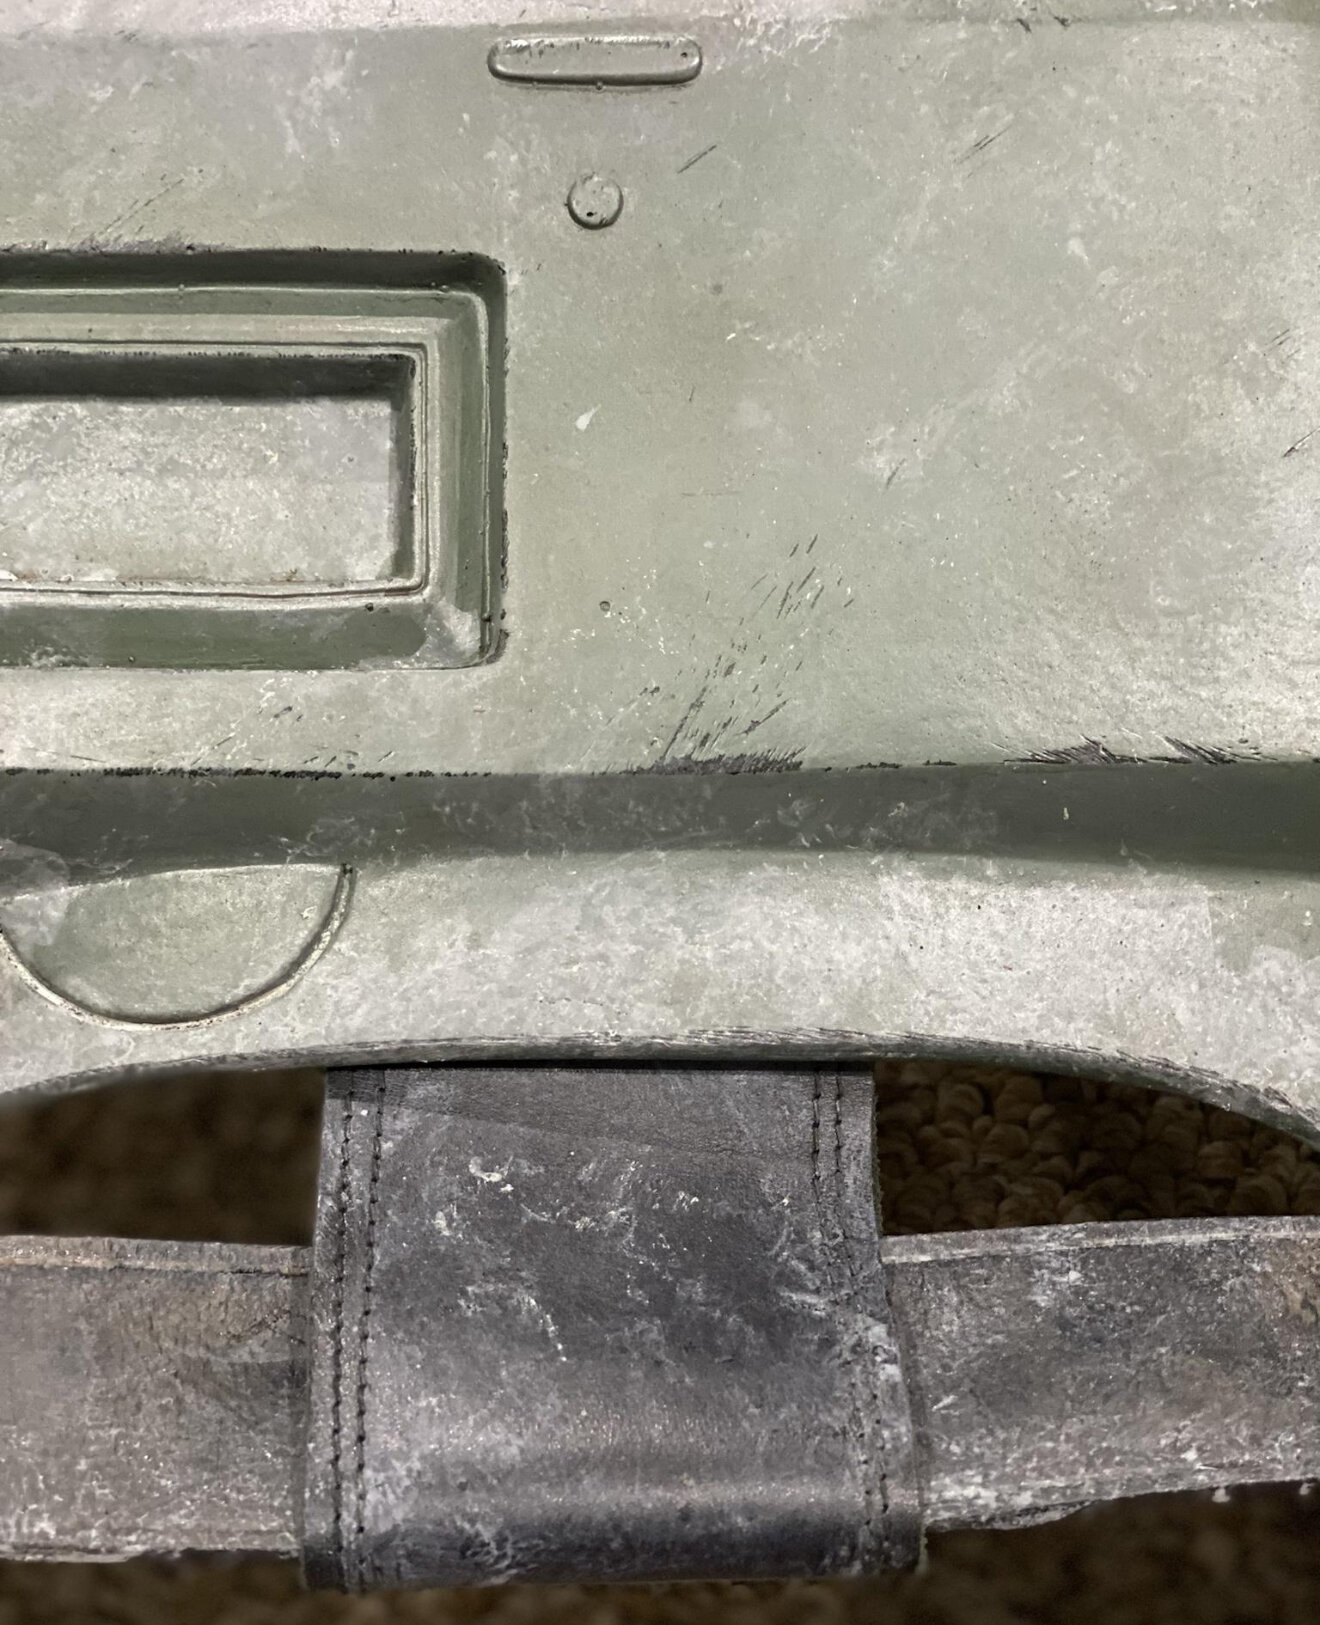
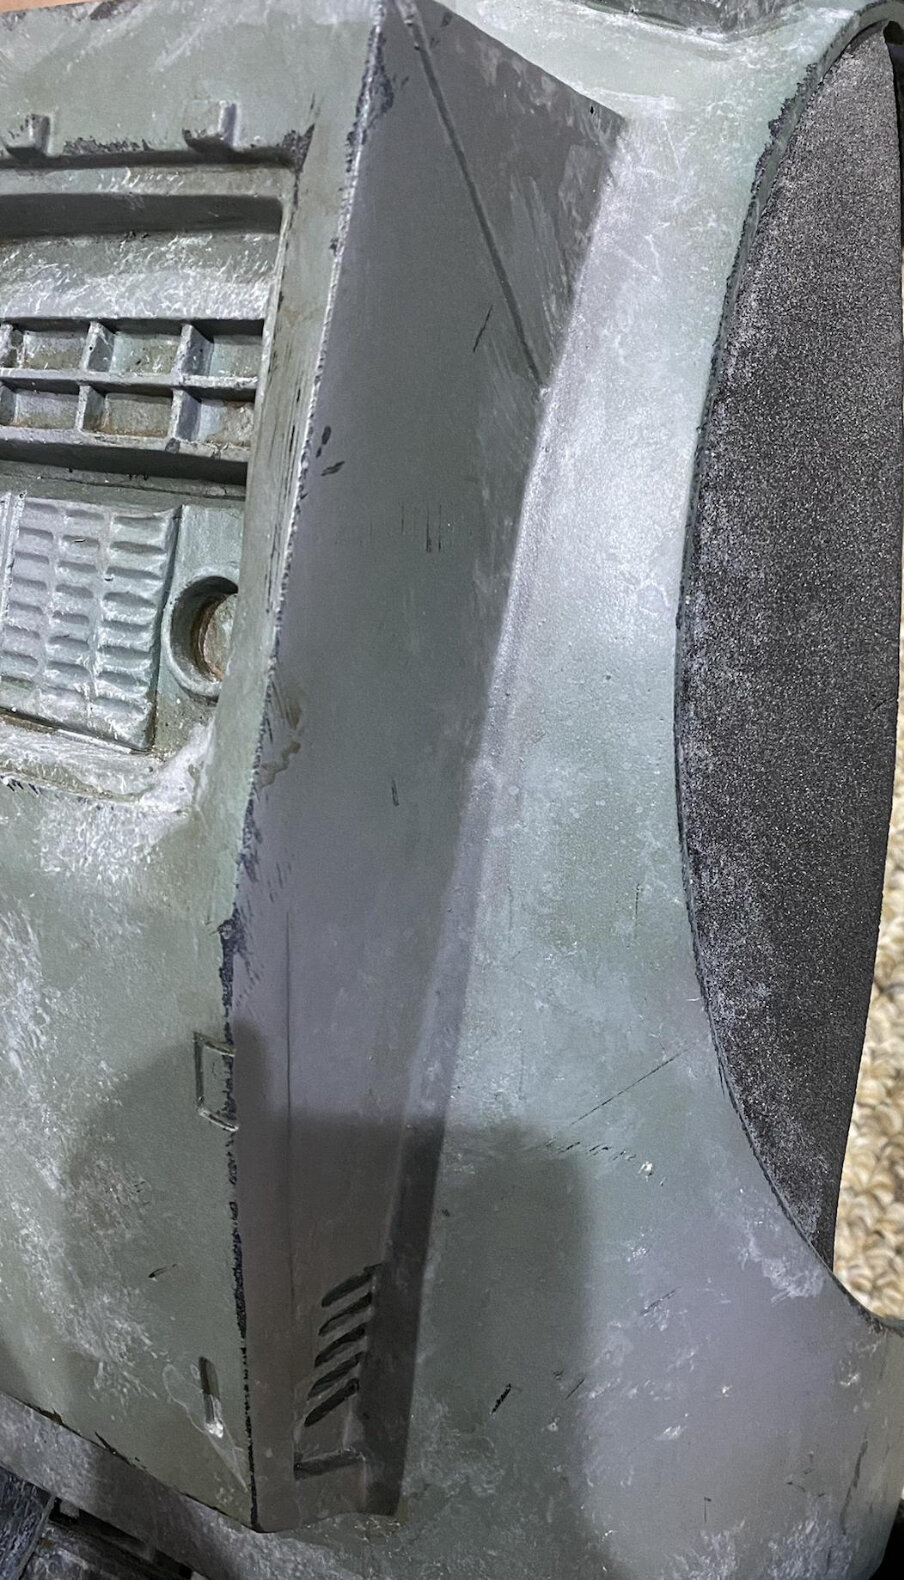
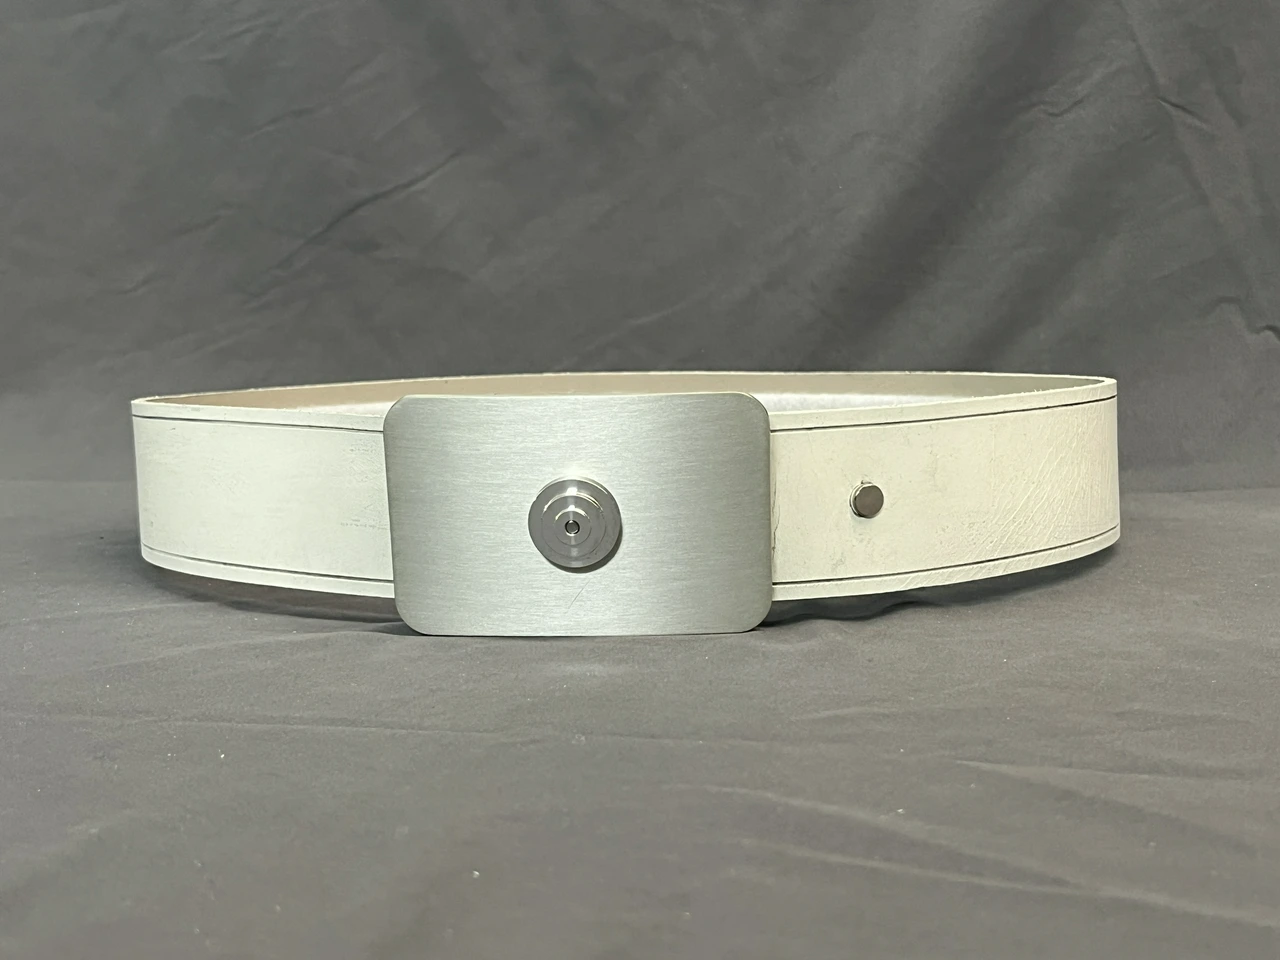
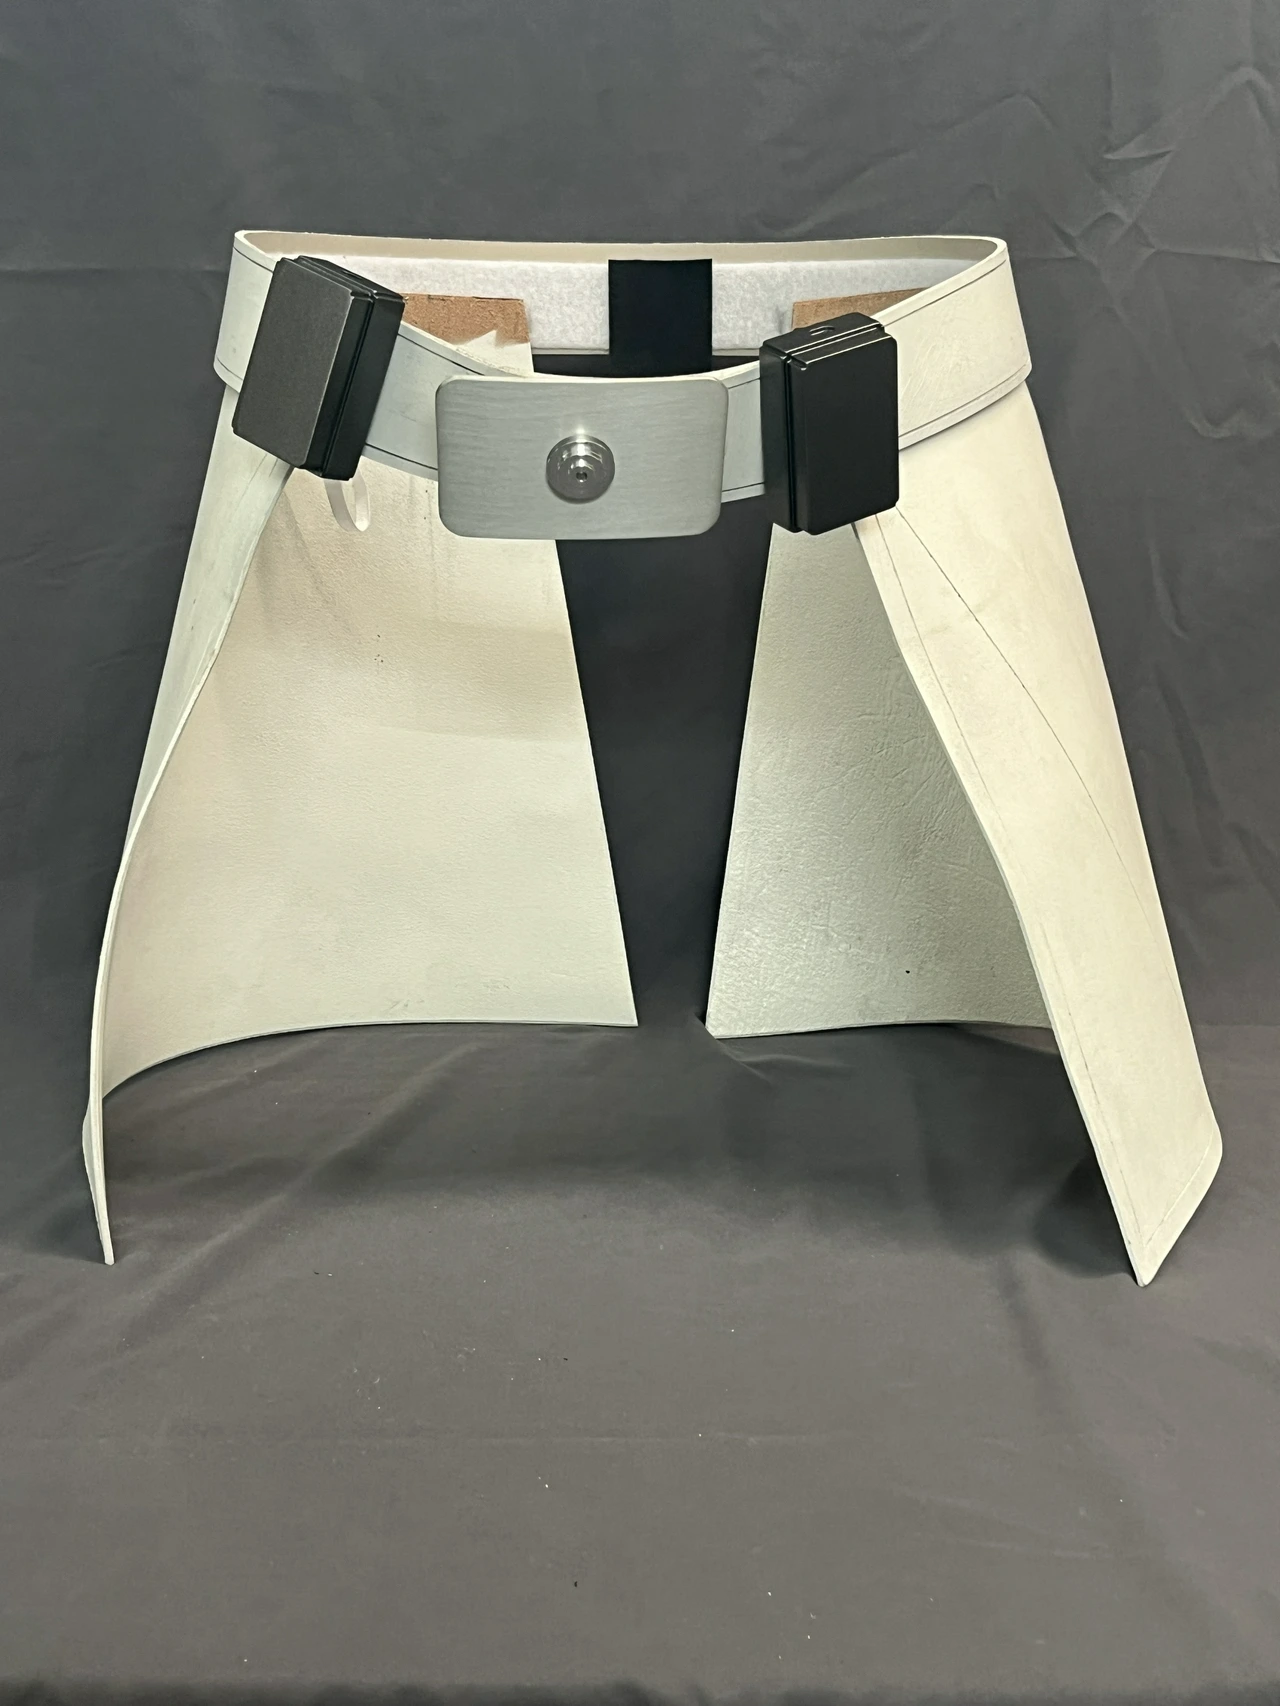
Yes the upper belt does have the side button. I would clarify that there is a groove at the top and bottom full length of the white leather belt. Both the top and bottom edge and face side is white with some light weathering. The officer belt boxes are cast not metal with a recessed pill shape at the top. They are painted gunmetal gray matching the chest buckles also painted gunmetal gray., also, they left and right leather skirts are fixed to the inside of the upper white belt with Velcro. A “V notch” groove borders, the edges. Also a “V notch” groove creates the triangular shape on front and back lower corners. The top of the triangle meets the bottom of the upper white belt. A center side overlay creates a more tapered shape and the seam is visible on the upper half on each side. The over lay folds towards the back, creating a difference between left or right side skirts.
-
I got some stuff off Amazon pre sticky
-

JuiceBox's (APPROVED!) Security Trooper Build
John replied to TonyJuiceBox's topic in Imperial Security Trooper - Andor
What color / paint did you use on the boxes? -
JuiceBox's (APPROVED!) Security Trooper Build
John replied to TonyJuiceBox's topic in Imperial Security Trooper - Andor
What paint /color did you use on the boxes ? My first attempt my boxes had to be repainted . GML said they look “ just grey” . I could not determine exactly what “ gun metal “ looks like . -
I am in the exact same stage of the build . 850 armor works I assume ? Was you goggle greeblies accurate ? My back buckle was not , only 1 inch


-
Upcoming Events
No upcoming events found -
Member Statistics