
furiosa
-
Posts
476 -
Joined
-
Last visited
-
Days Won
19
Content Type
Profiles
Forums
Events
Posts posted by furiosa
-
-
Looks good already. Just make sure your flight suit isnt too baggy, you may have to adjust it a little bit.
-
 2
2
-
-
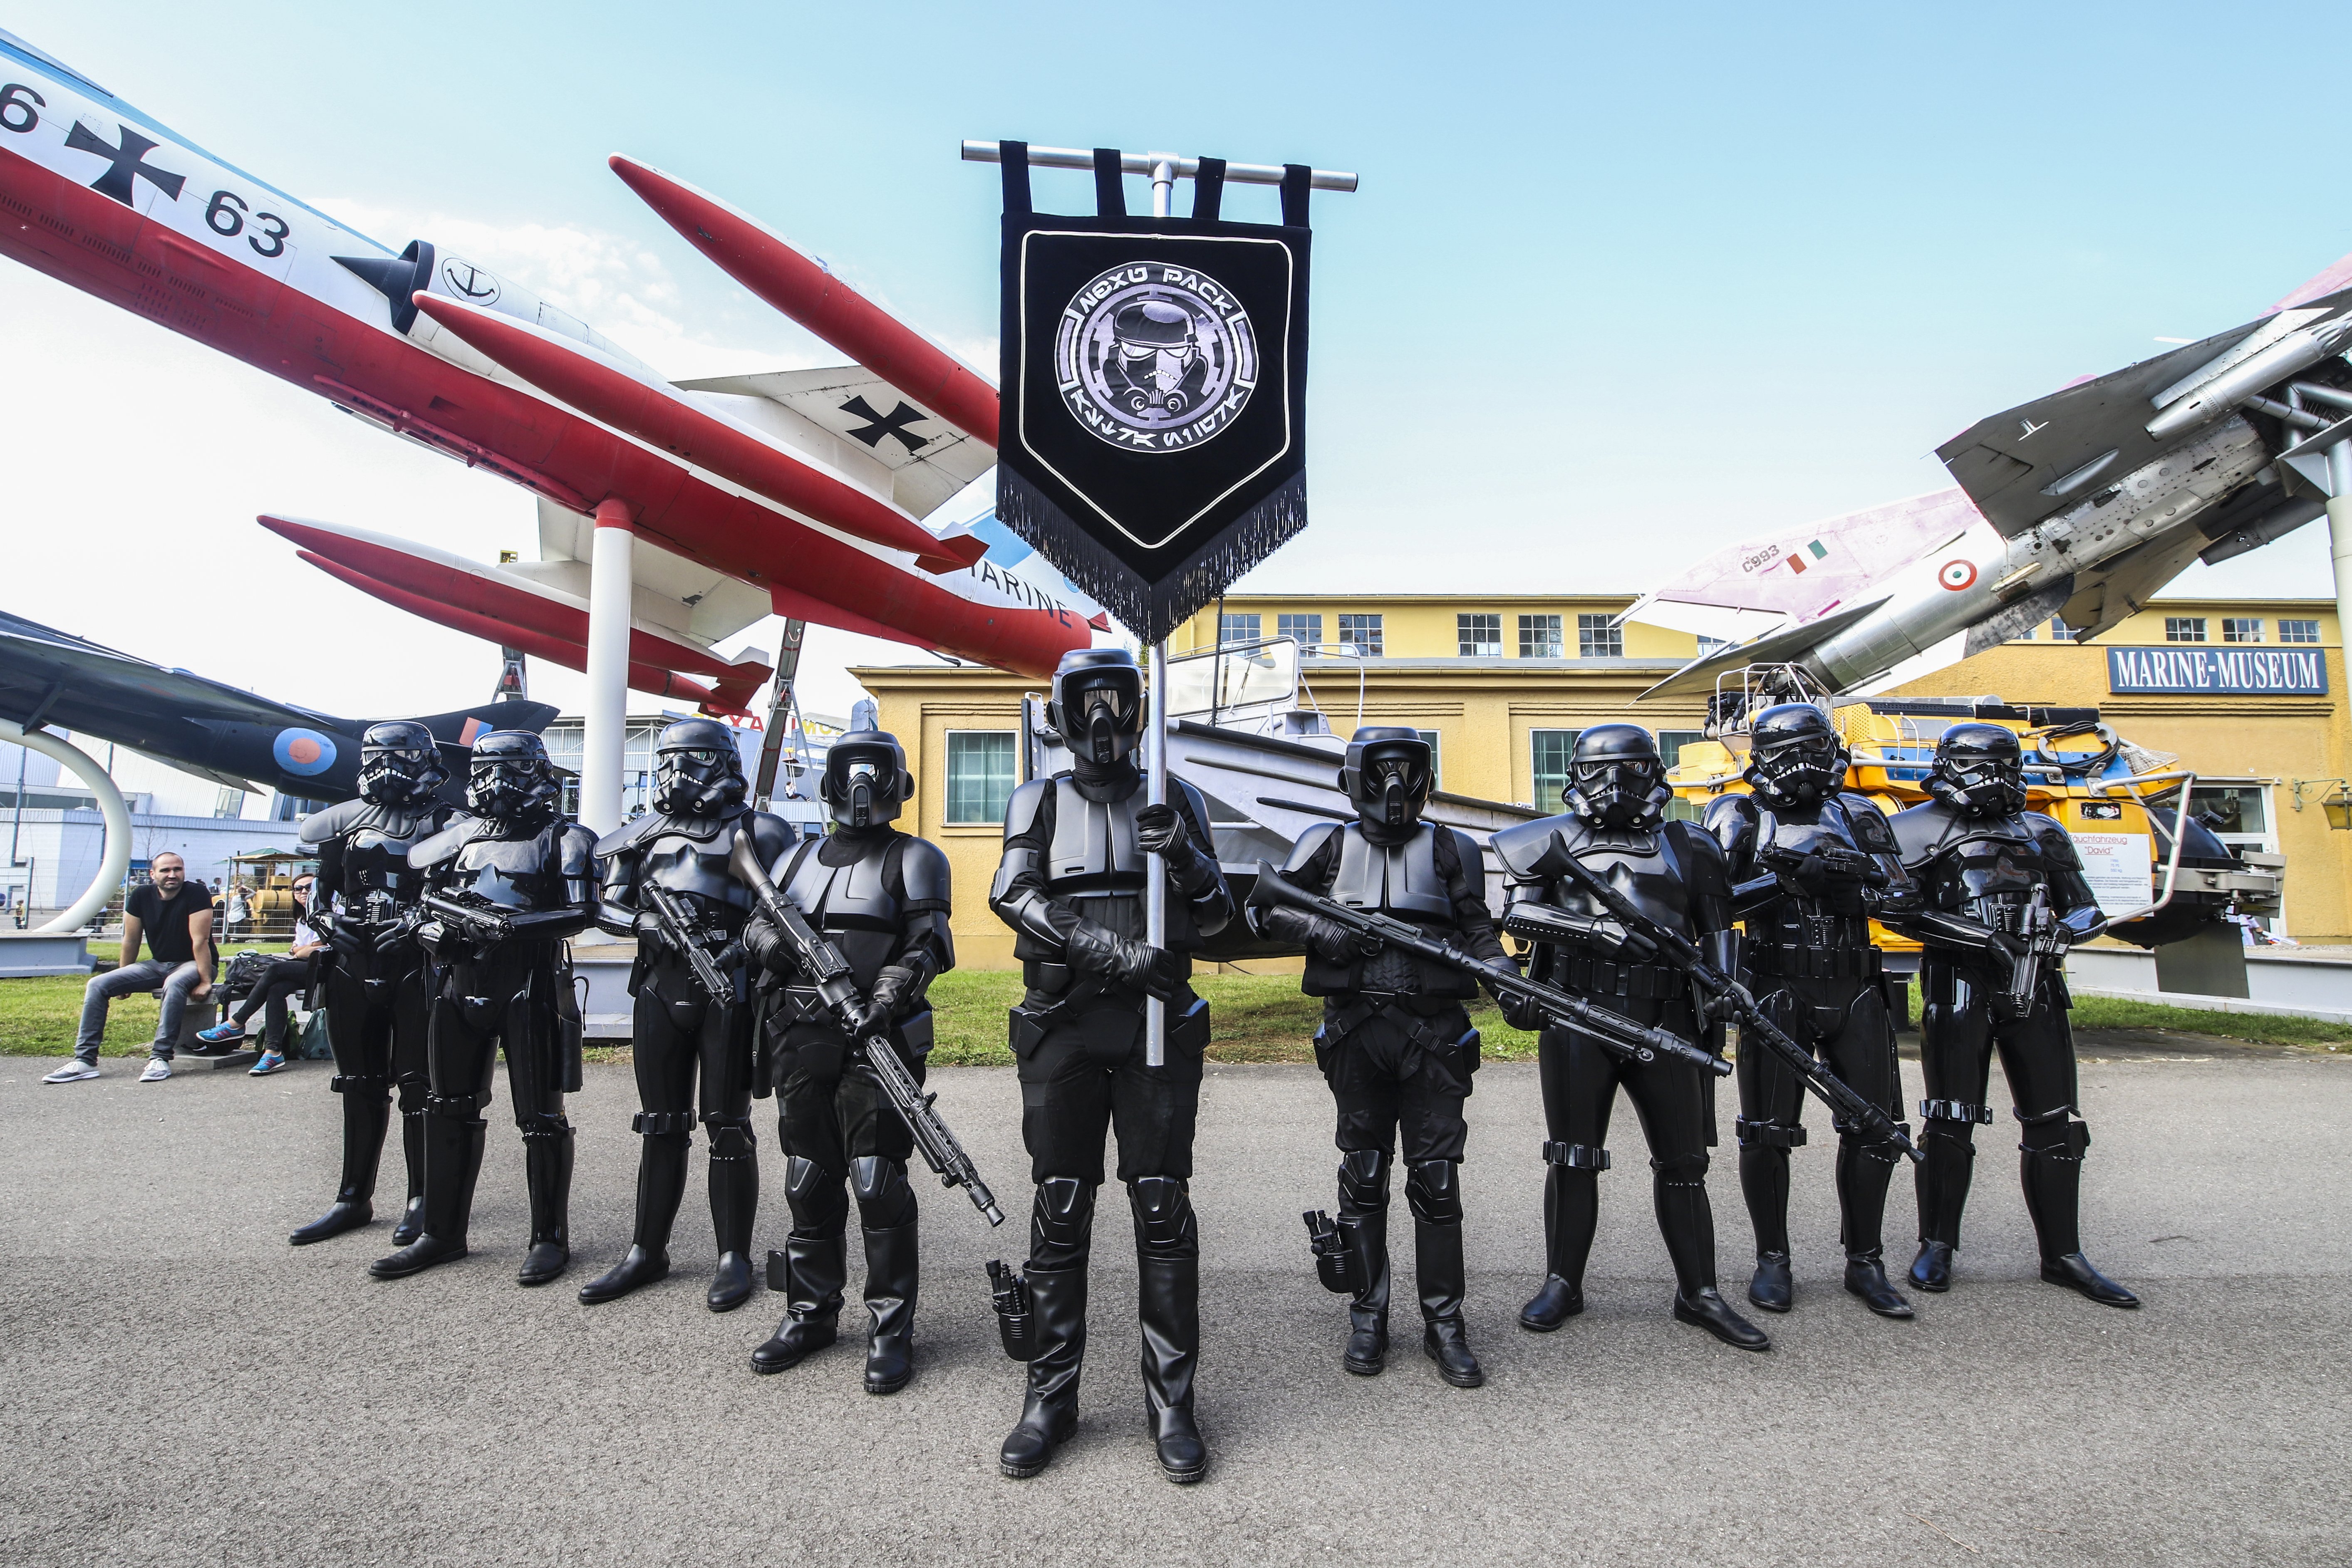
from what my guy (a shoretrooper and armor-builder can say)
- shins are both sides the right sided of the shore trooper
- biceps armor from shore trooper
- not visible on the last pics postet, but behind the hoses of the helmet there are also buckles and straps used for the shore trooper as well, same with the collar.
- belt boxes are also from the shore trooper

-
Nice work so for. Looks realy good
-
My Bucket
This is the inside of the face plate with the mic set up and it works great.
Are you heading for a 501st approval??
-
The goal is close. Keep on Track
-
Hi guys.
Need some help about some hard parts. Bought this studio creations from a guy here in Denmark.
I know that there's a lot of work for me, but I'm not sure what to do and where to begin. I know this, that the weird "picatini rails" and weird box on back needs to go.
Do I need a new visor for the helmet? Can I fill the holes in the parts with abs paste?
What about the color? Should I spray paint it gloss or matte?
Thanks in advance
TK 84013
Sendt fra min SM-G930F med Tapatalk
Well there is quiet some work to do, to get it approved.
Helmet:
1. the Helmet as a back joint, which is not correct.
2. Also the Visor and the Visor needs a rework
3. the edgebinding at the opening needs to be removed
4. als the switch on the side needs to be removed
5. the cable-binder on the center back bottom needs to be removed
6, check on the details and decals ...they need an update
Knees:
1. the holes in the lower center front needs to be removed
2. the holes at the sides below the slits are on the wrong position, the need to be above the slits
Under arm:
1. looks ok, even If the shape is not up to date
Uper arm:
I´m missing those
Shoulder bells:
I´m missing those also
Holster:
why do you have 2 holsters?!
Chest and Back Armor:
I´m sorry to tell you but the need to be replaced fully! I don´t know what they are from but they are not from a shadow scout
Belt:
the plastic needs to be one piece, any additional rivets need to be invisible/removed
THermal detonator:
fully missing
May I asked what you payed for that armor?! There is far to much to do on this armor for a 501st approval as a scout. May be you should think about selling this armor and get one iwhich is more accurate and less work.
-
Hi Guys,
as I told Brien in the PM we are well aware there ar differences in the CRL´s for the Shadow Scout compared to the Biker Scout.
And yes we are already working on an update for several Costume CRL´s, also for the Shadow Scout. I´m sorry but currently it´s not possible for me to tell you when they gonna go online. In the meanwhile the current CRL´s are valid.
Please be aware the Shadow Scout and the Biker Scout are 2 different costumes. One is from the OT and the other is from a Comic out of the extended Universe. So there can be differences in the CRL´s possible, even after an CRL-update. Also since we are 2 different Detachments in charge of the CRL´s
-
2
-
-
You can basicly go also with the regular Biker Scout flight suit since both are the same as well as the requirements.
-
I'm not experienced with buying finished flight suit. But there are not many good offers out there.
The modifications on the flight suit can be made easy by your selfe.
1. A suitable suit from dickies or redhawk must have a covered main zipper.
2. Additional pokets and zippers need to be removed
3. the collar has to be modified to a standing collar with a flap in the center Front
Fulfilling Level 2 your suit hast to have also the mud Flaps between the legs as well as the back flap made from black suede leather. Also you have to have the 50mm elastics around the thigh's.
-
Ive already started talking to Altmann about a full set of hard parts + helmet most of which is ready to go out of the box besides strapping and a few other things.
After I get the money to place the order it will be about a 9 to 10 week turn around.
In the meantime Ill try to get all the soft parts together along with maybe a blaster or two so i can have the whole thing ready to go once the hard parts show up.
Does anyone know where to obtain or how to make a jump suit that has level two certification? I can find black flight suits easy on amazon but will probably need some pointers.
/hyped/
What would you like to know exactly about the flight suit?!
-
Oh goodness Antje I became a GML, accepted a position as a Pathfinder Armourer, worked on finishing my sons magma scout, and finishing the parts I got from Constantin for my Biker Scout level 2 submission. I've been sewing all new strapping for my shadow when I've had a moment to breathe. Don't worry I plan on finishing this and submitting for Specialist before the year is out.
sounds like you are pretty busy ...congrats for your effort and success bro.
-
1
-
-
page 13
We remember
... at the mask we had to mold the chin area at the beginning, so that the
Cheeks will fit with your dome. Since the chin area is deformed by our
we do not get a reasonable conclusion or a straight surface, we must
rework. I did this with fiberglass. I have cut a glass fiber mat,
Glued in place and hardened after curing and the deformed, superfluous primary material on the
Chin area of ​​the mask removed ... also this can be done best with the Dremel ... and to good
Finally plan the surface using a circular grinder (or a grinding block). After that the
Chin area spatted and sanded. This creates a new chin area and you can see from the
Deformation nothing more
Page 14
Then it looks like this
-
1
-
-
this is the translation from page 5
Now comes the difficult part ... the visor and the mask
,
The mask must be heated at the bottom of the chin area, otherwise the jaws do not match the dome at the bottom ... because the mask is deeply drawn, the mask is too wide at the bottom of the jaws.
Do not worry ... slowly and carefully warm up with the hot air dryer and put down on the cheeks together
to press. After the desired result with cold water 'quench' ... thus the plastic can not
More in its previous form and remains in the position in which we want to have it.
page 6
Then you have to adjust the visor to the mask.
Fix the visor parts to the mask with clips and allow them to overlap at the top, and after approx
Mark the accuracy of the fit with a pen.
On the sides the line on the mask must be drawn so that it forms a line with the visor
As soon as the desired result is obtained, the sight pieces are trimmed and, after approaching the optimum pass accuracy, glued with one (here I used gaffer tape) the adhesive tape roughly to fit the visor with the mask to the cathedral
-
1
-
-
Ok, back again after another long time. I've secured some portions of the helmet but I'm having trouble trying to align properly the aides of the helmet. Please help!
https://www.flickr.c...5232@N04/vJKthB
https://www.flickr.c...5232@N04/x0k709
looks like the visor is too much under tension ...try to solve it gently with the hot air blower ...the helmet maker lone wolf is making a cut at the chin area to release the tension on the visor part.
This is a link to the assembly of a Lone Wolf helmet from a good buddy of mine, unfortunately it is in german. but may be it helps. especially page 5 and page 13/14 ar about the chin and the neccessary adjustment so the visor will sit proparly.
https://lookaside.fb...Puy7rxSZurDWzpC
let me see what I can translate for you
-
hola a spec ops
-
1
-
-
Have also a glance in the scout section of our detachment, there are some WIP's which show pics of helmet assembly. This might help you also.
-
Looks nice and tidy.. Make sure you paint the rivers also black. You can use paint or black nail Polish from. Your girlfriend for that
-
1
-
-
Looking relay good, keep on track
-
1
-
-
...hey pete, I'm back from vacation, wondering what you did all the time
-
I´m looking forward seeing more of your build
-
you made some good progress. looks good already
-
1
-
-
I´m sorry for the delay!I will continue on this after my vacation. photobucket gave me some trouble the last weeks.
-
1
-
-
No Problem Pete
-
Not yet, but if you need some, I can send you some.


TK 21523 Swamp Trooper WIP! starting here but will be slow.
in Swamp Troopers
Posted
I tend to make the pouches after I have the armor and fitted it, in order to get the right size of the pouches.