RAIDER
-
Posts
3,343 -
Joined
-
Last visited
-
Days Won
407


About RAIDER
SpecOps Info
-

-

-
Costumes
Shadow Scout
-

-
TotM Datestamp
Jul 2021, Mar 2022, July 2025
Support Info
-

-
Supporter Datestamp
2016 - 2018
Recent Profile Visitors
3,491 profile views


.thumb.jpg.0252c3bbc7894d2345ba18e0e9a91467.jpg)


RAIDER's Achievements
")


-
You can trim that flared lip off the top of those hip boxes. Everything else looks fine
-
Everything seems in order for base level approval. I would still defer to @Blackwatch and @Beau Thacker regarding the pouches.
-
If you want to start gathering pictures of the pieces you can start mimicking the Shadow Scout CRL. We still need a full suit up w the fit perfected all 4 sides as well. On the last full suit up seeing if you can raise the belt/cod a bit. Also make sure that the bund is tucked nicely under the chest and back plates and underneath the belt (it shouldn’t show however below the belt). And then finally try to alleviate some baggy fit by pulling those pants legs down and into the boot and see if that makes the fabric a bit less loose fitting on your thighs. Getting w photo team to see how they want to collect your pictures for review/editing. Be ready and patient for this process to take a few shoots and reshoots if needed. Thanks
-
Lovely! I feel like we’ve covered it all. Are you ready to present for CRL review? @Dropkick How is that working these days as far as publishing a new CRL?
-
You really committed lol. I have no problem with this. The only thing…from the reference pictures, a neck seal will be required (no longer optional). And then…I have issues telling colors…but are the eyes brown?
- 1 reply
-
- 1
-

-
Hi Luke! Welcome! Yup no CRL just yet tho @stevechewbacca has made alot of progress on his build (seems to need just a few more details wrapped up). Give his thread a look. It might help you on your journey. Best wishes!
-
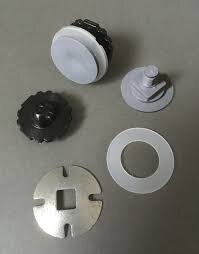
@DarthBerry The bolts…thinner is def better but the hole in the middle still isnt right to me. it should be a pretty gradual sublte slope to the center…not flat all around until it drops into a “hole” Boots…something like this should work fine
-
@DarthBerry Very nice! This is gonna look great once the fit is situated. Looking back at your helmet pic…I would suggest looking into a different helmet bolt. Here is a pic of a more accurate “concave” look (the one you have is too thick I think and the concave area is more like a hole rather than a subtle slope).

-
Possibly yea
-
they look good and going to the edge works for me as well i do think the pin stripe detail needs to be thinned out a little bit more
-
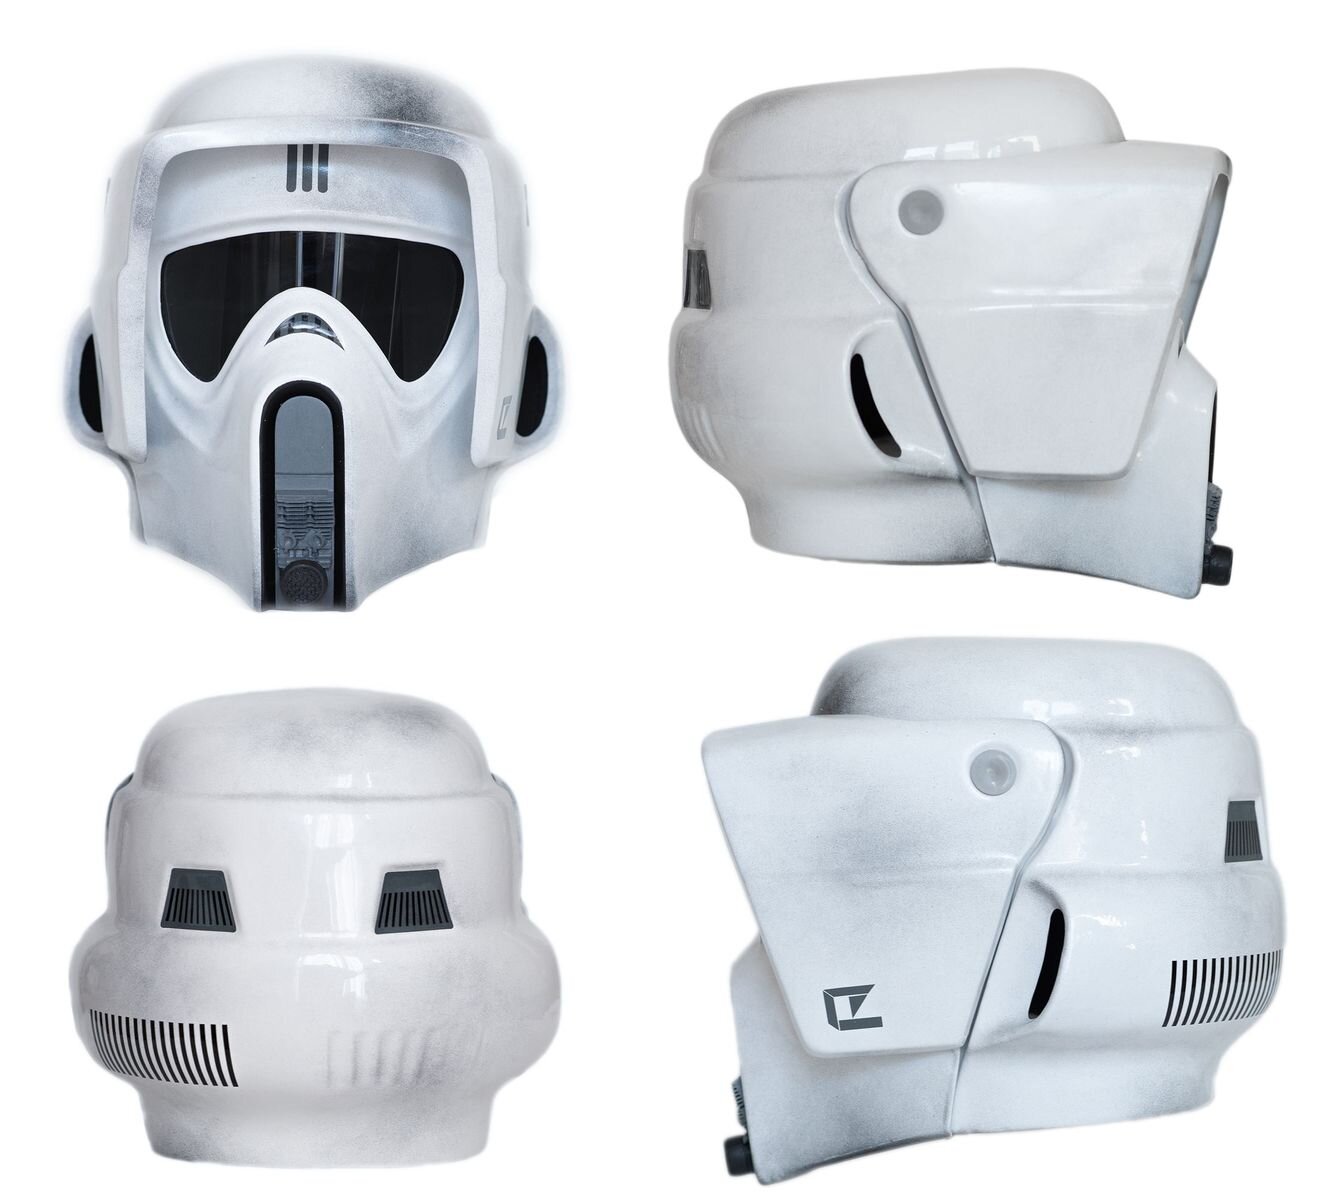
Good shot there. That does look like 7. 10 on the back of the helmet. This may open up a can of worms and I can check the crl draft later when Im not on my phone, but I dont see the right side of the helmet indents in the reference image. 😱
-
The helmet back camo looks much better! If I may just offer a suggestion…is it possible to thin those helmet and back decal lines? I know the reference images make them look thick but i think thats more just a limitation of the graphics…i think youd be better suited to get them more in line w the width of a standard scout (more pinstripe…less thick). Looking at the reference images here it looks like there are 4 back stripes…that should also open some more room back there as well. Bottom tank rivet looks good. No topper. Check. Shoulder strap covers look good. Honestly you’re probably much closer to the L2 reqs than u think!
-
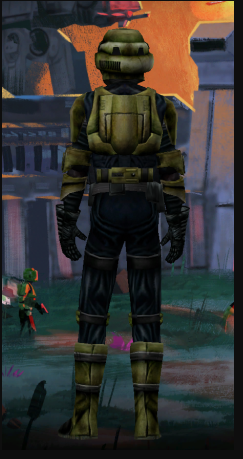
@DarthBerry Just some added thoughts (you really didn't need to buy anything yet)... L2...no problem...we tend to lean that way w/ the models if at all possible but it's definitely not a deal breaker. For the helmet decals...I haven't ordered these in awhile but when I did, mine came on a single sheet that you could apply all at once. Trooperbay is where I got mine...they're really pricey now though (may be cheaper options on Etsy)...but you can see how they're all on sheet you can cut and then apply so the spacing and leveling stays consistent. https://trooperbay.com/product/shadow-special-ops-biker-scout-helmet-decals-star-trooper-wars-return-of-the-jedi-cosplay-bikerscout-cosplay-costuming-sci-fi/ Flightsuit collar...I think if we used this image you could make a case for the open collar (appears there's a V there at the center of the neck): That said...in your suitup, it was buttoned closed...so you could open it OR you could go the Mandarin collar route. I'd be open to allowing either in the CRL...with the open collar, the neck covering would be required. We would just need to adjust the CRL text as well. The thigh straps...honestly, I'd prefer to see those instead of the thigh patches...any detail we have to distinguish this from a standard scout I think is great to implement. Bund...yea that cod in the reference images might look thin just because the game model is a rail lol. I think though it's not as thin as what you have...either way, if you're working on a new one that's perfect! Knees...entirely up to you...you could use 1 or 2...2 would give you better hold and seems more practical. Heck...if you want to do one for the suitup and then add the second later, that would work too. Back...just curious...how easy would that top greeblie be able to come off you think AND would you be willing to do remove it? Again, not required...this is just one of the 5 or so main things that deviates the Forest Trooper from a standard scout (along w/ the boots, thigh straps, back tank decals, helmet decals)...I think it'd be cool to see as many of these as possible, but ultimately your call.
-
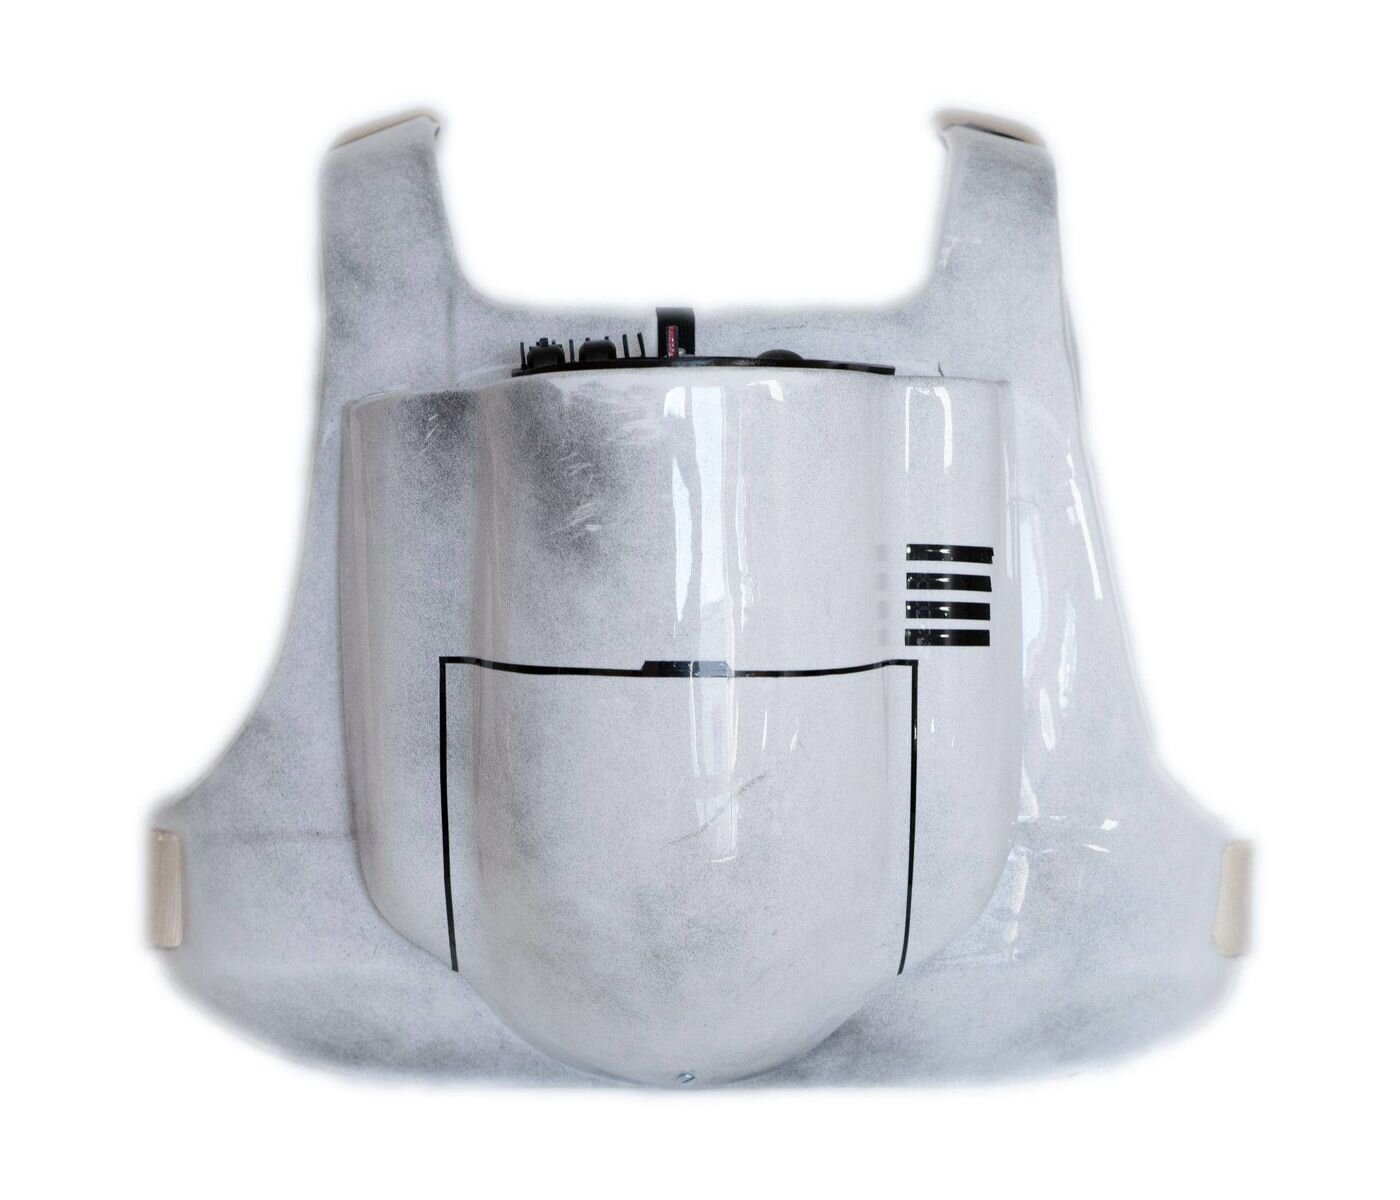
I forgot one last piece @DarthBerry…this is only a fitting issue for next time you suit up. The bund should not cross beneath the bottom of the belt…it’s most noticeable on your back pic. Simply lowering the belt a bit should take care of that. Oh…and a cord is visible from the back coming out of the helmet…a fan cable maybe?
-
@DarthBerry Alright...here's an initial review of your kit at the moment based on the last set of pics: HELMET: For level 1, it looks like you have all of the details met. The only constructive critiques I'd offer here is the camo on the rear of the helmet. It looks as if it is being used to uniformly to conceal the center seam on most scout buckets. I'd like to see that broken up a bit if possible. And then the rear helmet decal lines...they look roughly put on there...those should probably be applied more cleanly. The missing Level 2 reqs if you chose to do them would be the concave helmet bolts. BALACLAVA - Present. FLIGHT SUIT (this is probably the piece where we might have to see a bit more adjustments..I'm open to hearing others opinions): The butt flap needs to be a bit longer to cover the butt. The thigh patches...to me they look positioned to far on the front of your thighs, not enough on the rear, and a bit too rounded. Due to the shape of the patch, the straps look to be further in to the thigh at the upper part of the patch. I would reference you to the standard scout CRL (as you can see the patches a bit better on the pictures they have to see the patch/strap orientation a bit better: https://databank.501st.com/databank/Costuming:TB_Scout_trooper or here https://databank.501st.com/databank/File:Thigh_patches_and_straps.png NOTE: The L2 requirement is that the riding patches are removed entirely and the elastic straps circle the entire thigh...so I'd offer that as a solution...discreetly sewing the straps to the flight suit w/out the patches. "Stand-up collar conceals the neck with an enclosing strap to keep the collar closed." Your collar looks to have a button which would be unacceptable. Normally there is a strap that wraps over the neck and then a hidden button or velcro straps it down to the flight suit. The Scout Trooper CRL offers a good image in the reference gallery: https://databank.501st.com/databank/File:Collar.png SHOULDERS: Level 1 elements appear present. Level 2 would require rounded bottom corners of the bells and then the actual measure of the straps. BICEP ARMOR - Appears to meet L1...strapping to verify for L2. FOREARM ARMOR: L1 appears met...strapping to verify for L2. Minor critique...maybe thin the weathering lines a bit in the curves. GLOVES - Meet L1 and appear to meet L2. VEST - Meets L1 and appears to meet L2. CHEST: Appears to meet L1. Would want to verify the material being used on the shoulder strap covers and material for straps under the arms connecting chest to back. For L2 would need to verify strap measures and materials. BACK: Appears to meet L1 reqs. Would want to verify the top tank greeblie is entirely black. For L2, rank stripes would need to be added to both sides of the tank. The tank top greeblie would need to be removed entirely. If a rivet at the bottom of the tank is present, it should be painted to match armor (not silver). BUND: Appears to meet most L1 and L2 reqs...I would add, the way you have your pouches situated is great. My only concern here is the codpiece...it seems too thin and we also can see the stitching at the bottom...that should wrap a bit under the crotch and not be so visible. Again, I'd reference you to the standard scout (or even Shadow Scout) CRLs to see the shape of the codpiece as well as the positioning of the curved sewn detail which seems high. BELT/DET - Appears to meet L1 and L2 reqs. Would need to verify strap measures and materials. KNEES: Appears to meet most L1 reqs. The only issue I see here...you're utilizing the upper strap but there appears to be no lower strap. The CRL says you can use 2 (implying 1 is optional), BUT if you only opt for 1...it should be the lower. See the L2 req. Also note this reference image showing the bottom strap being used only: BOOTS (this version of your boots is a big improvement): Appears to meet the L1 reqs. My only questions here: What is the color of the boot sole? What is the material used for the dog bone/toe? Everything else (blasters, neck seal) is optional and not required...so I think that covers everything. Tagging @Dropkick here so he can tag additional Scout DCAs for feedback (or critiques of my feedback) as well as @IcyTrooper and @tipperaryred since theyve been helping along the way. Getting close!