
furiosa
-
Posts
476 -
Joined
-
Last visited
-
Days Won
19
Content Type
Profiles
Forums
Events
Everything posted by furiosa
-
Hey trooper, good start. Chef's stuff is definetly a good choice. I also wear a Chef armor and helmet. Kopplung forward seeing your build. You definetly abhold go with the dlt-19... Best blaster <3
-
5. Bicep armor are secured around the arm with a 35mm ( 1 & 3/8") black elastic strap. 6. Forearm armor secured around the arm with a 25mm ( 1") black elastic strap. 7. Belt straps used for drop boxes should be made with a 40mm (1 1/2") black cotton knob, 11. Knee armor to have two elastic straps, one passing through the knee armor 25mm (1") wide on the bottom and one 12mm (1/2") riveted to the top sides of the knee armor. 13. Shoulder armour should be secured around bicep with a 35mm ( 1 & 3/8") black elastic.
-
I can hardly judge the width from the picture with our measuring tape
-
Yeahhhh! Take care vor the elastics width.. They are defined for specialist
-
good to have you here. <3 the swampys
-
Build Your Own Cummerbund (With Pictures)
furiosa replied to furiosa's topic in Spec Ops Scout Armory
the fabric for the COD piece needs to be cut 2x the underlayer (body side) is 0,5cm smaller on each side, as the upper layer (attack side). Top and bottom are the same sew both sides together. Top and bottom remain open I always overlock all open seam lines additionally. but you dont have to. pin the bottom and stitch it down, since the body side is smaller the seam is laying inside hidden later when wearing turn the COD piece around, rub out all corners, iron it if possible. the bottom will look like this put in the "fun" foam towards the attack side. the seam allowance towards the body side pin the top to avoid the foam moving out again when sewing the elastic to the COD piece cut the elastic, burn the cutting edges to avoiid threading out at the cut edges stitch on the elastic 2 times turn the elastic down and stitch it down one more time put in the shaped PHOREX plate towards the attack side put it in position close edge stitch along the curve side of the plate. don´t stitch on the plate, it´s not sewable. take care you don´t stitch pleats or wrinkles on the fabric. stitch a 2nd time bend the uper corners in, pin them and stitch them down iron it. the velcro hook at the too and the elastic to attach at the back will be attached after the fitting the side seams are hidden, nice and clean. ....to be continued -
I was asked several times how to do the cummerbunds I´m wearing myselfe and which I made for several biker scouts as well. It´s with "anti-camel-toe", with detachabel COD-piece and fulfilling all reqirements for specialist (no visible edge stichings, etc.) sewing skills are needet for this. You need following tools: - sewing machine - tracing paper - measuring tape - scissors - pins - pencil and paper for notes - cutter knife - hair blower - pincer - lighter You need following items: - black twill or similar fabric - black sewing thread (take a little thicker thread as usual to give the top stitching more visability) - PHOREX - "fun" foam - padding - elastics 50mm width - velcro hook and loop 50mm width how to measure: 1. around your chest (above the waist) 2. around your hips (ca. 8cm below the waist) The final bund should look like this. It´s attachable to the flak vest via velcro hook/loop. Ignore my thinn waist. th Bund is held in position when attached to the flak vest. My waist then will not be visible LETS START! 1) I´m starting with the COD piece. You need a pattern. The Measurements are inc. 1cm seam allowance. I made good experiences with this shape for guys and gals. also a pattern for the PHOREX piece (hard bottom piece) as well as for the "fun" foam. these 2 patterns don´t need seam allowance. curve the corners of the PHOREX plate. the phorex plate needs to be cut with the cutter knife, take a pincer for help. after cutting the phorex, the edges need to be "broken" so they are not too sharp after that you need the hair blower. give the piece a horizontal soft bend on the lower part and a vertical little bend at the top. the fun foam can be cut with the scissors. ...to be continued
-
@Carlos: so you are heading for black details ?!
-
...i wish my gtandfather would at least wear one
-
As per crl's both is allowed. It's only a matter of what you personal like better
-
The nose greeblie as well as the visor bolts are only a paint job
-
Thats the decals for the details like the altmann's bucket in my previous link. You can order black decals from "chef" hes the DL of the pathfinders detachment but also here in the detachment. My armor and buckets incl. The decals are from him.
-
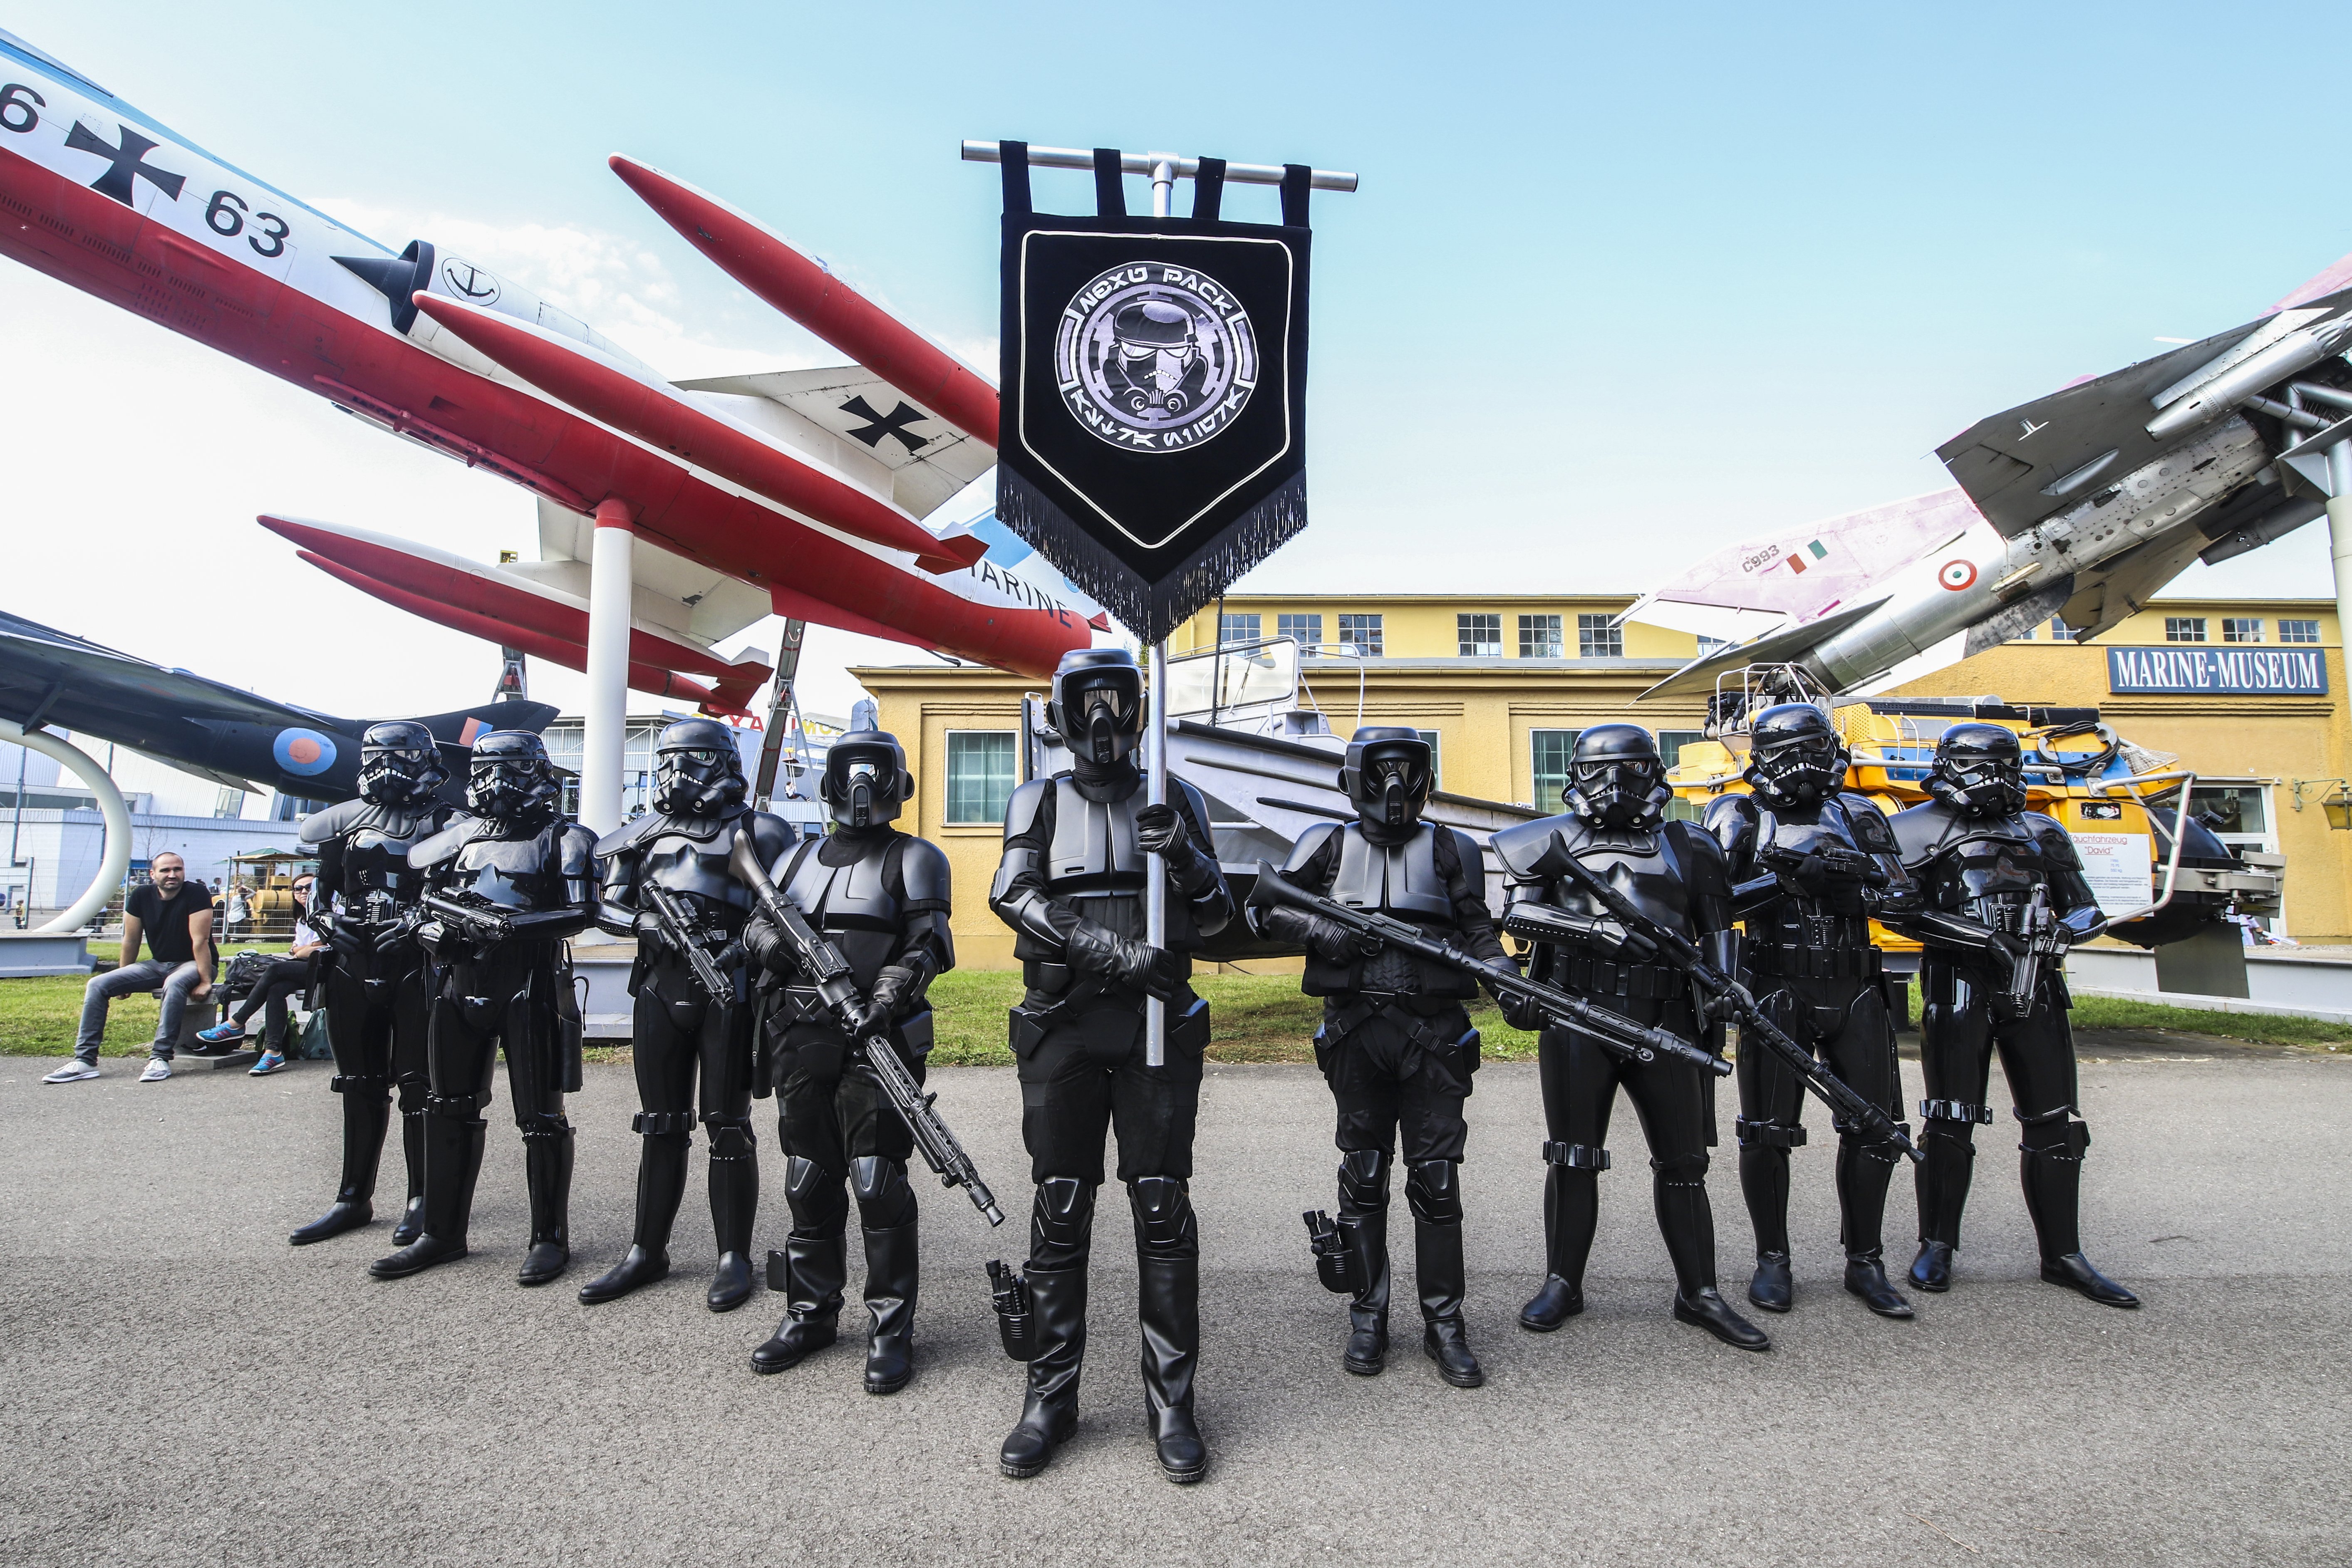
Here som pics from my bucket
-
Have a look at this thread: http://forum.specops501st.com/index.php?/topic/4554-shadow-scout-helmet-altmanns/ You can see the altmanns bucket with grey details compared to the full black version
-
The decals can be either color. I think most of us guys amd gals tend to have full black decals and details. Let me look up some grey details ...
-
Your trimmimg looks fine so far. Hope you are satisfied.
-
....diggin this thread out of the depth ...Pete, I wanted to be sure you are still working on your stealth scout
-
Welcome also here. I'm ecited seeing first pics of your build.
-
Congrats to your approval. First of all, your costume hast to fullfil all level 2 requirements mentioned in the CRL's Have a glance here: http://forum.specops501st.com/index.php?/forum/40-the-specialist-program/ Have a look at previous applications so you will kopw what we are asking for. If so, you are welcome to open a thread requesting specialist status.
-
Congrats Larry welcome to the 501st
-
The greeblies on the TD for the shadow scout are mentioned in the crl's , eventhrough they are only level 2 requirement for the shadow: The correct thermal detonator greeblies are attached to the box, the rectangular part of the TD greeblie is the same as used in the rebel endor troopers rank badge, which is fixed on the left side of the TD, on the right the same round greeblie as what is used on the scouts tank topper. See the detonator detail page for a close up image of the greeblies. "Specialist" is level 2 standard. Which you can achive here in the detachment. It's a level where your costume requires more accuracy to the original. It's not a "must" but nice to achieve. There are currently only 10 shadow scouts in the 501st, who achieved this level. You might be the 1st in the canadian garrison Your costume is awesome. I can recommemd you to go for specialist
-
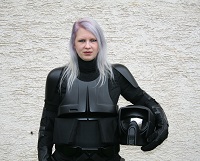
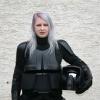
Feel free to have a look at the detail pics from my armor. This may help you. http://forum.specops501st.com/index.php?/topic/4567-furiosa´s-shadow-scout-specialist-application-tx-36663-approved/ I'm struggeling with photobucket at the moment, thats why I can not insert single pics, I'm sorry
-
Yes, the ears can be cut out, personaly I think it looks even better than closed
-
Hi Martin, welcome to spec ops. You made a pretty awesome build. your scout looks very good and I love your blaster. Just some litte advices from my side: 1. your back mud flap seems a little too long. 2. are the greebliea on your DT still missing?! 3. try to move the sleeves of you sholuder bells a little bot more down so the hem can be seen. You should definetly give it a try for specialist.
-
Thats good to hear. You are doing a great job. It's still the lenses you bought on the beginning, right?!. By the way. Yyou gonna paint the TD black?! I did that for my first one, hat some trouble with the color.comming off, so I got a full black hose, which was kimd of dificult to find.

