Leaderboard


Popular Content
Showing content with the highest reputation since 09/12/2024 in Posts
-
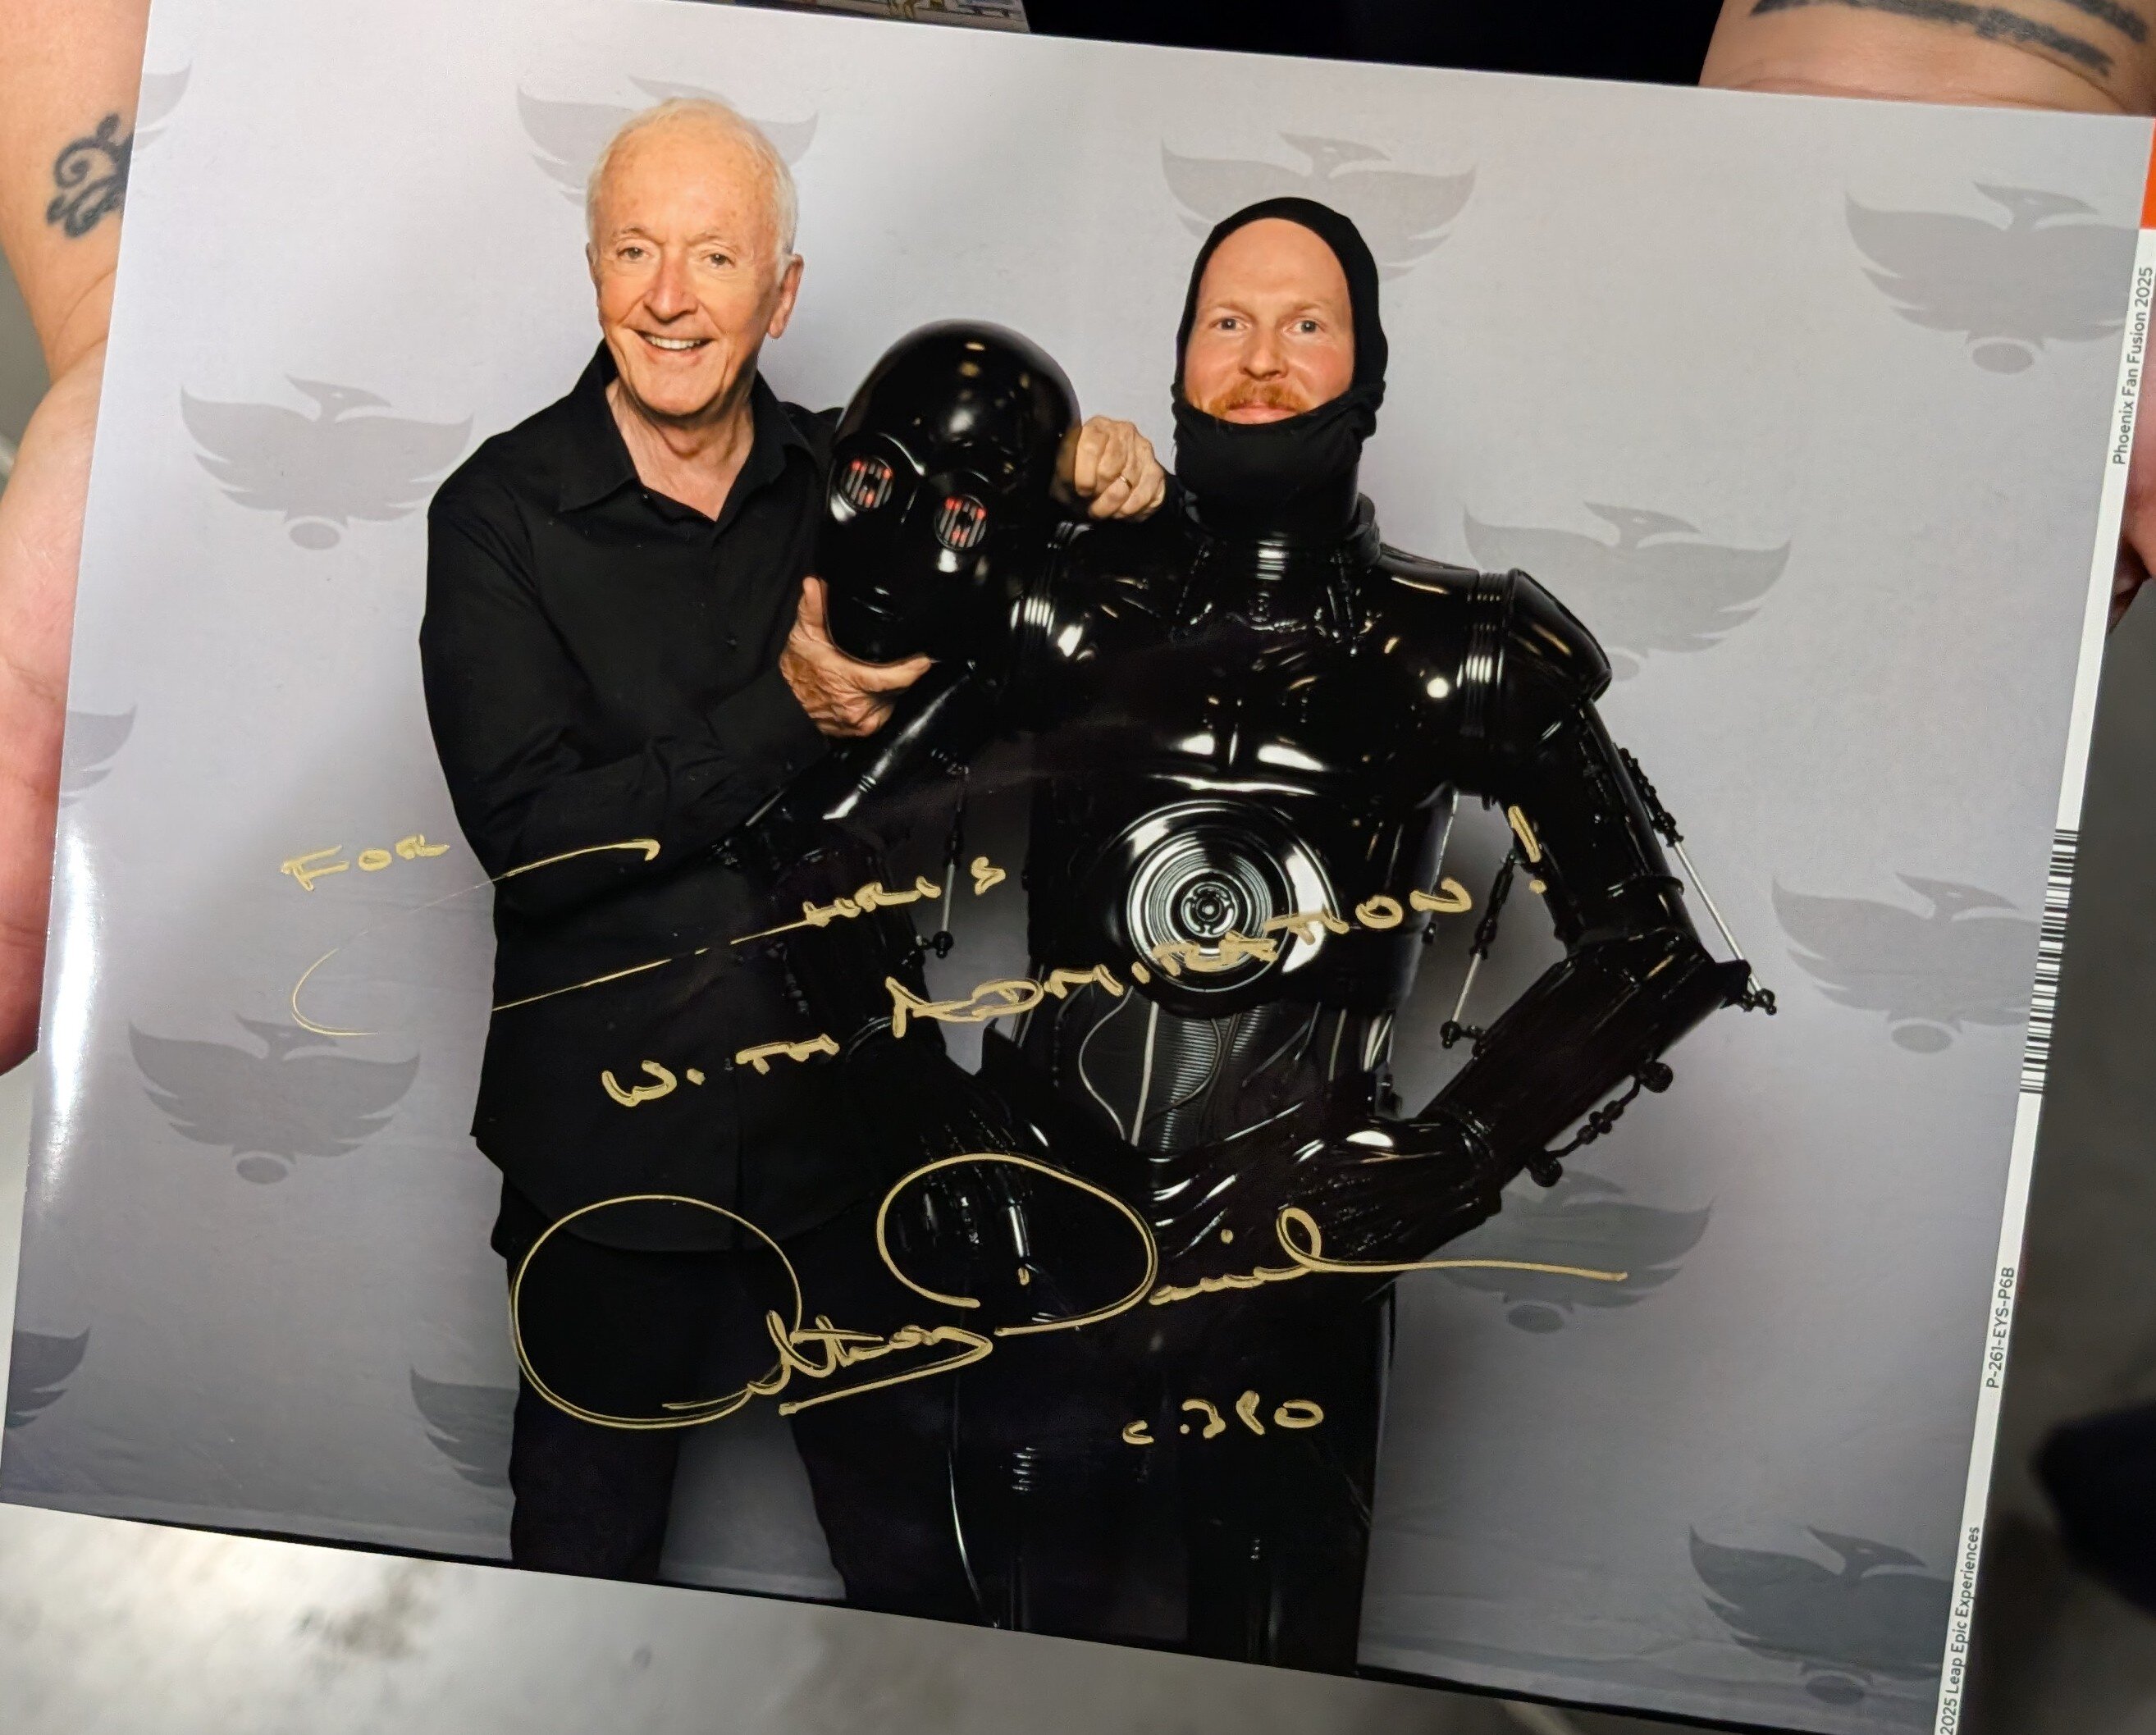
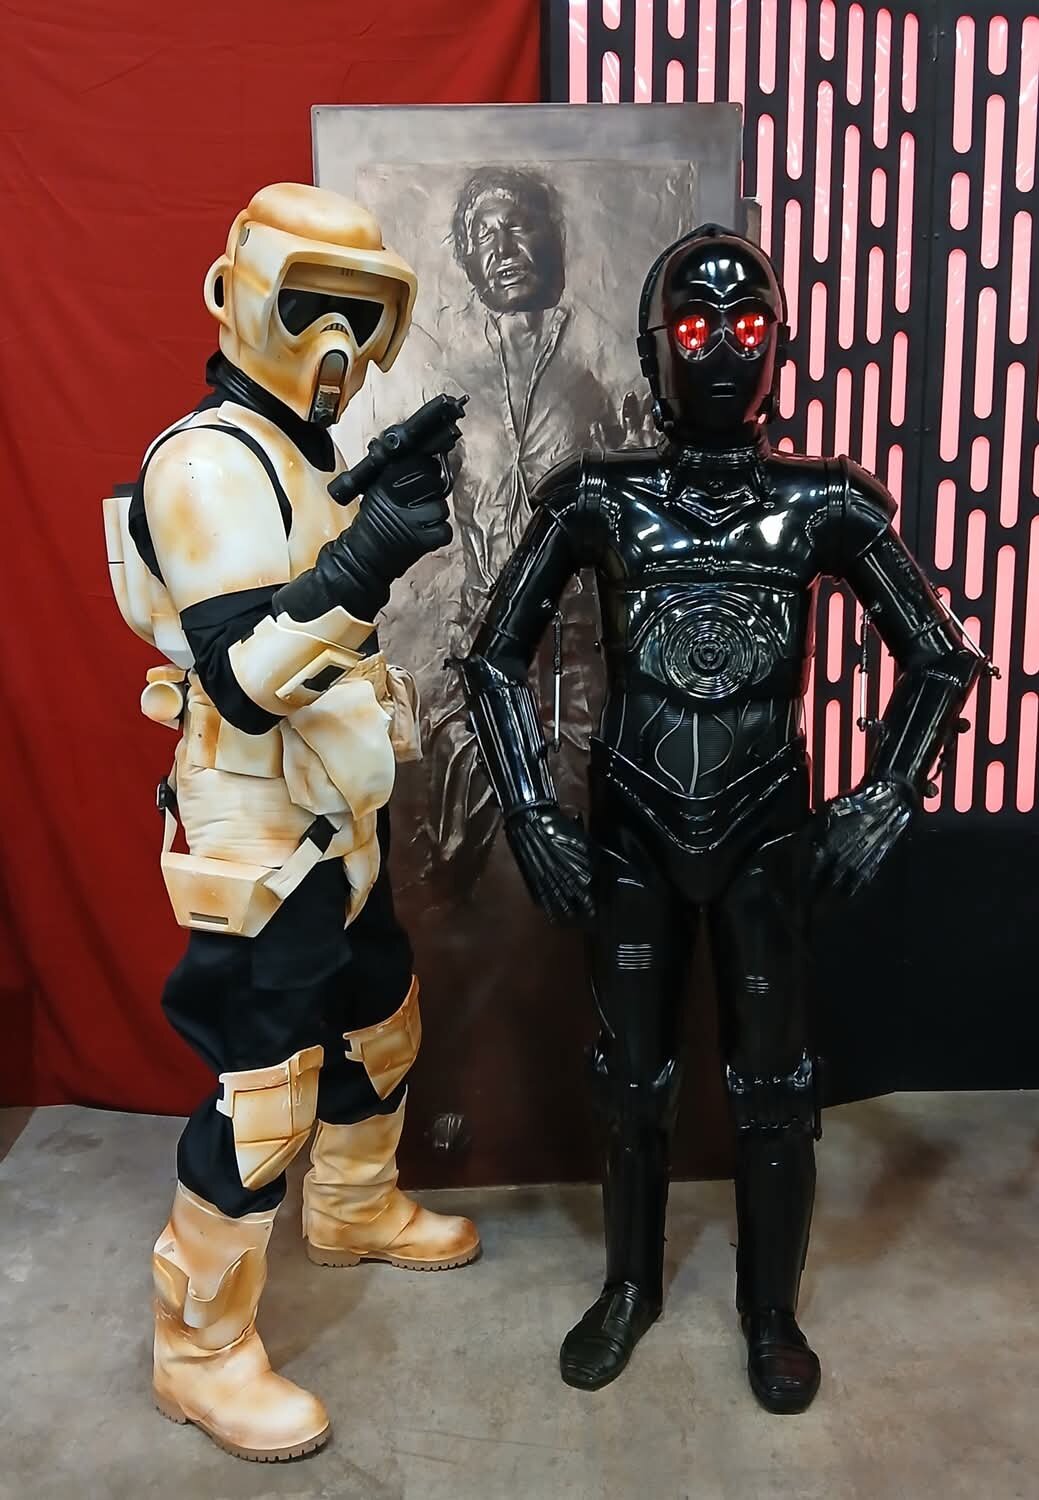
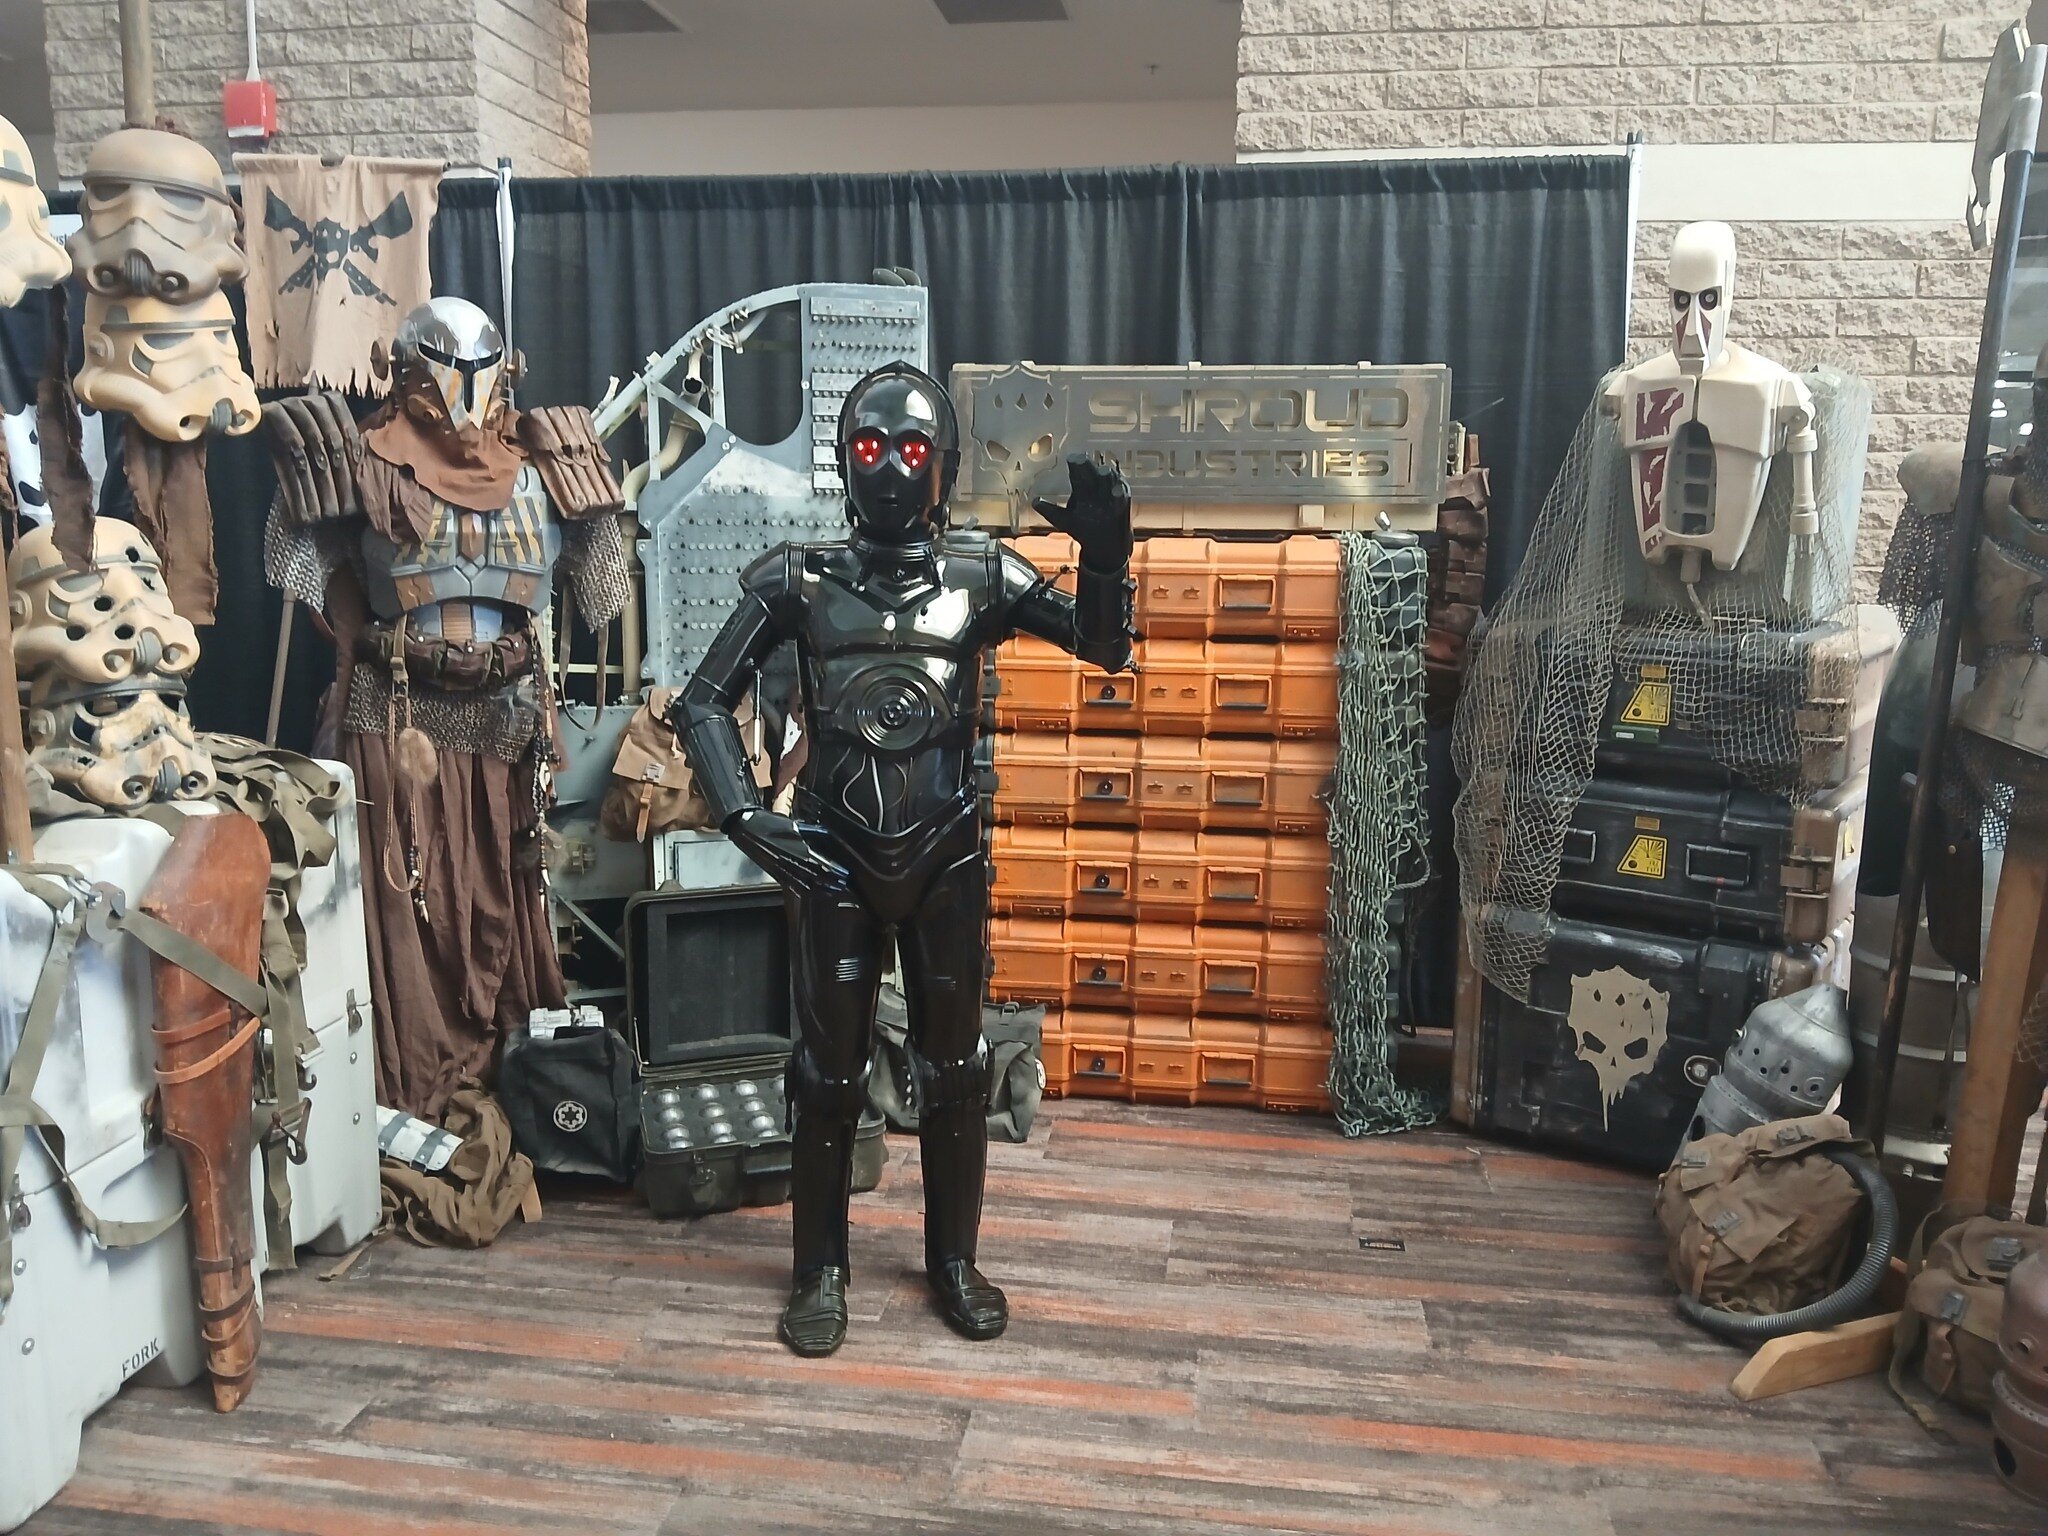
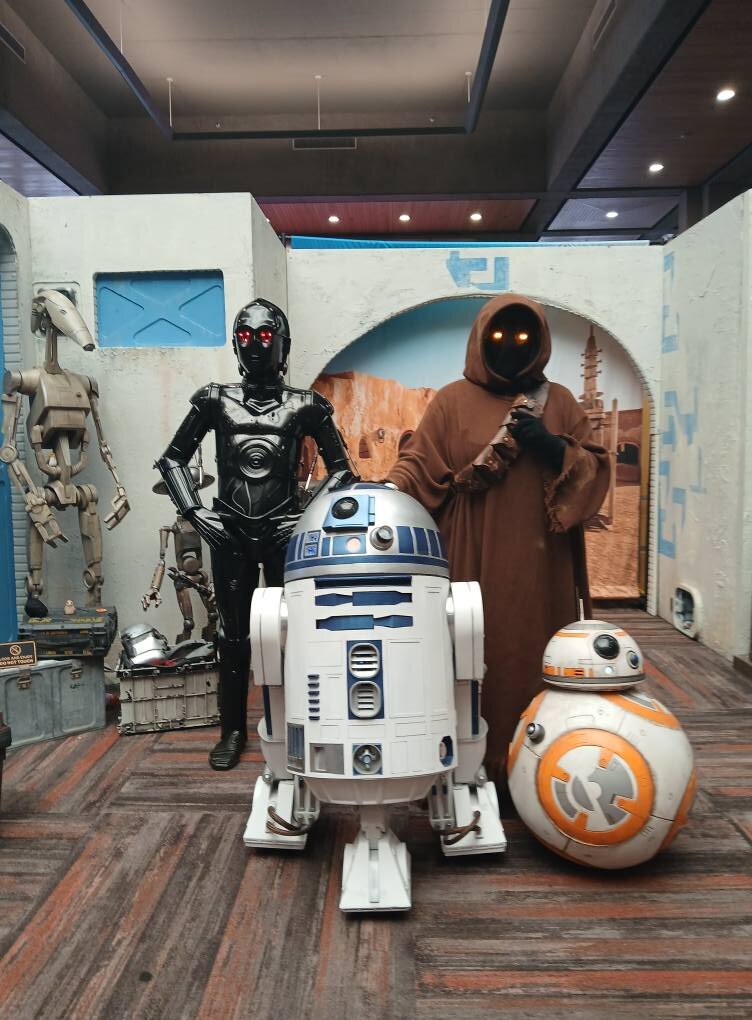
Just got my Triple 0 approved and met Anthony Daniels Saturday in it
 8 points
 -
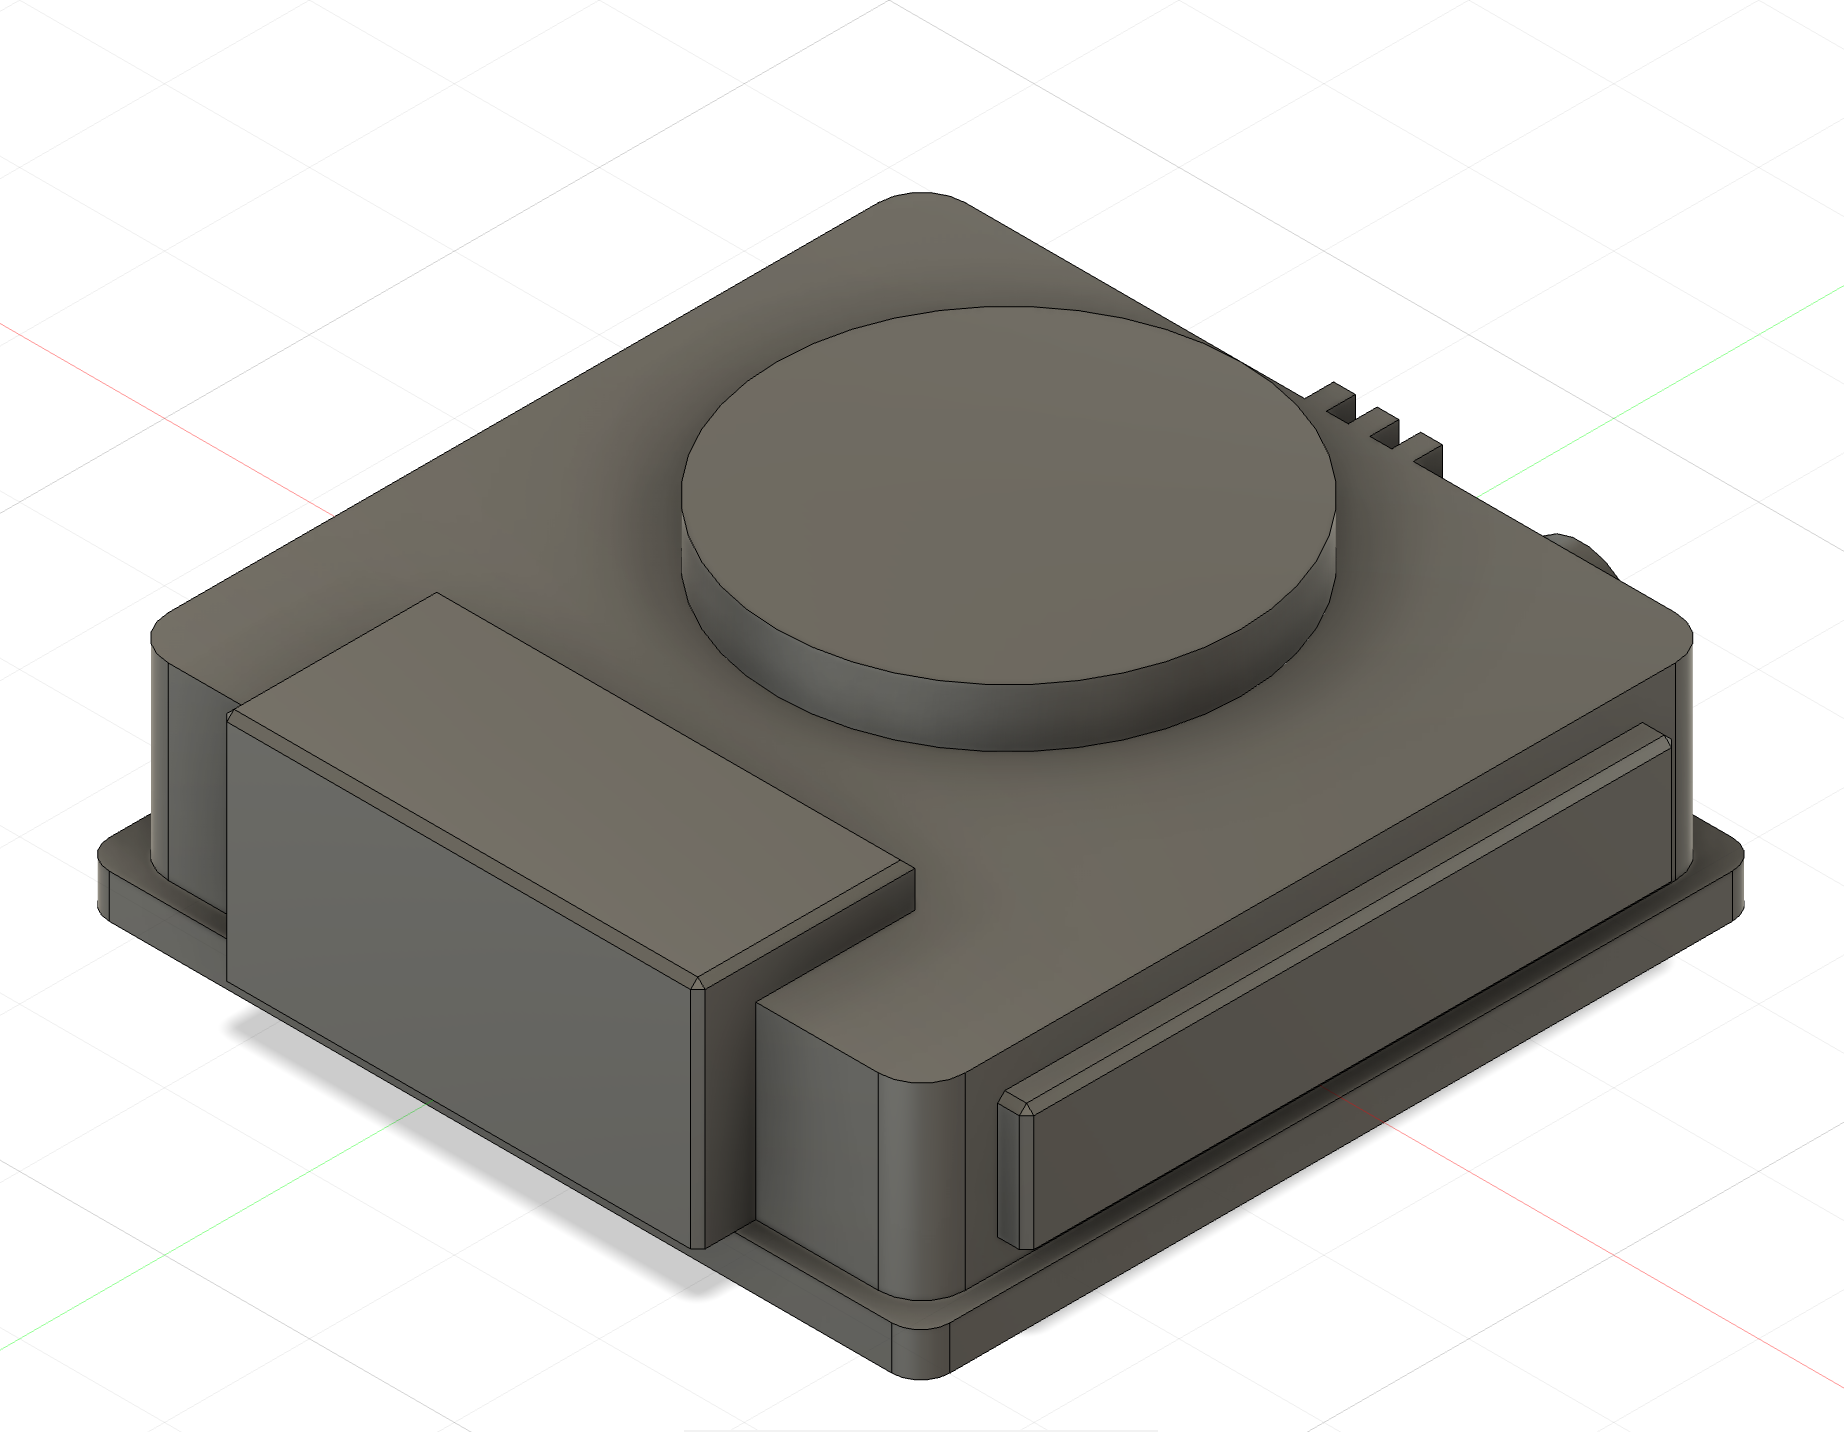
Hi Guys, Ive spent the past few weeks designing the moulds for the ISB. Theyre also available as files however Ive converted these parts into Vac forming moulds. Ill be posting progress here. First are the renders. If there is anything that catches your eye that should be changed please let me know. Ive done my best to extrapolate some stuff from blurry screen caps from Andor as well as get other info from similar parts like the mud trooper from other media. CC welcome. If anyone wants the files they can be found HERE.7 points
-
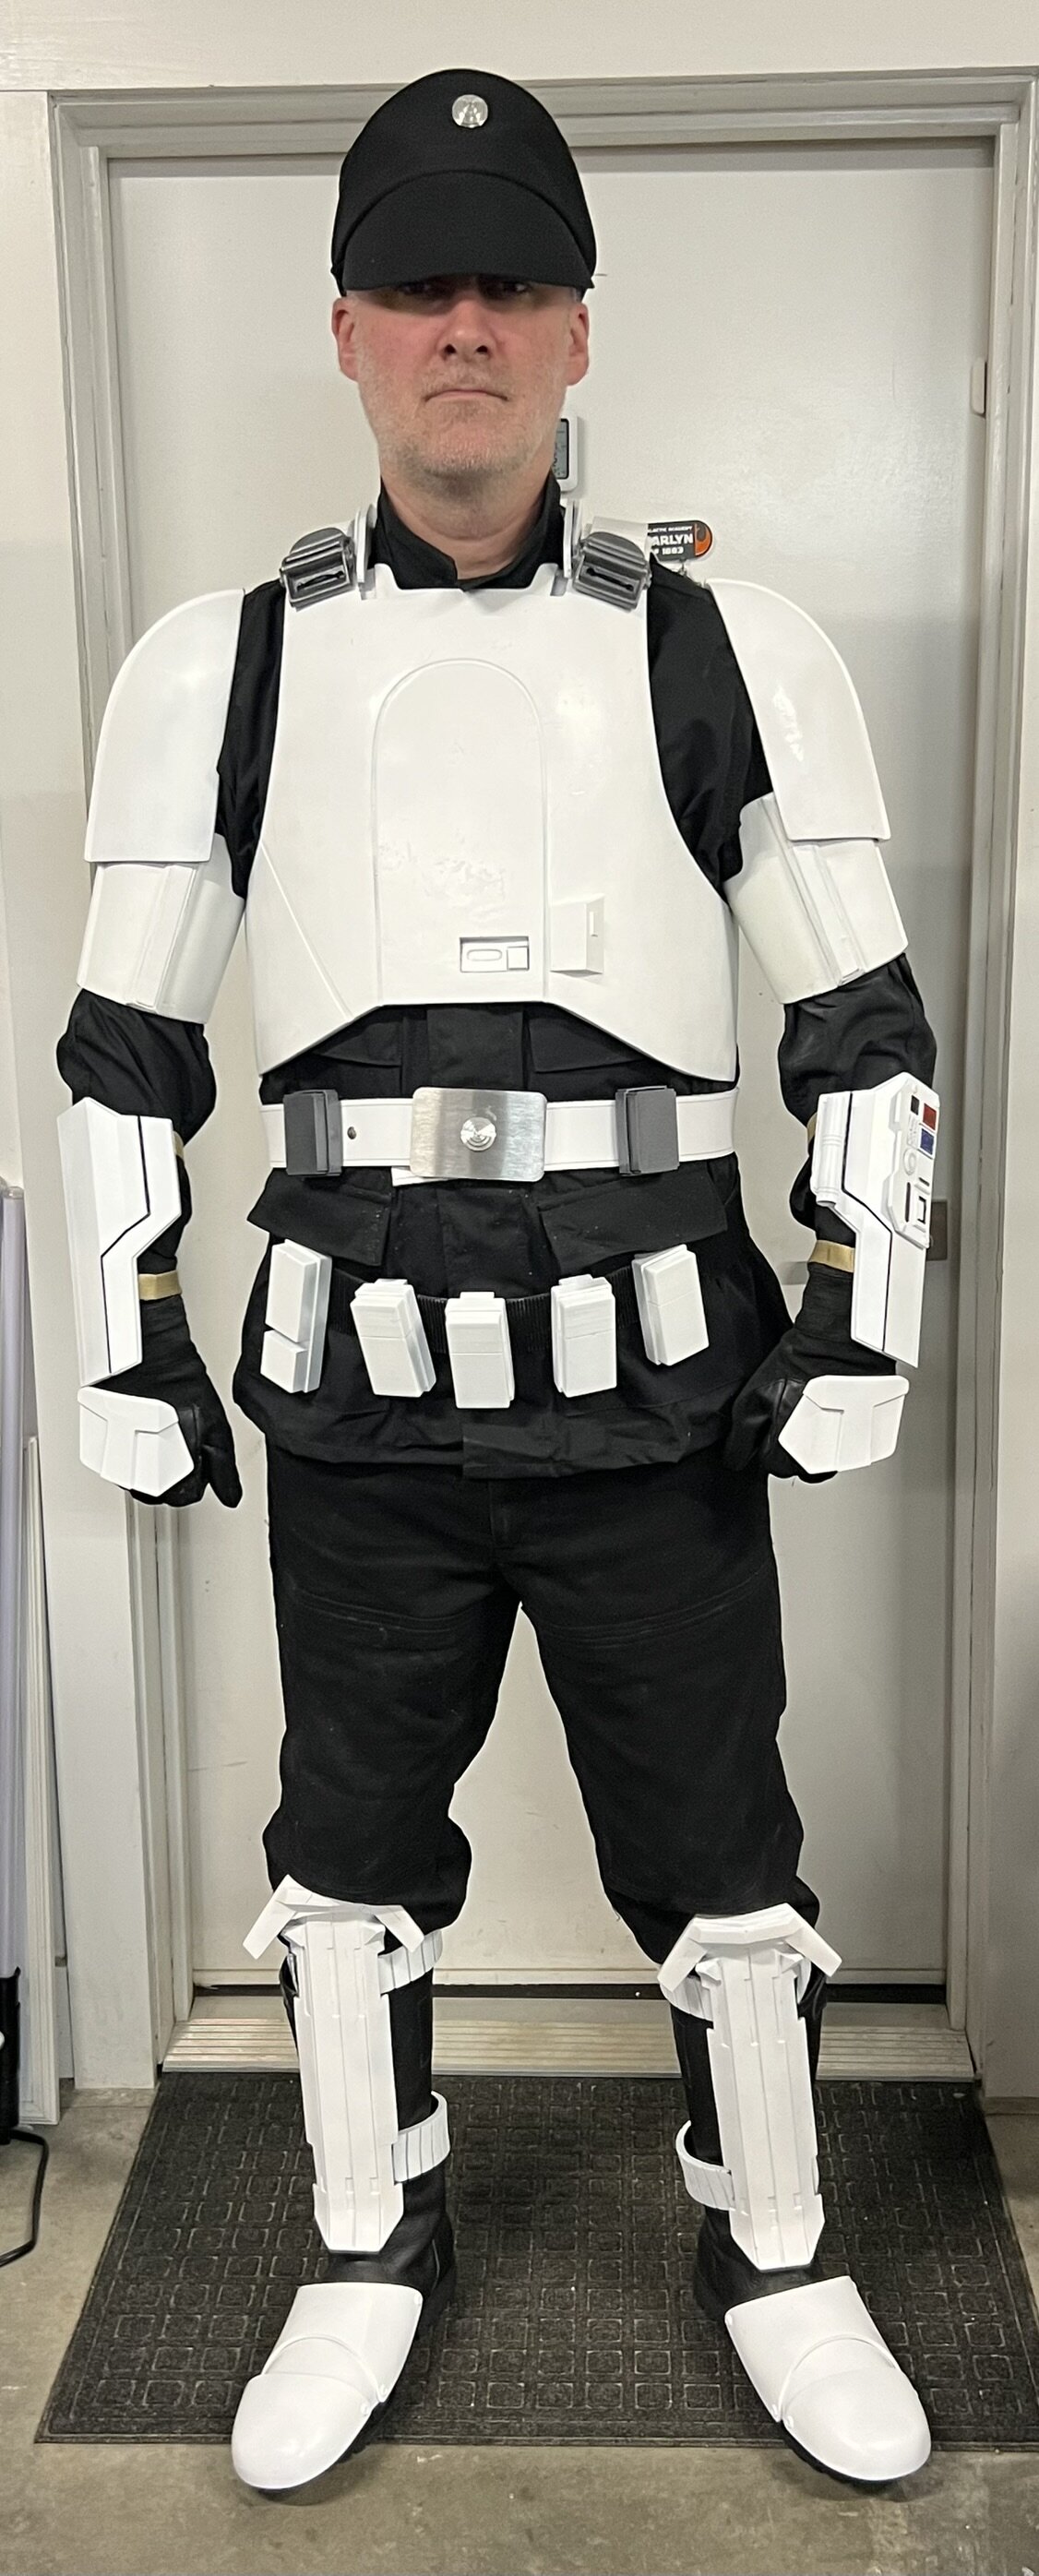
I squeezed out some time and am working hard to put the sample armor on the dummy, which is 190cm high.7 points
-
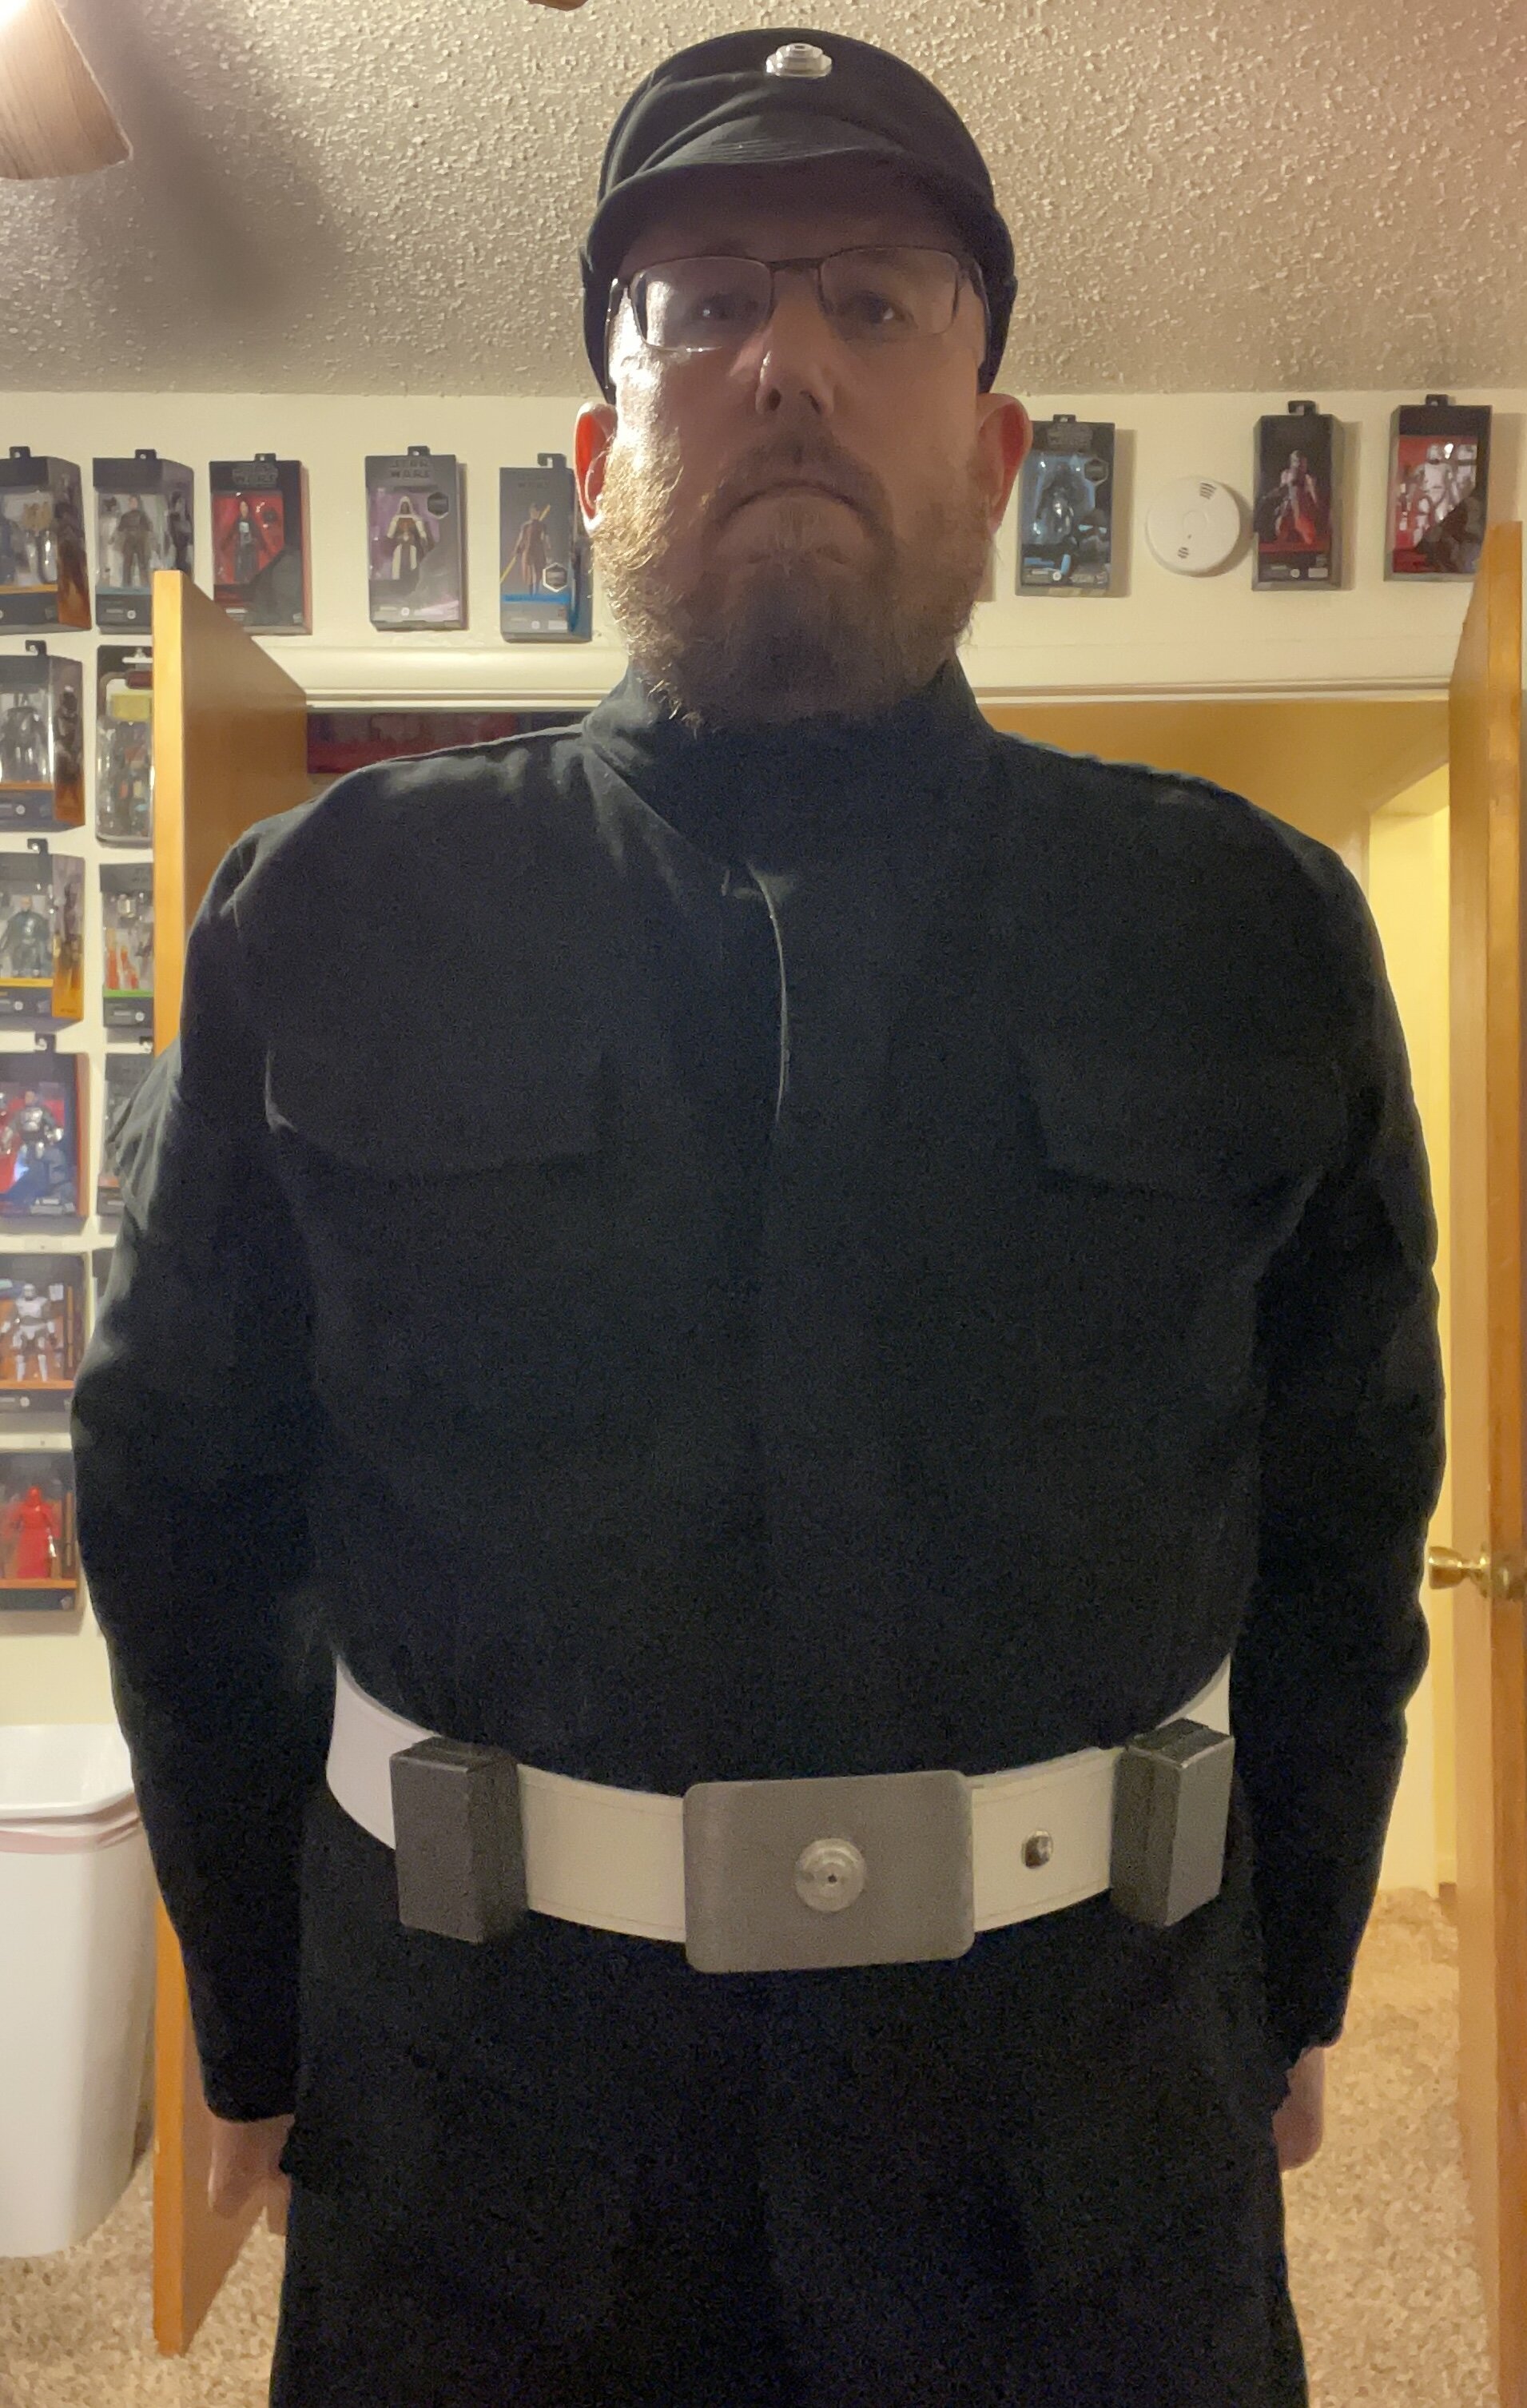
And, here-we-go Hat text will begin with the base text for the Security Trooper Version 2, no armor, with hat. From our Security Trooper CRL: Hat — Version Two Fabric matches the tunic and pants. Base of the hat is conical, with a crown about 4" (101.6mm) tall. Front and rear “flaps” overlap on the sides and are about 4" (101.6mm) high. Front bill extends 3" (76.2mm) down, decorated with (5), (6), (7) or (8) concentric stitches. An Imperial Code Disk is positioned in the center of the front vertical “flap”. OPTIONAL Level two certification (if applicable): Disks do not feature a notch or groove details. Discussion: The hats are smaller at the top creating more of a truncated cone than in the past. Its subtle, but its there. The slope angle is slightly different. Another thing I note is that the disc greeblie does not look like the standard greeblie we have always used in the past. Its looks slighly smaller, and has a more significant step to it.7 points
-
We are now live: https://databank.501st.com/databank/Costuming:Imperial_security_trooper7 points
-
6 points
-
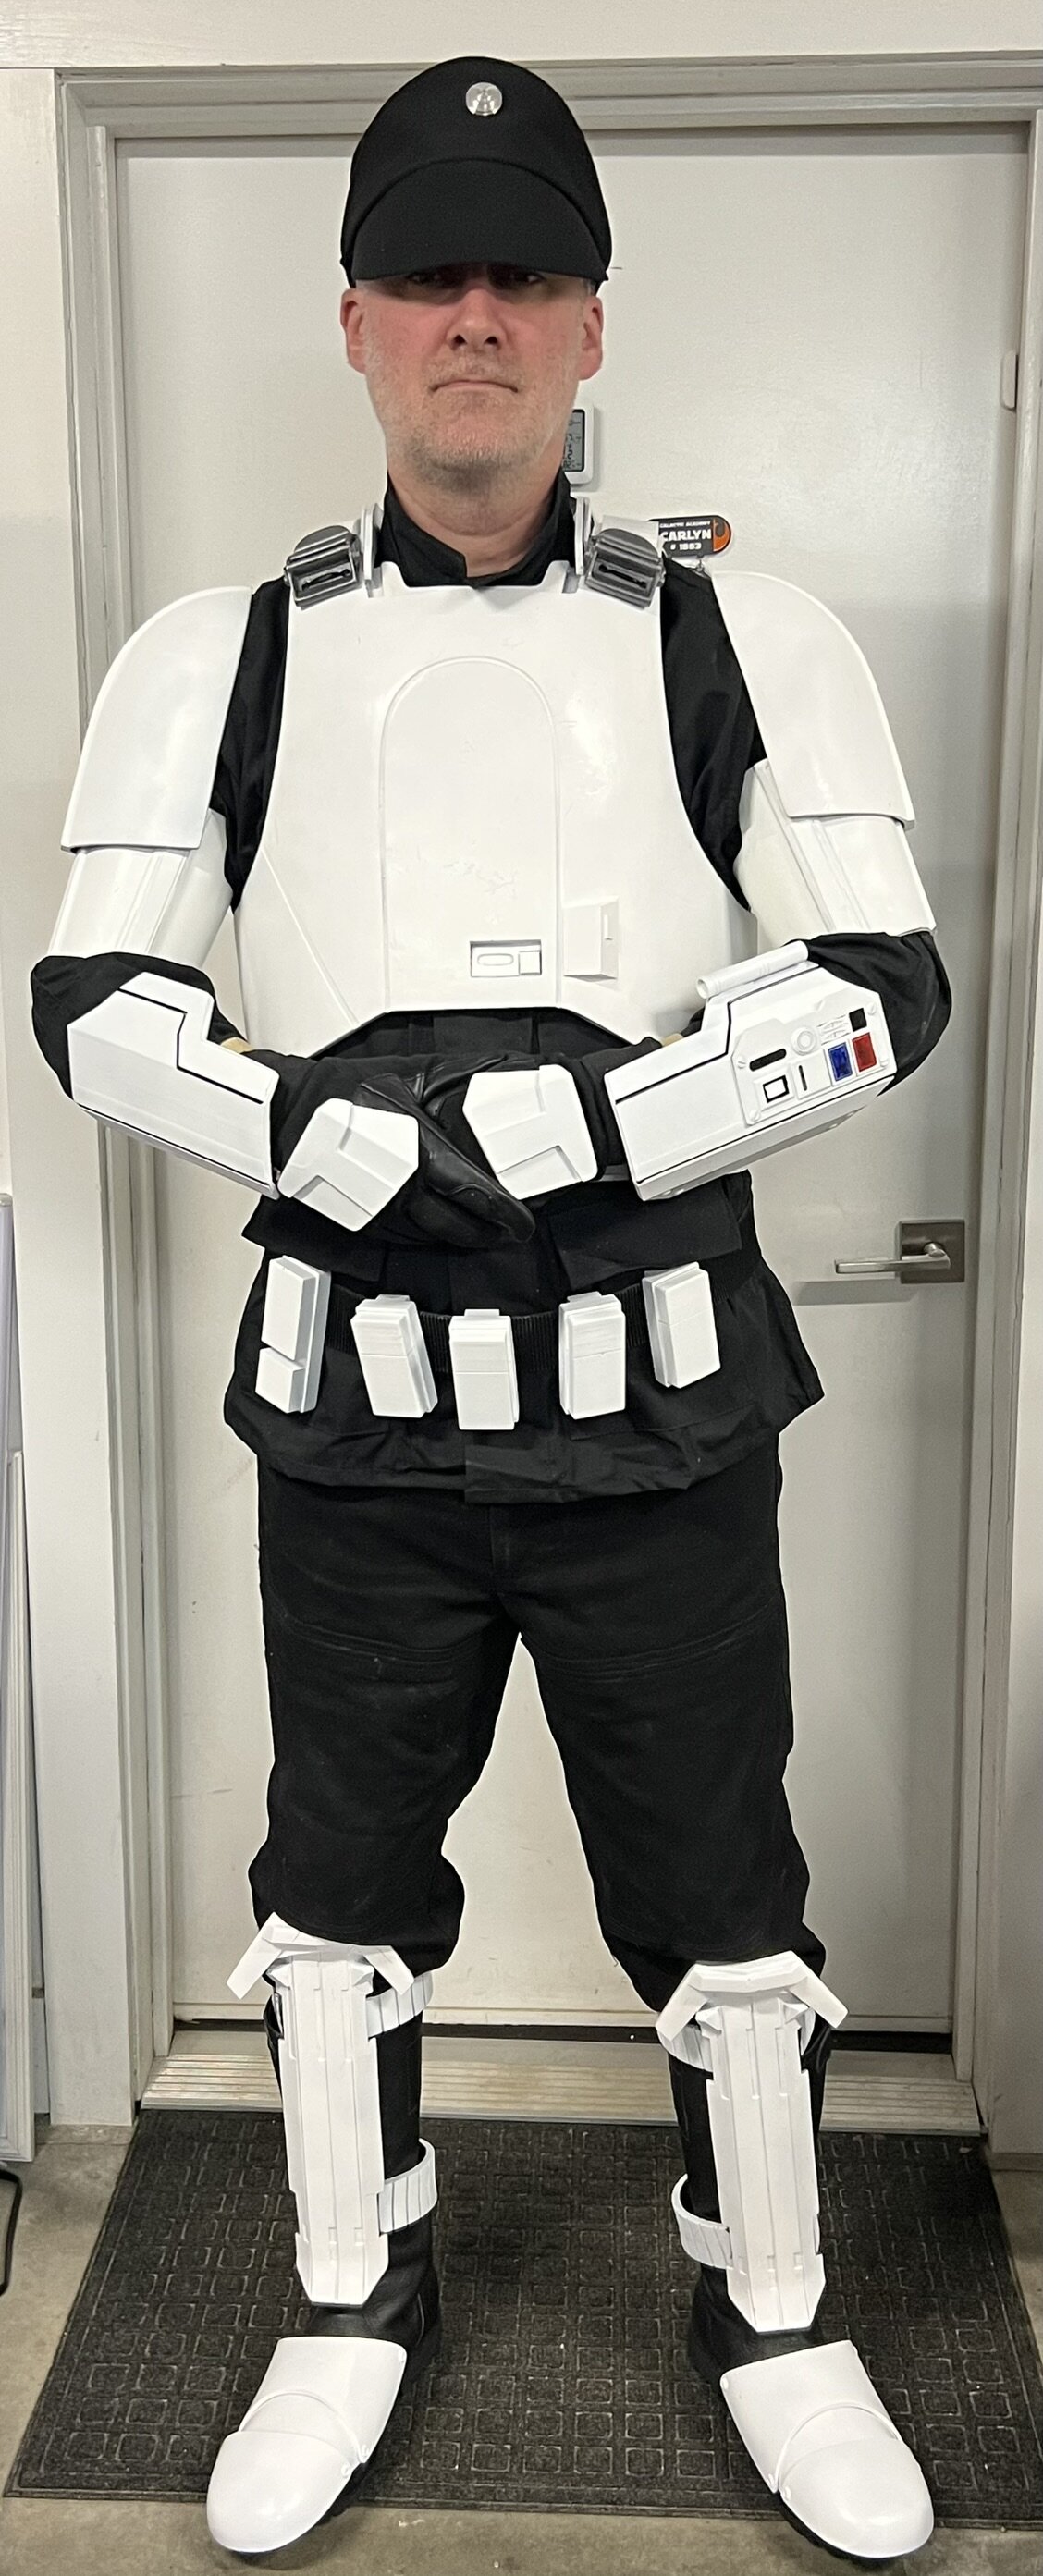
Here is what we are looking at for the chest armor then: Chest Armor Chest armor matches visual references being accurate in shape and design. Light to moderate weathering consistent with reference images is permitted. The join between the chest and back armor are created by an angled sweep starting at the bottom of the chest armor and finishing at the bottom of the back armor. This may be held closed with magnets, Velcro, or another hidden fastener. There is an indented area around the outer edge of the center flat section. Buckles attach to upper chest plate and are painted gunmetal or dark silver. Shoulder straps are affixed to the chest plate at the buckle. The shoulder strap is white. It is permitted to be made of cast flexible urethane or other flexible material. To the lower left side of the center flat panel is a recessed area angled inward from bottom to top with a raised rectangle greeblie and a recessed horizontal elongated oval. Left of the recessed area is a raised square that extends from the center to the curved side of the armor. On the top left side of the raised area is a raised oblong detail that protrudes outwards. Chest shall be painted to match helmet and back armor. OPTIONAL Level two certification (if applicable): Buckles have black recess on upper narrow section and the lower recess shall expose the chest armor. Moderate weathering consistent with reference images is required.6 points
-
Thanks to all involved developing this crl!
6 points
-
Note to start, using this as the start of the build thread, got contact going with Walt's Trooper Factory to figure out the source for the armor/helmet. No pictures yet, will update with such once I get started.5 points
-
I've sent for approval! Cheers and thanks to all that helped out in this WIP thread! @RAIDER @IcyTrooper @Chaos @Blackwatch @Dropkick5 points
-
Hi everyone, I’m currently only on page 2 of this topic for the ISB Tactical Agent’s CRL. Someone mentioned me by name (Kevin Weir -Imperial Surplus) on page 1 about my IG comment on the Buckles being different. I was referring to the Leg Strap Buckles. They are nothing like what has previously been used on new era characters. Also for the Back Plate Armor - the top hose bibs are not hollow for Andor. Only Solo and Mando show had them hollow. Andor 1 & 2 casted them solid with just a slight recessed center - slightly raised lip. Also should there be any mention of the side connectors, that are a fixed to the lower side of back armor. They wrap around towards the front belly. A 2” elastic belly strap is used through the 2 slots on each end to hold it together. Also only Velcro was used to affix the Chest to these side connectors for the screen used suits. I'm currently getting ready for SDCC next week. I’ll have more time afterwards to assist with more detail information about these characters.5 points
-
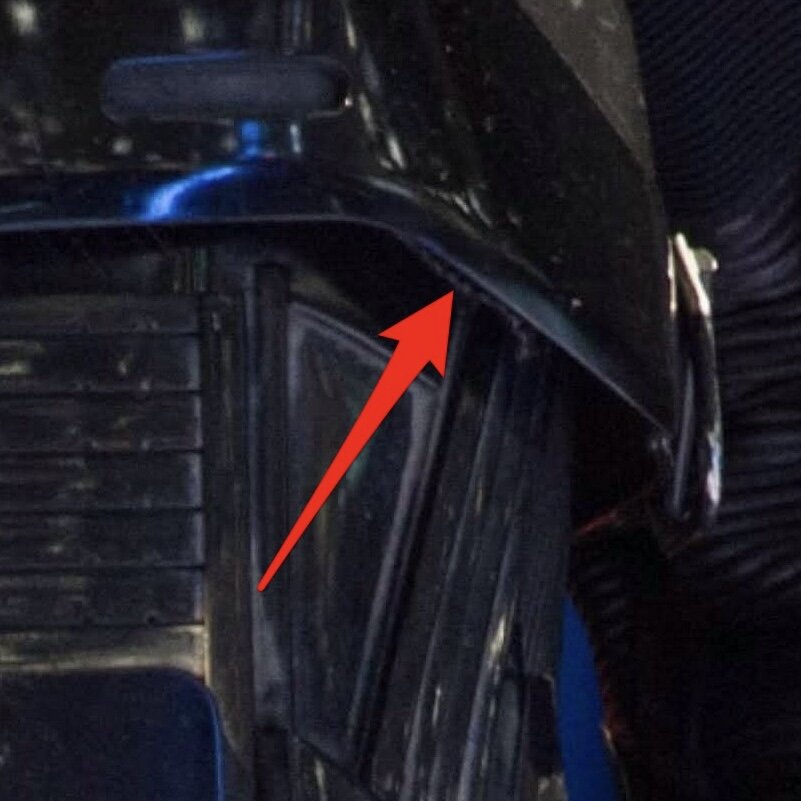
The cord actually isn’t present on any suits made for either season of andor that I can remember, it’s still the split design but it’s purely relying on the rigidity of the biceps themselves to keep closed at the back, sometimes we had guys with larger biceps where they had gaps at the back but we actively tried to keep those guys away from camera especially in any shots that were behind, this goes for tac team, security troopers, army troopers etc5 points
-
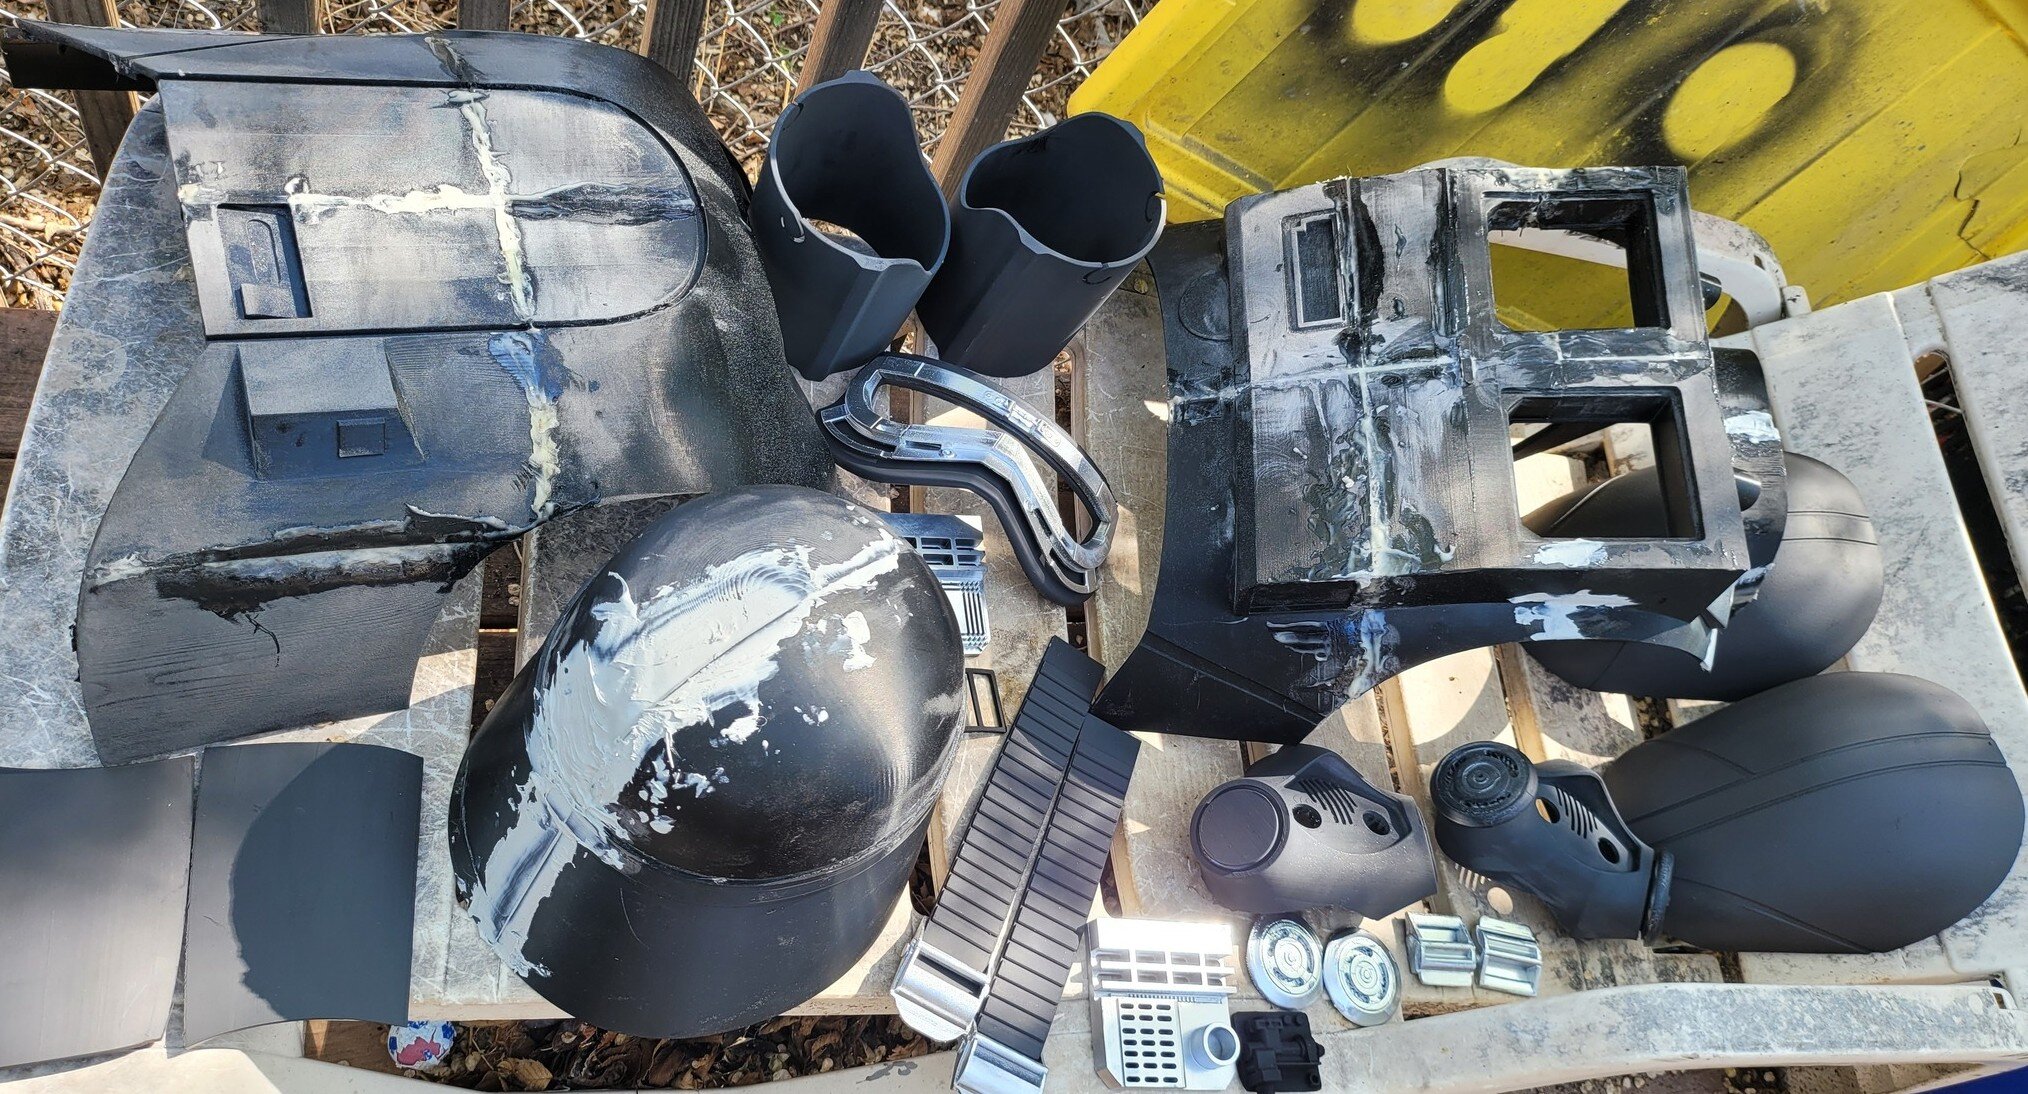
First pulls:5 points
-
Aluminum alloy upgrade5 points
-
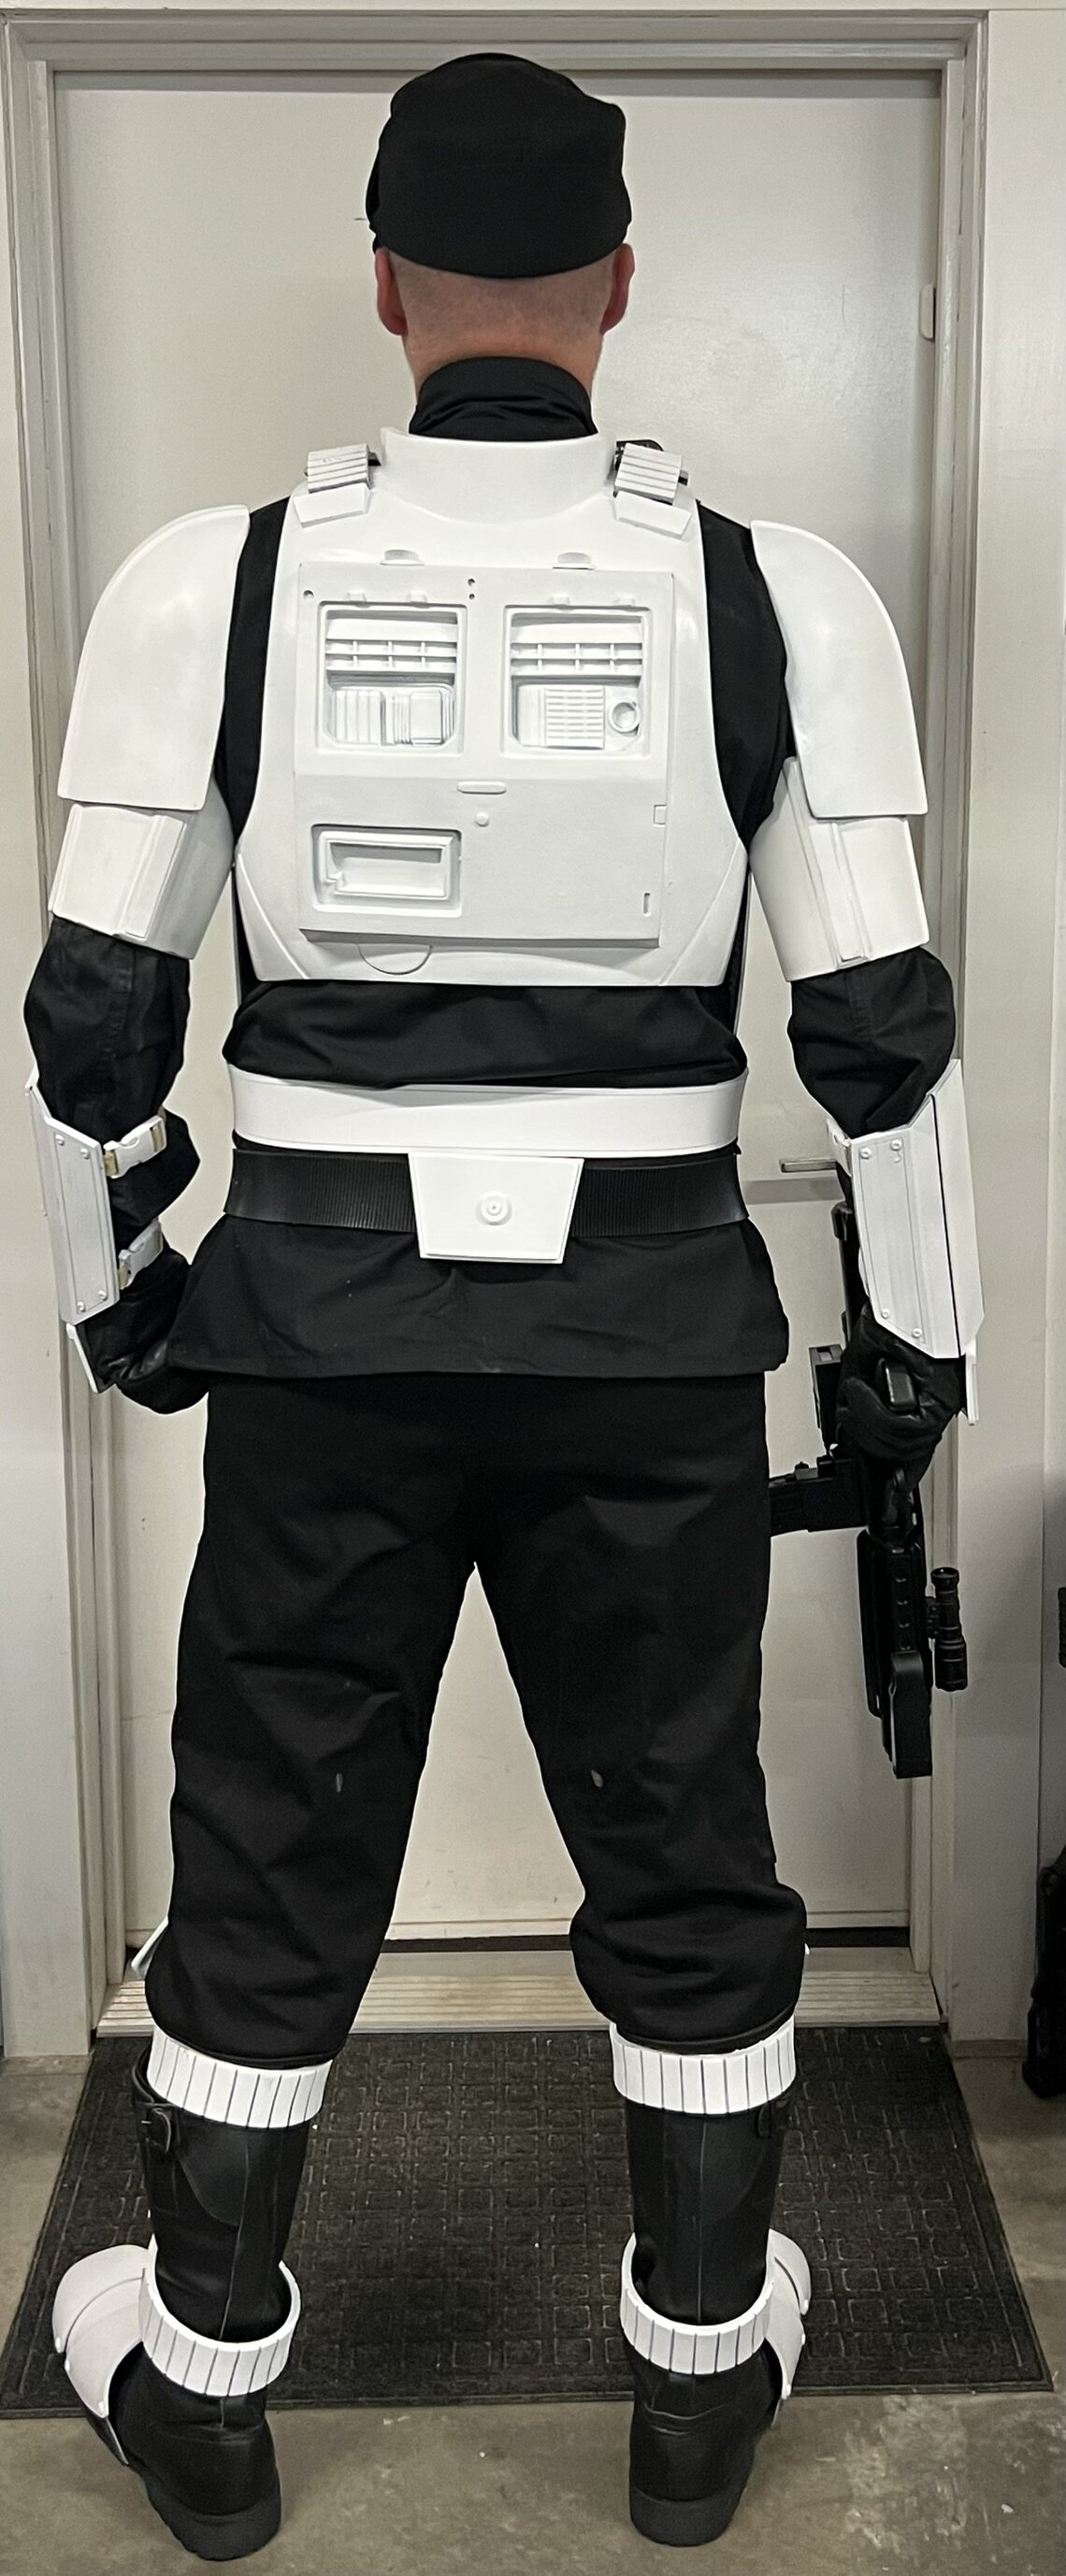
before moving on to any other discussion, i want to clear and lock this text. Once this is agreed upon , we will move forward. final text proposal. Chest Armor Chest armor matches visual references being accurate in shape and design. Chest armor is painted gloss white to match visual references. Light to moderate weathering consistent with reference images is permitted. The join between the chest and back armor are created by an angled sweep starting at the bottom of the chest armor and finishing at the bottom of the back armor. This may be held closed with magnets, Velcro, or another hidden fastener. There is an indented area around the outer edge of the center flat section. Buckles attach to upper chest plate and are painted gunmetal or dark silver. Shoulder straps are affixed to the chest plate at the buckle. The shoulder strap is white. It is permitted to be made of cast flexible urethane or other flexible material. To the lower left side of the center flat panel is a recessed area angled inward from bottom to top with a raised rectangle greeblie and a recessed horizontal elongated oval. Left of the recessed area is a raised square that extends from the center to the curved side of the armor. On the top left side of the raised area is a raised oblong detail that protrudes outwards. Chest shall be painted to match helmet and back armor. OPTIONAL Level two certification (if applicable): Buckles have black recess on upper narrow section and the lower recess shall expose the chest armor. Moderate weathering consistent with reference images is required. Back armor Back plate is painted to match the chest armor, shin and arm armor. Back plate has a collar that extends upwards and tapers to the chest plate. Chest and back plate meet at the sides. There are 2 hose connectors located at the top of the back plate approximately centered above each rectangular cut out/greeblie. Back has two large cut out recesses with vent details and greeblies inside, all painted the same white as the armor. The vents at the top of the boxes may have the openings darkened with weathering. Four raised bars approximately .375" (10mm) long aligned to the top of the recessed box opening may be present. Each recess has different and specific set of boxes inside that are painted to match the recessed box color. Light weathering is preferred inside of the recesses. Bottom left features a smaller rectangle cut out with the left side stepped. Half circle indent detail beneath the backpack section must be present. There is a long thin raised greeblie positioned central and below the 2 large recesses. There is a small raised circle greeblie positioned central and below the above named greeblie. There is a raised slot on each shoulder for the straps to fit into. Shoulder straps are white and are affixed to the chest plate at the buckle. OPTIONAL Level two certification (if applicable): The hose fittings are angled forward. There is a raised step on the bottom of the main back box. There is a recessed hole approximately .31" (7.8mm) above the top left corner of the left recessed box. There are two indented squares approximately 1⁄4" x 1⁄4" (5mm x 5mm) aligned vertically above the right upper corner of the left recessed box.5 points
-
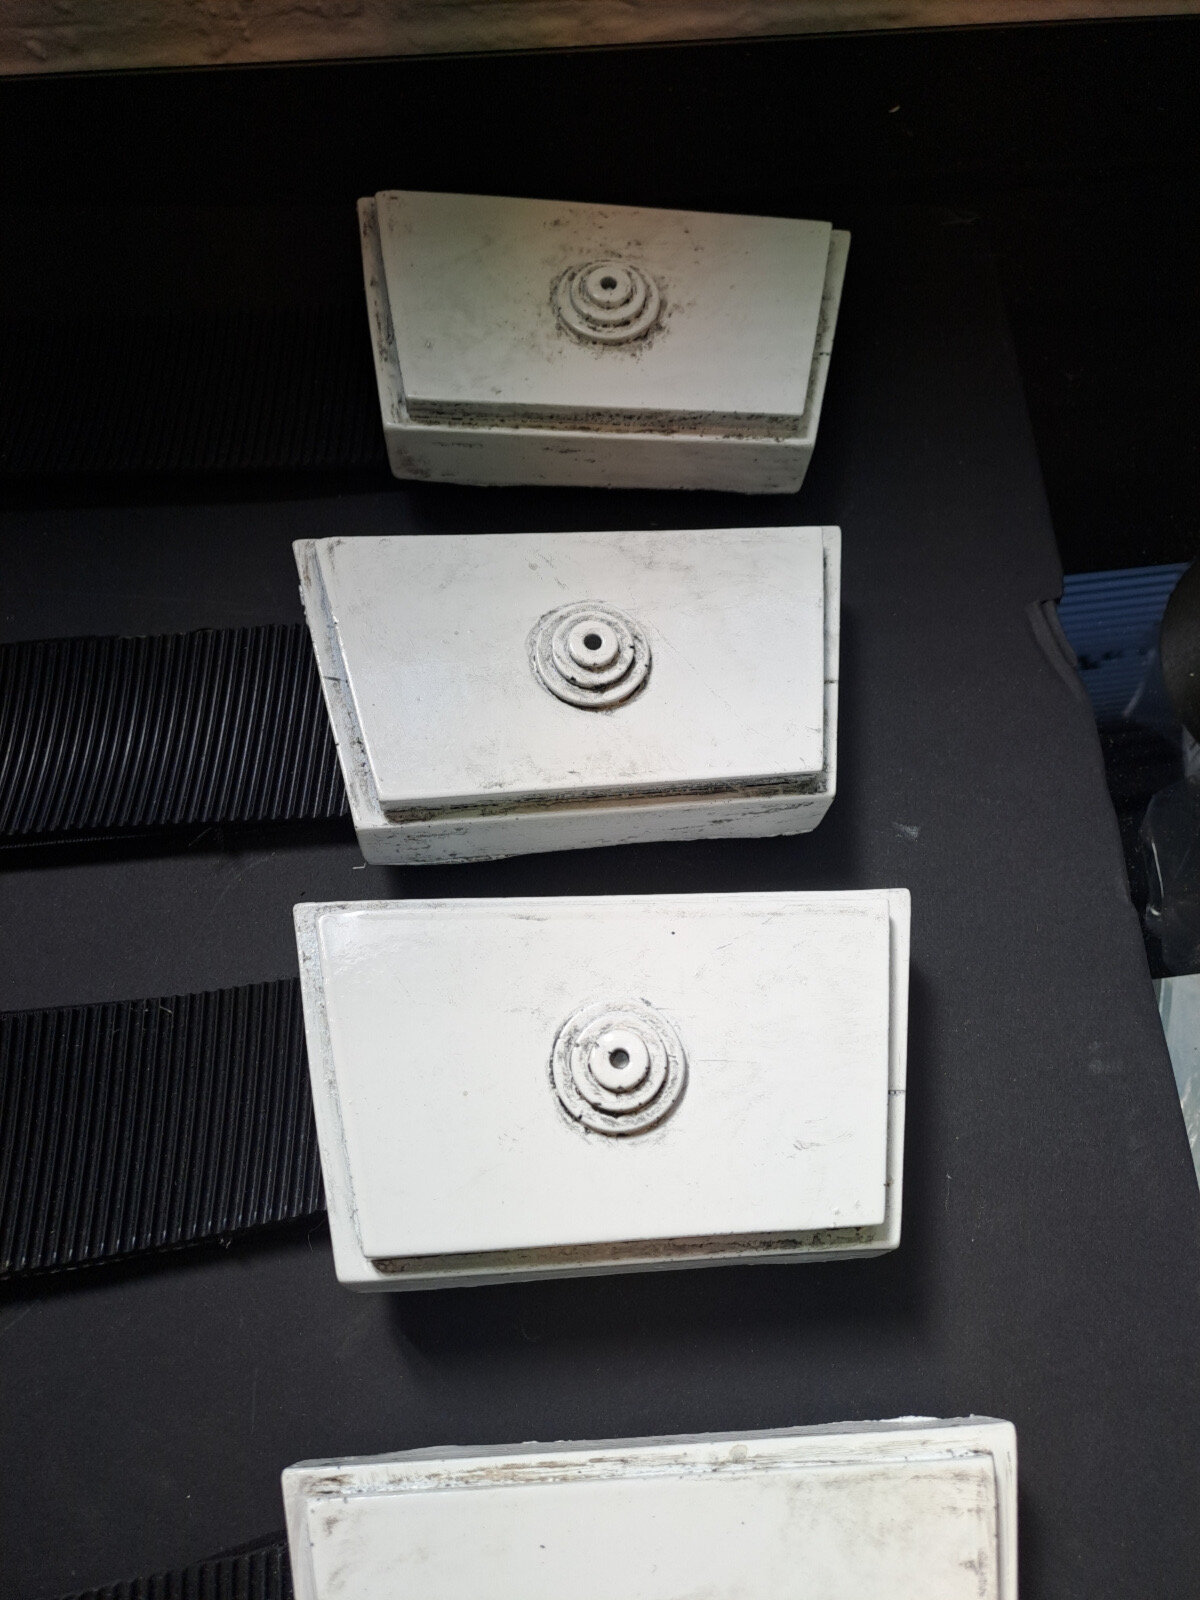
White belt is done.
5 points
-
thanks Sebastion and that proves a point I was going to make. Ive given model kit demonstrations on weatheirng to appear under studio lights. Models for movies like Star WArs and Battlestar Galactica was SUPER weathered just to show up on filmstock. Tarrif's white armor proves this. I feel that "Light to moderate weathering consistant with reference images is permitted" would be appropriate for L1 while "Moderate weathering consistant with reference images is required" Ive seen guys use those brownish paint marker sponge things and just dab it all over and the armor looks like a cheetah.5 points
-
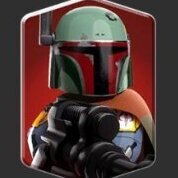
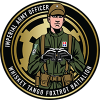
Our shoulder bells are so stealthy we don't need no stinkin' zip ties5 points
-
I mentioned it’s a thin rubber with vertical ribs and I was involved in some of the development and filming on these costumes. I try to avoid posting behind the scenes pics to avoid getting myself into any trouble but I’ll put the discussion to rest, please try to keep this to the forum and other private forums as best as possible.
5 points
-
Aloha, I figured I'd start a thread to post my files for your guys' use and for any feedback on them. For some background, I'm currently XO of the Pacific Outpost and do structural engineering for a job. I'm also working on a Forest Trooper here on the Spec Ops board, but CAD is easier than painting for me. I had printed most of the obvious parts of the ISB kit after seeing the trailer, but after seeing the Tactical Agents in action in Andor, I decided I'll stick to being Vader, but I like the kit and wanted to help out. 😂 I'm not an expert in CAD and don't mean to make these files perfect, just a solid first attempt that you can print for free. You should expect to need some customizing in your slicer software and or/post-processing to make these ideal for you. I'll revise the pieces if anyone has detailed requests or I can make new pieces if they are simple. Forearms (minus flashlight): https://www.thingiverse.com/thing:7049441 Back Belt Buckle: https://www.thingiverse.com/thing:7050492 Toes / Boots: https://www.thingiverse.com/thing:70504875 points
-
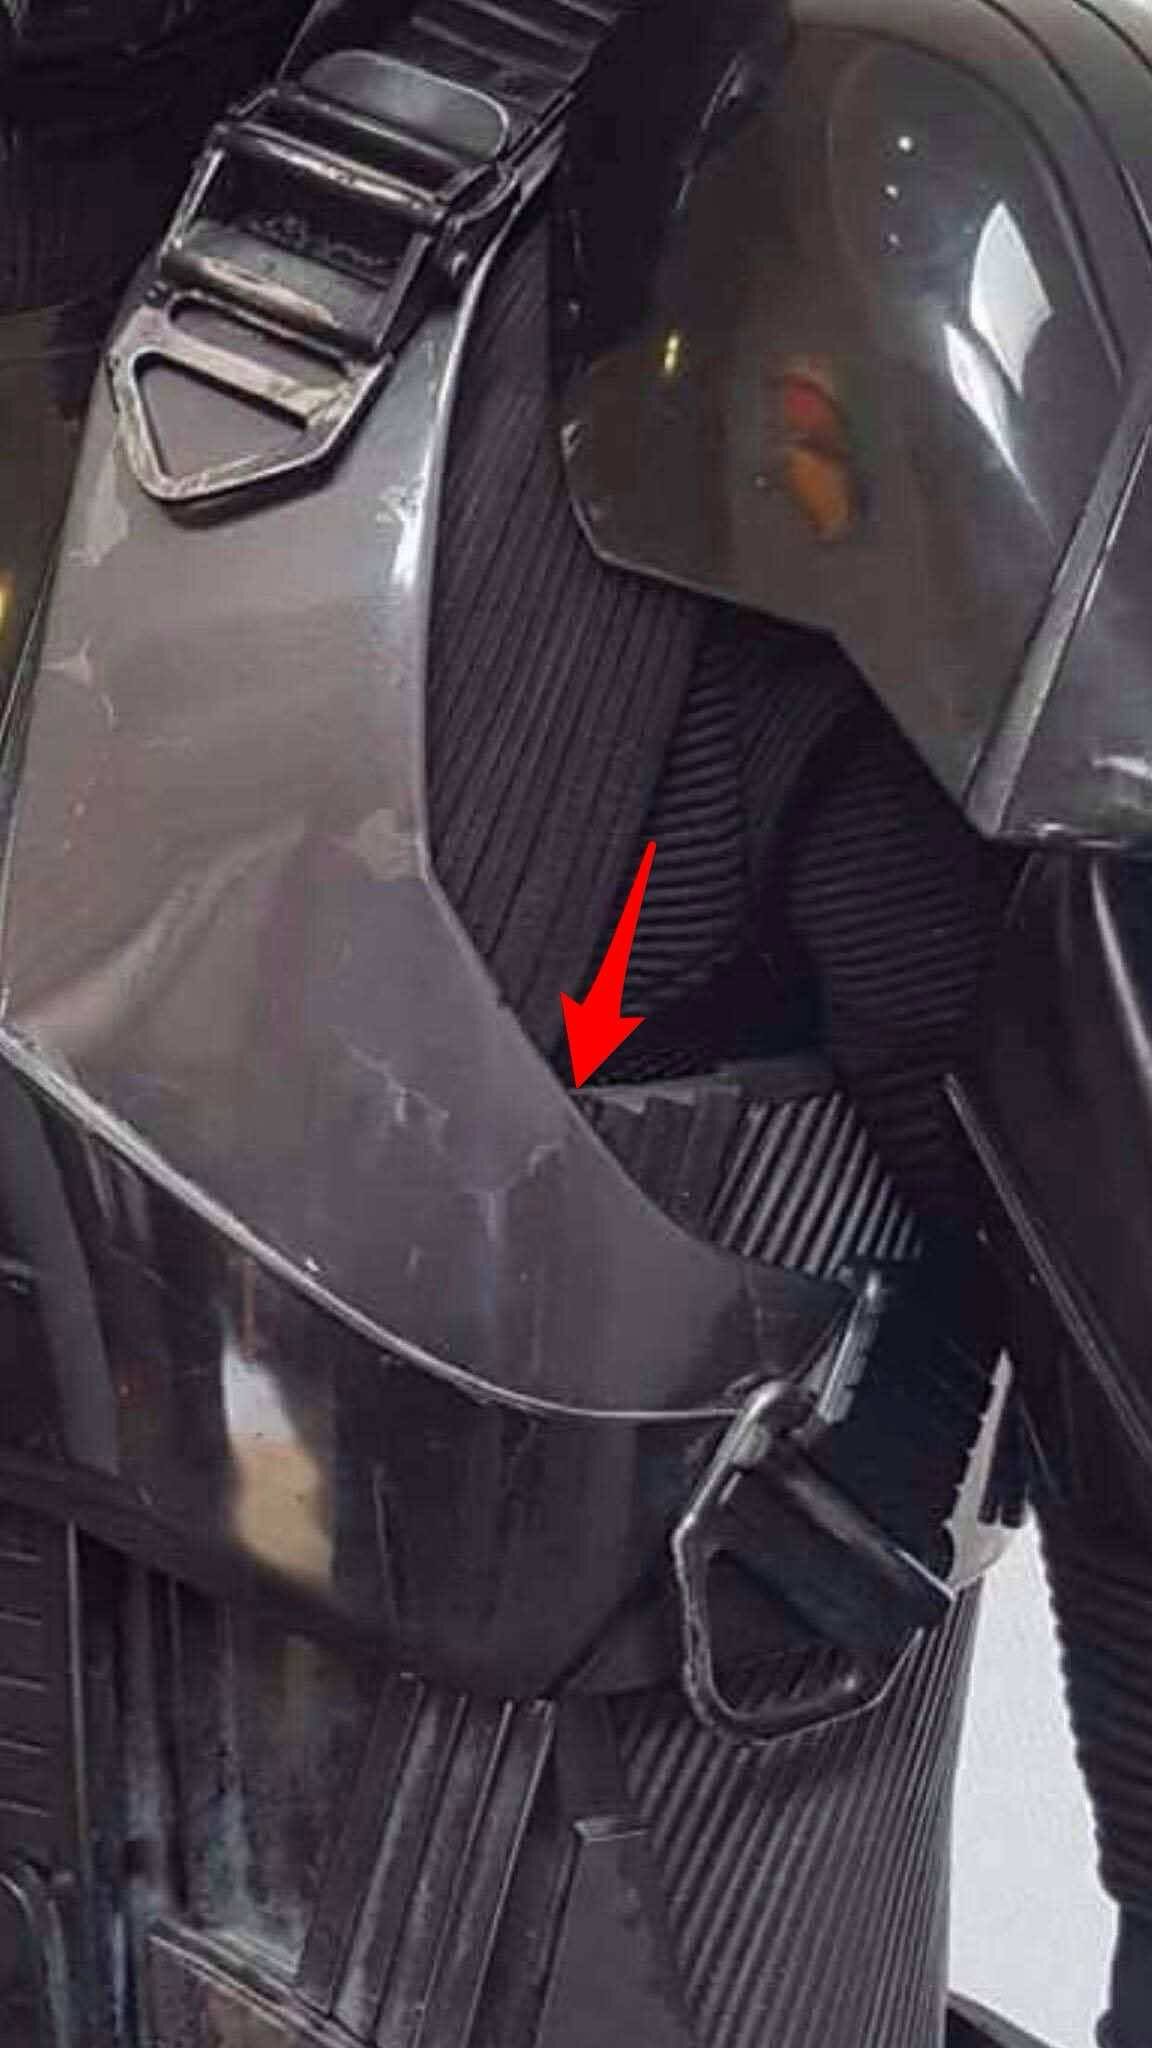
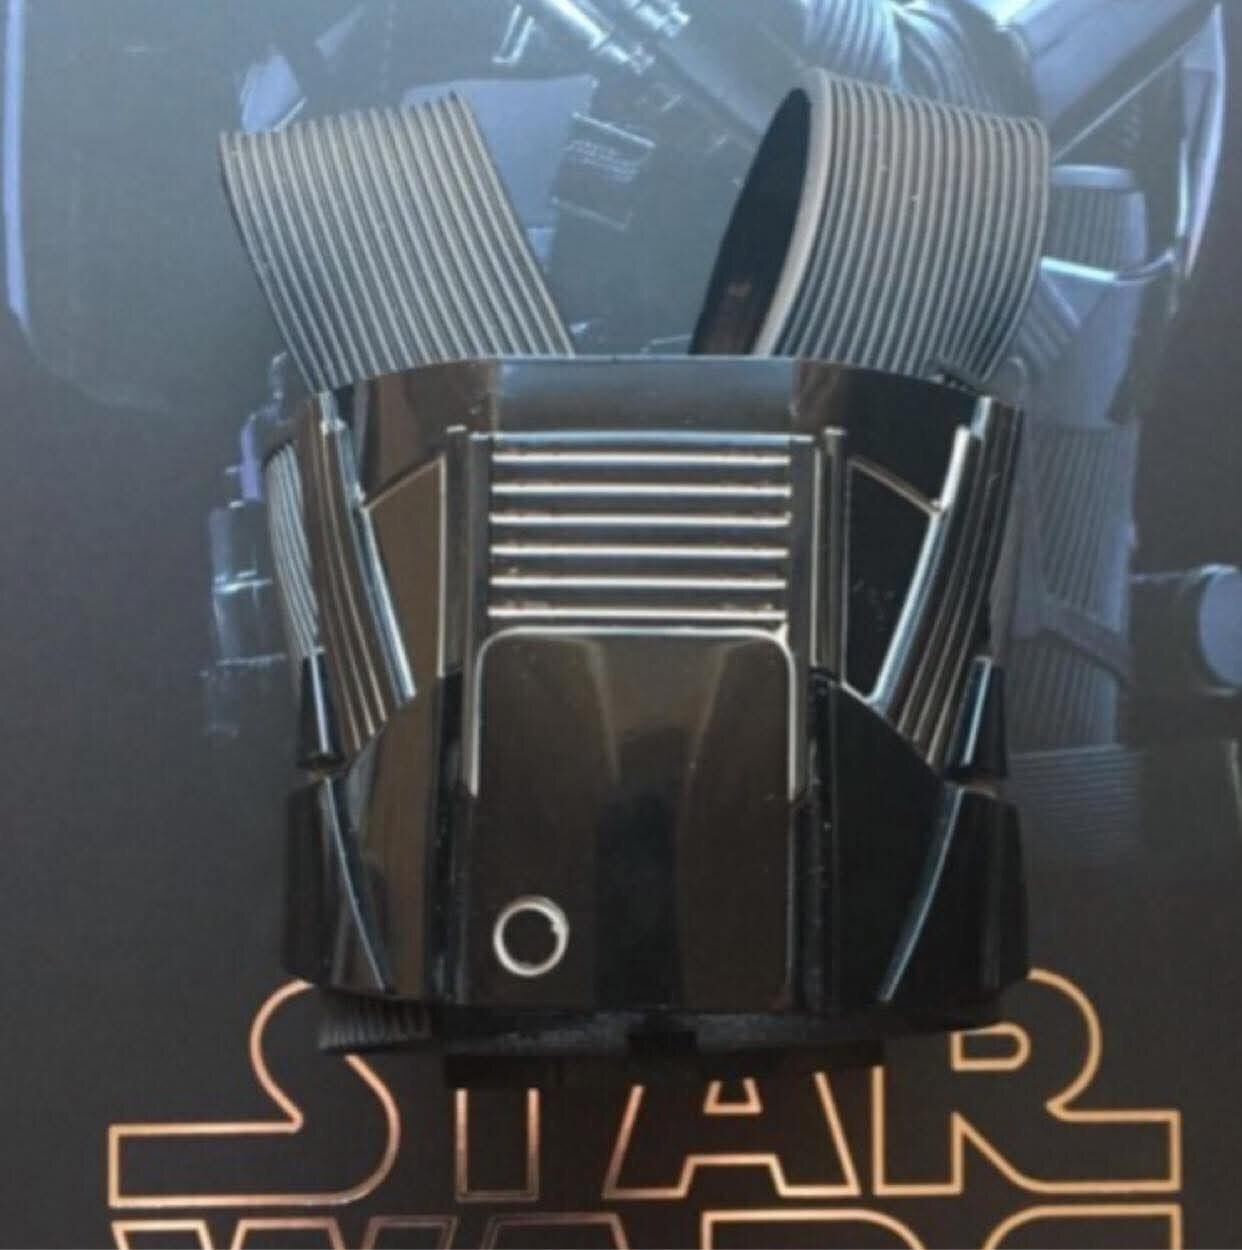
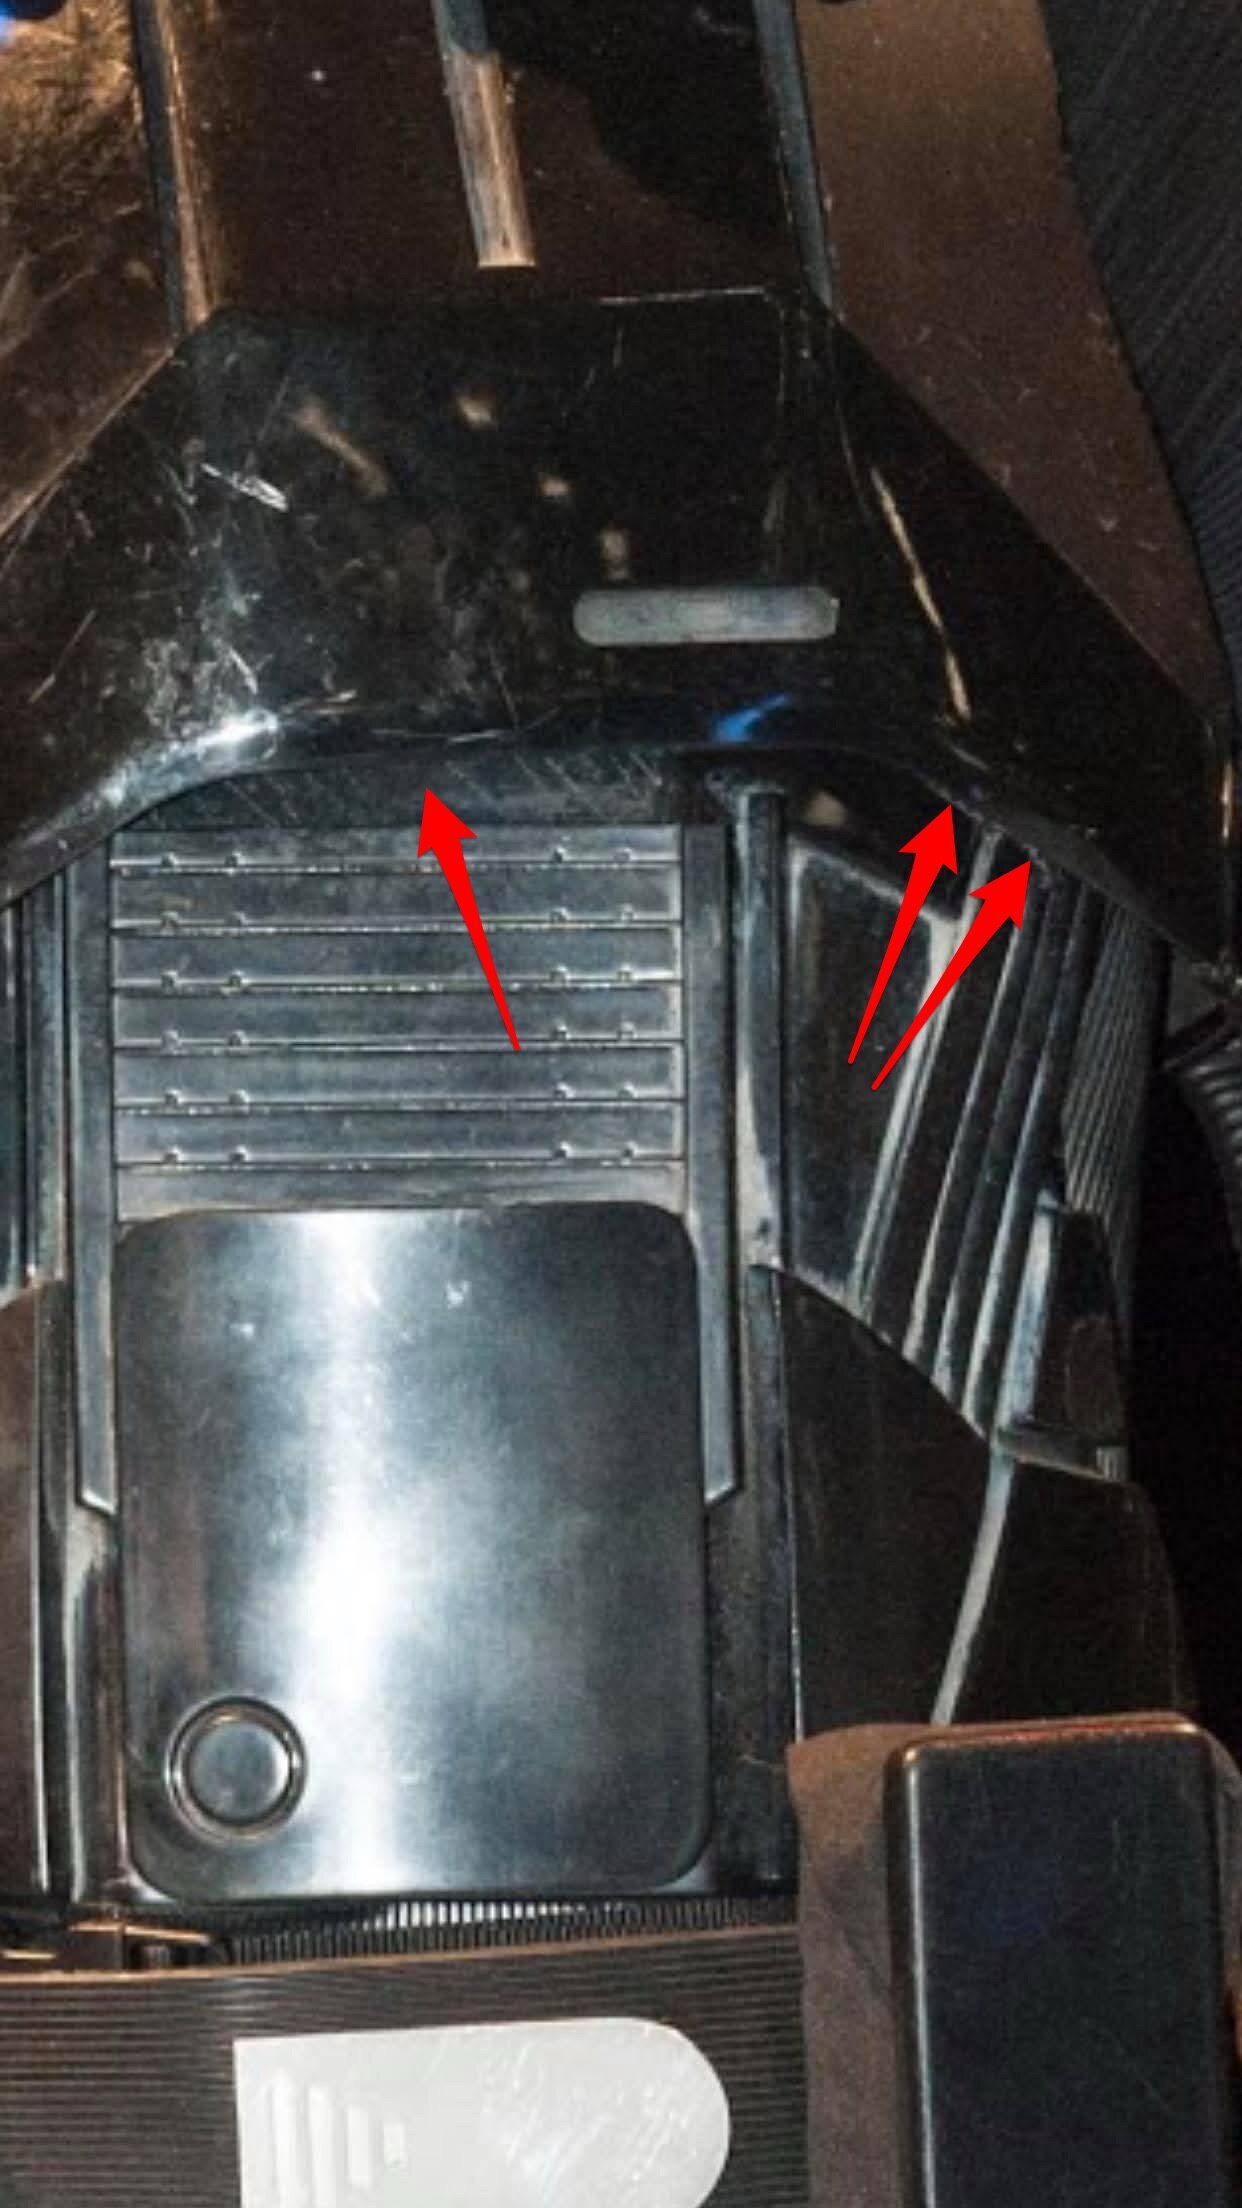
Thanks to the Anovos Statue we already know the height of the short inner rib. We also have photos of screen used armor to confirm this is correct. We can also see the top of the tall ribs in the upper corners of the Abdominal Plate on the screen used armor. I believe the original designer Glyn Dillon shortened the inner ribs to help create more clearance for the Chest Plate. Also the top of the tall ribs have a 45 degree bevel. So in conclusion; We know the height of the short inner rib from the Anovos Statue and the height of the tall outer ribs by scaling photos screen used armor. This all gives us a really good idea of what the Abdominal/Chest plate overlap area looks like underneath. We also have some confirmation from this Lucasfilm licensed HotToys figure, albeit a little shorter than the real thing. You might also notice the ribbed V-Poncho attached to the armor mid-section. That is actually how it was on the screen used armor, although it was attached to the outside of the armor with velcro, not the inside. Which is what this whole upper area of the Abdominal Plate will be needed for. Side Note: I believe this V-Poncho was only added to the costume to coverup the suspenders holding up the armor mid-section. With this update we have now addressed both of the two main overlapping areas of concern using all possible information and references available. Jintalol has already captured the Bicep/Shoulder Bell overlap perfectly.
5 points
-
Excellent, good to have the clarity on the name. We'll need to put together some decent screen grabs to prove it, but it would largely appear to be an unarmoured Imperial Security Trooper wearing the white ISB tactical armour. Similarly we see an ISB officer being given some of the same armour (the torso armour) to wear over their ISB tunic. I would therefore be surprised if the placement didn't follow those of the pre-existing underlying costumes. Specifically the ISB Tactical Agent to SpecOps to join the underlying Imperial Security Trooper costume; and the Armoured ISB Officer to IOC to join the ISB uniforms (eg. Dedra). The same logic was used with the Star Wars Rebels armoured ISB officers such as Kallus, who wore their armour over their officers' tunics and were subsequently placed with IOC. If this is how it plays out, the only minor complication would be that the torso armour needs to be consistent across the two costumes. I'm sure however that we'll have no trouble coordinating that if that is the direction that the LMOs decide on.5 points
-
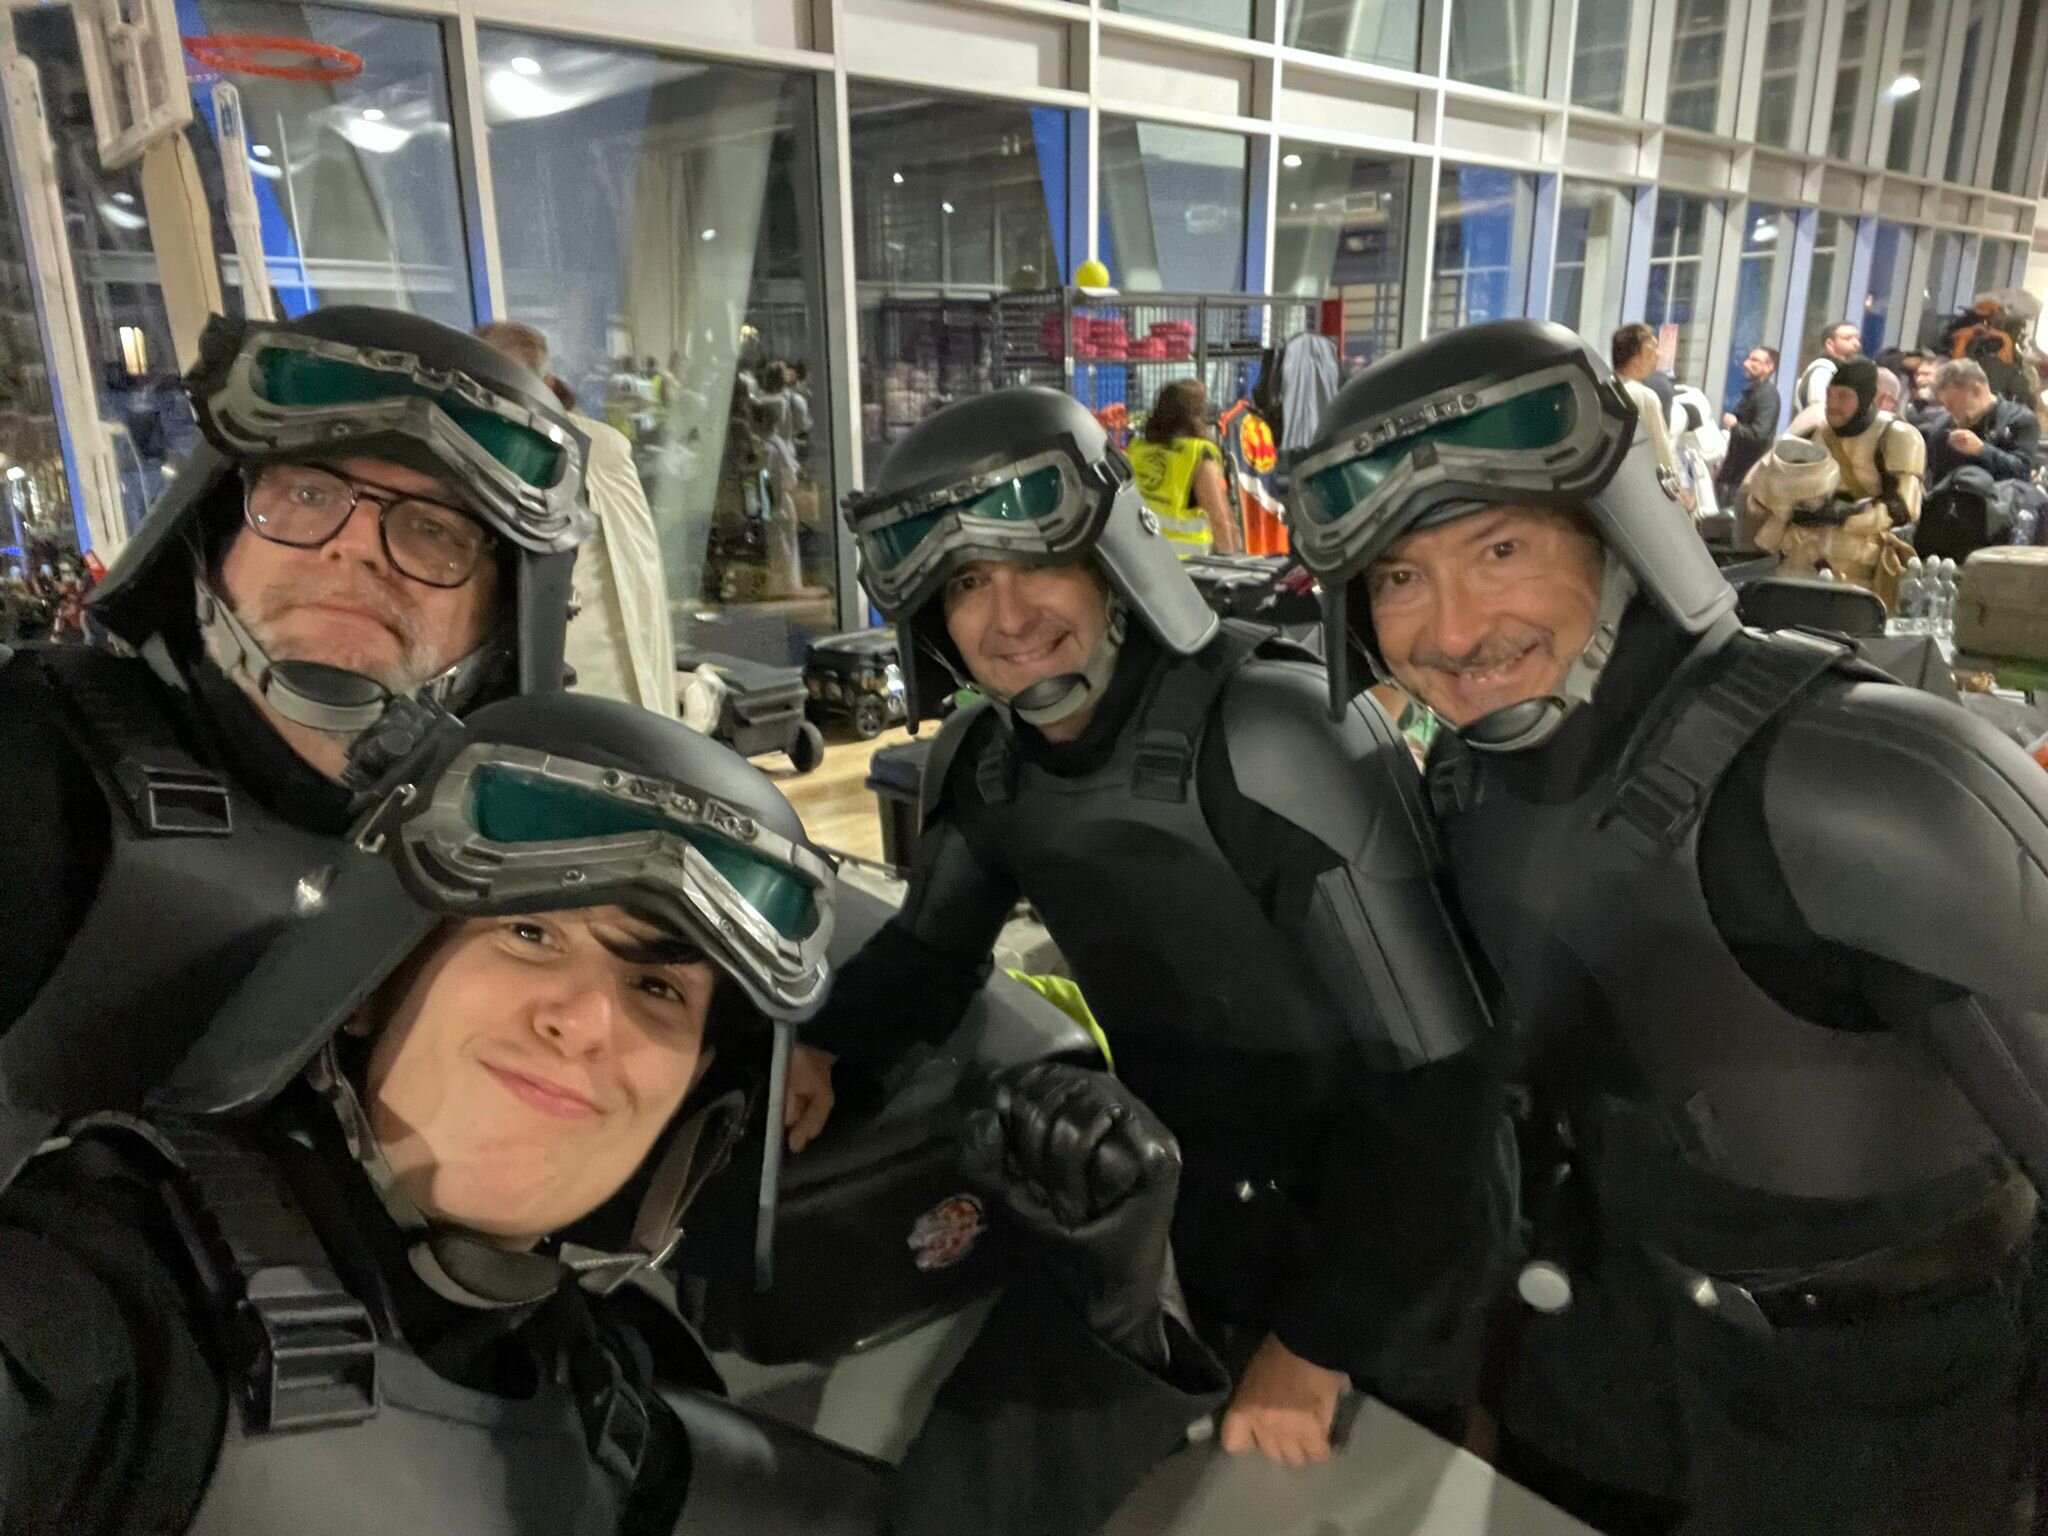
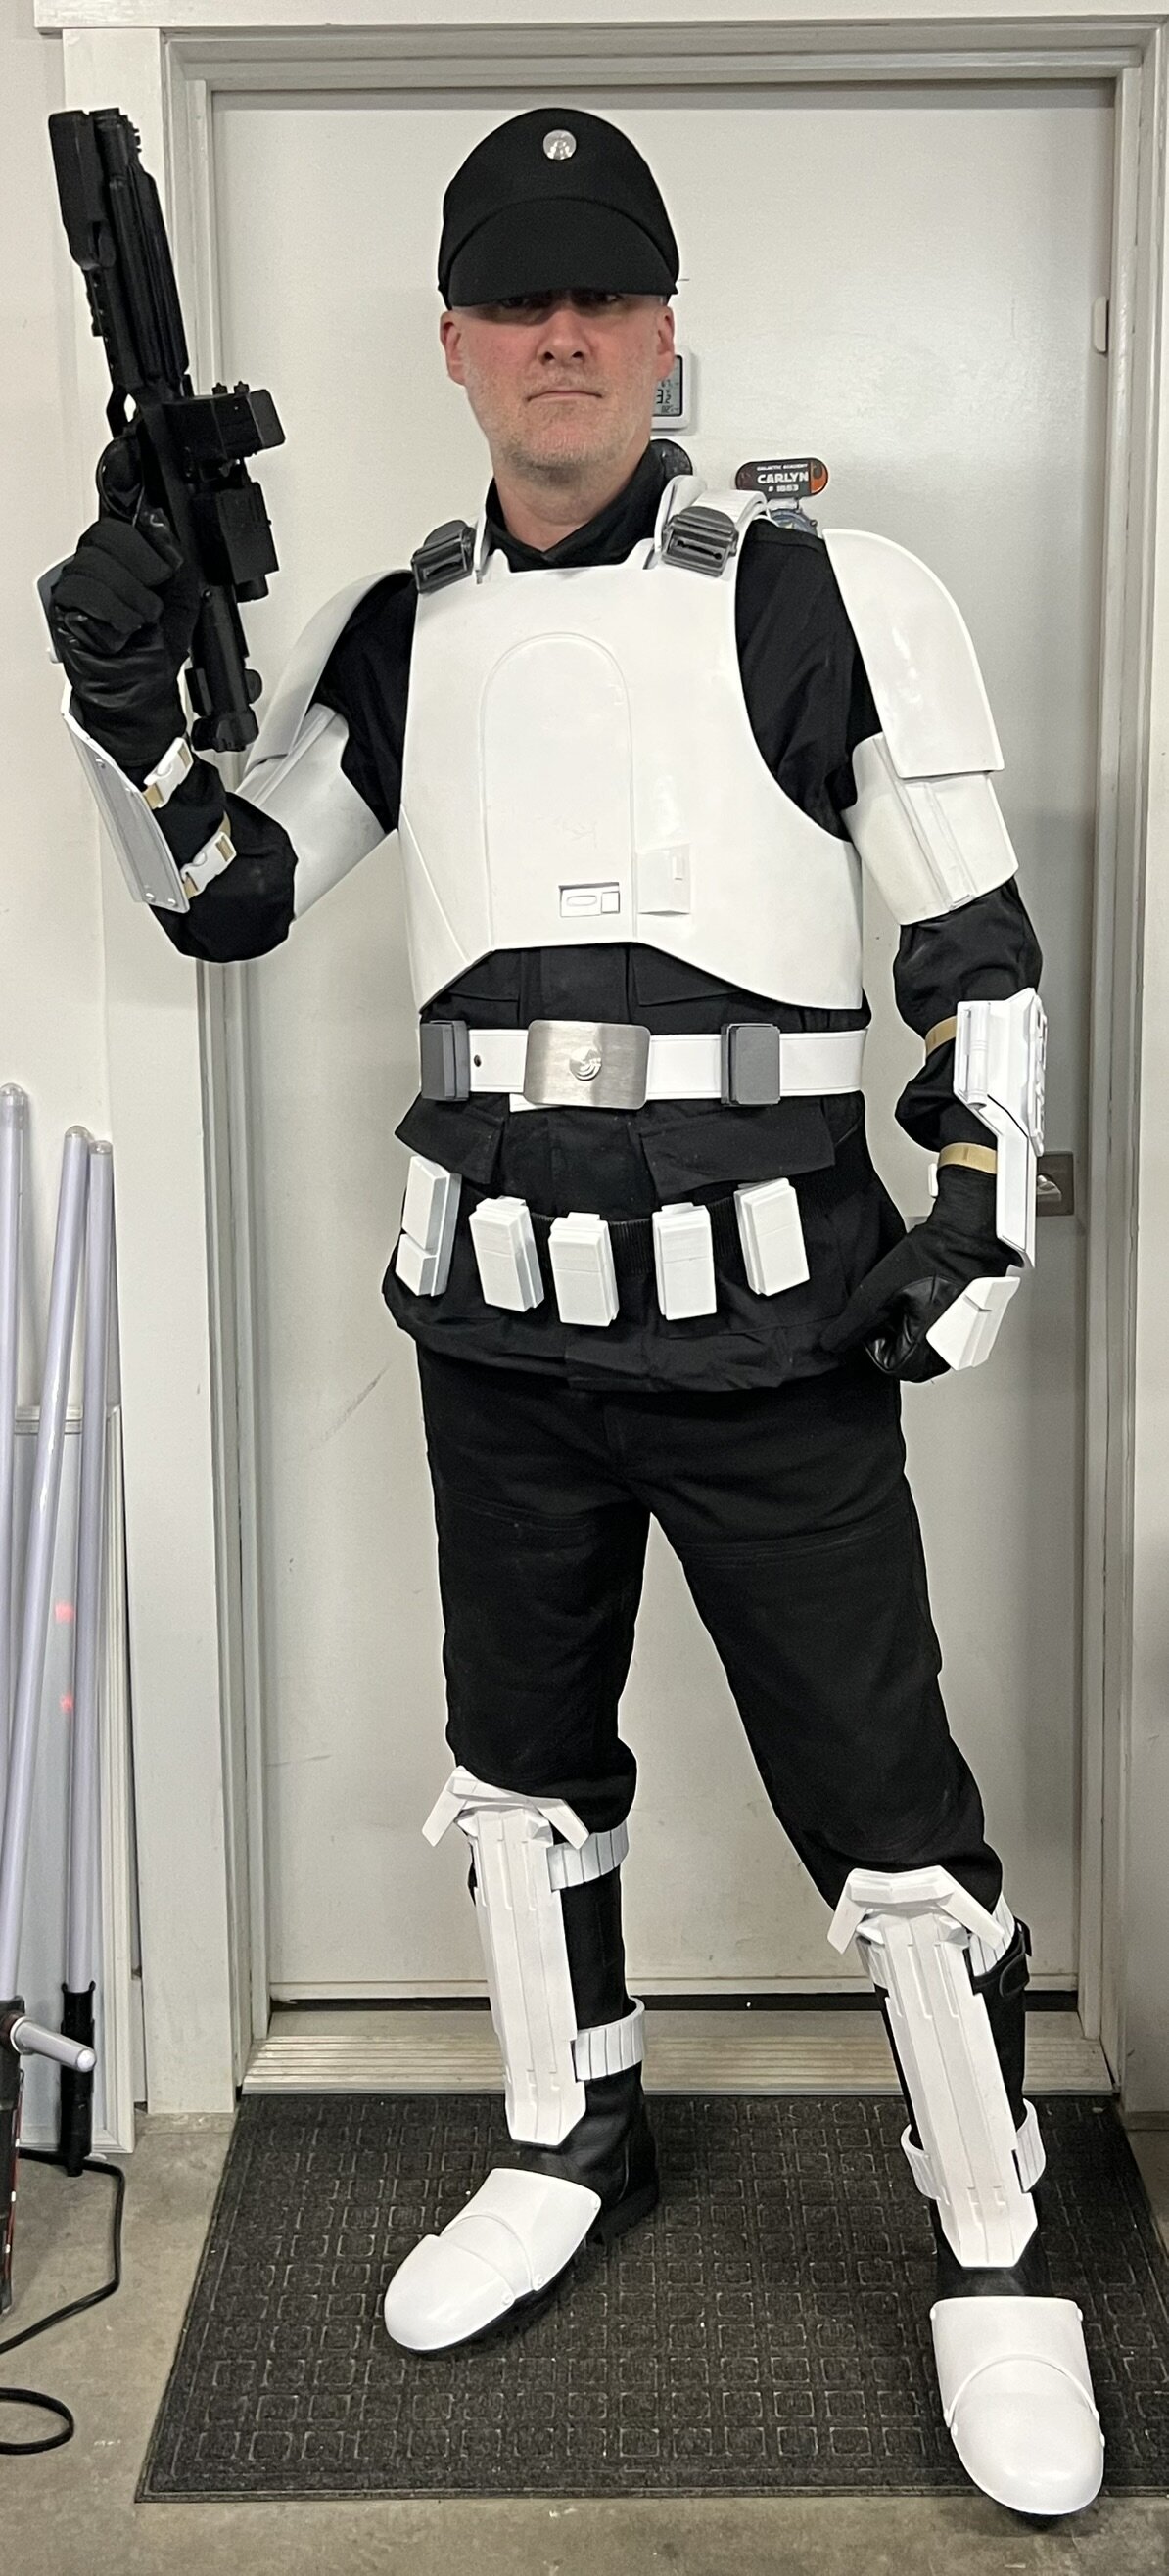
Going to chip in, for those that don’t know me I’m Will 10 year legion member and a film and TV costume assistant, I was the costumer in charge of most things uniform on season 1 and 2 of Andor, most of the hard work has been done by the crl team and other contributors like my friend Fraiser etc, but if there are any other outlying things I’m happy to see if I can be of any help. there’s actually a few more than the door guard that had E-11’s, a few of the patrolling troopers outside the base and I believe most of the troopers that escort Sgt Kimzi into the vault when they catch the heist in progress (including Kimzi) I may as well get ahead of the curve as I’ve already seen people discussing it elsewhere, the mina-rau soldiers are the exact same uniforms form Aldhani, people are speculating they’re a new browner version however it’s just the colour grading, though I understand discussions still need to be had as obvious going off “screen accuracy” they look different even if they were the same uniforms from before. some of them have the new addition of the goggles which are the helmet goggles that have been reduced in size.
5 points
-
Boots done! What do you guys think? Action pose:5 points
-
This is a composite ribbed fabric with a thickness of 5mm. I added Velcro to it and it perfectly blends with the leg armor.5 points
-
These are today's vacuum work.5 points
-
The digital repair of the chest and back armor has been completed.5 points
-
This is a vacuum test for the thighs and buttocks. I think it looks pretty good.5 points
-
4 points
-
Tomorrow is the big day for me! I am heading to an armor party for a suit up and to get help taking my pictures for approval. Got a checklist of everything I need and inventoried all of my stuff. I should be good to go! My next post should be the pictures I submitted for approval, and hopefully I hear back soon/quickly!4 points
-
I was able to put together one of the canvas pouches as well as the (stupid) holster using the great templates made by other members here. While I was at it, I made my own template for the leather pouch and put that together as well. Other two canvas pouches are in the works now. Leather pouch template for those interested:4 points
-
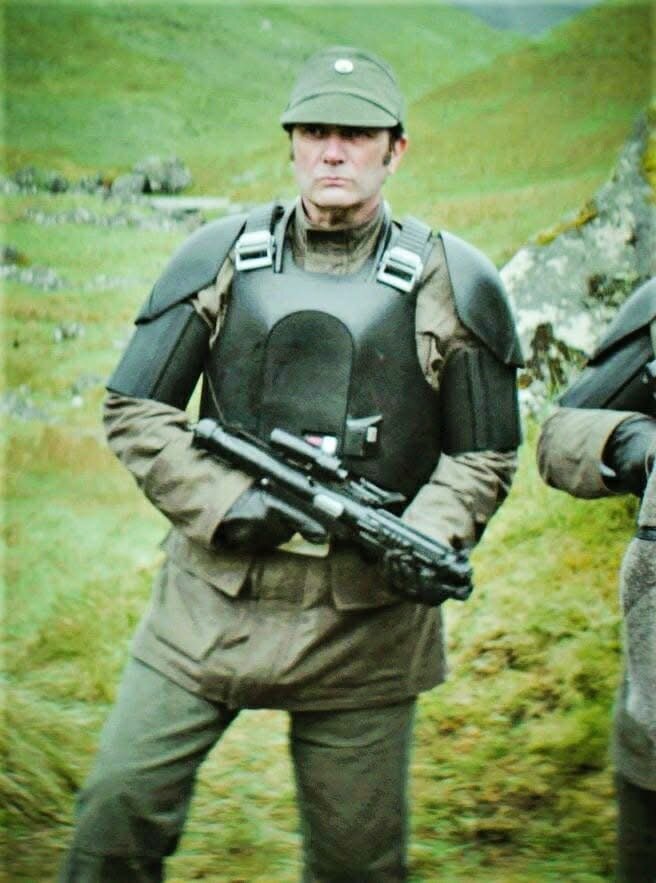
So Variant elements: No suspenders. (defining element) Does not have the two front angled pouches other IATs have on their belt. (defining element) Wears cap, not helmet. Code cylinder may or may not be present. Belt would have at least two smaller pouches per side. in several shots there seems to also be a low slung pouch on the left-side rear. I would assume these would be minimum requirements, with other pouches allowed like the other variants. The ones helping the general have rectangles drawn above the left chest pocket; some sort of identifier, either as a medic or a rank bar? Optional TK Belt and E-11. I have the required items for this variant and can pose for CRL pics if it would help. I'd love to get feedback and see these three things included in the CRL. Thanks for your time and attention!4 points
-
Upgraded abdominal armor and lower back armor.4 points
-
Held together using elastic strapping, and attached to the boot using both magnets and a stirrup. The rivets are purely cosmetic. I might change that when my plastic sabatons arrive but for now that's how it is.
4 points
-
I just did a test fitting (no kama yet) and let me tell you about weathering. You probably need some minor degree of weathering to make certain parts pop out. I don't think it should 100% clean. The actual tactical squad should probably have moderate weathering. What looks moderately weathered up close can look lightly (or not at all) weathered from 10 feet away in certain lighting.
4 points
-
Test fitting complete. Still need to figure out the skirts / kama.
4 points
-
Hello, in order to have the shields and baton holster included in the CRL, I would like to open a conversation to achieve it. After watching the episode several times, mainly to obtain the appropriate screenshots, there are a couple of things that stand out to me, as I am sure to many of you. The first of all is that they received advice regarding the use of the different items and how the stunts had to act as riot police. What's more, due to the high "physical" and action content of the episode,even though they are acting, the shields received a harsh treatment and they probably also had received advice regarding the materials and props necessary to give credibility to the scene. In order to have a professional point of view regarding this matter, I have requested opinions from professionals in the police field, and they agree that due to positioning, use of containment tactics, withdrawal and arrest, the stunts have been minimally trained. Regarding as it seems to be ,the material used, both, the holster of the extendable baton and the large shields, maybe it is material for police use, minimally modified to give a "star wars" appearance, as usual ,or custom made meeting the approximate specifications and standards of this kind of pólice material. I have received information about measurements, shapes and materials from various sources... and also carried out searches , what is more I was lucky enought to carry some. https://www.nidec.es/es/escudos-antidisturbios Regarding the baton holster, it is a small item with very little visual impact on the screen so it shouldn't have been very complicated to go for something simple. Several of the riot police who I´d shared the screenshots agreed that it was probably a simple glove holder. Sample: https://www.desenfunda.com/porta-guante-giratorio-en-cuero-parabellum-95165-pa-95165-209699.html?gad_source=1&gclid=CjwKCAiApsm7BhBZEiwAvIu2Xy2Ka5lGoW-2lLydRs9xaMAEuJcVEEY3-O7PXiZlhUItskAKjFS7YhoCWIoQAvD_BwE&utm_source=adtraction&utm_medium=affiliate&utm_campaign=adtraction&at_gd=90C7B9B01E546FEAAEDFD926DACA08011DCA9775 To me it seems like that, is very common and easy to obtain police equipment ,or maybe custom made as I said. There are very few clear shots of this item since it is a black item on a black background...in motion...in fact the closest and clearest one we have is during the confrontation , of one belt falling.... SCREENSHOTS: The shield is more complicated , they are objects of great visual impact, close-up filming and surely in the storyboard they were well represented, also on a practical level it is an action scene and should withstand harsh filming conditions. SEE HOW IT BENDS An item with these characteristics must be based on a real model or a real one. I would consider various options: A/Produce the item from scratch in the prop department , or request it to be manufactured and give it the final finish in the studio. B/Buy items with similar characteristics to those needed and modify them until their final form , ¿Second-hand police equipment?. C/Search the studio's wardrobe and props collection for the items they need and modify them ,a fairly common thing. As I have already indicated, after watching the episode several times, I highly doubt that they are resin cast (a common in shields), they receive an amount of "damage" that brings them closer to modified real shields or shields built from scratch but with the same materials than a real one ,in short, we are talking about plastics. After having reached the final design, they can easily have ordered the necessary sheets from any company that works with polycarbonate, with the shape cut, folded, and the geometric pattern already milled or engraved. Doing the finish painting and putting the handles in the studio's prop workshop , regarding whether this can be done. I have also been talking about it with an advertising printing production technician , and he let me know that any large format printing press company dedicated to advertising , usually has the necessary machines for die cutting, bending and machining, methacrylates, ABS, forex, polycarbonate, etc... .. https://www.brettmartin.com/images/default-source/plastic-sheets/industry-case-study-images/application-spotlight-images/fabrication-spotlight-1-police-riot-shield-600x350536b1923-1dd9-4445-9b6d-885aaeced6c2.jpg?sfvrsn=61fcc077_15 https://www.brettmartin.com/ Obviously it's my opinion and I'm opening this thread to get more points of view, it would be great to have first hand information from someone who was on set. there are 16 large shields and 4 small shields. The width of the front part seems to be the same measurement, however on the large shield the "wings" seem larger and with fewer degrees. The height of the small shield seems to be the size of the large one WITHOUT the "window", in such a way that the geometric shape could use the same template for both, adding the small "wiew slot". Using chatgpt ,with the measuraments of the my buckle as a reference of a real item and superimposing a layer on the most complete photographs and then leaving only that layer: SCREENSHOTS: On the back there are not many screenshots available, but there are enough of the support elements that must be assumed common for the two shields and it is clearly seen that apart from the handles, the foam/forex, are painted in black. the handles on the left look like a kayak ones: https://www.amazon.com/-/es/Kayaks-correas-moldeadas-extremo-paquete/dp/B009DF8PIC/ref=sr_1_4?dib=eyJ2IjoiMSJ9.ivbQnwpozrpCiX3bxGAUn0wgZhqjR4H_M-x6sGJMUiVqRSo2GZDHX0xF_i6fSJmKpepCtL4xZ-WLMyQDFSTrPcDVF9_1e2XMdSST5nvEzfznmLIf29eAJR1P3efXh_jPah9Qg8Sme4I_TPbzR5YlcXRrGvU3k-HkIAghdAvmYkEPImuqXJ8qYxjk3ZnBi0BlOzMBT52gdbbY3yN-q7cSOfpPu-rmqA0ZGMvvPUyNJxEBoxtQCDb0xI4Xs4asELSP26DypOUCzQxQ6InxVcmYkFtN_-QgBKA4jN8AFfB12d93IWMRdOJ9xsQgqI7fAsXetMiebpXfcce1skwmec4NBTXoz60J6CadTskQZzCv1uFijx6NOAFWonHen8V-xPt1G0woIbWQMR7LJw0mSPnerXuASiGdv-E1w0_8RdEyNzCrBg8dpRcBVrjkF9IoeXLn.q3yknZ7_RJ51Pkv74CypE2oe4UyrNyPEK4TDk3KRx_Y&dib_tag=se&keywords=kayak+handles&qid=1737135103&sr=8-4 The handles on the right look something like this : https://www.amazon.com/-/es/tiradores-cuadrados-plástico-gabinete-equipaje/dp/B07YCGWBBM/ref=sr_1_8?__mk_es_US=ÅMÅŽÕÑ&crid=18TZLCQZITBKI&dib=eyJ2IjoiMSJ9.J59q79WhD6nDUH7LKN6CJ549WYEBc8zn0N6e3POaGcizcZTvXsCKAVIJiakJdMwtrZFjHyAiVICToRIjon972qukfr1tNz2G3Q1ff11GJRrgaExsafiyT-0Cvzp-M7R8CVBgxh9LVjK6VRlkmmZB-M7hLGYWAZAhfOF8tuOuoJkk6RYFY_p4lvOUaVZ-Clc2DncE9b17YymM6hcq4_nEhR_iOKJDbIrWsFmOs752a9RglTNzzpLYRLFTqa3VReisCUQrbUXYGC_9PvA1Wn4NSqPfT4ENMdtgi1QYiQWm0xnrv2Pji4Dtch9kKuuP_fmfVqjt-p5pSrqArtroodHXiKDahpgiWCy4VqBVJcT3BEGXBc6Y_uvoa-nFhVXR7fp7ciUMPvCJ-ogbXt2GtZqRZc6b4dZTHJ7rRpNKoNY66qEEPTz2eDwVKm2n0BAtQYzX.arjk57vTrwMOmFVQSro4ycKmQAmzlBtXyx7MZWxP4WM&dib_tag=se&keywords=plastic+black+handles&qid=1737135532&sprefix=plastic+black+handles%2Caps%2C165&sr=8-8 SCREENSHOTS: EDGES AND MAYBE LAYERS? In my opinion they are two constructions of 2 millimeter polycarbonate or something similar, composed of two layers. One of the layers (the one on the back) with the high-density foam/forex supports, with the handles attached ,another layer (the one on the front) with the engraving, the two layers attached with glue and painted black. In the case of the large shield and since it is the first line, everything is also joined together by the 4 screws that can be seen. I await your ideas and/or opinions. As soon as we agree on some measurements and some details, I can make them.I have embedded the photos in the forum to the best of my ability/knowledge.Sorry for my use of English, I hope all the text is understandable, I'm a little rusty. If the moderators consider it appropriate to move this post to another thread, let them do so. Likewise, I can provide moderators access to a folder with the screenshots in case they consider it appropriate to upload them to the thread. Greetings.4 points
-
Hi Guys, I am the DCA of the JRS that is responsible for the Infernos and have worked on the Inferno CRLs from the very beginning. It would be a pleasure for us to work together, as many members seek approval as Del and Hask, and so the CRLs in both detachments should be set up equally when it comes to all parts that can be used by both characters. After consultation with the current JRS CS, we are open to any cooperation. Dennis Opfermann TX/TI 508834 points
-
I 100% agree on sanding. I had to do this for areas of my shadow stormtrooper years ago. Obviously, if it's been painted, then you'd need to strip that and see how the plastic, but since I was working with black ABS, sanding worked great. You want to sanding pads that essentially run up to like 12000 grit. Others may have recommendations for where to start, meaning you don't have to start at the lowest grit necessarily and work your way up. You may be able to start in the middle. What I would do is find a spot that you can sand the inside of the armor or a spare piece and go through stepping up the grit until you get to that gloss finish. I will also wax mine periodically with Maguire's. Worst case scenario is you can go the paint route in the end, but it can be tough to get it even. I had an auto body shop do a different set of armor pieces to get it right.4 points
-
the files are now done, i have started printing them. I am still waiting on soft parts from the seamstress extrordinaire4 points
-
The actor who played Benzi has shared some good behind the scenes shots on his instagram https://www.instagram.com/louismartin___/4 points
-
Worked pretty hard on the Imperial Army Trooper armor today because it was so nice out. Lots of sanding, filling, and painting. This is for my friend Nathan Gamer. Everything 3d printed in ABS and TPU for straps, respiratory mask, and goggle padding.
4 points
-
I got some work done at an armor party yesterday, here are some updates! Boots still need a major overhaul but everything else is getting a nice, subtle wash of light green after many passes. I think I'll do another round of green wash and then try a suit-up to check in on how it's looking all together. Thanks for the support guys!4 points
-
just wanted to give an update, i am just awaiting the soft parts to be finished so i can get started on building the kit. i am still 100% committed to the build, just unfortunately, i suck at sewing, so have to rely on the talents of others4 points
-
I am conducting vacuum mold testing for helmets, assembling them simply. I use ABS vacuum to make the outer shell of the helmet and use resin to create details. It looks good, but it still needs some optimization.4 points
-
Since my approval years ago I see that the CRL changed and update the TU for the helmet. I searched around and found the WTF was able to provide one for me...but it's awful. The quality of the resin case was very bad and the scale seemed off compared to the CRL photos.... So I've modeled my own for 3d printing and I'm giving the files away. If you spot any glaring inaccuracies, I'm willing to try to fix it or share the fusion source. Merry Christmas! nocjef TX66667 IATCommUnit.3mf
4 points
-
With great satisfaction I inform you that my Mudtrooper has been approved by my Garrison! Thanks to everyone for the support!!! I made this costume trying to meet all the requirements to be a "Specialist", I hope I will succeed. In a few days I will forward the request in the appropriate section of the forum...4 points
-
Well... I think this journey is pretty much over 🥲 Thank you so much for your support ❤️ Today I sent the photos to my Garrison GMLs for approval. Here are some oh them showing the full costume and weathering. I hope it will be approved as is, otherwise I will make the changes they ask me...4 points
-
This is awesome. Thanks everyone for the work in getting this to the finish line.4 points
-
Thanks for all the great job. Can't wait to see all this photos at you wip BigJasoni4 points