nanotek
-
Posts
2,238 -
Joined
-
Last visited
-
Days Won
155
Content Type
Profiles
Forums
Events
Everything posted by nanotek
-
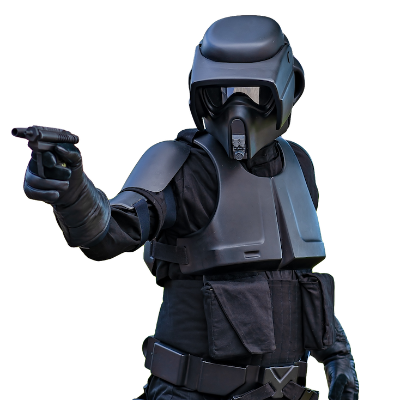
Check some of the reference material as a guide, it was a carefully molded component that locks into the rest of the armor. here’s some pics for reference:

-

Imperial Flametrooper (Jedi Fallen Order)
nanotek replied to stevechewbacca's topic in Imperial Flametrooper (JFO)
Awesome. Just remember to allow for tolerance when making the negative (fancy way of saying allow for the thickness of the material that will be sandwiched between the two) -
Imperial Flametrooper (Jedi Fallen Order)
nanotek replied to stevechewbacca's topic in Imperial Flametrooper (JFO)
Some kind of vinyl would work, but you may need to experiment a little with thickness. Stick-on would be great because it would allow you to apply little by little so you can mold it to the front of the helmet. Using some heat would defiantly help. The issue with adhesive backed vinyl is that you only need to apply it to the area you’re sticking it to. Glue means you’re only applying adhesive to the area you need but you may have to find one with a slower curing time to allow you to mold the vinyl into place. You might be able to use Foss adhesive (or similar) It’s used in leather and is very strong but allows some time before curing. I feel like if you made a negative of the part you’re molding to, might help to mold and clamp the vinyl into place. -
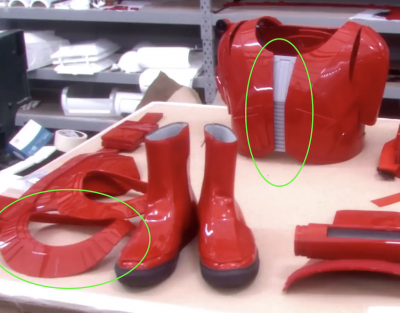
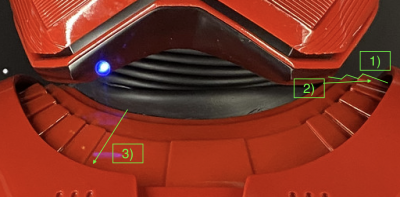
For discrepancy 1 the lines are approximate, so you’re good there As for discrepancy 2 the gorget, it looks waaaay off and I would look elsewhere or have them fix it up.
-
Just on the text of the thigh armor, something stood out about the measurement of the white stripes Its says around 2” which didn’t sit right with me so I circled back to other parts for a size reference. The two straps at the front of the Kama are referenced as being 3/4” to 1” and seen here in the same shot I don’t think the white stripe is double that. Might be close to 1 to 1 1/4” approximately?
-
You might be able to talk to Sheev’s Emporium on Facebook. Jim Tripon also does a fairly accurate set Geeky Pink, you should be able to get good gaskets from her as well. let me know how You get on
-
What do you need specifically? I haven't completed a build yet, but may be able to help
-
Actioned
-
Yes! A builder! Please also note that the Sith has the armor on the boots, really looking forward to your build and your help in finally forming a CRL for this costume! Many thanks!
-
Imperial Army Trooper - Andor - CRL Discussion
nanotek replied to nanotek's topic in Imperial Army Trooper - Andor
I believe most (if not all) of the modern armor that has been created since R1 has been a flexible PU. -
If we can get some solid sources that will help with inclusion. Do you intend on building one?
-
Imperial Flametrooper (Jedi Fallen Order)
nanotek replied to stevechewbacca's topic in Imperial Flametrooper (JFO)
Crowdsourcing is an effective method! Good to see you back at this project! -
Actioned Actioned
-
Getting a true match without a RAL code will be next to impossible. We did have some leads a while back but they all fell silent. The only thing you really need to do is have a consistent costume that is the same red all over. If we can get an update on this we will share it!
-
Imperial Army Trooper - Andor - CRL Discussion
nanotek replied to nanotek's topic in Imperial Army Trooper - Andor
I think the colour of the armor looks pretty good -
Imperial Army Trooper - Andor - CRL Discussion
nanotek replied to nanotek's topic in Imperial Army Trooper - Andor
I just want to address the point of multiple CRL's versus versioning as the detachment already has taken the position that if the variations (or "characters") are essentially the same costume then we will use versioning. An example of this is the Mudtrooper where all variations are versions of the same costume documented as such. Another example is the Imperial Death Trooper where there is the Version 1 baseline and the Imperial Death Trooper Specialist which is version 2. Therefore if this soft costume gets approved for inclusion in our library it will form Version 1 of the Imperial Army Trooper - Aldhani. -
Imperial Army Trooper - Andor - CRL Discussion
nanotek replied to nanotek's topic in Imperial Army Trooper - Andor
My brain may be fried and I am not understanding what you are saying. Are you asking for two separate CRL's (Like the TIE reserve) or one CRL with the following versions: V1 Soft Parts only V2 Armor with cap V3 Armor with Helmet -
Imperial Army Trooper - Andor - CRL Discussion
nanotek replied to nanotek's topic in Imperial Army Trooper - Andor
I just wanna stop by and say thanks to everyone for their input into this CRL, it is very much appreciated! Keep up the great work I look forward to submitting this to the LMO for review. I also just wanted to let you know that I had a healthy discussion with the DL from IOC over including the soft version of this costume in this CRL and have applied to the LMO team. I'll let you know what the outcome is hopefully over the next couple of weeks. -
Imperial Army Trooper - Andor - CRL Discussion
nanotek replied to nanotek's topic in Imperial Army Trooper - Andor
I think I understand what you are asking and I will try to answer as best as I can. If there is enough distinct visible evidence to support a characteristic or feature then it lends itself to be a baseline requirement. The interchangeable argument is interesting in that this is not an OT costume and in the same way that other OT parts are not interchangeable with newer ones is an argument that could be applied here perhaps? On the other hand does it make a huge visible difference to the costume when viewed from afar? Probably not! I prefer to hear from all parties about these sorts of things because I tend to lean towards accuracy over other considerations. If I see something I cannot unsee it unfortunately, and that's when I fall back on the wider group to discuss, even if it hurts my brain to ignore what I see. At the end of the day I'm here to facilitate discussion, ask questions (sometimes dumb ones) and try to make sure that the text/pics make sense. What is reasonably decided by the group is what will be submitted for approval. I hope that helps! -
Imperial Army Trooper - Andor - CRL Discussion
nanotek replied to nanotek's topic in Imperial Army Trooper - Andor
From those pics it seems to be on every belt. Just an FYI but we have been granted permission by the LMO team to proceed with the Ferrix variant called "Imperial Security Trooper" I have created a topic here I think once we are done with this CRL it should be a simple matter of copying this CRL with some adjustments. -
Imperial Army Trooper - Andor - CRL Discussion
nanotek replied to nanotek's topic in Imperial Army Trooper - Andor
I'm making more of a general statement about the boundary conditions for the CRL as I am not fully across the detail at present. You could pose the argument that if Cassian is dressed as an NCO, then that is grounds for inclusion. -
Imperial Army Trooper - Andor - CRL Discussion
nanotek replied to nanotek's topic in Imperial Army Trooper - Andor
If the belt boxes are seen on all characters they will be mandatory and shown with the belt. This will help the builder determine placement. The lines on the belt; if they are present on all characters they will be L1. If they do not appear on all characters they should be L1 optional. What is the argument for L2? -
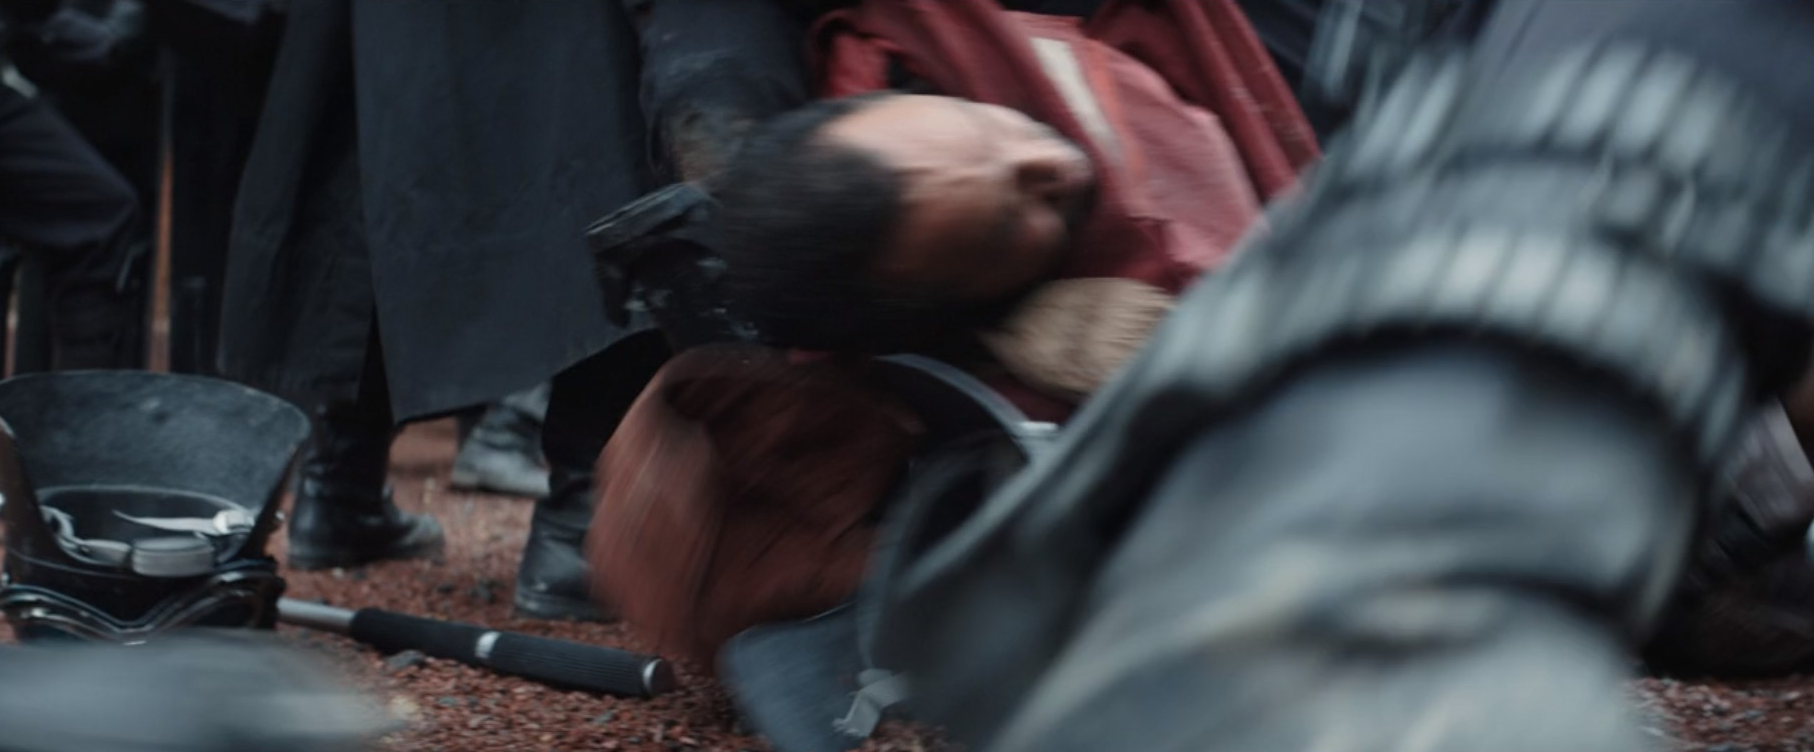
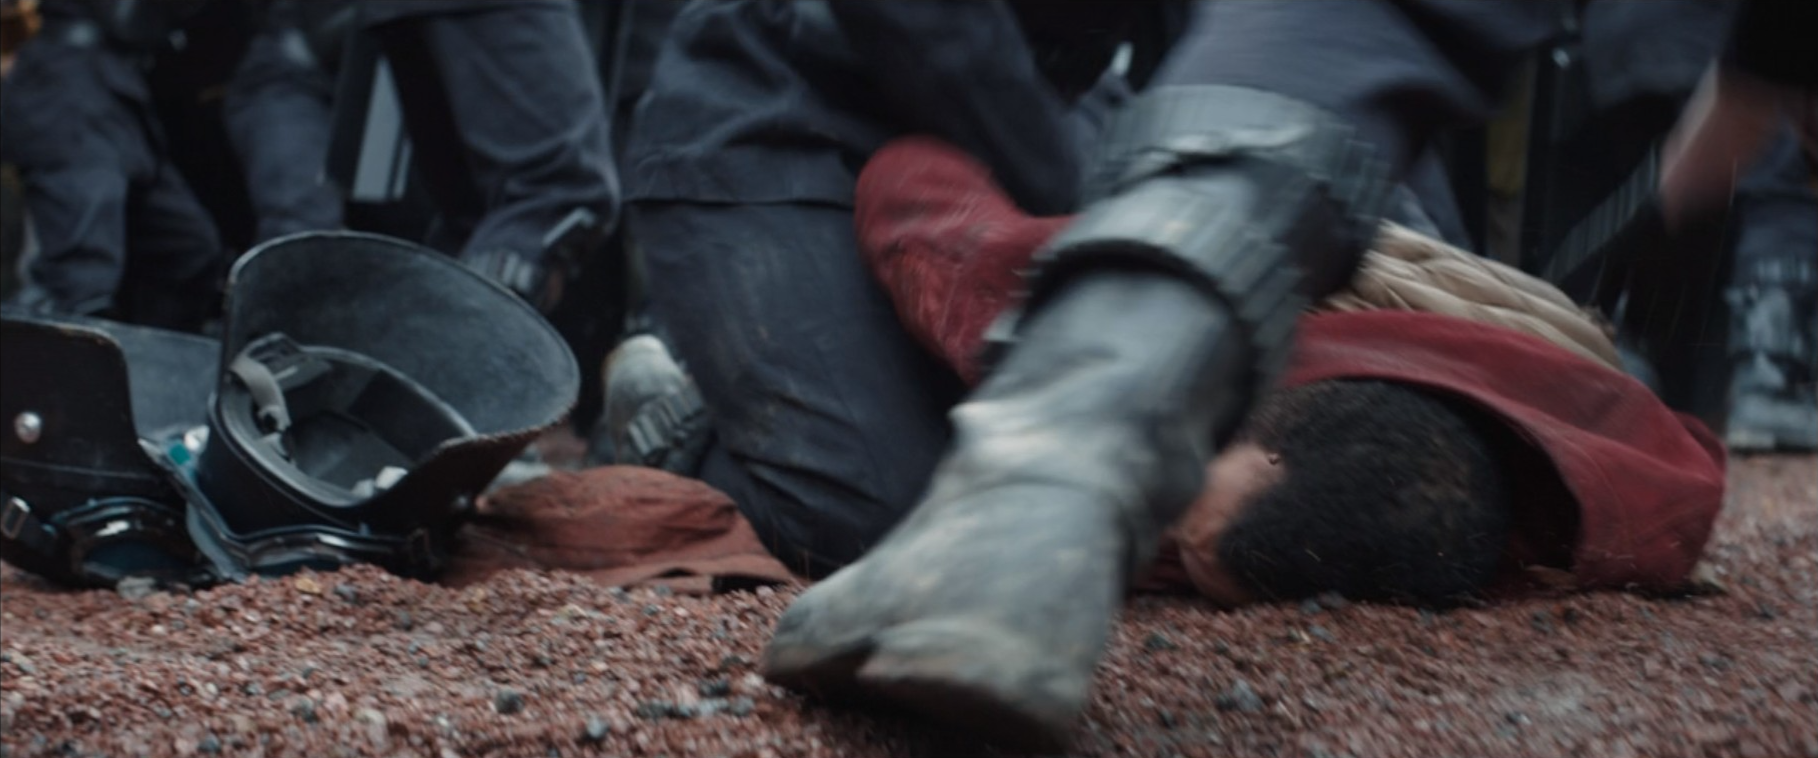
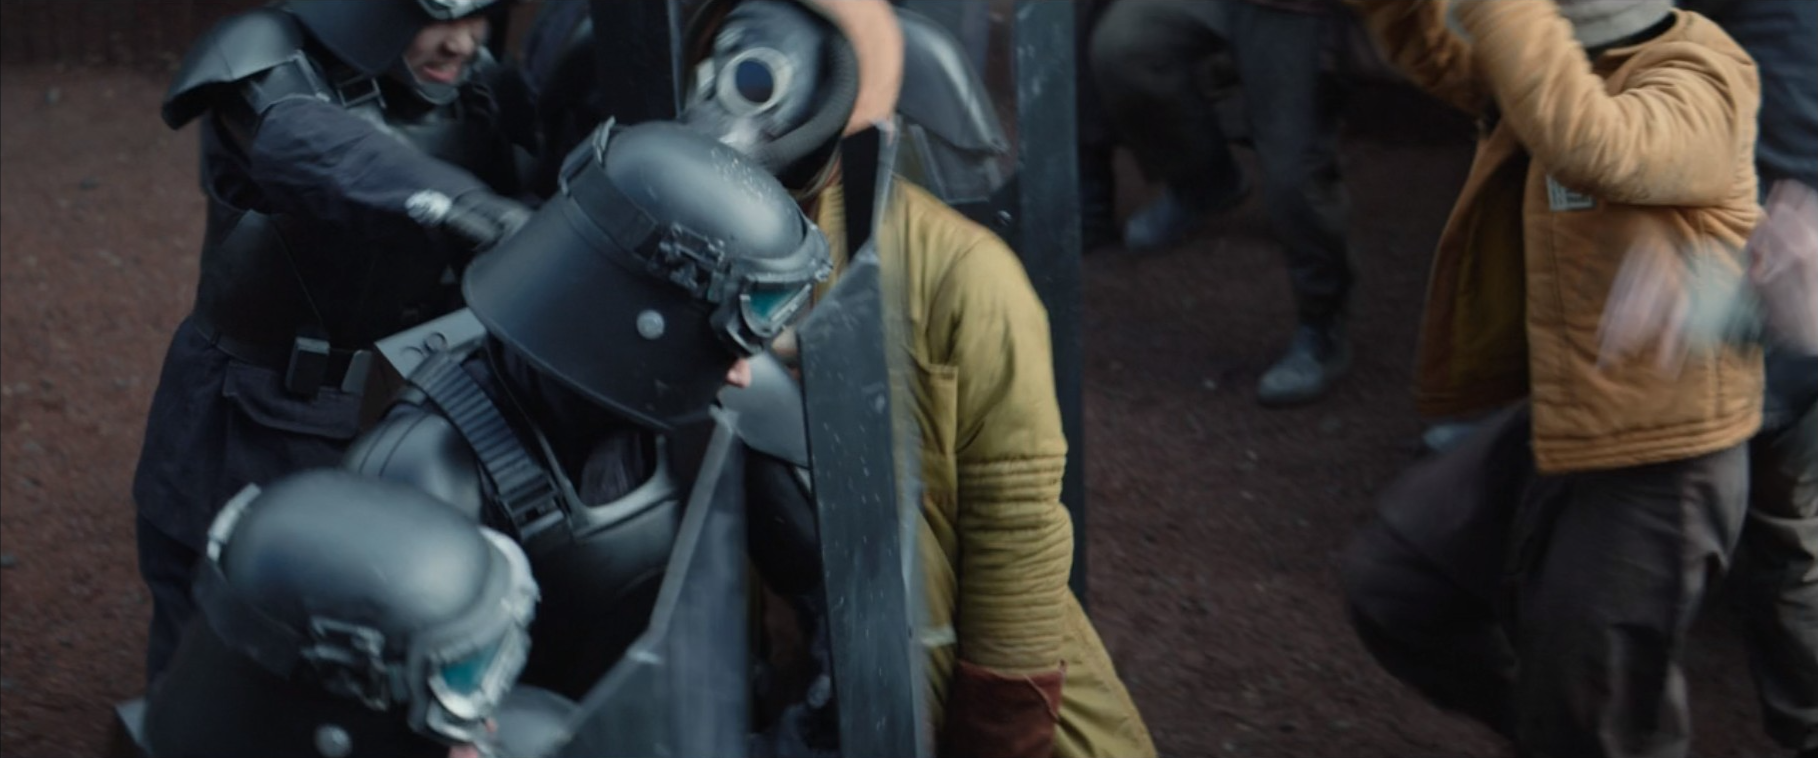
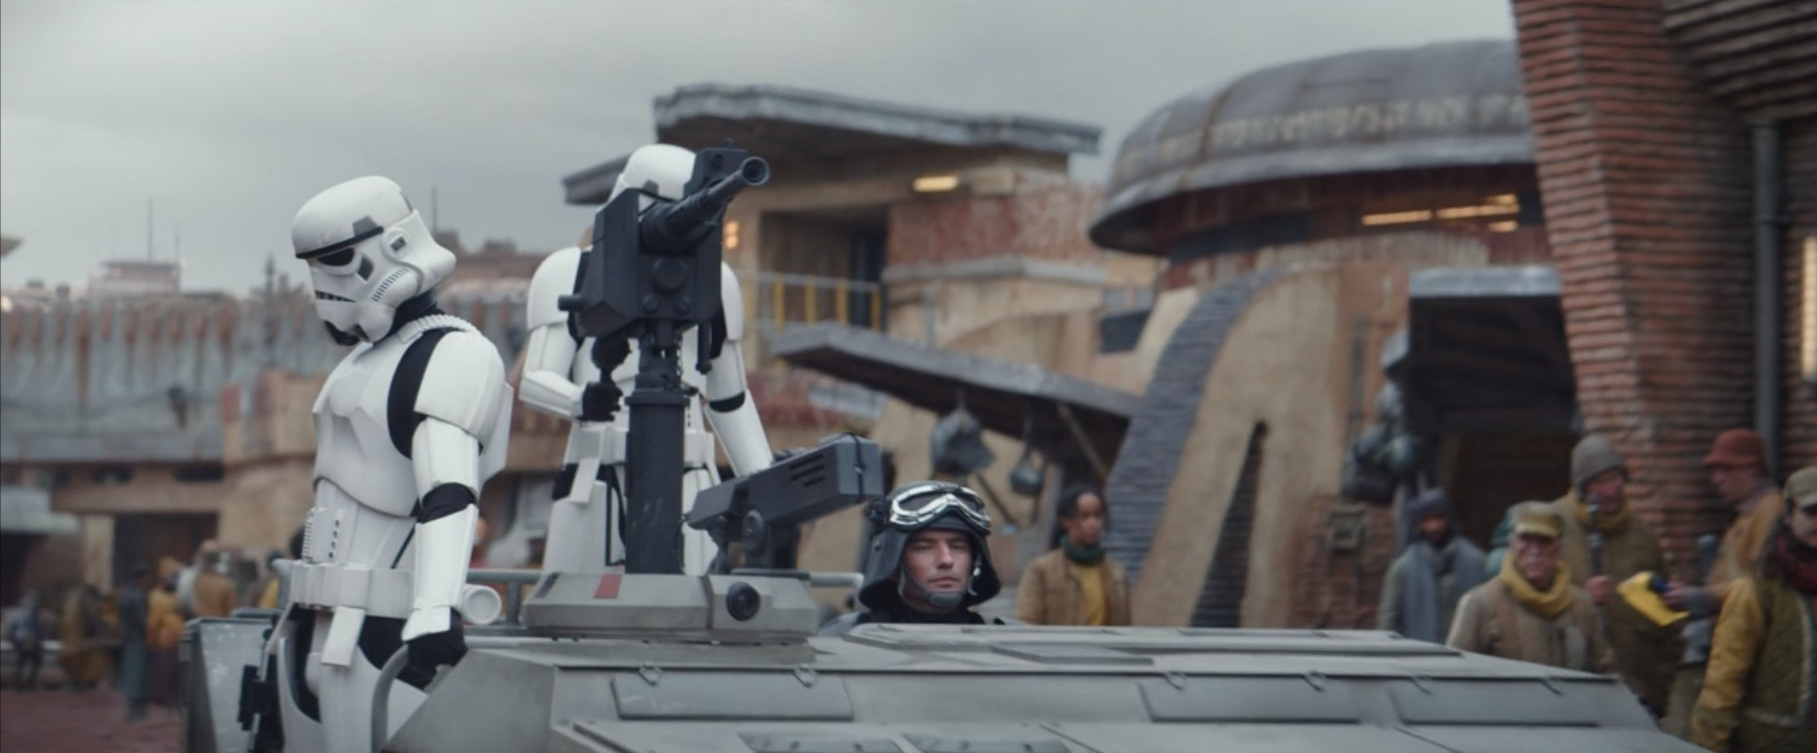
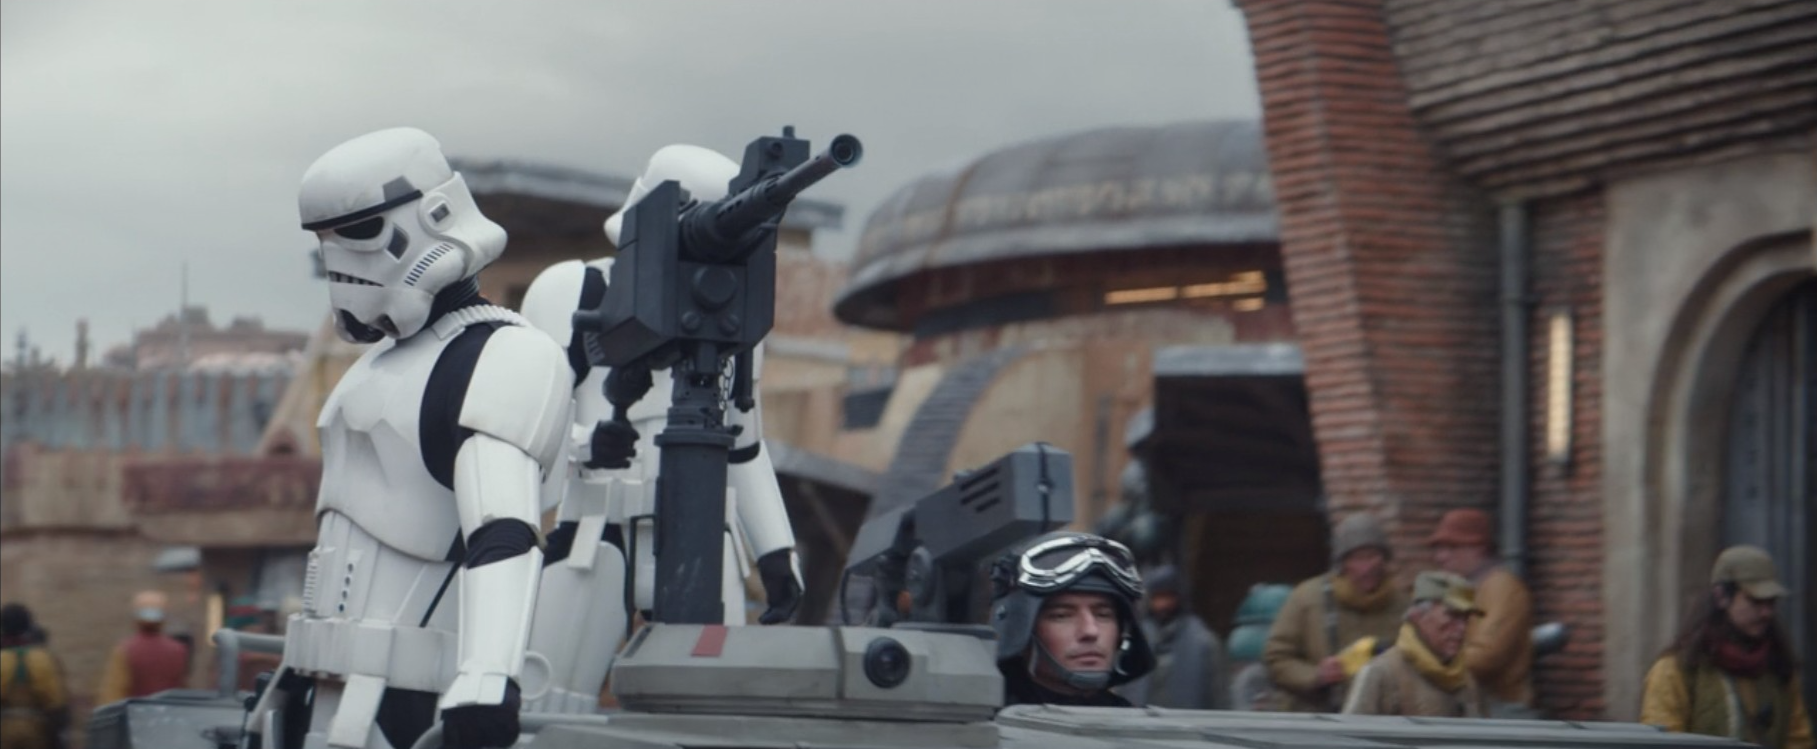
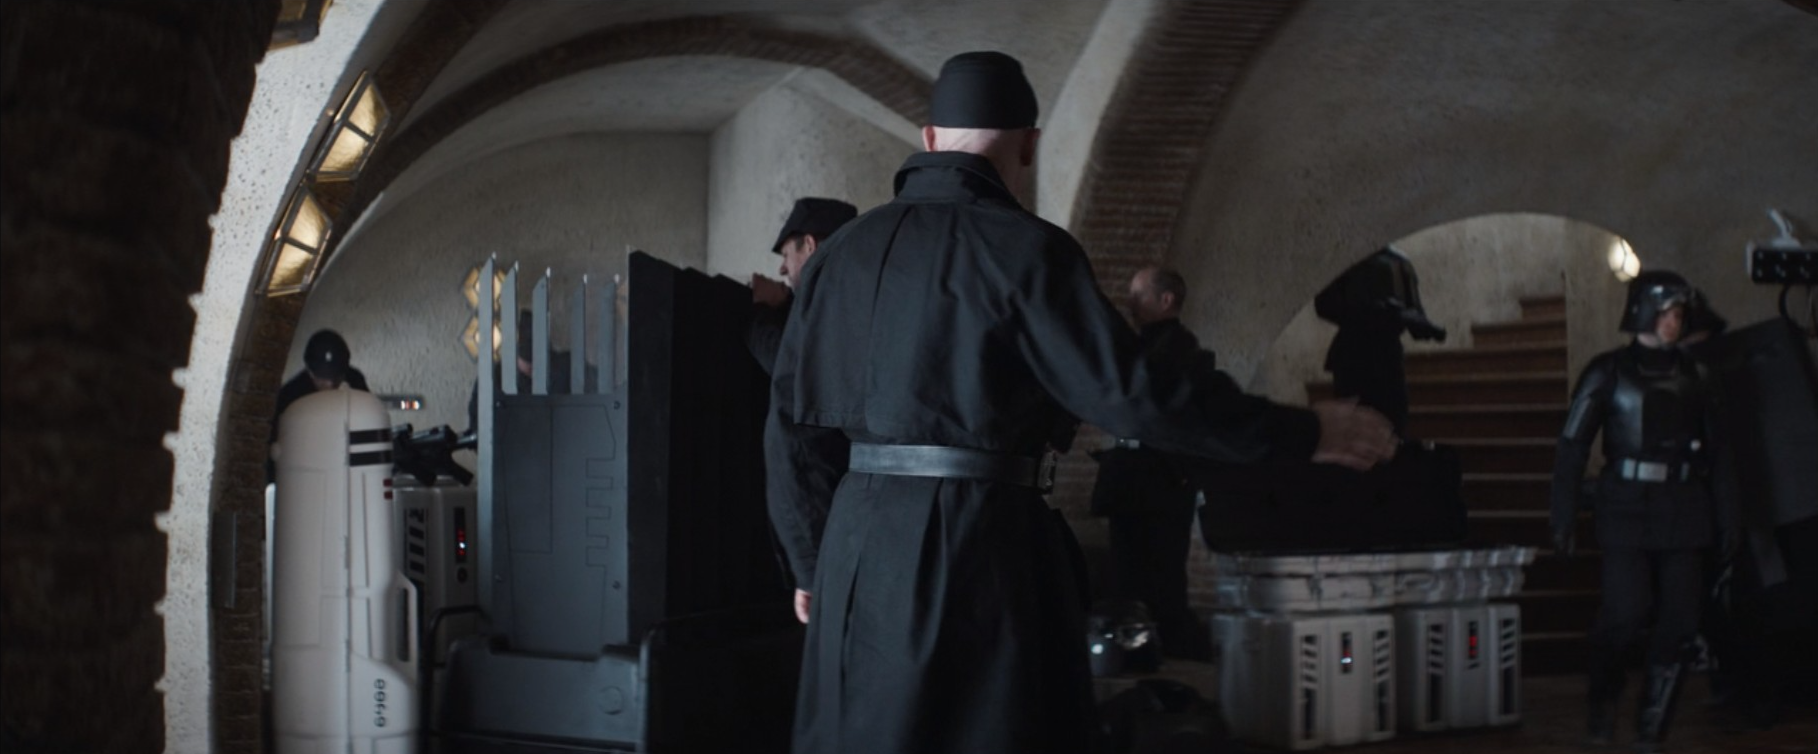
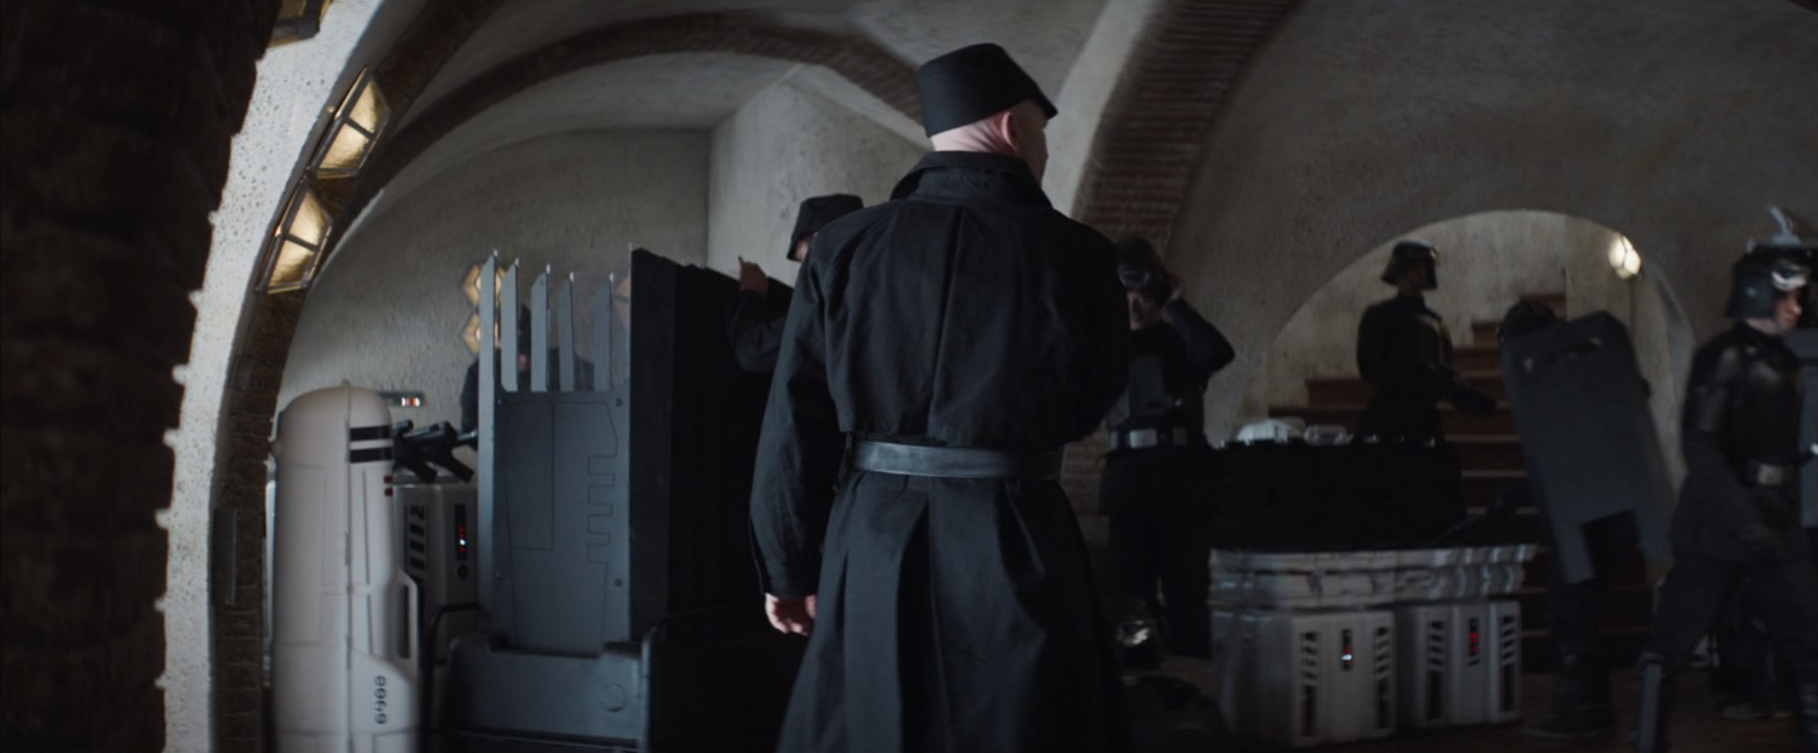
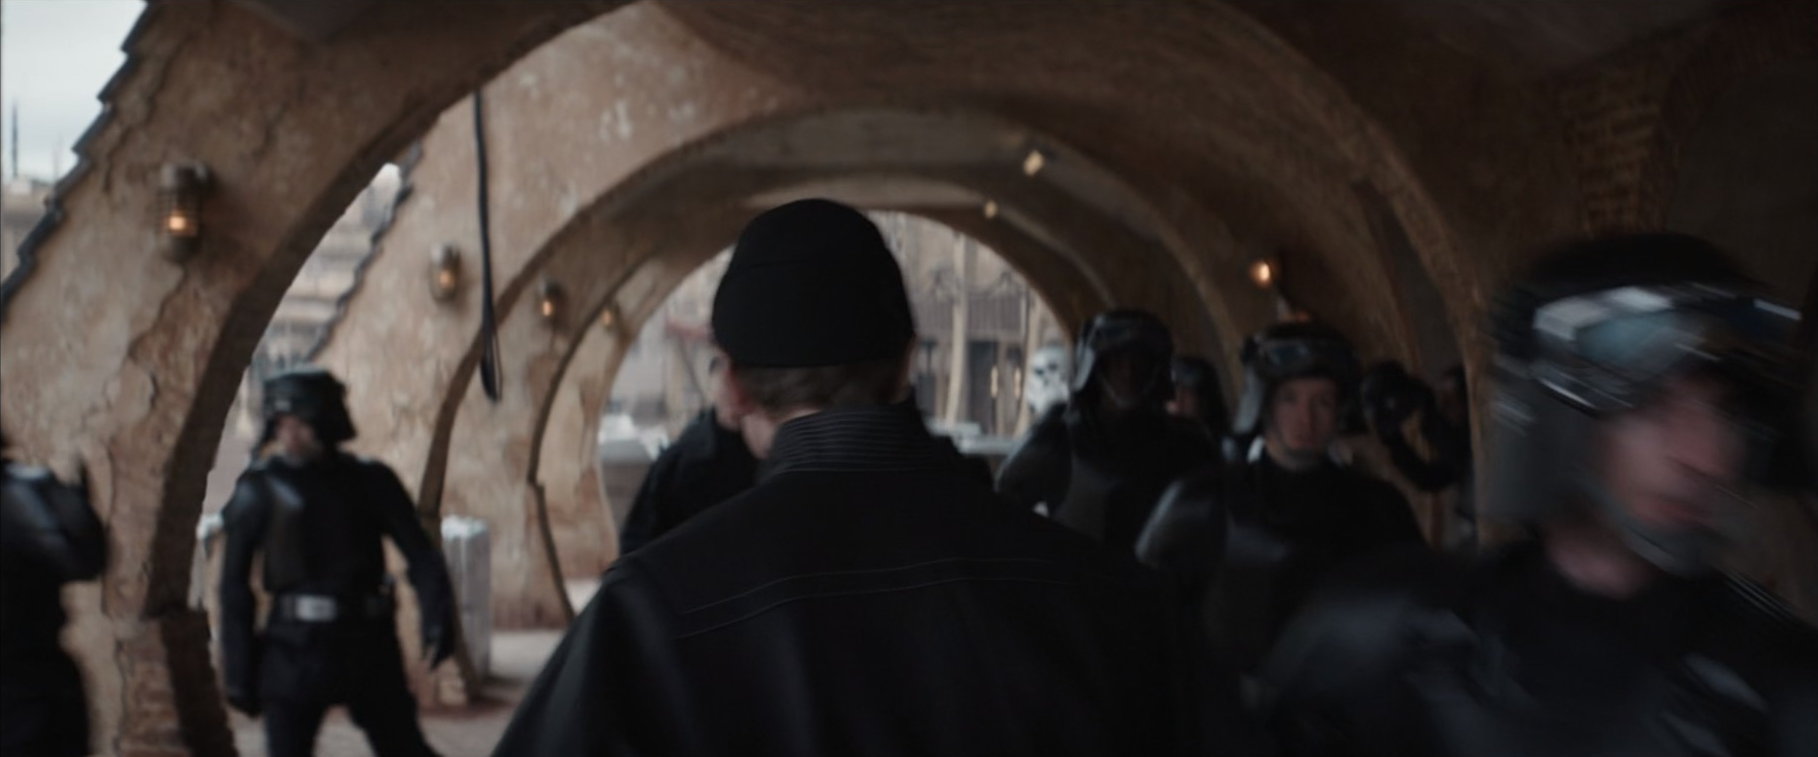
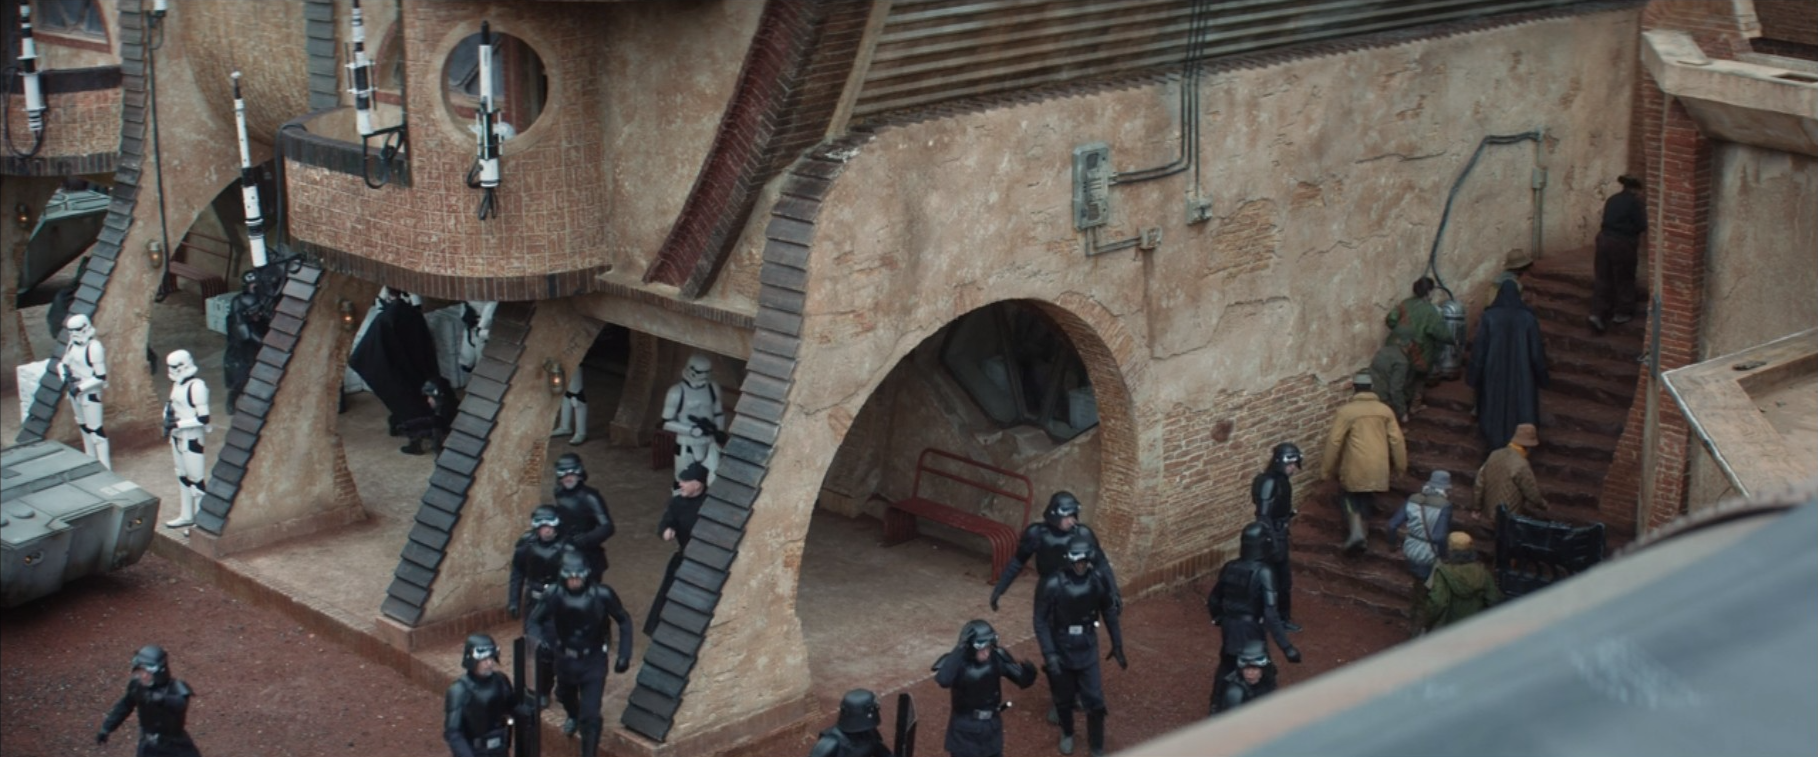
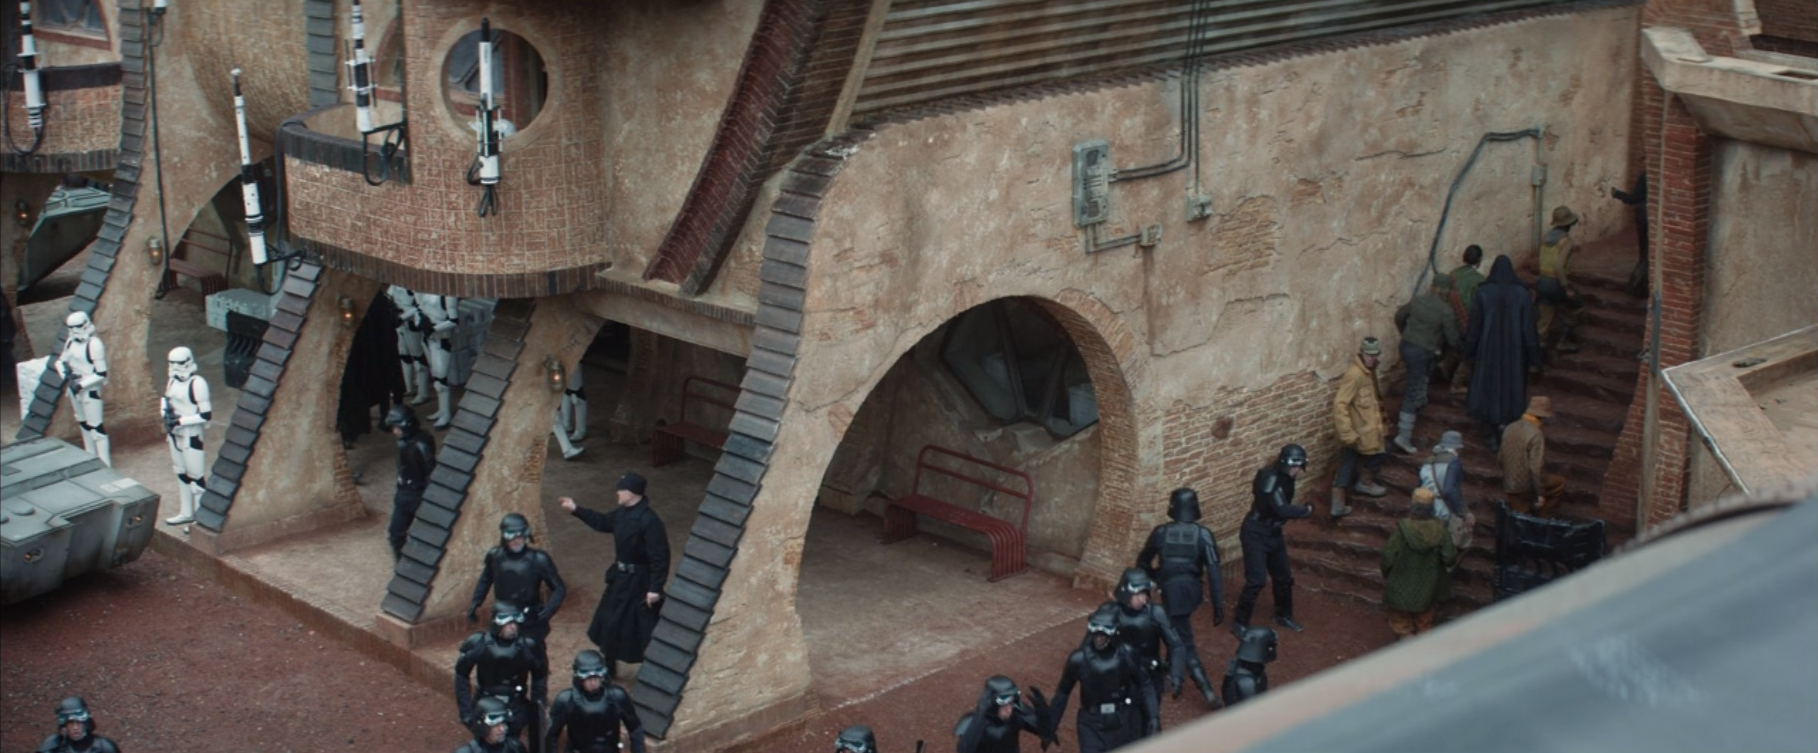
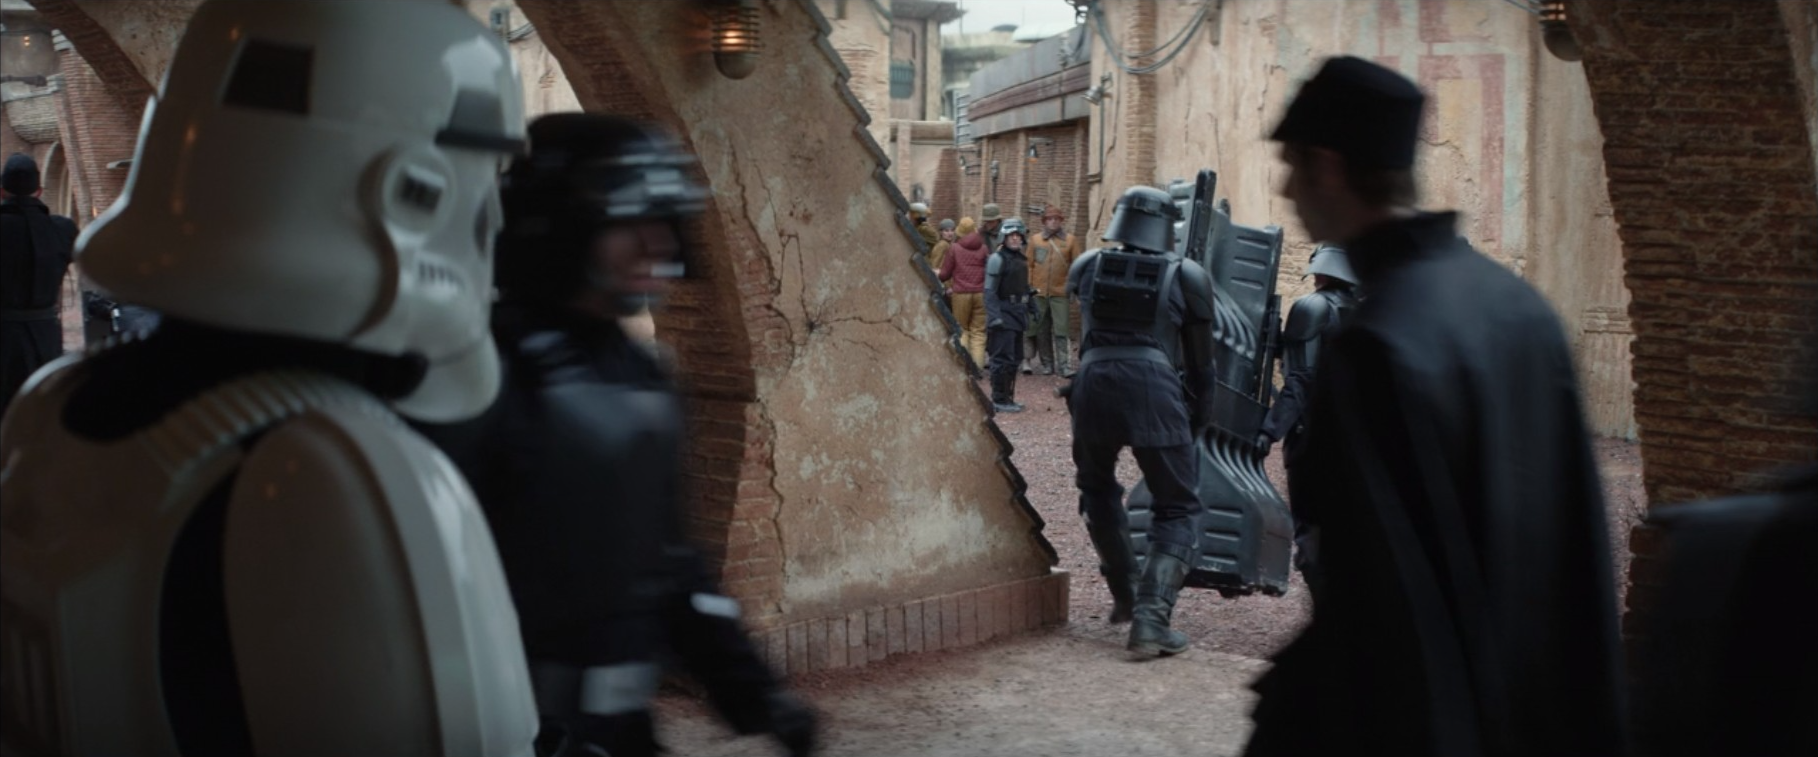
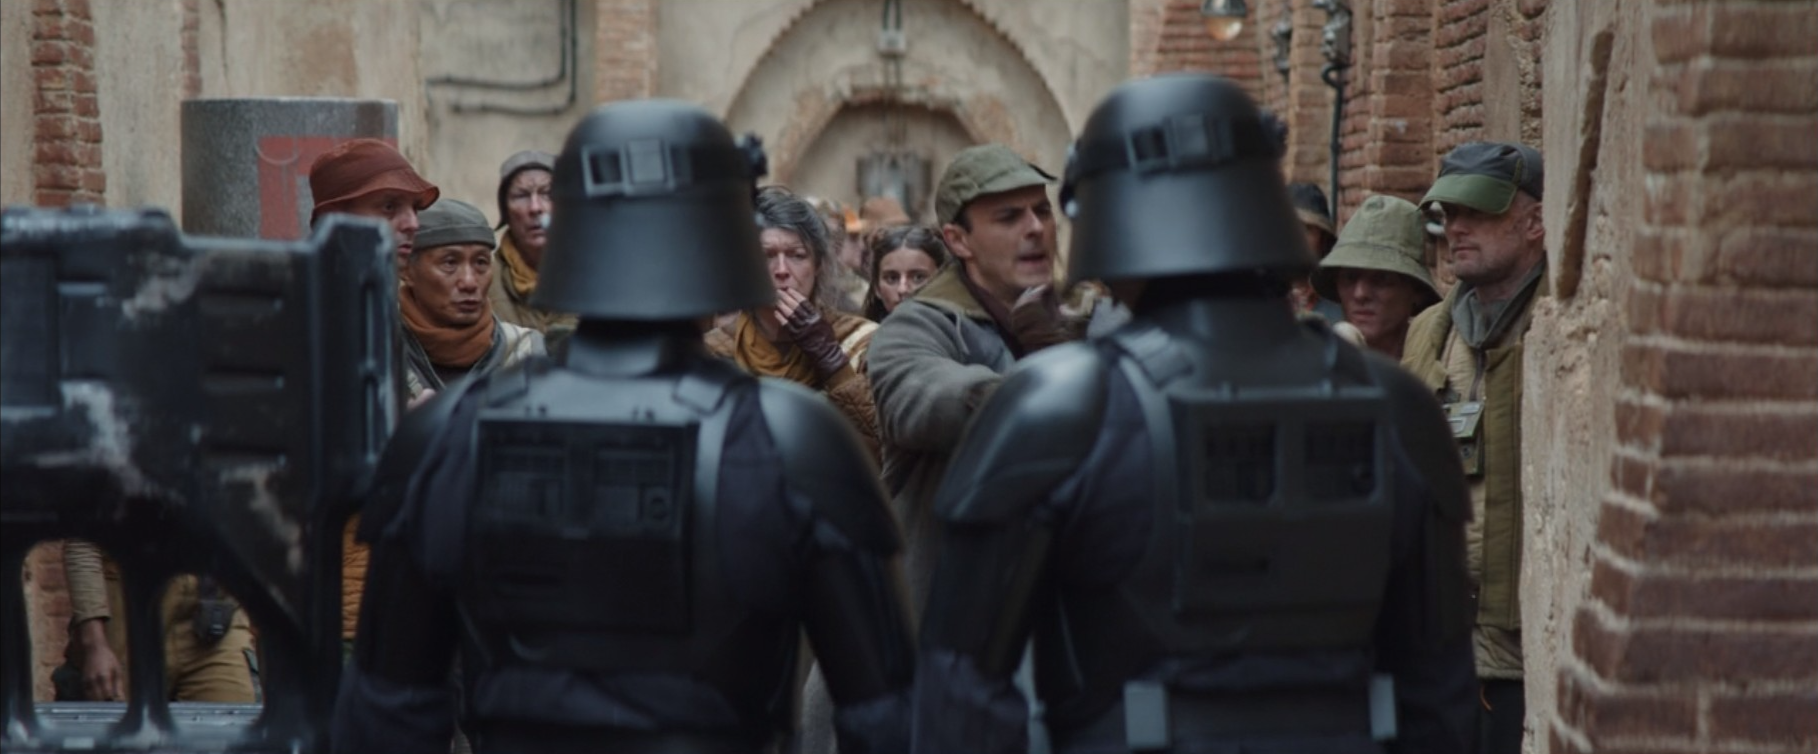
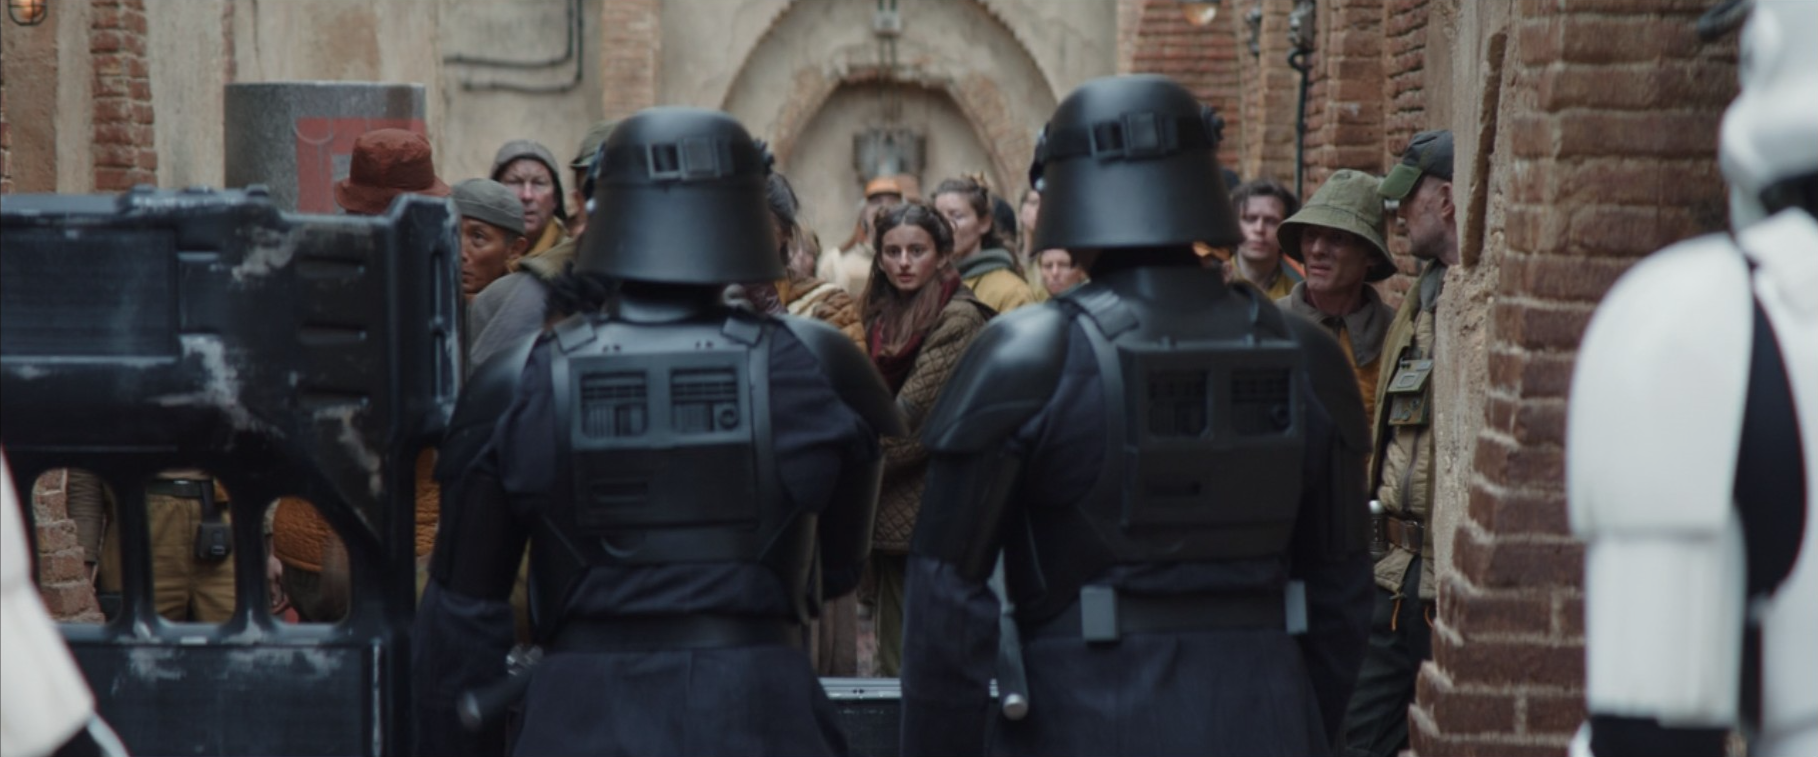
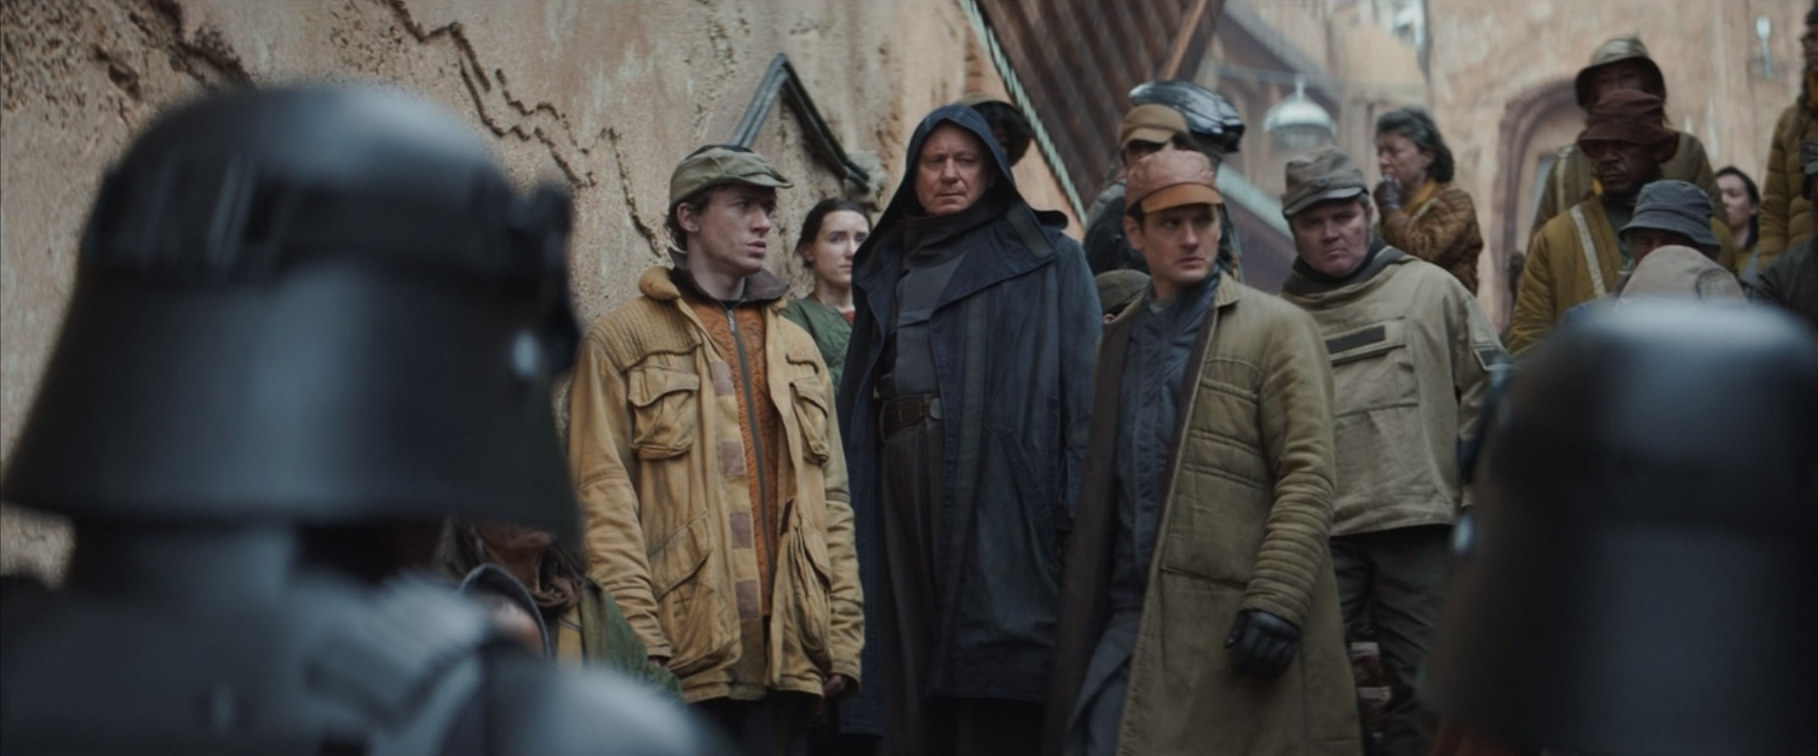
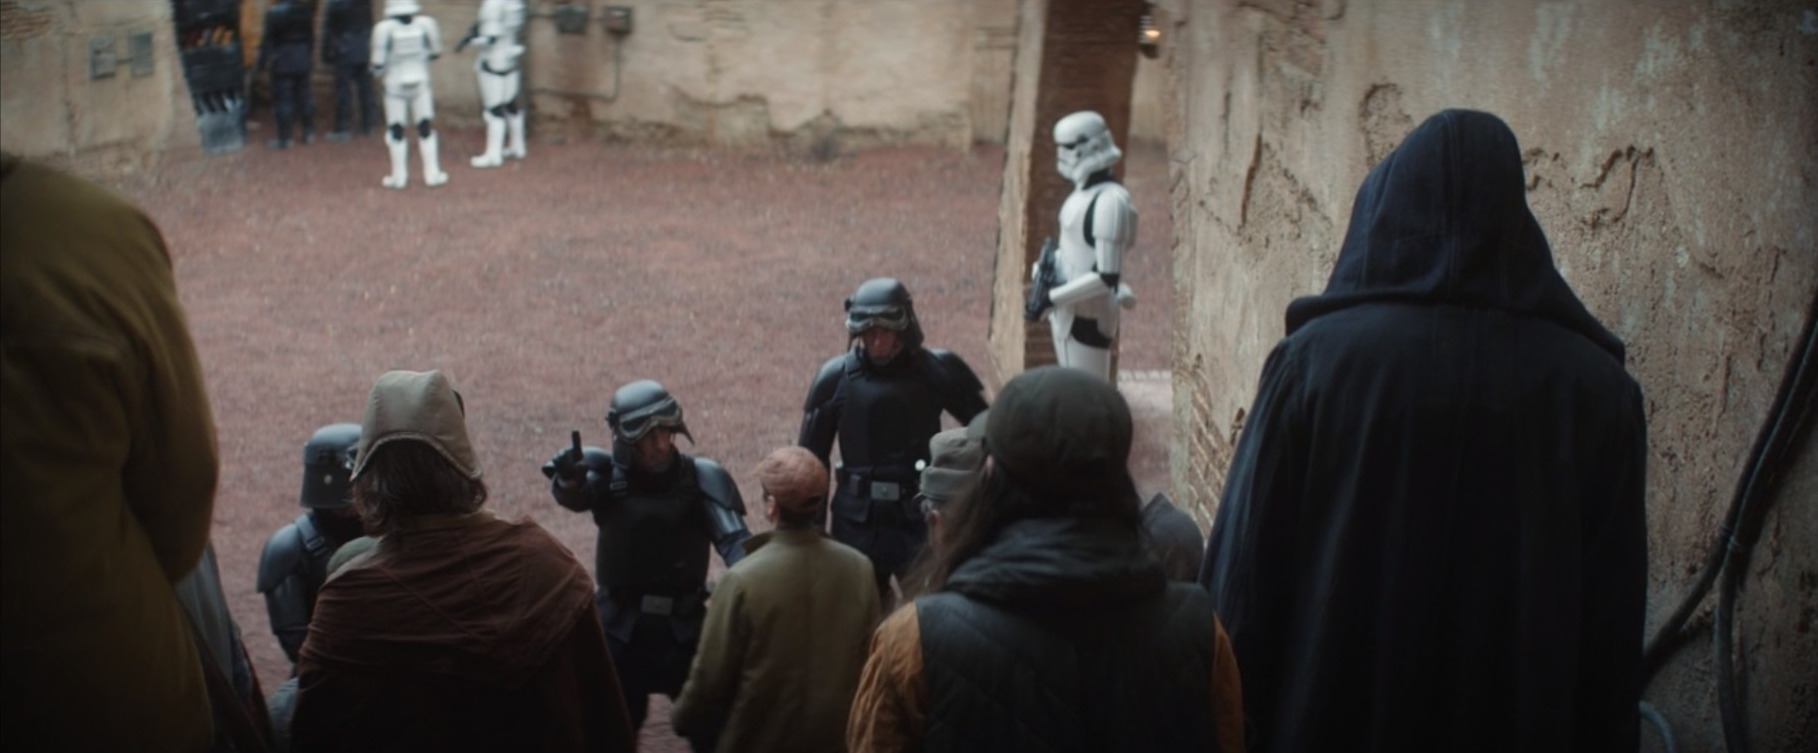
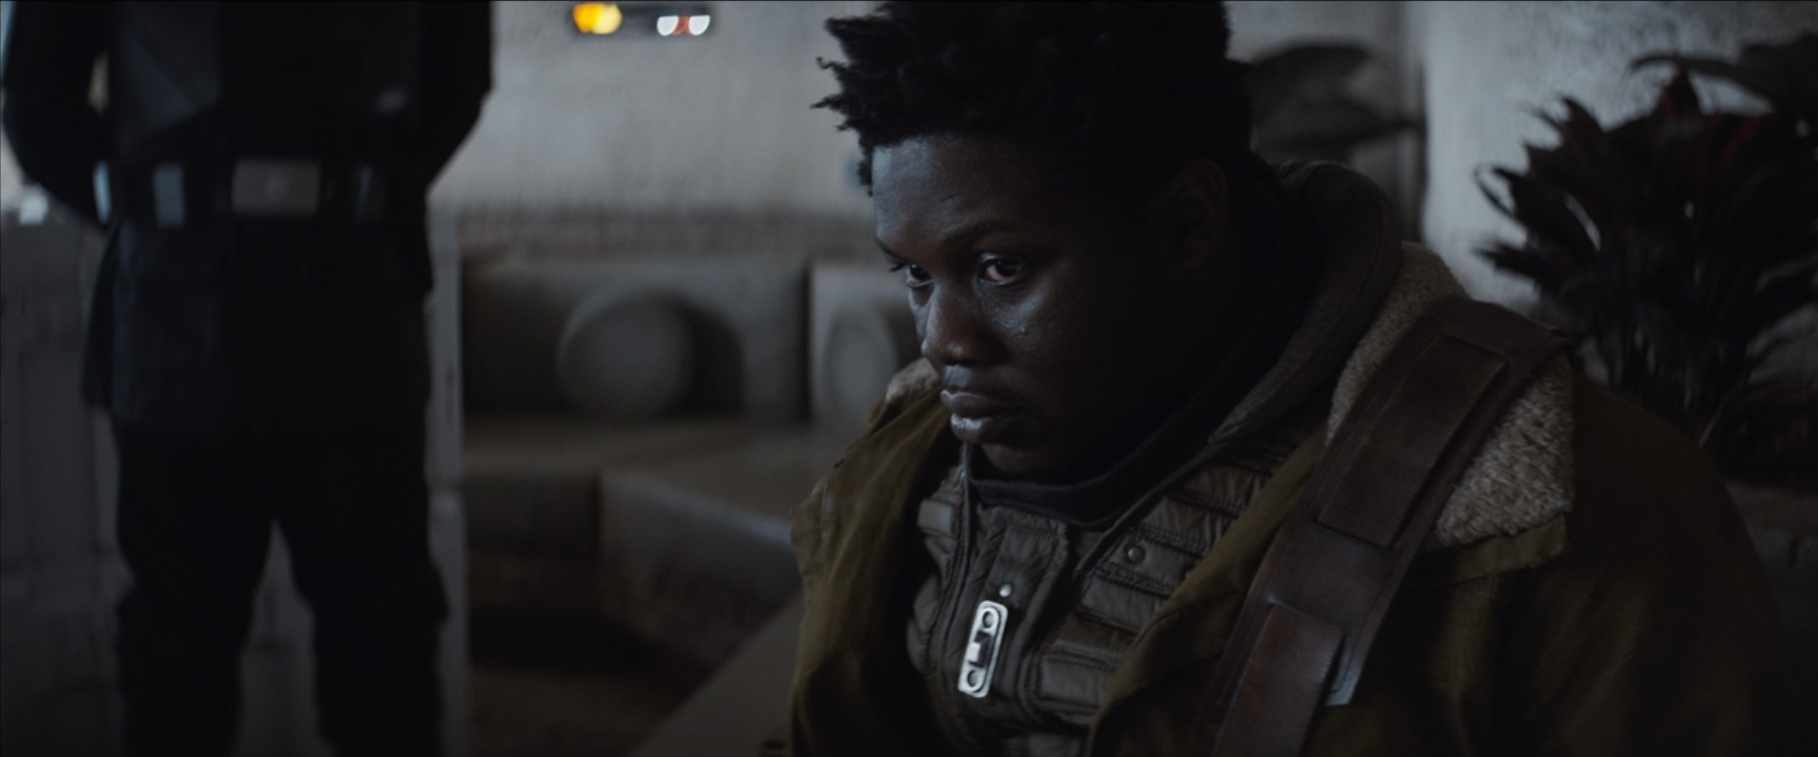
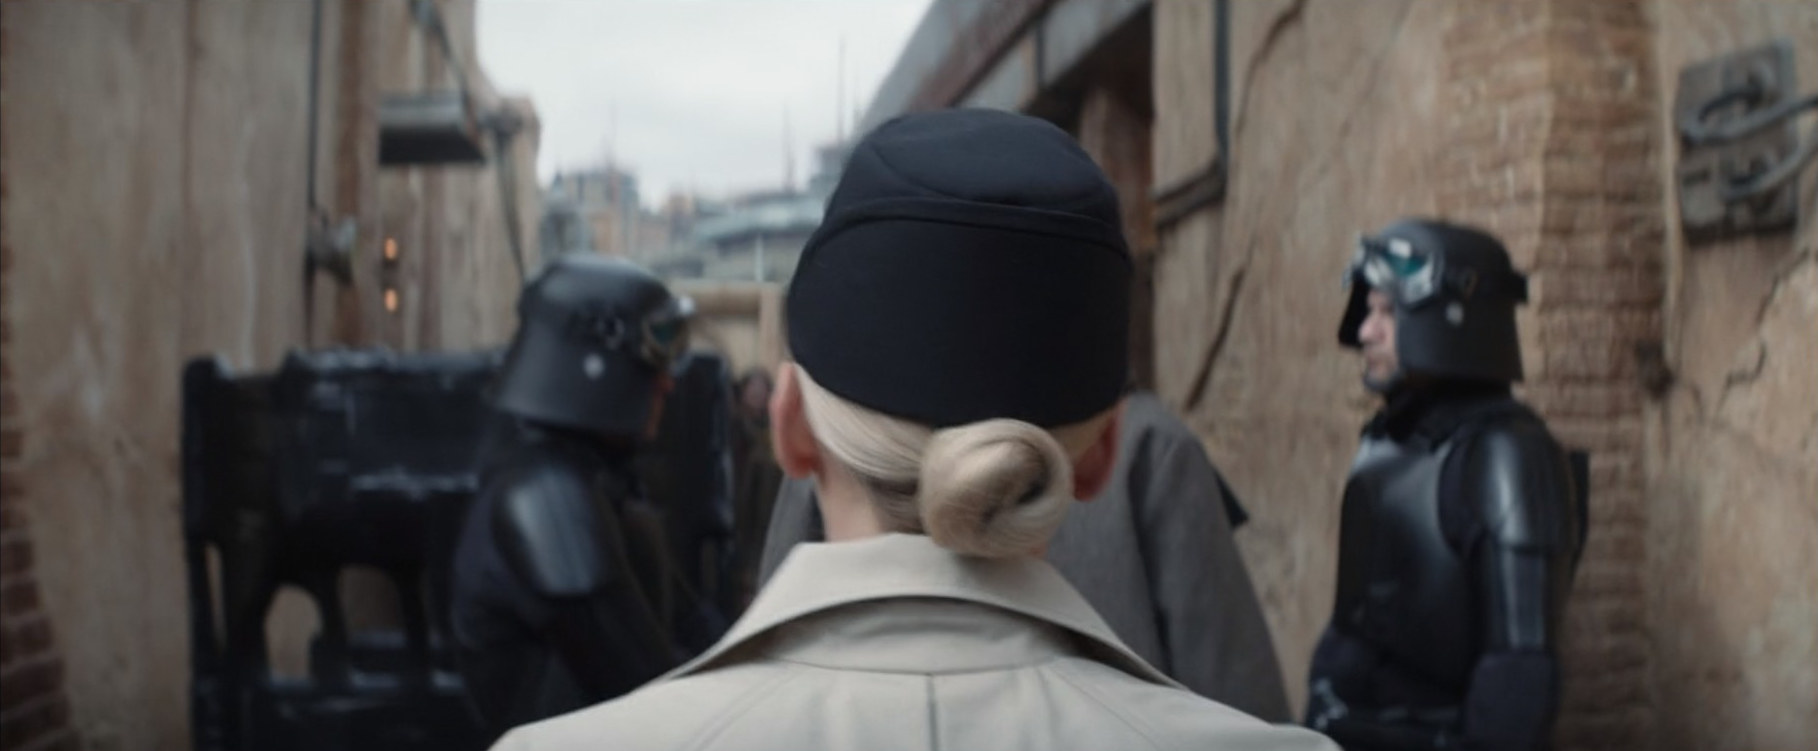
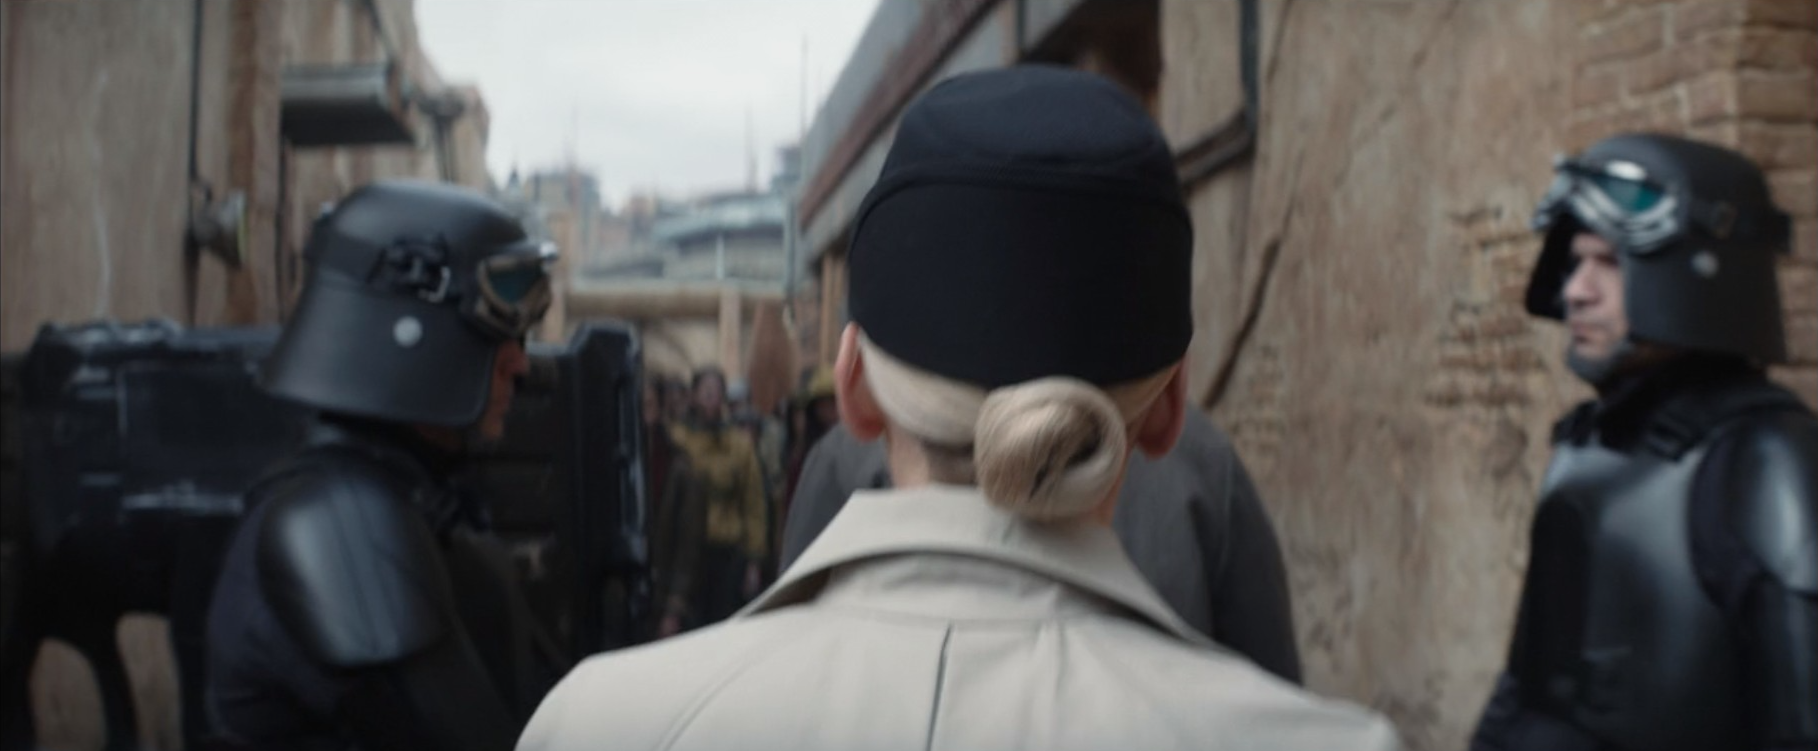
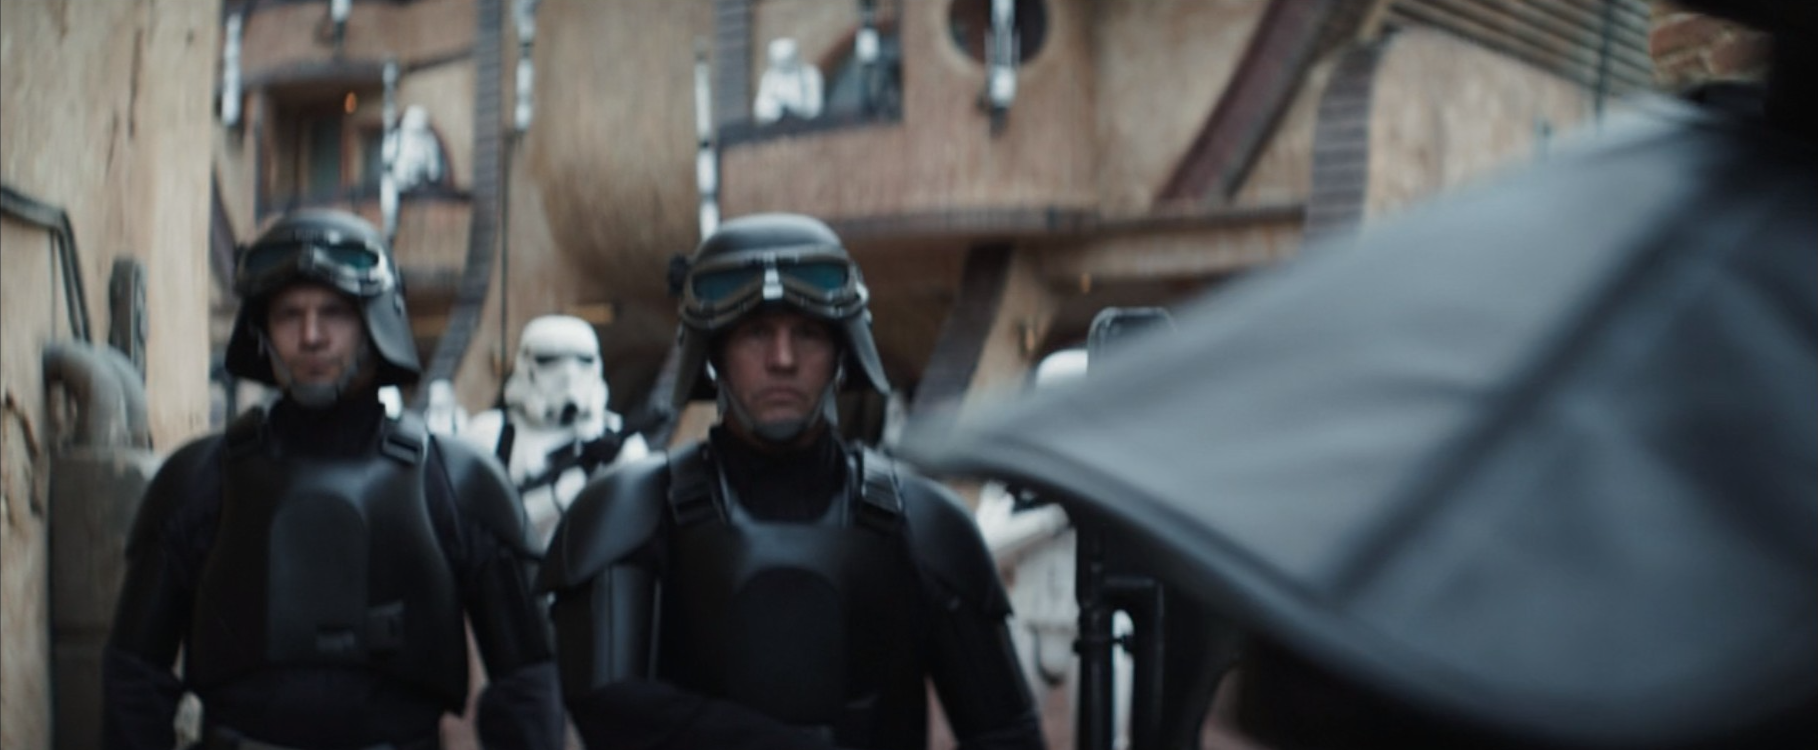
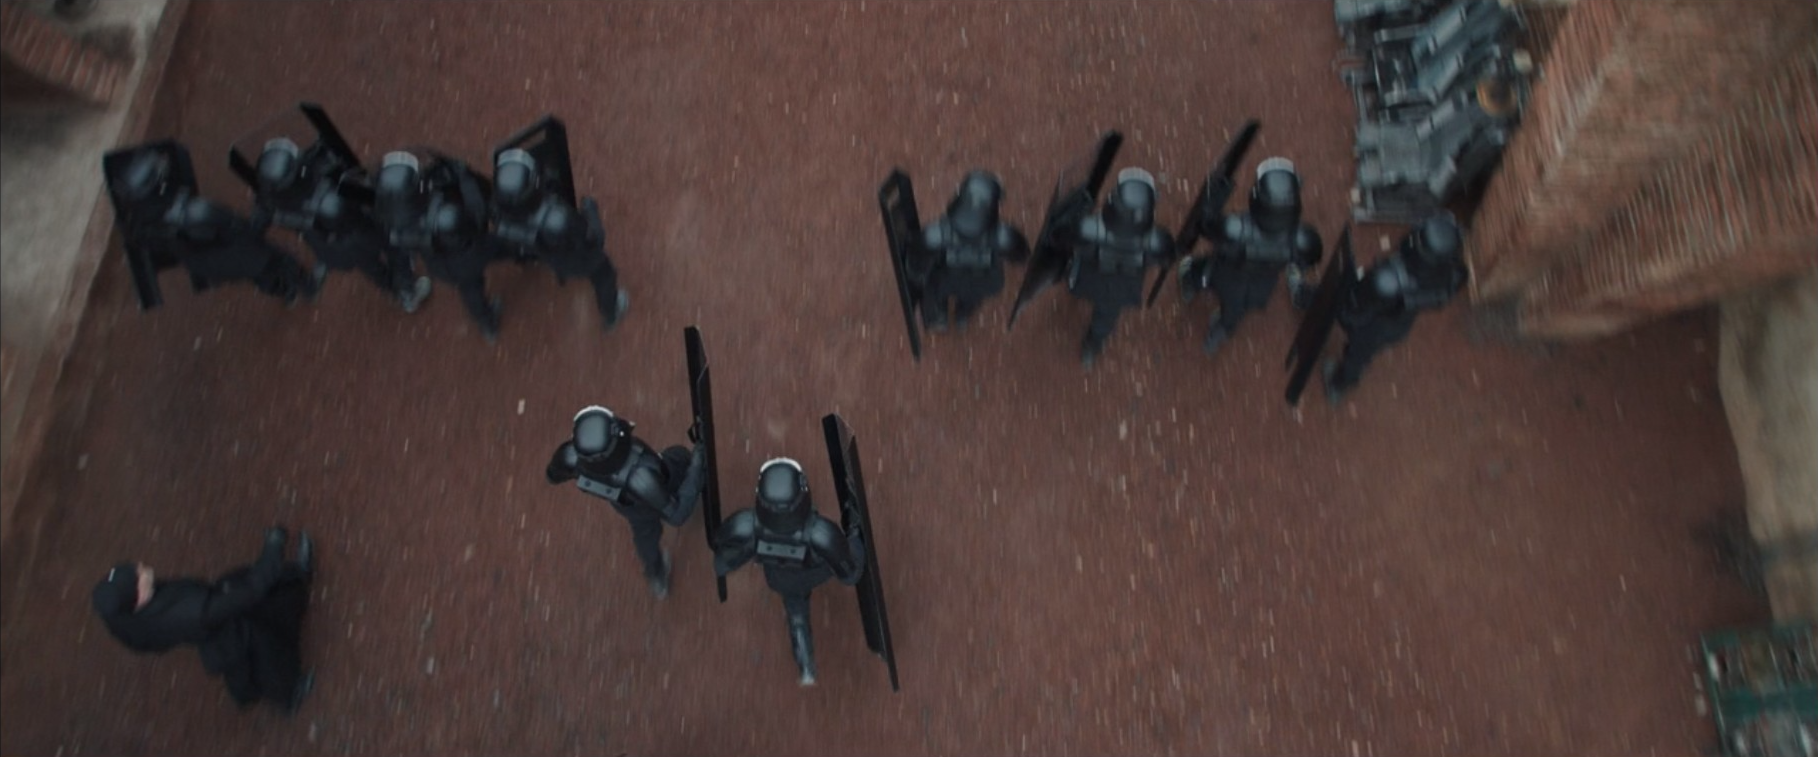
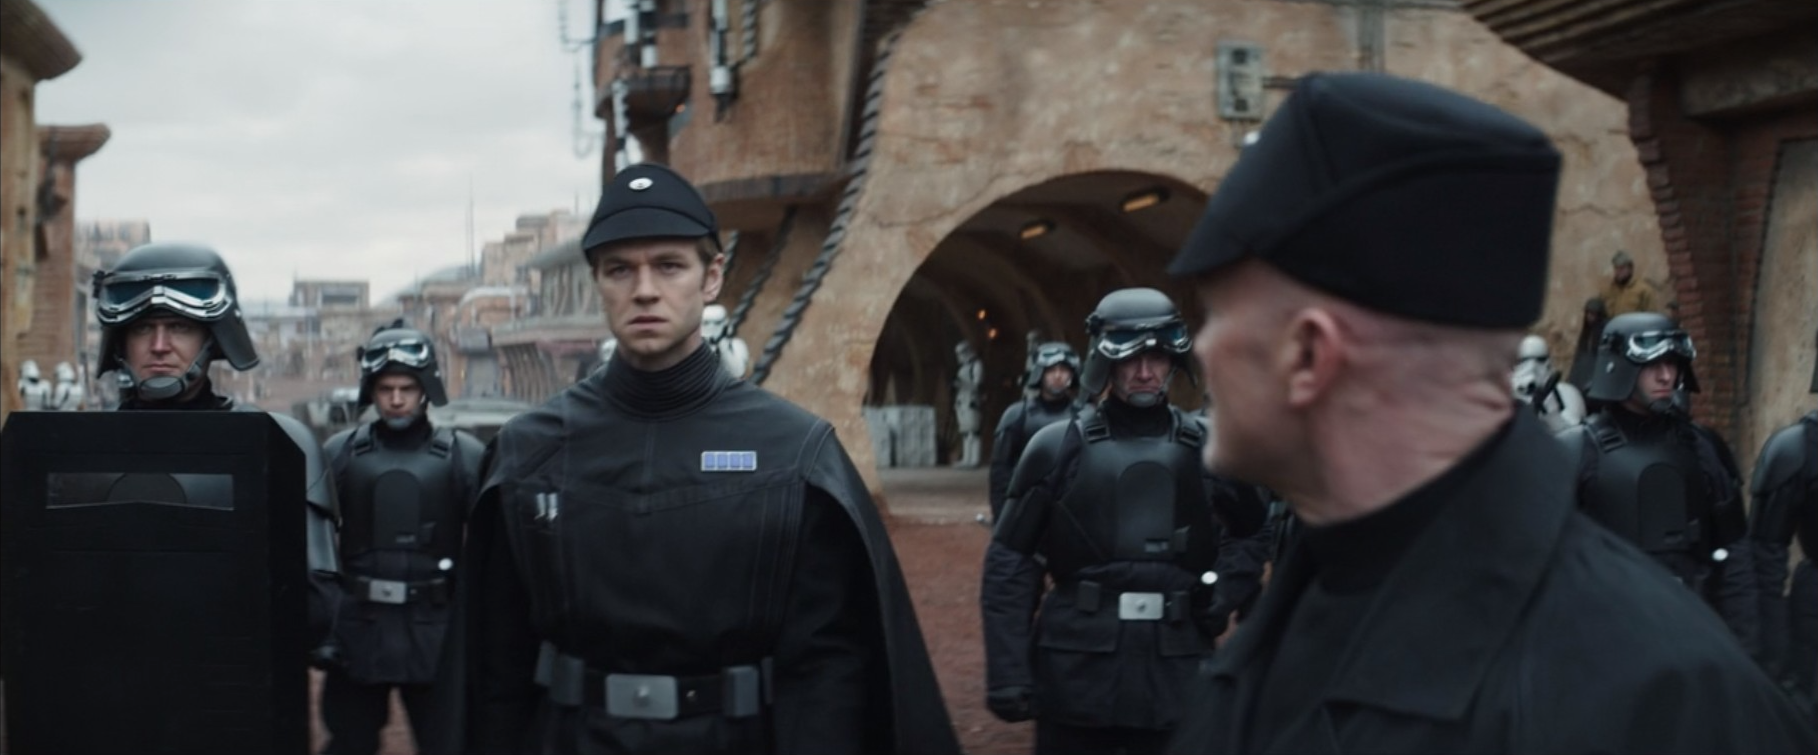
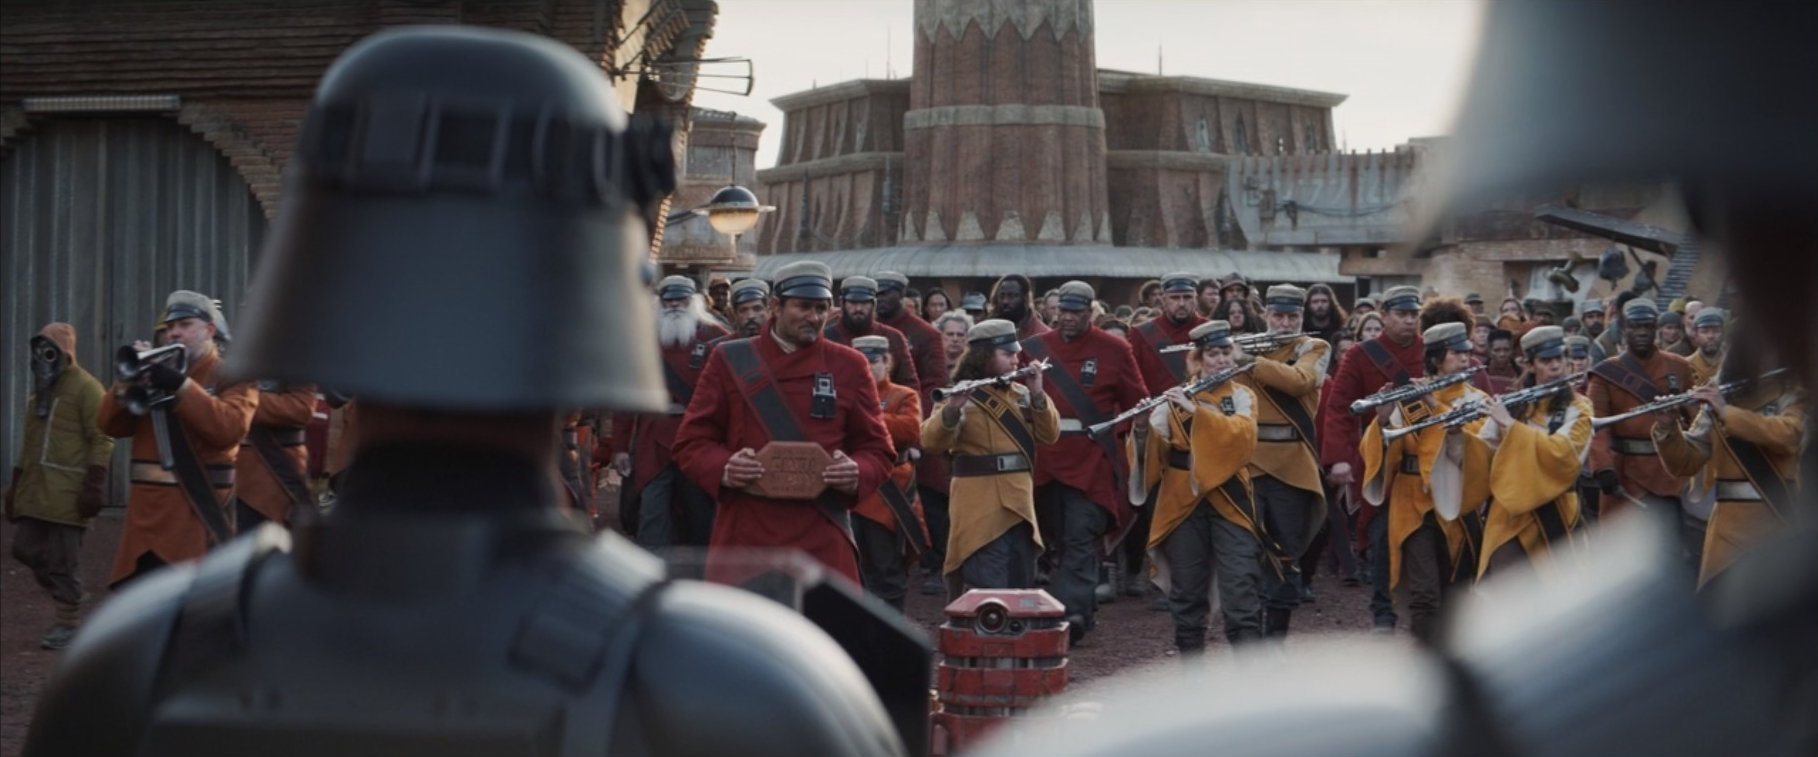
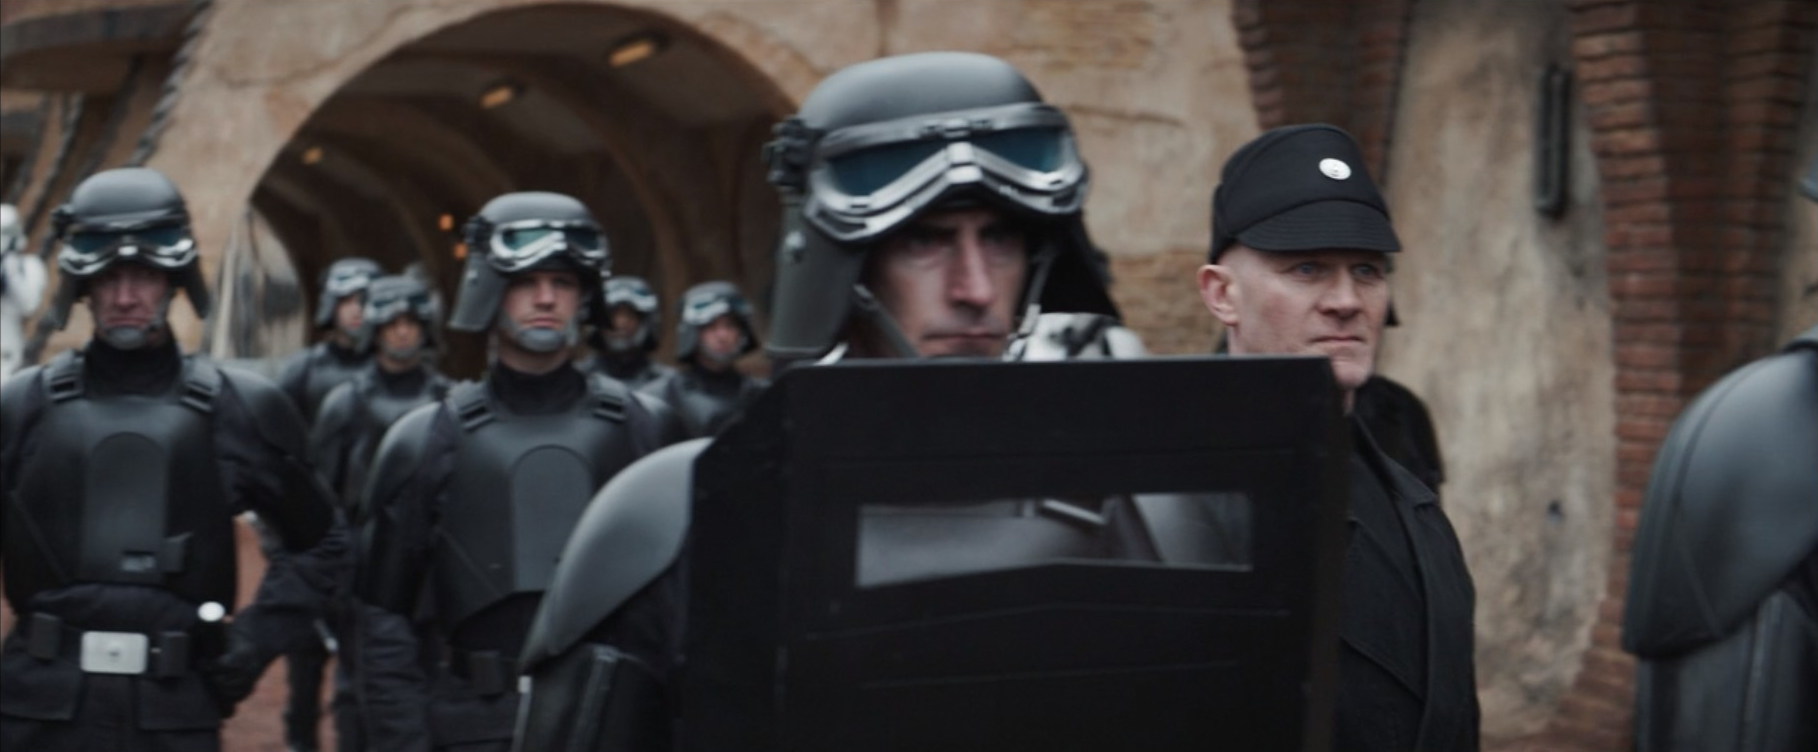
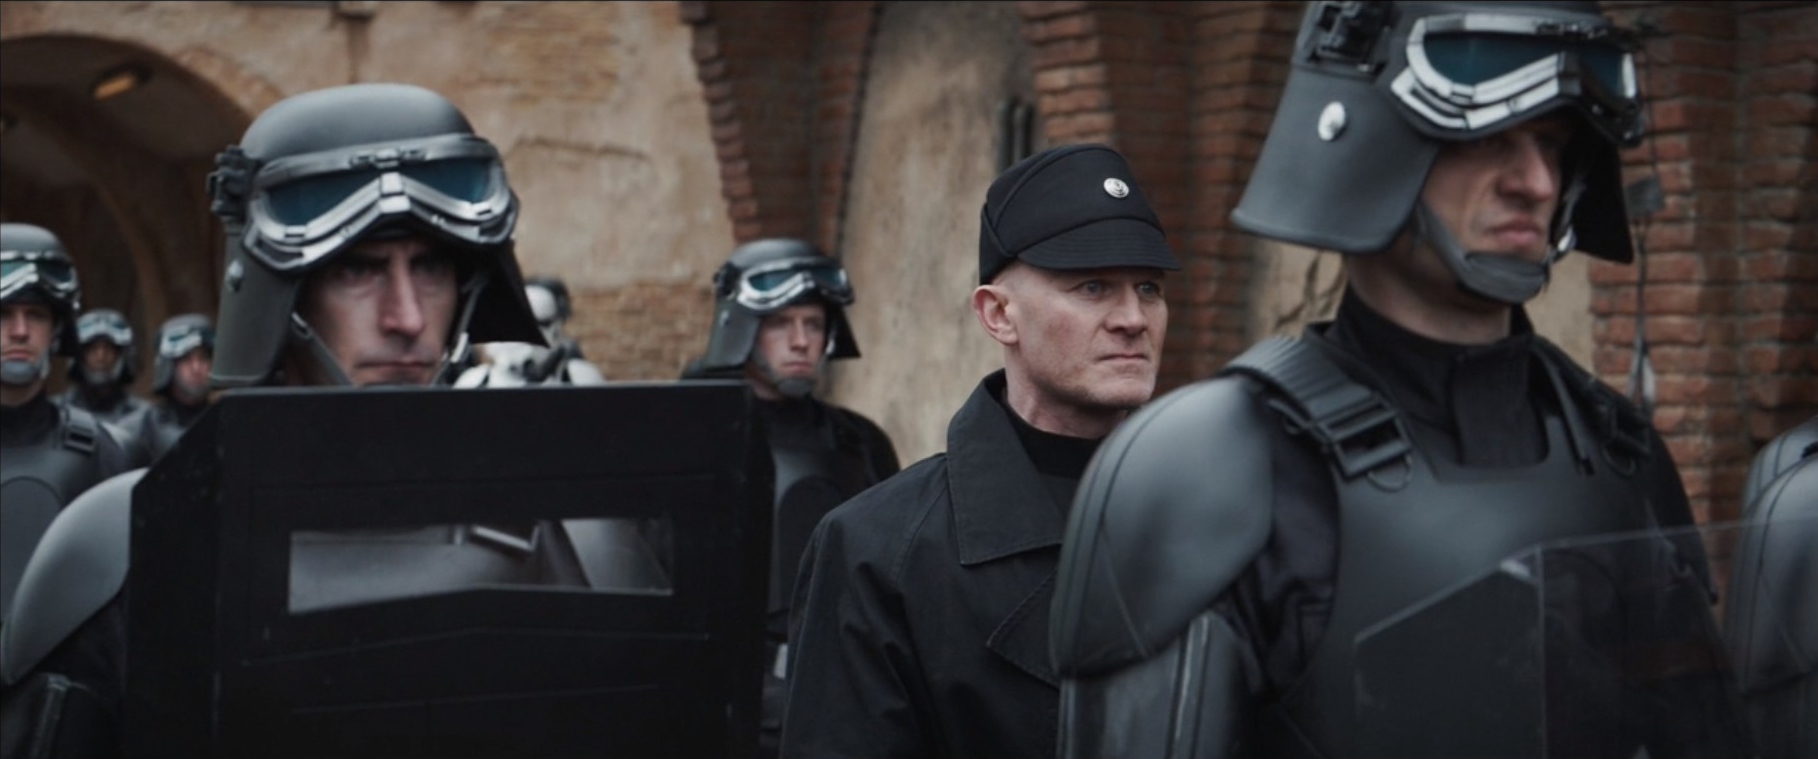
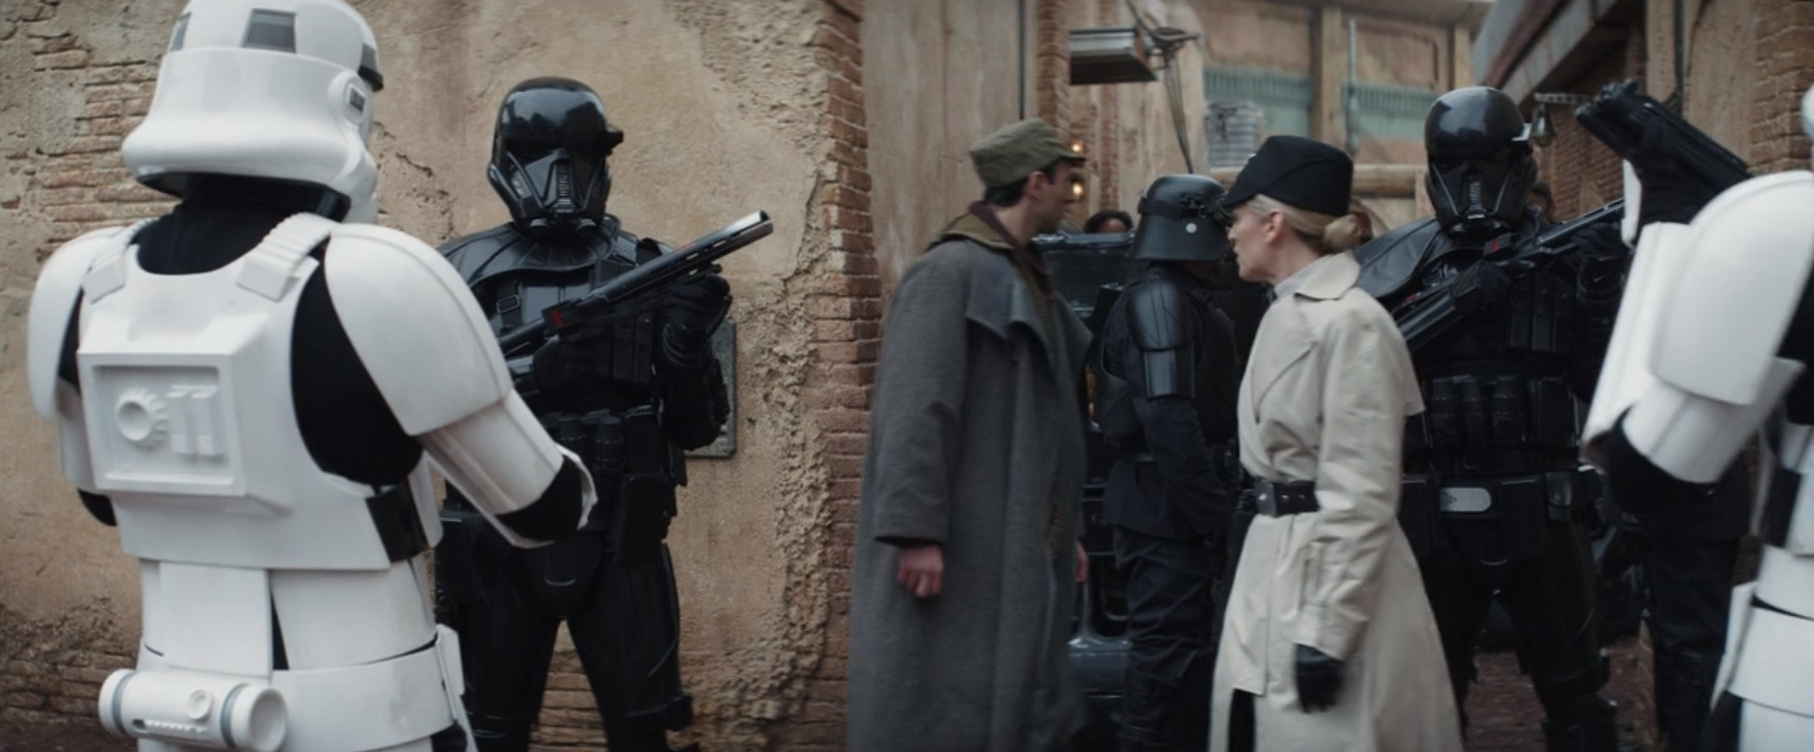
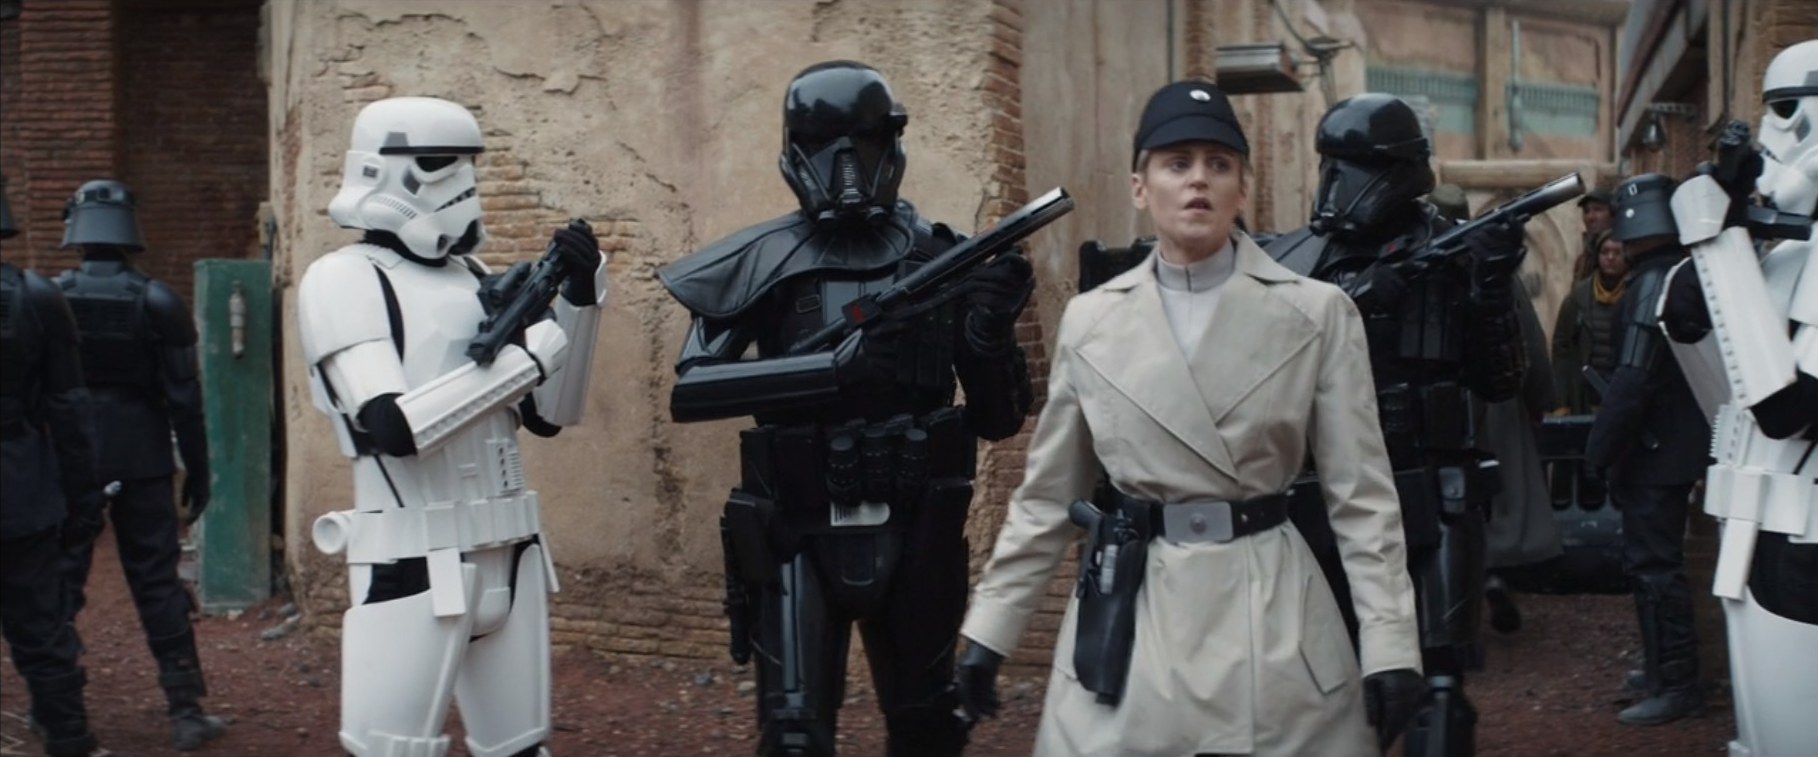
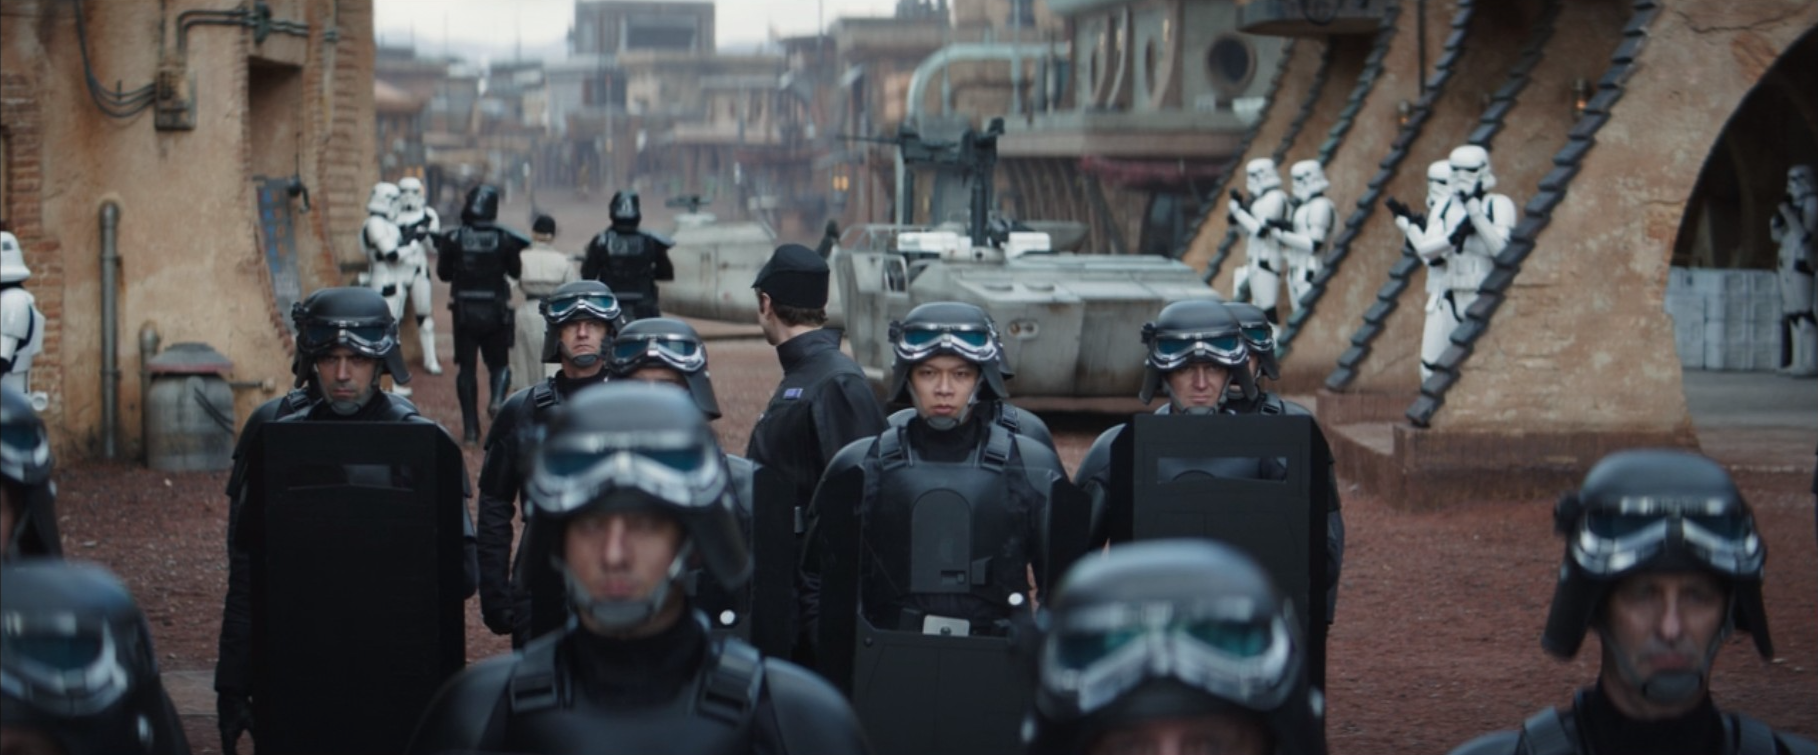
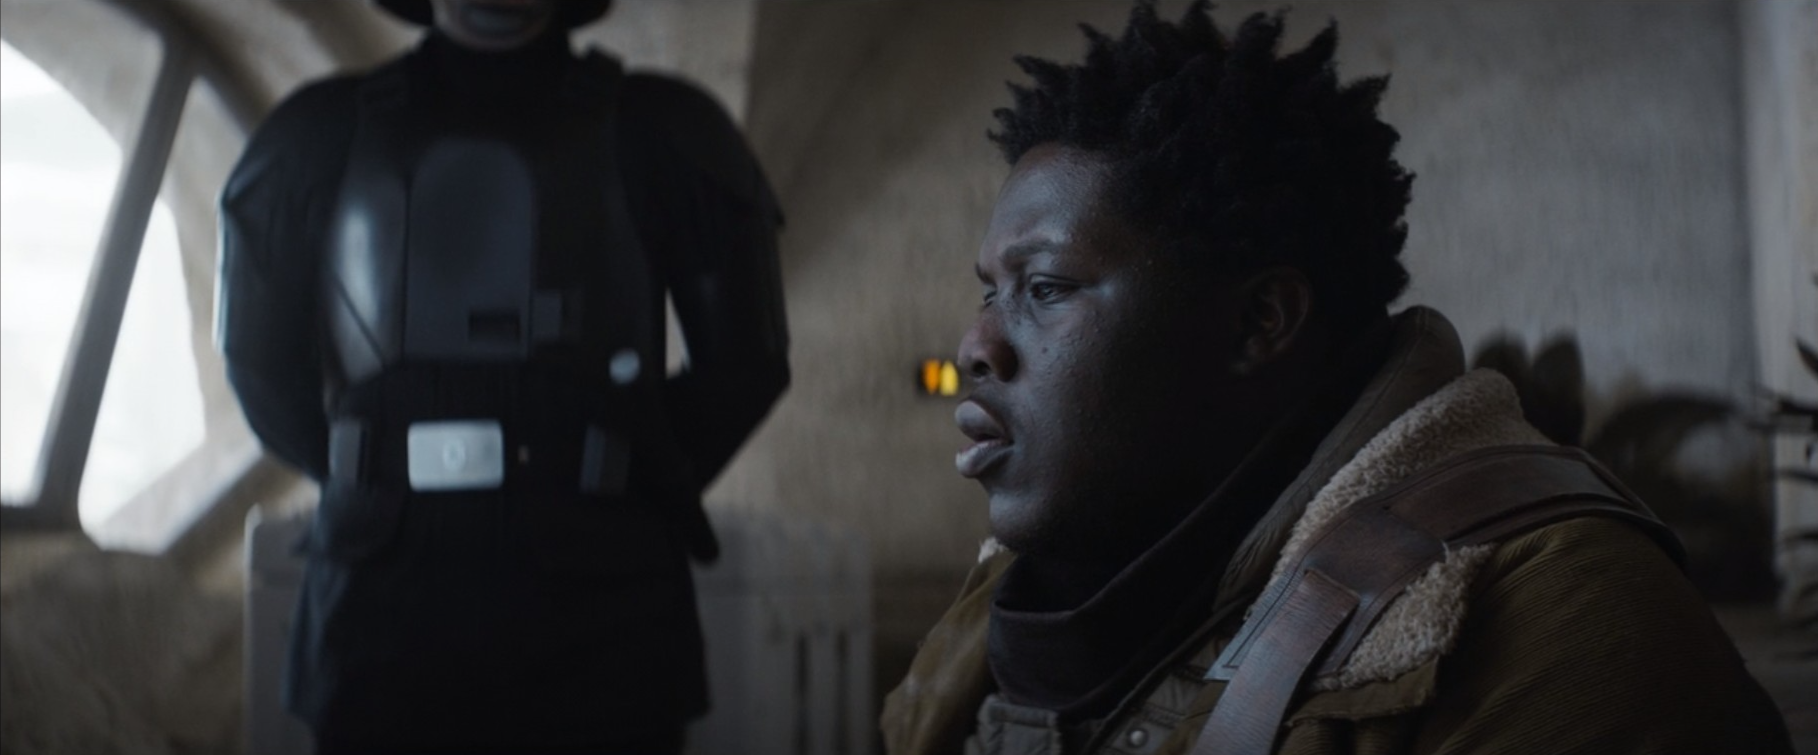
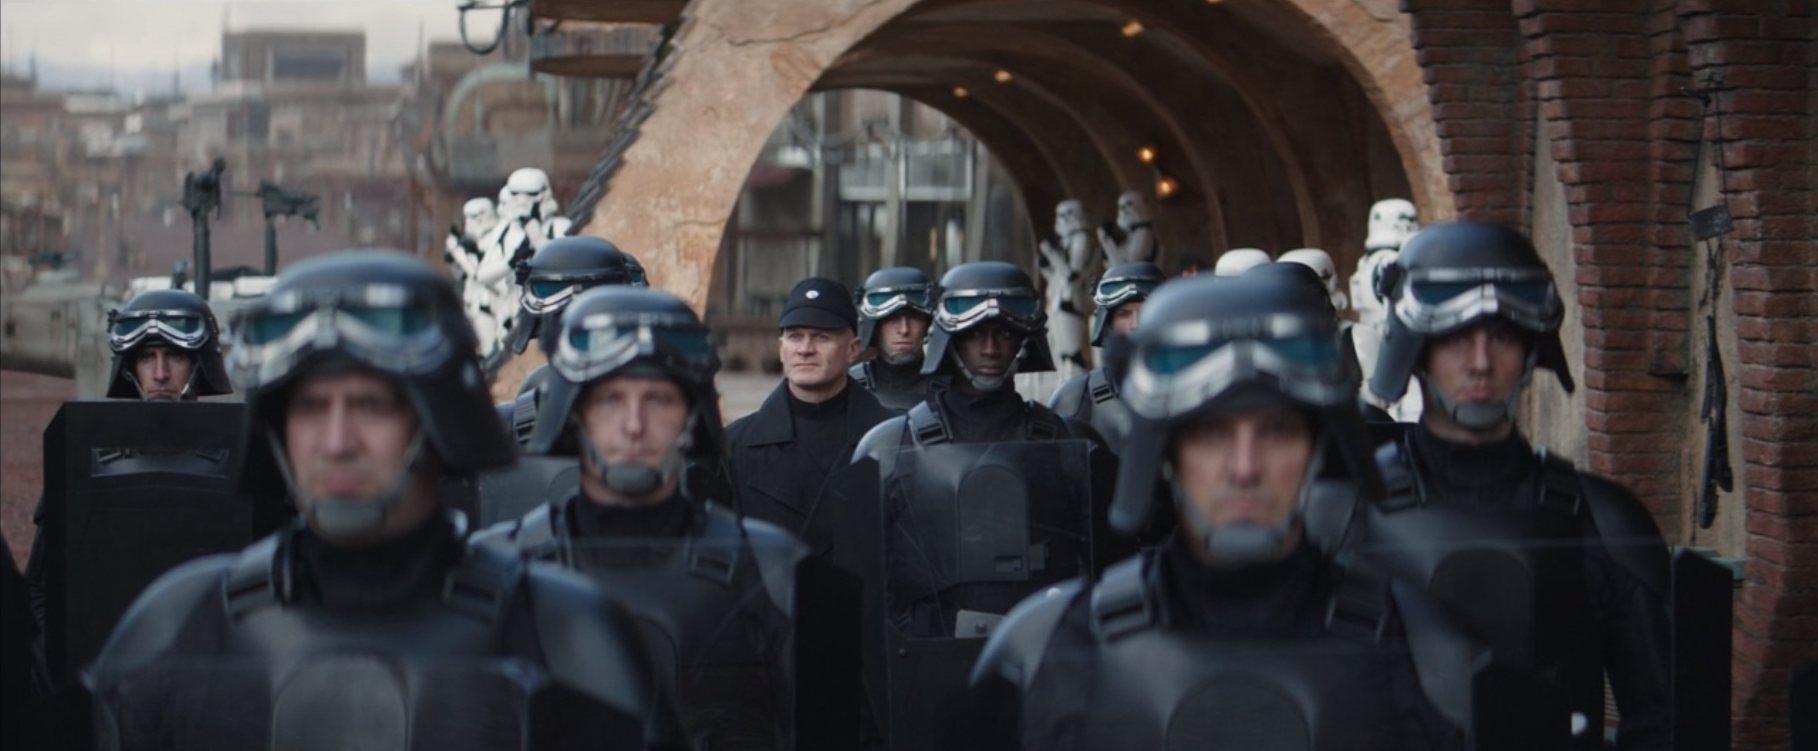
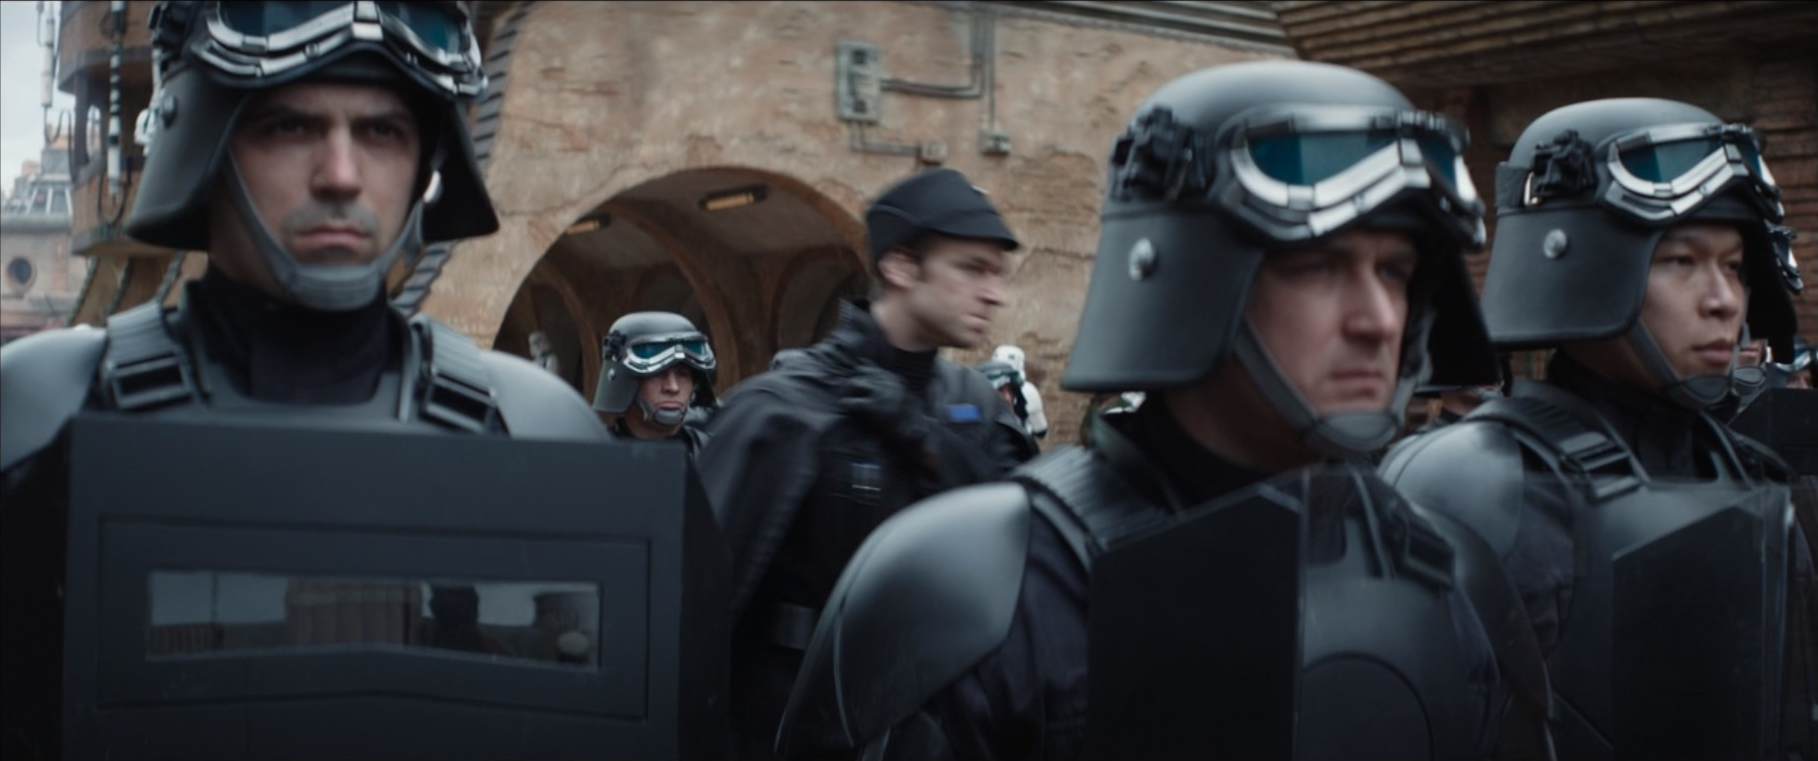
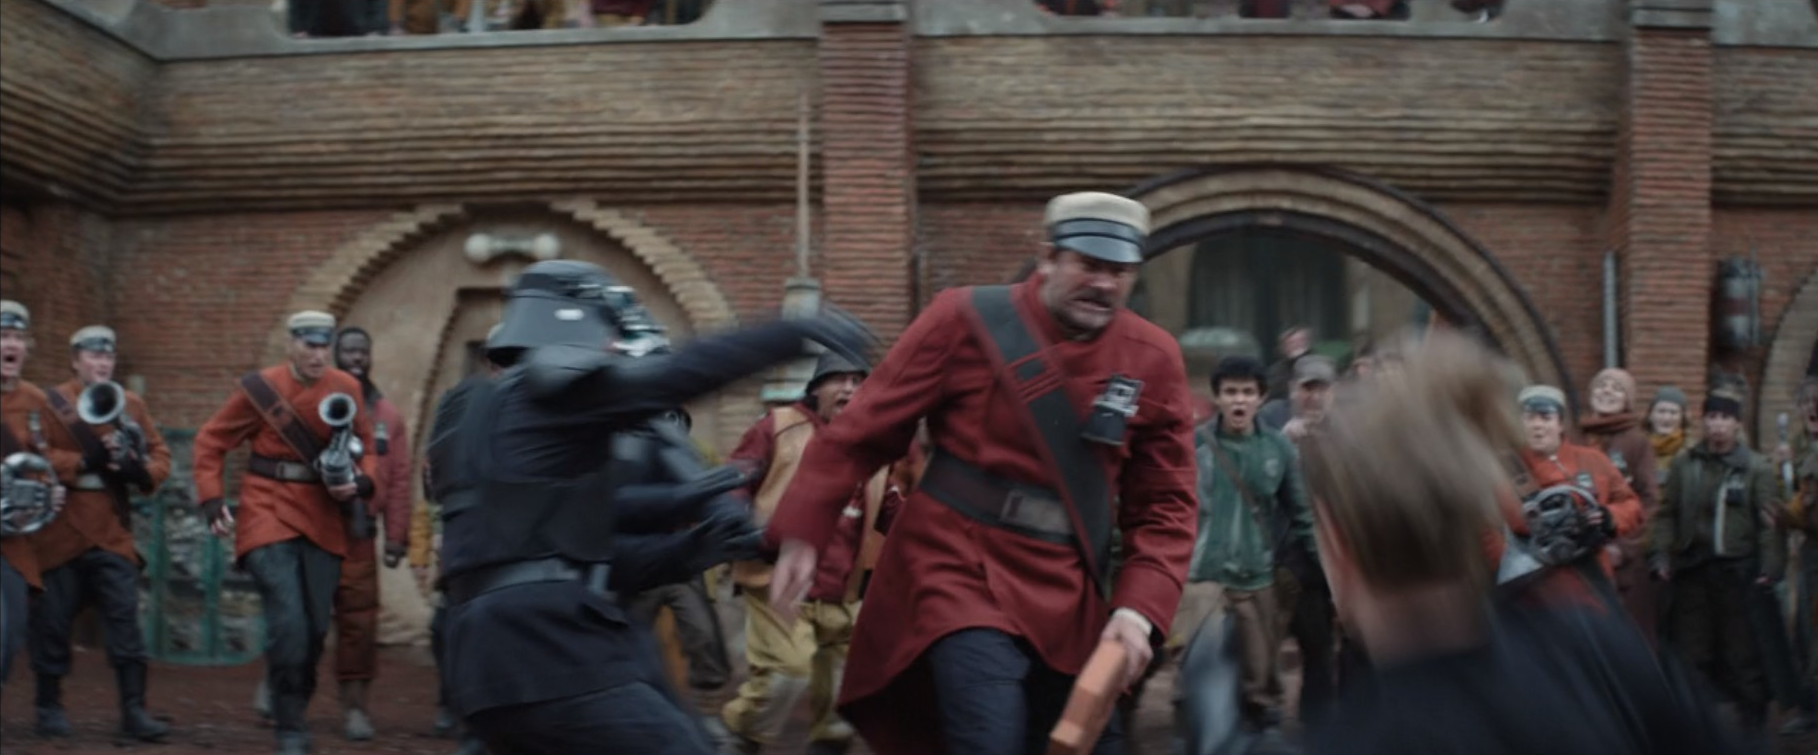
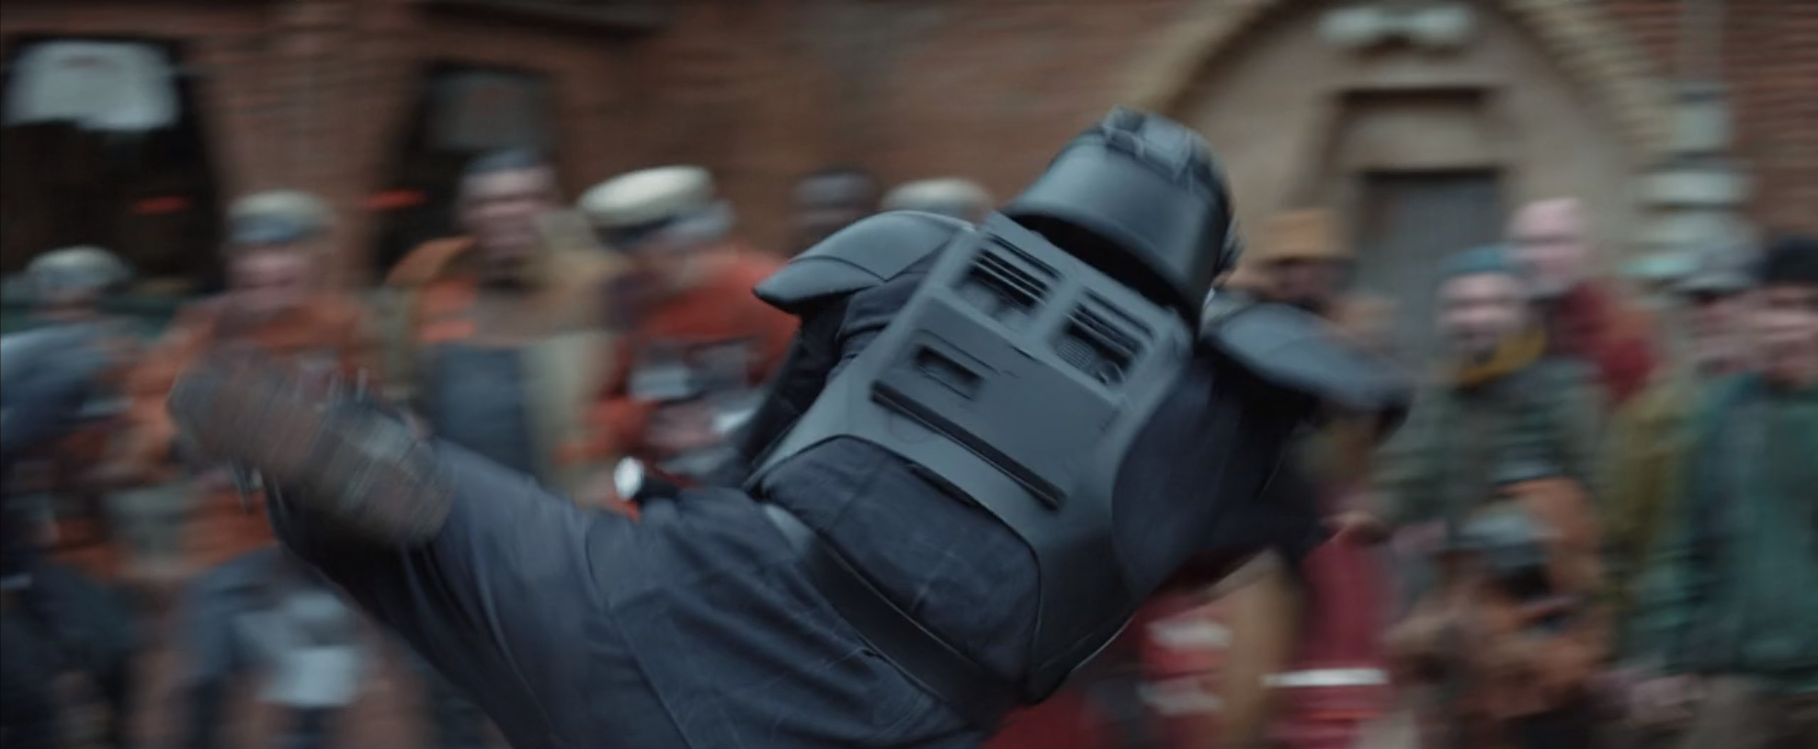
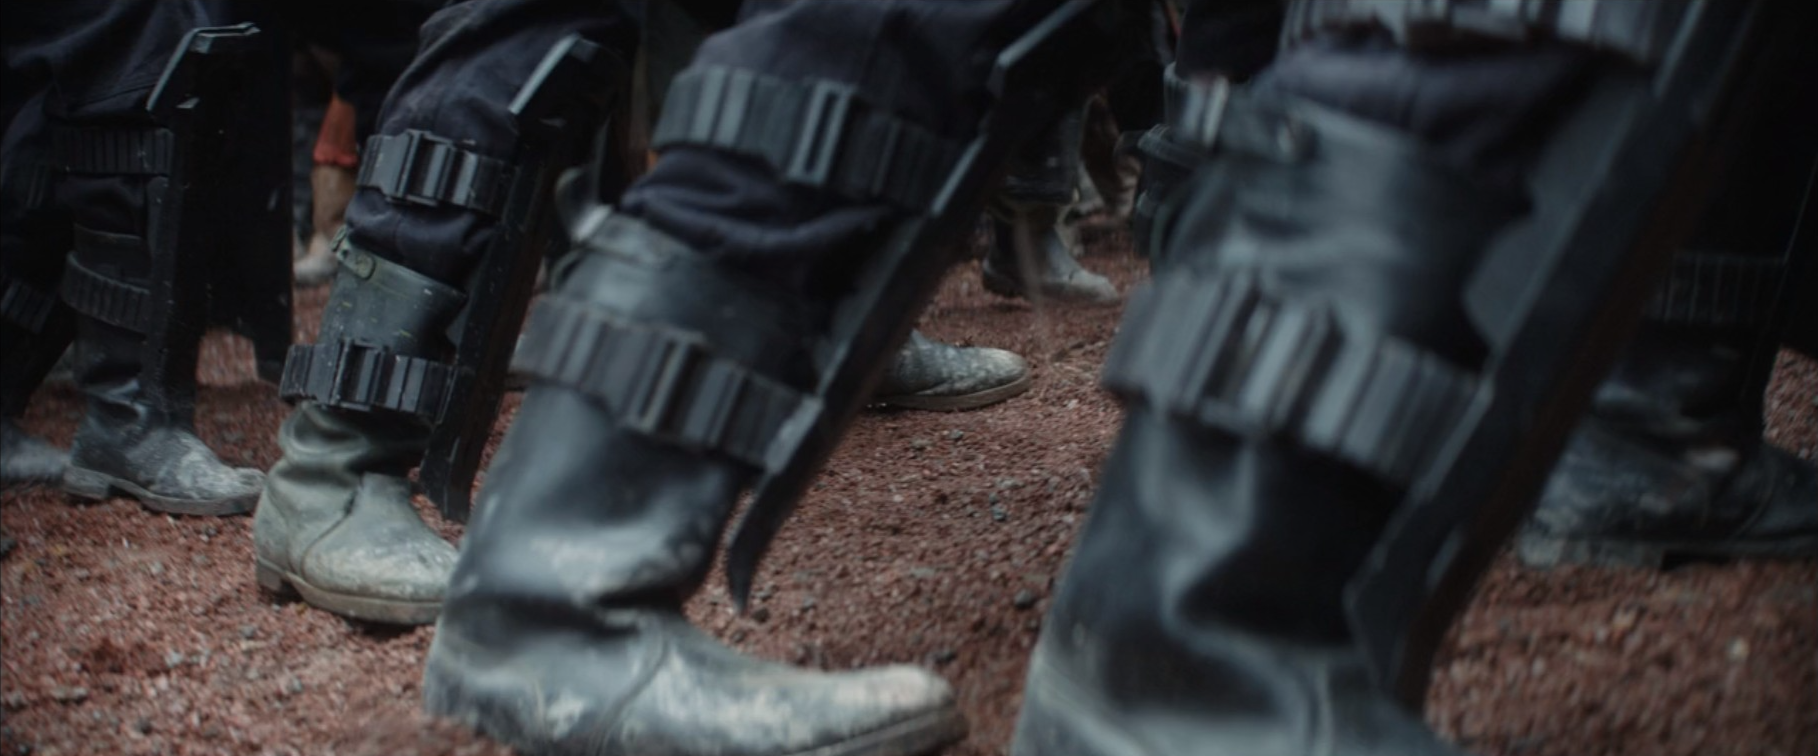
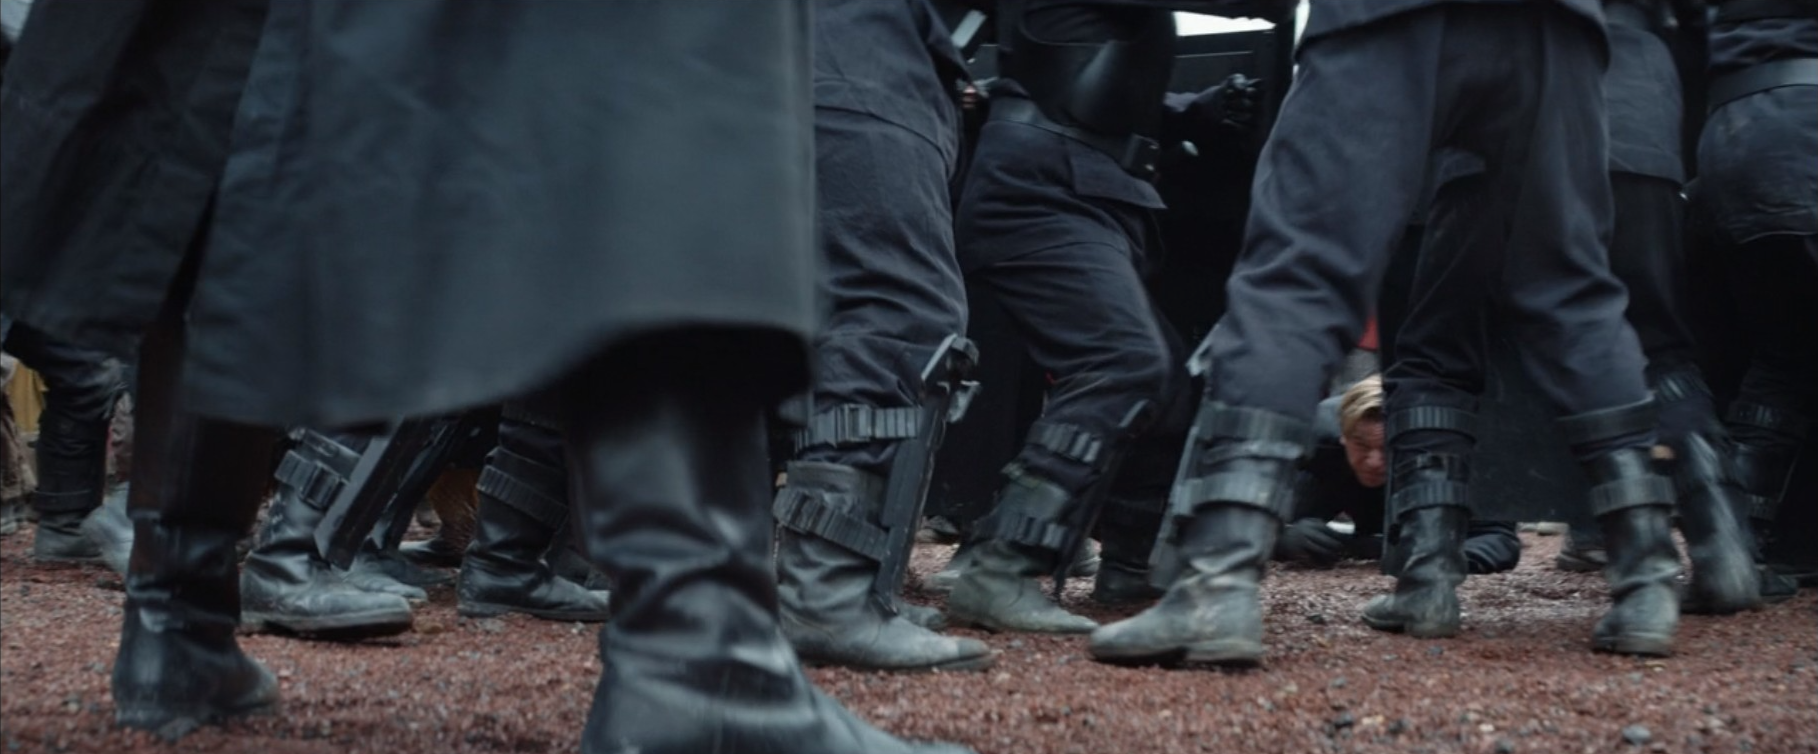
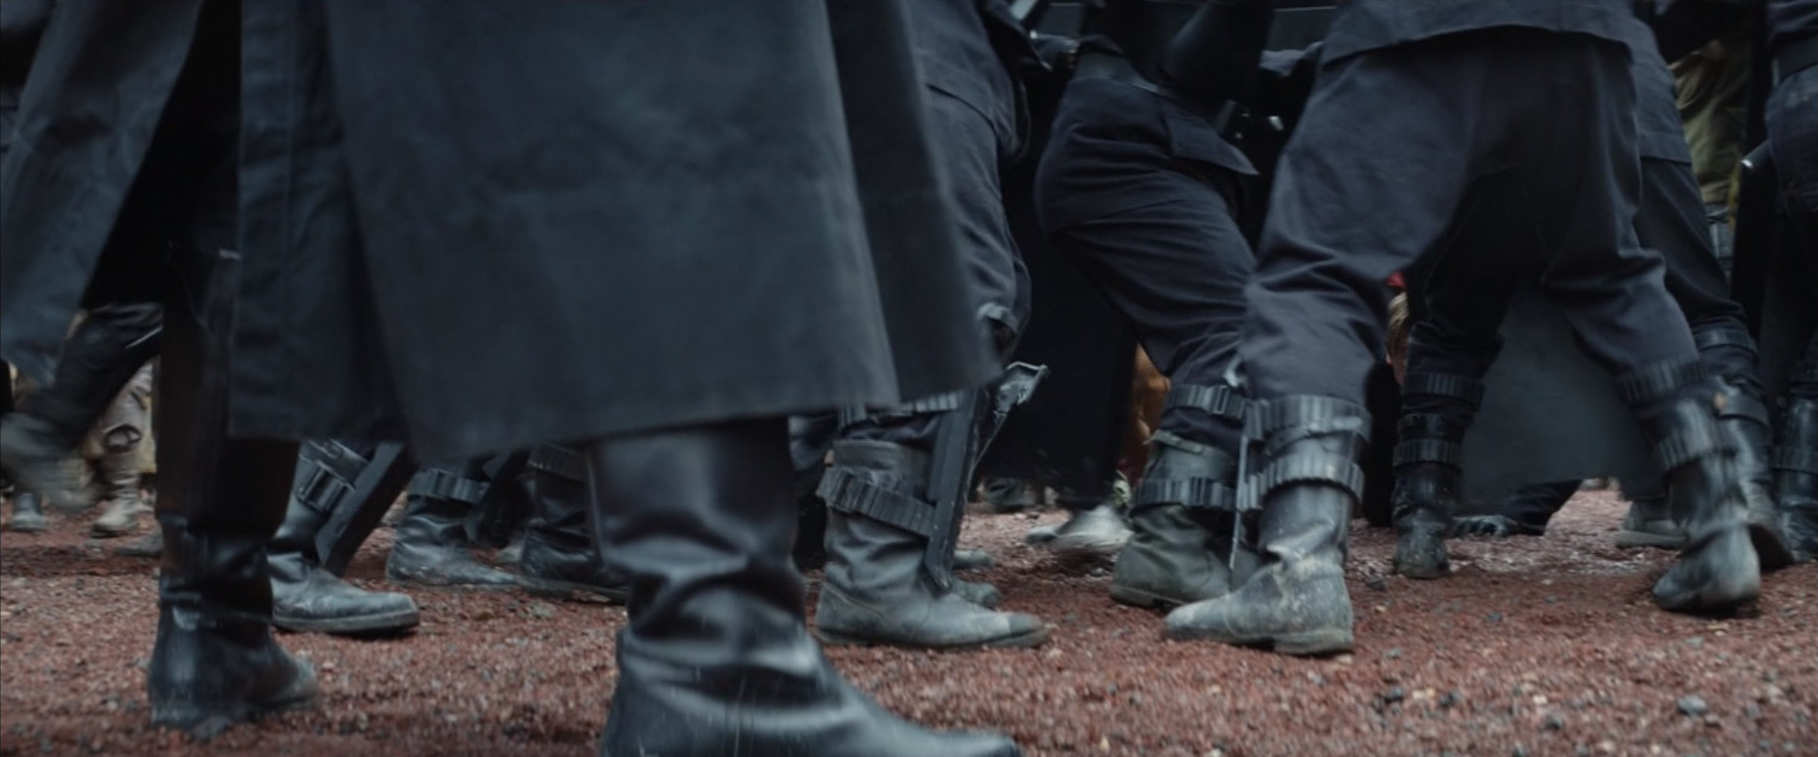
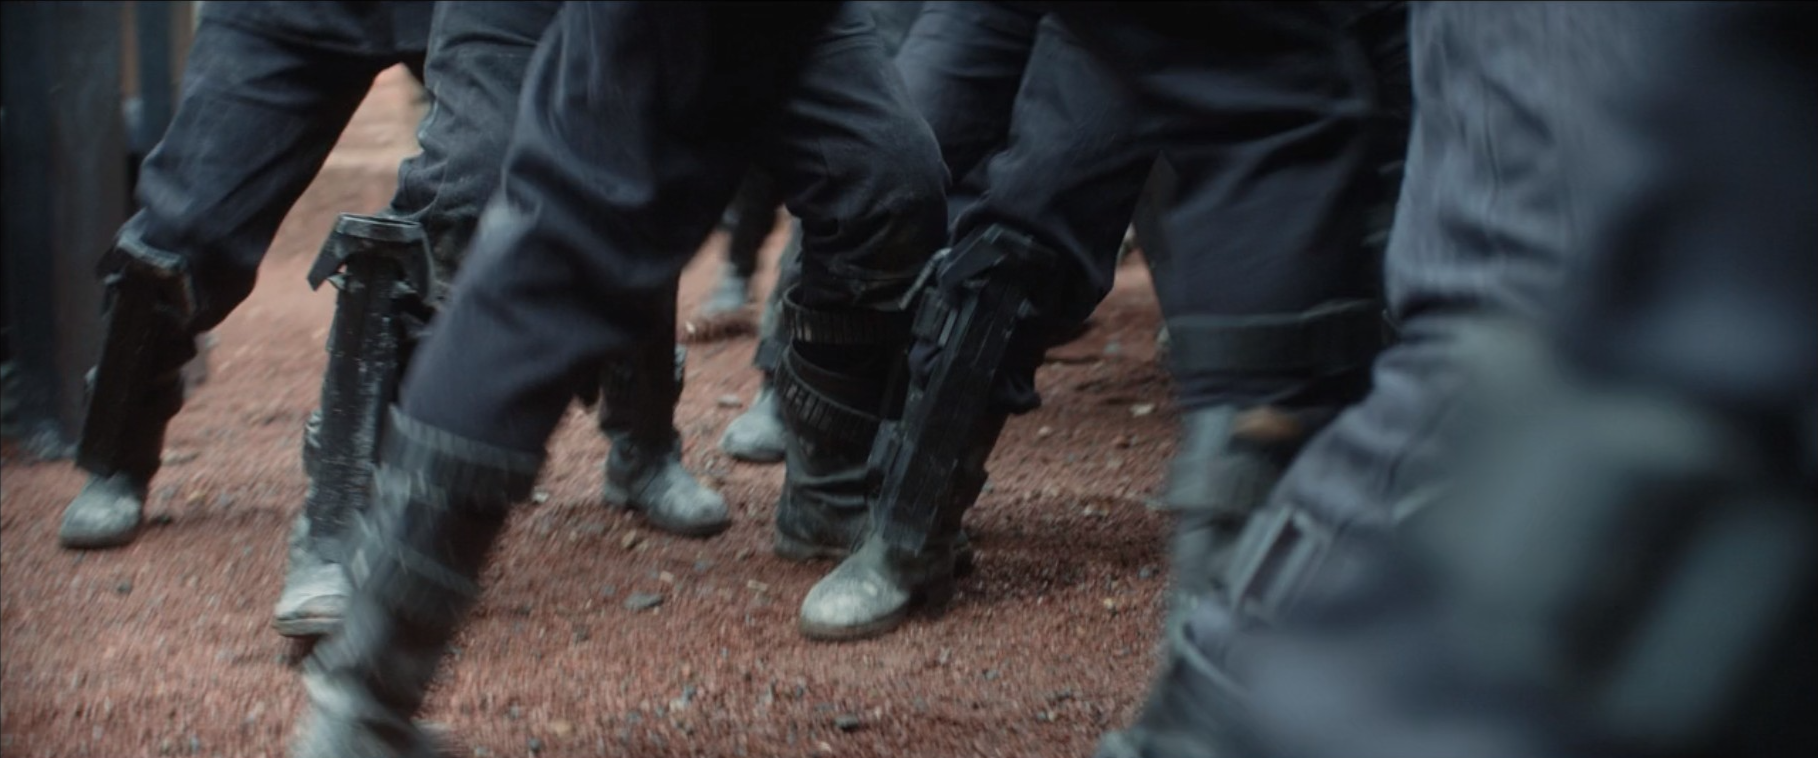
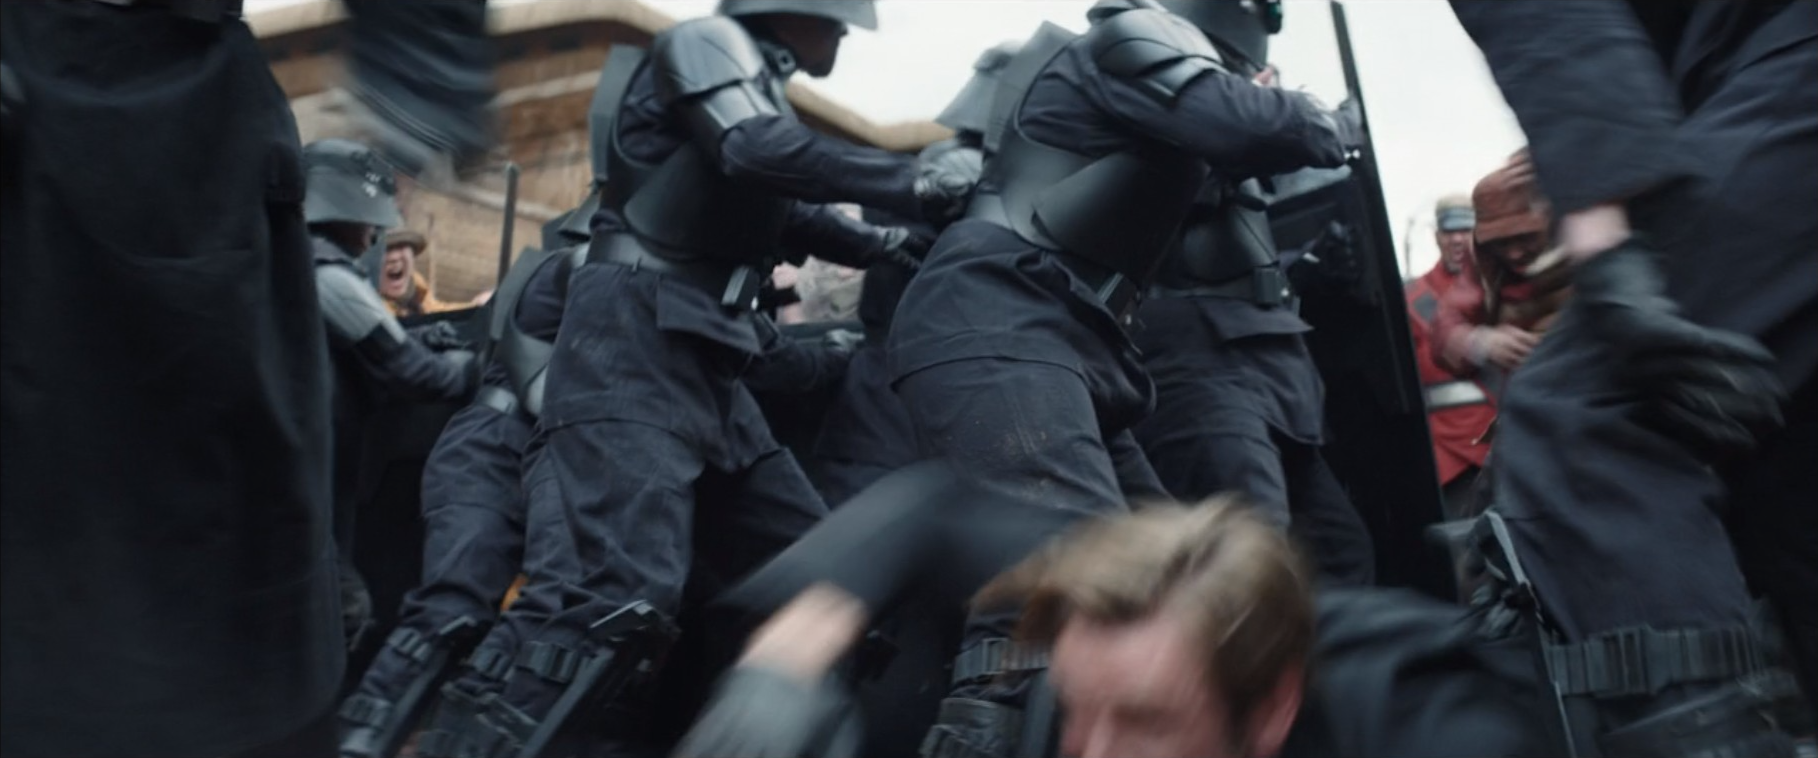
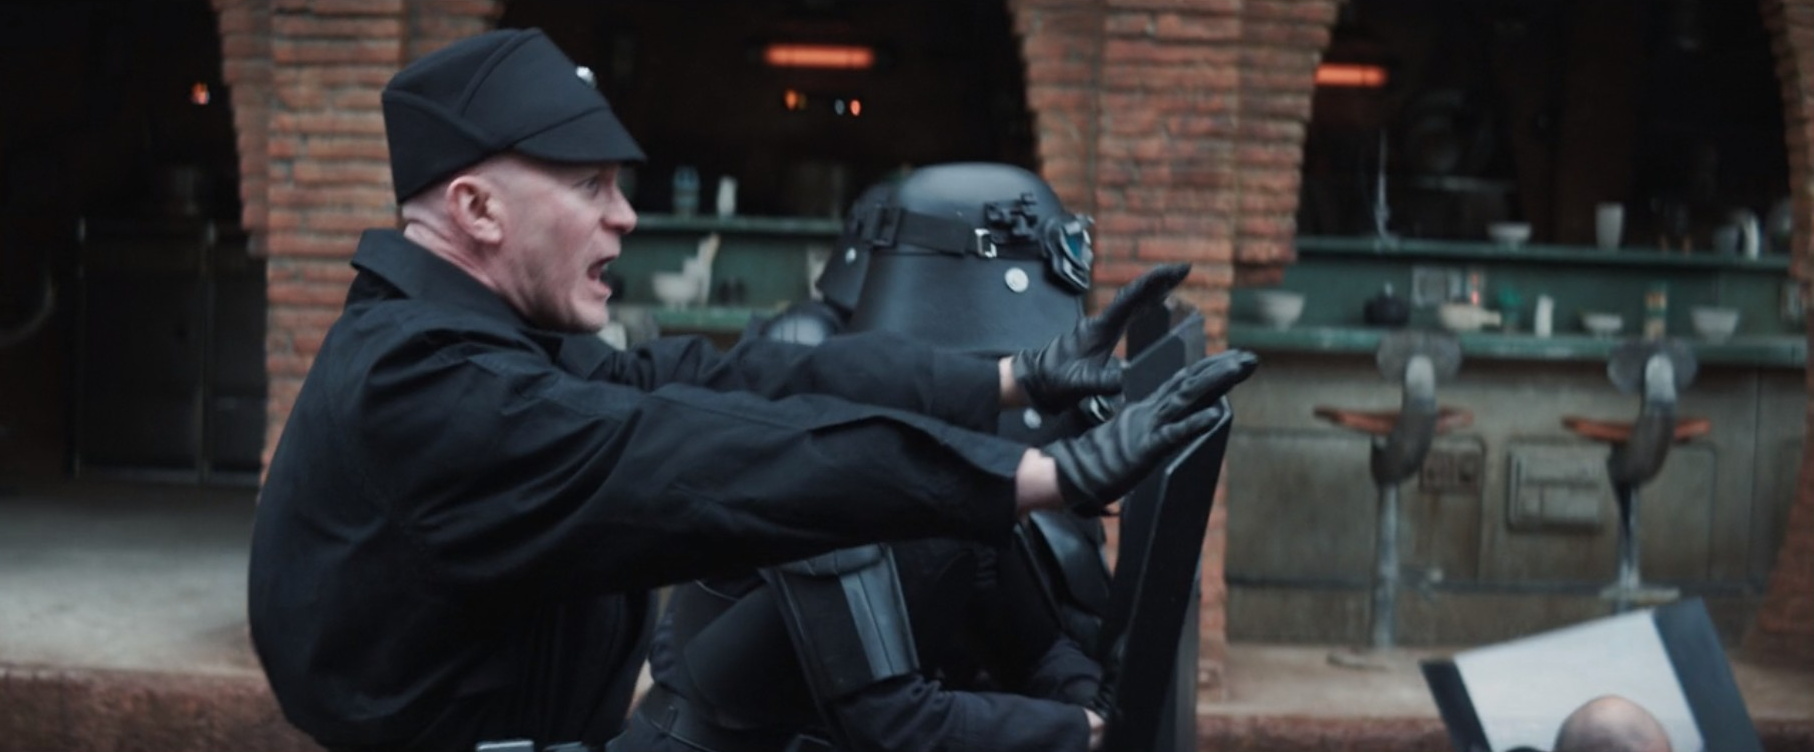
This will be a thread for discussion of the Imperial Security Troopers as seen in Andor on Ferrix. This will be the main listing and we'll tackle each part piece by piece (green is done, yellow is WIP, and red is not finalized): Helmet - Version 1 Goggles - Version 1 Hat Tunic Chest Armor Back Armor Shoulder Armor Bicep Armor Gloves Belt Trousers Shin Armor Boots Baton Baton Holster (REMOVED TEXT DUE TO NO MODEL PIECE) E-11 Blaster Zap Rod ----------FINALIZED TEXT GOES BELOW THIS LINE------------ Description: Imperial Security Trooper Prefix: TX Detachment: Spec Ops Detachment Context: Star Wars: Andor (TV Series) The Imperial Army stationed its black-clad Security Troopers on Ferrix to maintain order in the streets. During this time, a civil uprising endangered the peace the Empire sought to maintain. Special Notes: The armor parts are painted black (unless otherwise noted), and made from one of these (or similar) types of materials: Fiberglass ABS (Acrylonitrile Butadiene Styrene) HIPS (High Impact Polystyrene) PLA, ABS, PETG (3D Printing) Polyurethane Rubber 3D Printed parts are permitted but all print lines and other artifacts must be removed. Blasters are not required for legion membership per our weapons policy. Helmet - Version 1 An open-faced, flared helmet which consists of a dome with rim and helmet skirt. A telemetry unit is attached to the right side of the dome and is aligned with the rim. The telemetry unit consists of a rectangle box with detailing that should match the reference image. The telemetry unit is black. The lower end of the telemetry unit sits out from the helmet to allow the goggle elastic to feed underneath. A raised lip covers the edge of the helmet rim. The lip may be either molded in place, or added as a black trim. Trim shall not exceed 3/8" (10mm). Metal/silver Imperial code disks are positioned on both sides of the helmet skirt. The helmet is to be painted black to match the armor. The helmet has a black chin cup with grey webbing strap. The strap has a snap connecting to a shorter segment mounted to the left side of the helmet. OPTIONAL Level two certification (if applicable): The trim on the helmet rim is a black trim added to the helmet. The helmet has a 3" (76.5mm) web suspension with foam around the perimeter. Imperial Code Disks do not feature a notch or groove details. The chin cup is similar to a Rawlings athletic chin cup. Goggles - Version 1 Goggles shall have an aged chrome or silver frame with detail painting and weathering to match reference image. Goggles shall have a trim around metallic frame. Trim shall be rubber or foam. The goggle strap mounts directly to the rubber or foam trim. Goggles have a green tinted lens featuring two flat panels on each side. Goggle strap features two sizes of elastic. The thinner elastic strap attaches directly to the goggles and is sewn to the larger strap, which forms the main goggle strap. The goggle strap features a number of buckles: There are metallic buckles on each side of the goggles through which the 1" (25.4mm) elastic is threaded. A large buckle greeblie on the back side through which the 1.5" (40mm) elastic is threaded. This greeblie features a square inset into the buckle matching the helmet color. A black 1.5" (40mm) triglide is permitted on the right side of the buckle at the rear of the helmet. Goggles are worn just above the brim of the helmet. Goggles and strap may be permanently mounted to the helmet, with the telemetry unit mounted directly atop the goggle strap. OPTIONAL Level two certification (if applicable): Serrated 1" (25mm) silver slide buckles on each side of the goggles through which the 1" (25mm) elastic is threaded. Goggle straps are approximately 1" (25mm) and 1.5" (40mm). 1” (25.4mm) elastic is used to attach serrated buckle to goggles. Goggles and strap are permanently mounted to the helmet. Goggle strap has the Telemetry Unit mounted directly to it on the right side of the helmet. Hat Fabric matches the tunic and pants. Base of the hat is conical with a crown about 4" (101.6mm) tall. Front and rear “flaps” overlap on the sides and are about 4" (101.6mm) high. Front bill extends 3" (76.2mm) down, decorated with (5),(6),(7) or (8) concentric stitches. An Imperial code Disk is positioned in the center of the vertical "flap". OPTIONAL level two certification ( If applicable): Disk does not feature notch or groove details. Tunic A long-sleeved, black jacket that falls just to mid-thigh, with no visible zippers or buttons. Fabric is a plain weave cotton similar to duck canvas. Has a high mandarin style collar with a left-over-right closure that rises from the front of the tunic. The front closure overlaps left over right and rises from the hem at the bottom of the tunic to the top of the collar. Four rectangular pockets are present on the jacket front, covered by large flapped closures. Lower pockets are larger than the ones on the upper chest. Lower pocket seams rest on the same seam as the end of the tunic The rear of the jacket has a horizontal seam present near the upper back. Two vertical seams start below the horizontal upper back seam moving down the bottom of the jacket. Two black tunic hooks to hold the belt in place are permitted. If used, the hooks will pass from the inside of the tunic to the outside through holes on either side of the tunic at the hip. The belt covers the holes. One pocket is present on each arm of the jacket, each covered by large flapped closures. The top of the arm pocket flaps are in line with the top edge of the chest pockets. Cuffs on the sleeves are about mid-distance to the elbow. The material folds back on itself to form the cuff. OPTIONAL Level two certification (if applicable): The front jacket flap will have rectangular stitch marks with a stitched X inside where Velcro is attached to keep the flap closed. Fabric has the appearance of waxed canvas or oilskin fabric. If left arm rank bars are present, the black fabric should be similar to duvetyn type of fabric and will have 3 equidistant horizontal stitch lines through each rank bar. Chest Armor Chest armor matches visual references being accurate in shape and design. The join between the chest and back armor are created by an angled sweep starting at the bottom of the chest armor and finishing at the bottom of the back armor. This may be held closed with magnets, Velcro or other hidden fastener. There is an indented area around the outer edge of the center flat section. Buckles attach to upper chest plate and match the armor color. Shoulder straps are affixed to the chest plate at the buckle. The shoulder strap is black. It is permitted to be made of cast flexible urethane or other flexible material. To the lower left side of the center flat panel is a recessed area angled inward from bottom to top with a raised rectangle greeblie and a recessed horizontal elongated oval. Left of the recessed area is a raised square that extends from the center to the curved side of the armor. On the top left side of the raised area is a raised oblong detail that protrudes outwards. Chest shall be painted to match helmet and back armor. OPTIONAL Level two certification (if applicable): Buckles have black recess on upper narrow section and the lower recess shall expose the chest armor. Buckles may have silver paint chipping showing gunmetal underneath the silver. Back Armor Back plate is painted to match the chest armor and helmet. The back plate to box should appear seamless. Back plate has a collar that extends upwards and tapers to the chest plate. The collar stands 1' to 1.5" (25.4mm to 38.1mm) tall Chest and back plate meet at the sides. The front overlaps the back plate. The back plate dips below the back horizontal edge to meet the dip of the front armor plate. There are 2 hose connectors located at the top of the back plate approximately centered above each rectangular cut out/greeblie. The hose connectors are angled forward. There is a 1" (25.4mm) recessed circle on top of and to the wearer's right of the right hose connector. The upper half of the back has two large cut out recesses. Each recess has eight symmetrical rectangular vent details and various greeblies inside. Four raised bars approximately 0.375" (9.5mm) long aligned to the top of the recessed box opening may be present. Each recess has different and specific set of greeblies inside that are painted to match the the rest of the armor. Left side recess has a rectangle shape greeblie with an angled right side end with five panels. The first left panel has a tube on top that runs up the left side and across the top of the recess. On the right side a heat sink is fitted. A heatsink modeled from a MSI DDR Chipset 1.5" x 1.5" (38mm x 38mm) heatsink is most accurate. Right side recess has a long thin strip with 17 teeth, extending from the left edge to approximately 5/16" to 3/8" (10mm to 14mm) from the right edge. This is located directly below the double row of rectangular vents. Below it is a rectangle shape greeblie consisting of two parts. The left part is flat, the center is three rows of 7 oblong depressions and the right part features a hose connector greeblie. The left side has a raised "vent" in which the far left 1/3 is flat, followed by a thin line recess and 7X3 rows of oblong-shaped indents. The right side has a circular type hose connector. There are 5 tapered vents on the lower sides of the backpack. These vents are present on the left and right. Bottom left features a smaller rectangle cut out with the left side stepped. Half circle indent detail beneath the backpack section must be present. There is an oblong greeblie centered below the two large recesses. The greeblie is approximately 1/8" to 3/16" (3.175mm to 4.76mm) tall and 1.25" (30mm) long. There is a small 1/4" (6.35 mm) diameter) raised circular greeblie centered approximately 7/8" (22.2mm) below the oblong greeblie. The bottom of the circular greeblie is in line with the top of the small rectangular cutout on the lower left side of the backpack. There is a raised slot on each shoulder for the straps to fit into. Shoulder straps are black and are affixed to the chest plate at the buckle. Moderate weathering to depict the Rix Road incident is permitted and must match reference images. OPTIONAL Level two certification (if applicable): There is a recessed hole approximately .31" (7.8mm) above the top left corner of the left recessed box. There are two indented squares approximately 1/4" x 1/4" (6.35mm x 6.35mm) aligned vertically above the right upper corner of the left recessed box. There is a stepped ledge at the bottom of the main back box. Shoulder Armor Each shoulder bell is a mirror image of the other. The detailing of each shoulder bell is asymmetrical. Shallow grooves are present in a pattern matching the photo. Shoulders are painted to match the armor and helmet. Shoulders are mounted to the shoulder strap via a 1" (25.4mm) up to 2" (50.8mm) webbing strap. Bicep Armor For basic approval a one piece bicep is permitted. The bicep may appear "open" or split as seen on screen. Cover strips will appear on the front and back, covering joints if present. Bicep cover strips are raised and beveled with an added strip inset into the top of the bevel. Cover strips may be as deep as 1/2" (12.7mm) and up to 7/8" (23.5mm) in width, beveled on all four sides. Biceps are painted to match the armor and helmet. OPTIONAL Level two certification (if applicable): Biceps are a two piece design with the halves held together with hidden flexible cord and shall remain flexible. Gloves Black gloves made of smooth leather or leather-like material. Gloves shall have all logos removed. There is no decorative stitching on the gloves. OPTIONAL Level two certification (if applicable): Gloves shall have a U-shaped adjustment at the wrist. Dents brand gloves or accurate replica of Dents gloves. Belt Belt is construction from a non-textured leather or leather-like material. Approximately 2" (50.8 mm) in width; up to 3" (76.2 mm) is acceptable. There are no loops on the belt. A single large snap or rivet is visible approximately 1" (25.4 mm) to the wearers left from the buckle. The buckle is constructed from a horizontally brushed metal, or metal looking material. The buckle size is approximately 2 5⁄8" (66.7 mm) high and 4 1⁄8" (104.5 mm) wide with 1/2" (12.7 mm) radius rounded corners. Buckle is adorned with a Rogue One type Code Disk without grooves at the center. The belt is worn above the top of the lower pocket flap top edge. The belt features two boxes, one on either side of the buckle. The boxes are Rogue One style boxes, the dimensions are approximately 3" tall x 2" wide, x 1" thick (76.2mm x 50.8mm x 25.4mm). The belt may feature up to four additional boxes for a total of six boxes, placed equidistant around the belt in screen accurate positions. Boxes shall be painted gunmetal or olive grey. OPTIONAL Level two certification (if applicable): Belt is made of leather. Belt has a groove at top and bottom edge of the belt along its length. Belt boxes are smaller than Rogue One boxes, being 2.5" tall x 1.75" wide x 1" thick (63.5mm x 44.5mm x 25.4mm). Belt boxes feature a pill shaped indentation at the top of the box. Trousers Black pants matching the tunic and hat in color, type and weave. There are no visible pockets. Trousers feature a long reinforcement panel on the front of the leg from mid thigh to below the knee. This panel is double row stitched. It does not extend to the side seams of the trouser leg. Shin Armor The shin plates (greaves) attach directly to the front of the wearer's shin using two flexible rubber straps that thread through the back of the greaves. Each strap affixes on the outer edge of the boot via a cam style buckle. The rubber straps are ribbed and equal in size. Straps extend from each buckle and the inner side of the greaves. A "T" shaped knee plate is affixed to both greaves that may appear to angle slightly away from the knee. The "T" shaped plate features a slightly curved rectangle feature that follows the upper edge. The rectangle is raised. Two triangular prism-shaped ‘knuckles’ are evident beneath the "T" shaped knee plate. The top and bottom facets are longer than the side facets. The greaves feature vertical indents and recessed rectangles that should match the reference image. The bottom of the greaves angle outward to follow the curvature of the boot/foot. Shins are painted to match the armor and should be weathered to match the boots. OPTIONAL Level two certification (if applicable): The shin buckle shape is different than the shoulder buckles. The rear lever bar is shorter with a more distinct curve. Rubber straps are approximately 1.5"(38.1mm) wide. The shin armor is weathered with a gray shade similar to Pantone 433u. Boots Boot rises to no higher than mid-shin, and is leather or a leather-like material. There are no laces, decorative stitches, embellishments or buckles on the instep. A single adjustment strap at the top outside of the boot may be present. The buckle is no wider than 1" (25.4mm). This need not be functional. Strap adjustment buckle is dingy gunmetal color, or dingy gray. It shall not be shiny/chrome. Zippers on the inside of the boot are acceptable as long as they are concealed. If the zipper is not covered by a vinyl or leather strip, it is painted black. For basic approval the soles may feature a more aggressive tread. German Bundesmarine Navy Sea Boots (or authentic replica) are most canon. Boots may be weathered with a light brown color simulating wear on Ferrix. OPTIONAL Level two certification (If applicable): Boots are made of leather. German Knobelbecher Bundesmarine or Knobelbecher Bundeswehr style, accurate in height and design. Sole is low-profile with no hobnails, a modest heel and modest tread. If seams are present they are at the rear only. Rectangular reinforcement stitching on the upper shaft does not have an "X" stitched into it. Boots must be weathered with a light brown color simulating wear on Ferrix. Baton Metal or metal-like tube. Approximately 12" (30.5cm) in length when collapsed. Rounded caps on each end, metallic grey or silver in color. Has grips on both ends that leave only a small gap in the middle of the baton. Grips may be made of neoprene or foam, and may be ribbed or left plain. One end of the baton may "extend" approximately 10" (25.4 cm). Baton is only present when the holster is present. Baton Holster (REMOVED TEXT DUE TO NO MODEL PIECE) Hoster is mounted to the left side of the wearer's belt. Curved holder which fits around the middle part of the baton. Baton is carried n the holster at a slight angle. Lower part is curved. Baton is retained with a leather or flexible rubber strap. E-11 Blaster Manufactured by BlasTech Industries, the E-11 is standard-issue for many Imperial Troops. Light, compact yet powerful, the E-11 blaster is always in high demand throughout the galaxy. Note, the E-11 holster as seen in the Original Trilogy movies is not authorized accessory for this costume. Based on a real or replica Sterling Airsoft Gun, Sterling Sub-Machine Gun, scratch-built, or a modified commercial toy Stormtrooper blaster to depict the Rogue One style E-11 blaster. OPTIONAL Level two certification (if applicable): Blaster shall be based on a real or replica S&T Sterling L2A1 AEG Airsoft Gun or accurate 3d print file. (Folding Stock does not need to function) D-Ring shall be present on the rear end cap. M38 Telescope. 1943 model is preferred. Power Cylinders shall be mounted on top of the magazine well. R1 style power cylinders are preferred over ANH style. 6 rows of T-Tracks cover the Sterling receiver holes except for the lower left row with the bayonet lug. Counter shall be a real or replica Hengstler 400 Series counter with small Eagle logo. Power Cylinders shall be R1 style, ANH style is not allowed. Scope shall be a real or replica M.H.R. Zap Rod Approximately 36" (91.4cm) in length. The base features a tip on top of a 2" (5.08mm) cylinder with two rings as seen in the reference photo. The tip and cylinder will be metal or have the appearance of being metal. The hand grip is black and extends up to a raised black ring, about 2" (5.08mm) wide going around the circumference of the zap rod. After the raised black ring there are two sets of pill shaped recessed on each side of the zap rod for a total of eight recessed areas. These recessed areas are closer to the raised black ring than the top of the zap rod near the shock prods. There is another raised black ring, about 1/2" (12.7mm) wide going around the circumference of the zap rod. The tip of the zap rod is cylindrical from the base to the tip and is roughly 4" (101.6mm) long and features a ring closest to the base and two prongs that are triangular shaped. The shock prod portion of the zap rod will be metal or have the appearance of being metal. OPTIONAL Level two certification (if applicable): The base cylinder with two rings is made from metal. The shock prod portion of the zap rod is made from metal.
-
I just wanted to respond to this comment, our team are very responsive in the GML section of the main legion forums, so either will suffice If you are finding you are not getting timely responses from the detachments there I would raise this with the LMO team so they can follow up with the relevant detachments


.png.0c0bf4a73c4b780d12d2f7ec1f475d4b.png)
.png.54a909fba6405ad3b5c20ff077036e09.png)

.png.969448e66dc84d0381d4ab1dc409b9aa.png)
.png.cacb3c073655489e70cdb5646db2612a.png)
.png.cefd27525802b5bfdf20583fdbc165d3.png)

.png.ee8fb177595864c6ab4ffd549dfd2472.png)
.png.a182b5545519960c05fb2b7acc95ab6c.png)
.png.75b7b717f53bc612af41d52ef7ddf069.png)
.png.cdf4727c6a36e1f8160b25a674af4128.png)

.png.959fb0a4f10a4fa02b3d515496cdc87c.png)
.png.d764186d90dd60e27da99b1eb4dacef2.png)
.png.474bfb43d862876f74f4ded7e589e8a4.png)
.png.cbd95b82e3a38f3efd79e07ca66bca55.png)
.png.48cdf5cb9511fcbf11e3313461396b97.png)