Lt. Dan
-
Posts
225 -
Joined
-
Last visited
-
Days Won
14
Content Type
Profiles
Forums
Events
Everything posted by Lt. Dan
-
@DHKnechtdidn't install them yet, just cut the extension and adjusted them to the radius of the back armor shoulder section. Basically in the end it looks like on the attached pics that I got from Paul. Haven't got decided whether to glue or to velcro them?

-
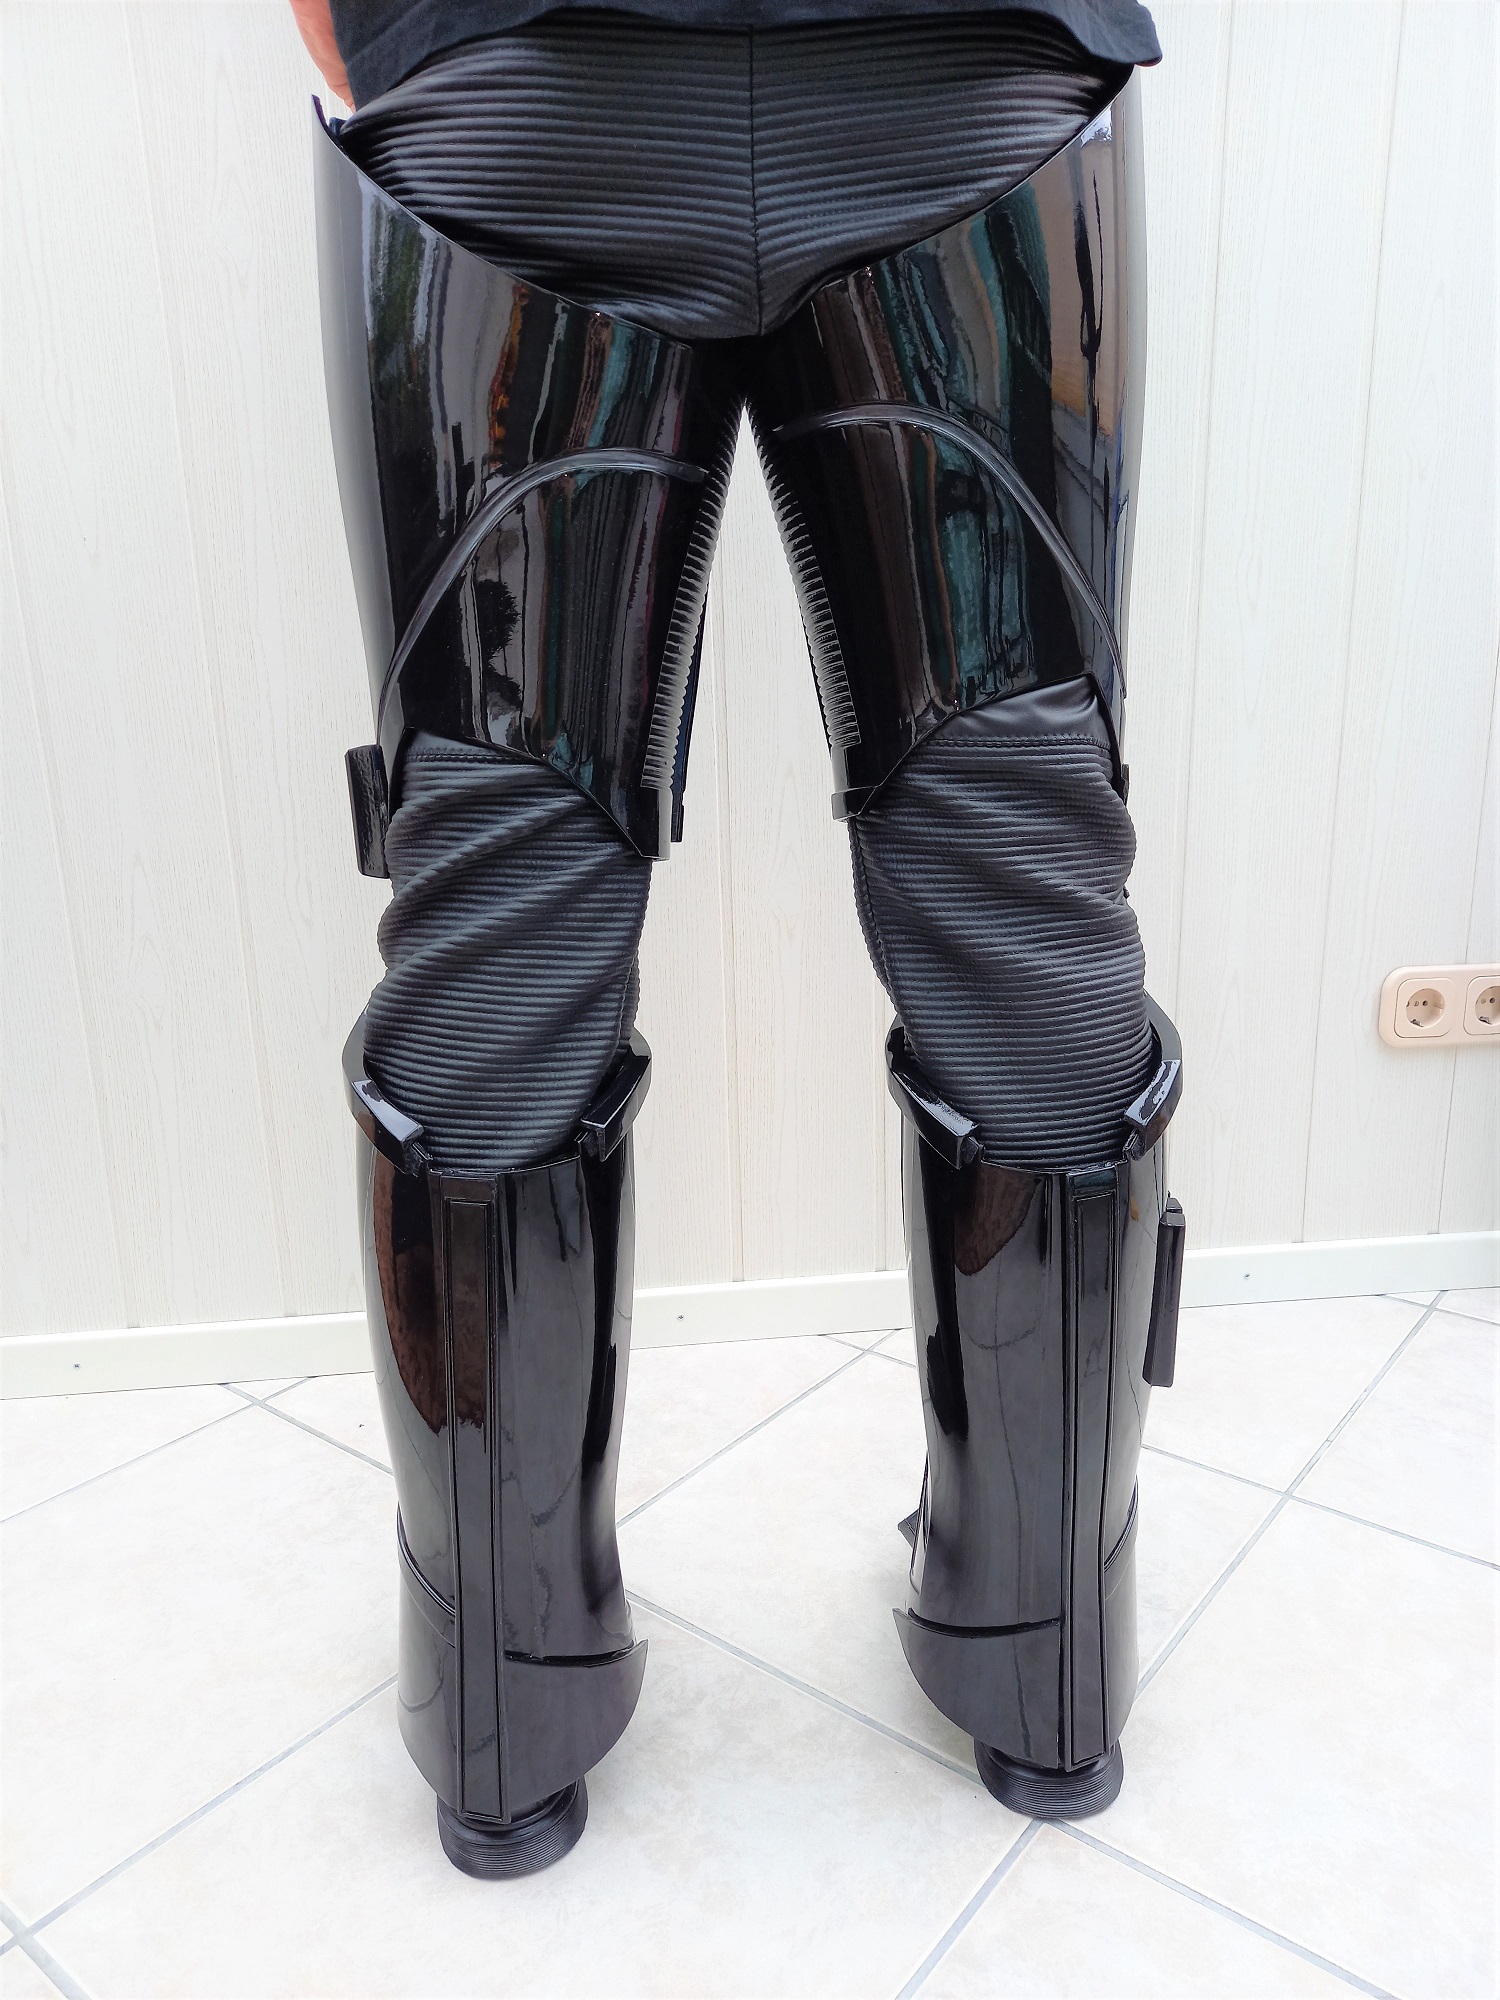
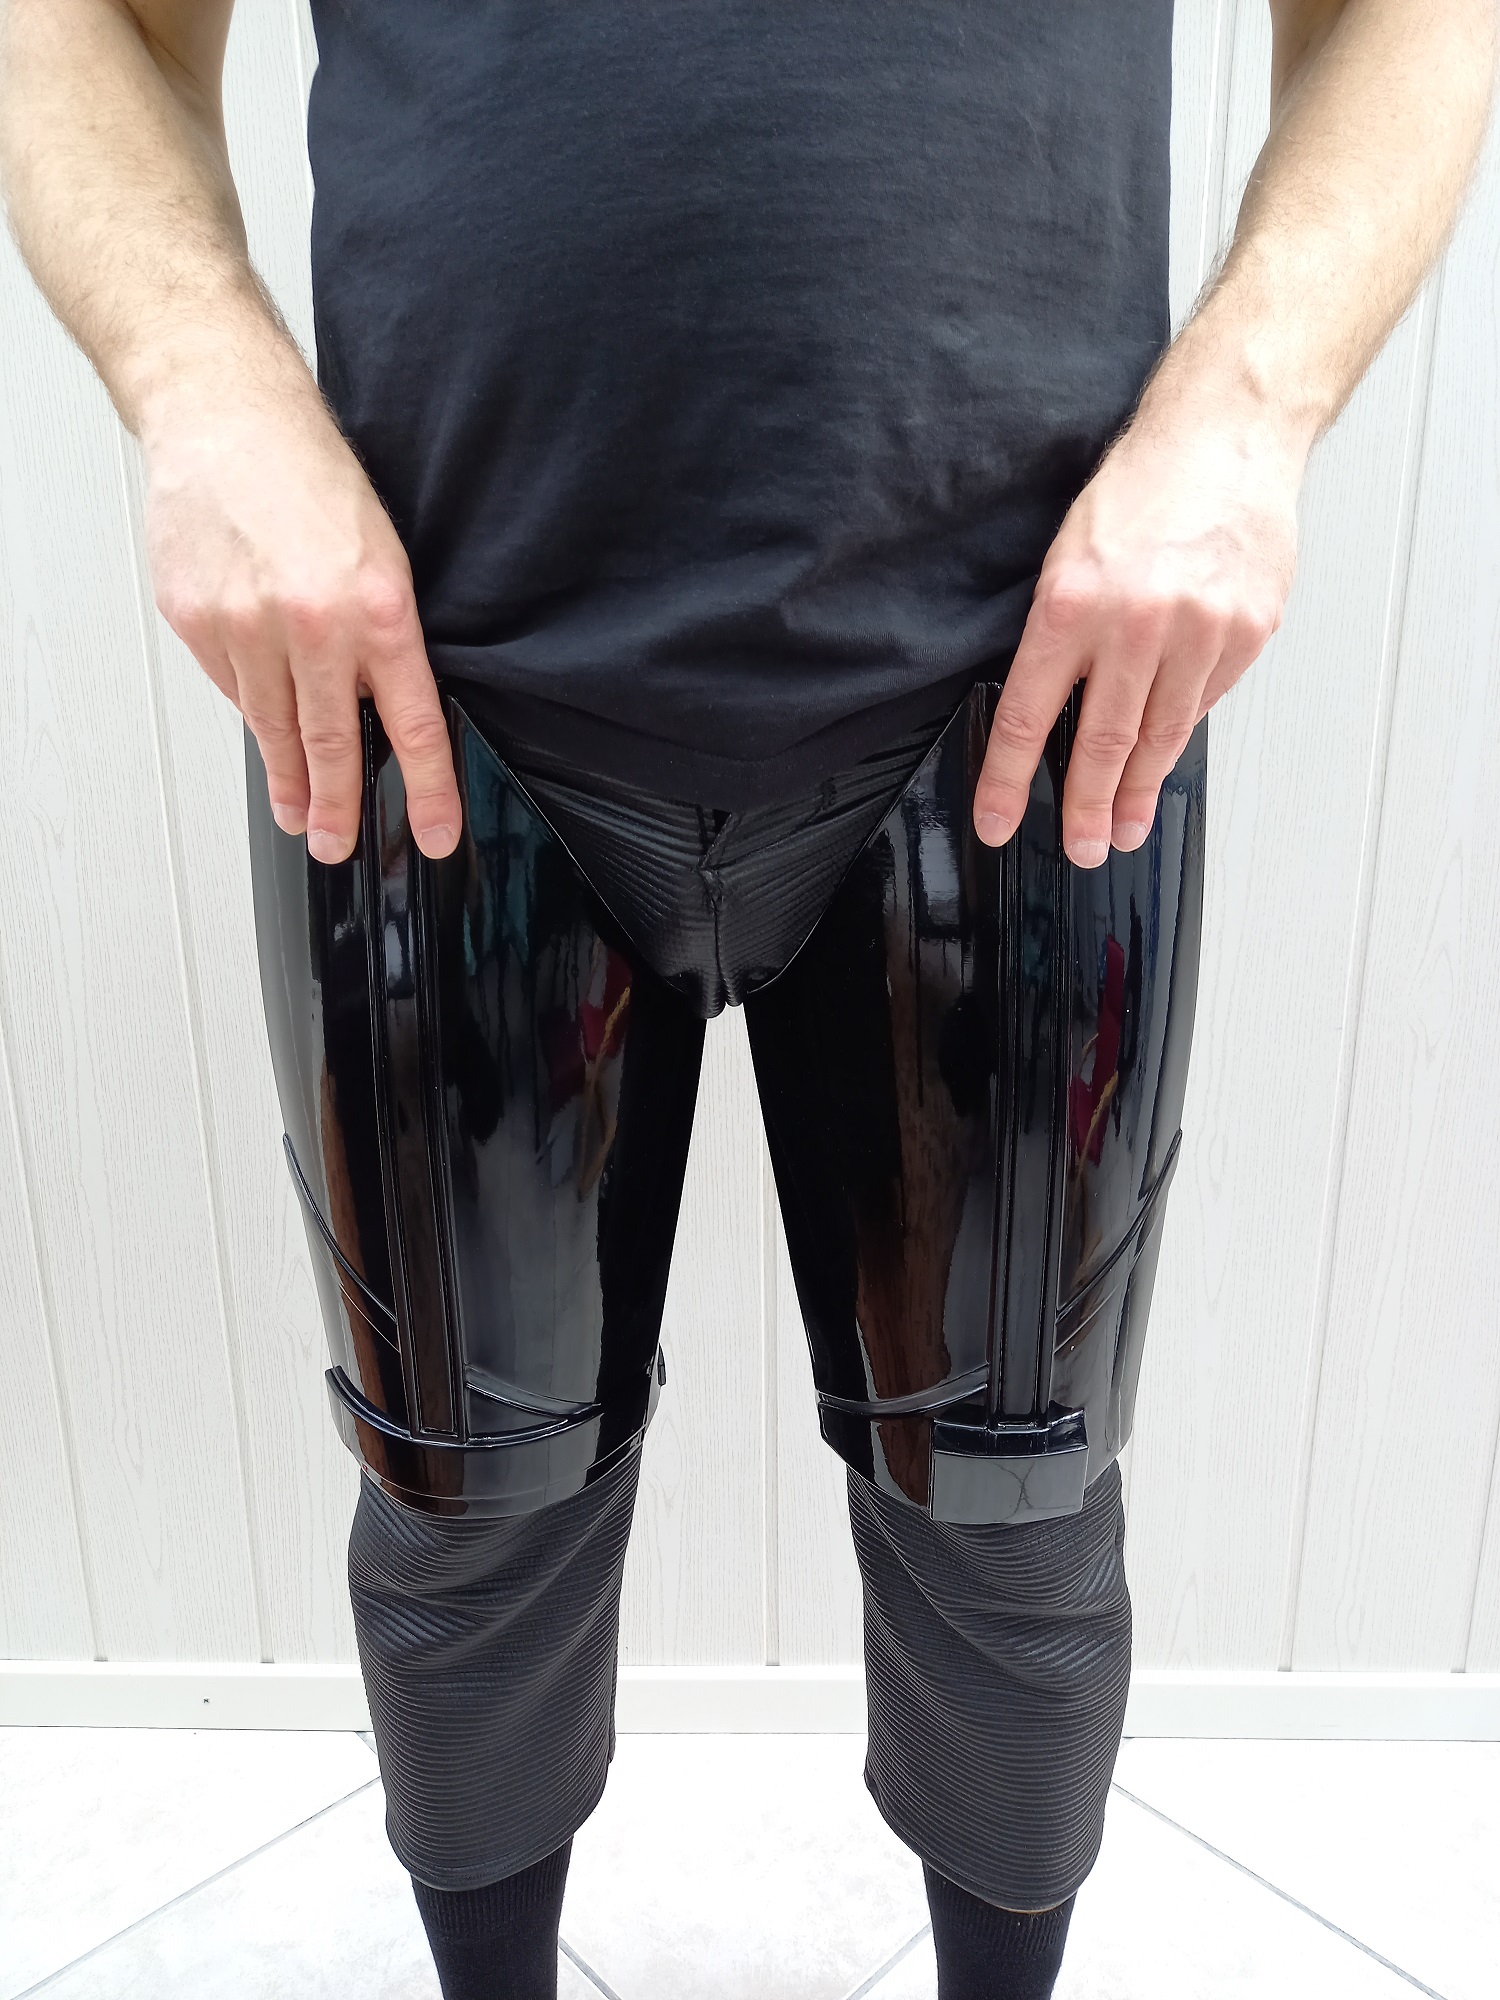
First partial leg parts wear test and first optical progress after cutting, reworking, repainting, glueing and several test fittings which hurt my back from bend over all the time? Had to stuff the shins with foam pads to prevent twisting. Somehow my shinbones are crooked a bit and the shins always rotated to the outside, but now I got them fixed in place. Went some stairs today to test and it seems pretty well! Now its time to get my harness together, so that I do not always have to hold the thighs up?
-
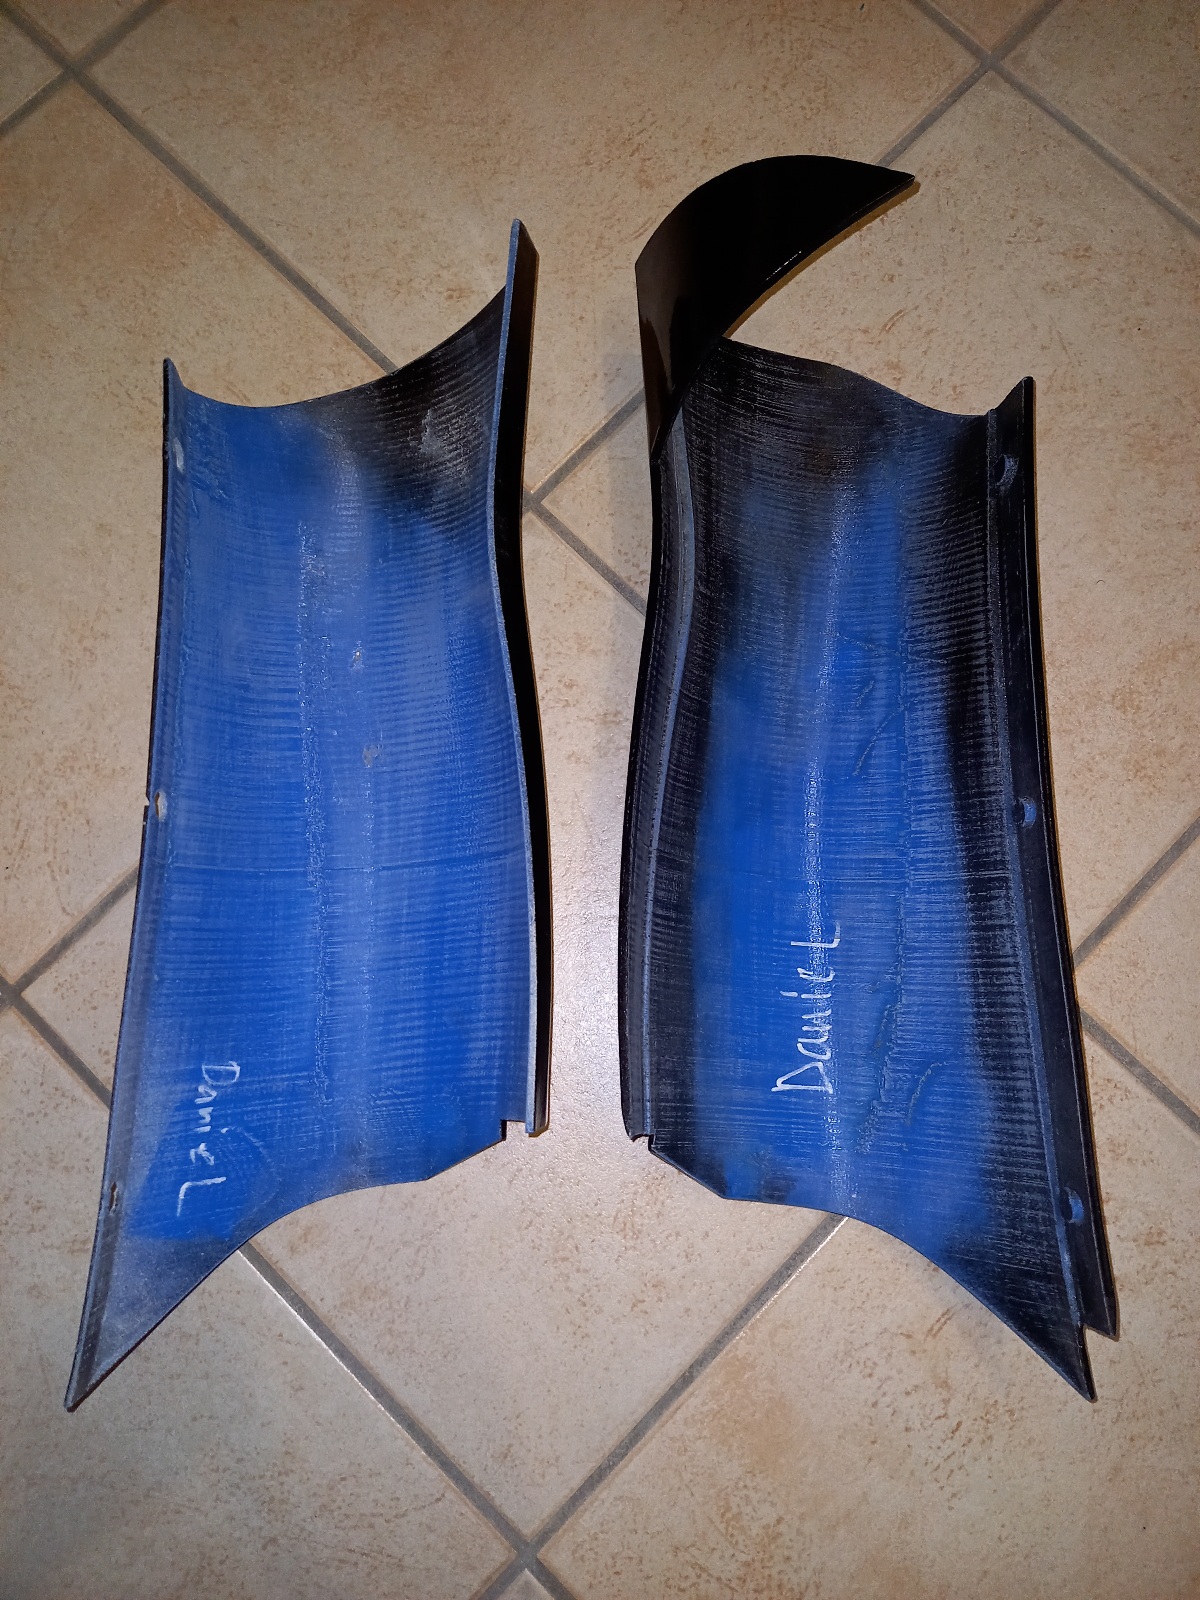
@Chaosno worries, figured it out by myself?Just cut the extension and adjusted the radius of the tab. In the meanwhile I rubberized the inside of the body armor parts with Plastdip. Used that stuff the first time and to be honest, I expected a bit more! But result is fairly ok for the purpose I think!
-

TheFireAwakens1807's Deathtrooper WIP
Lt. Dan replied to TheFireAwakens1807's topic in Imperial Death Trooper
I used foam to give them shape, worked fine! Are the ribs on Jim's undersuit sewed? -
Got these from Paul Prentice and some pics how to attach the shoulder bells with the brackets. But I can't figure out how to attach them onto the back armor? When I´m right I have to cut the front part to make them fit for a DT, because they originally are made for Shore Trooper armor?Anybody use these and can upload a pic of the setup? Maybe @Chaos?
-
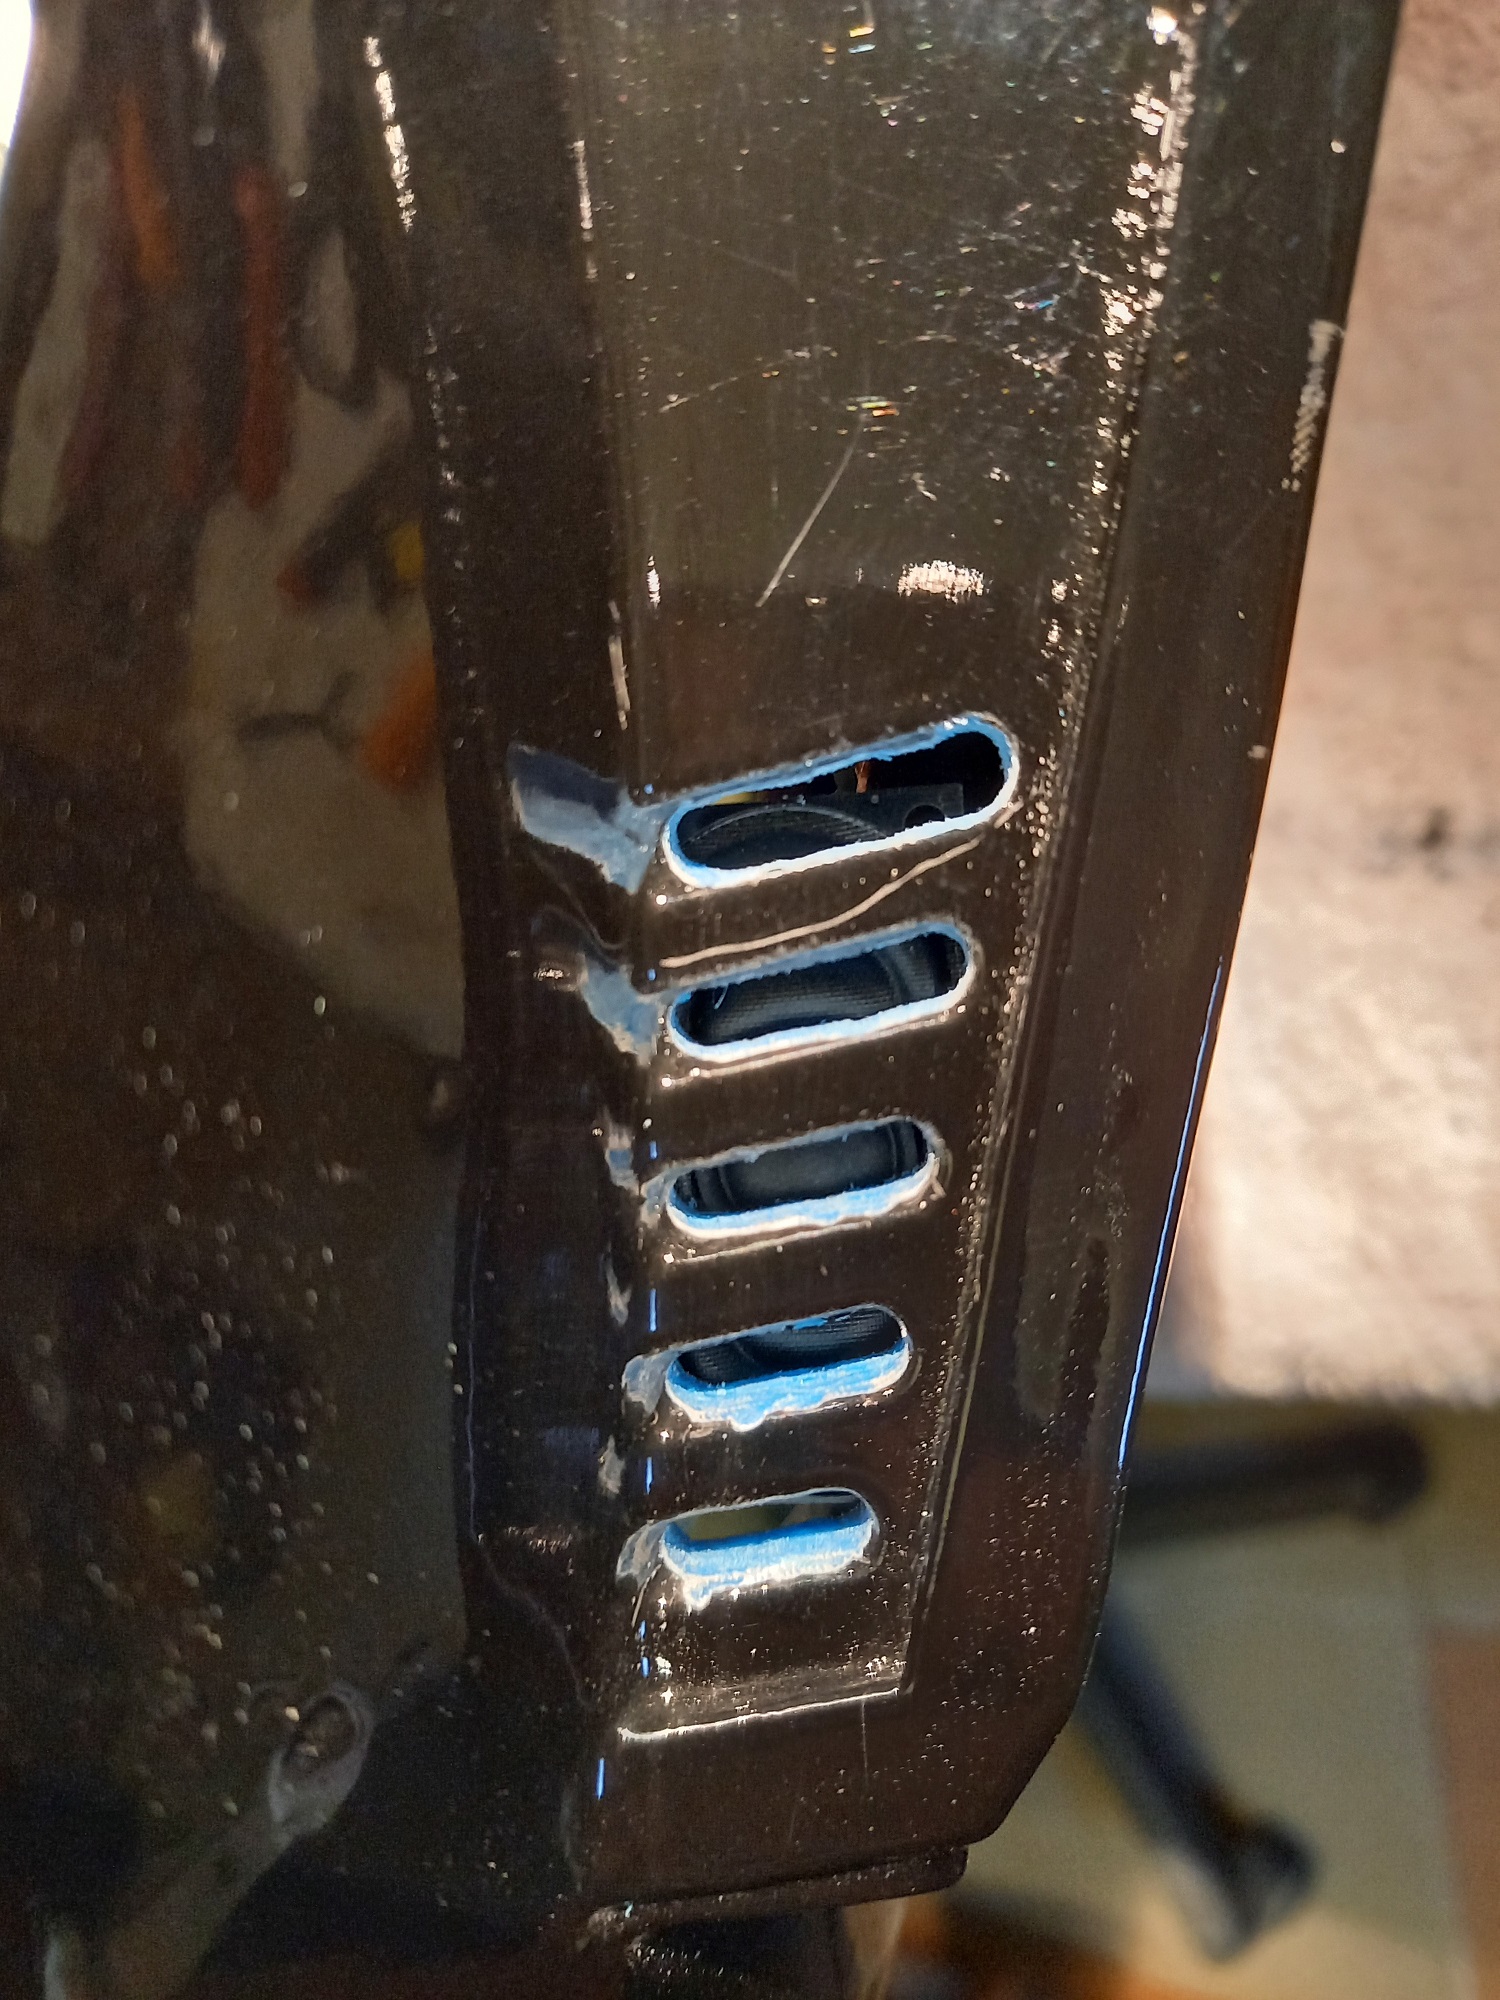
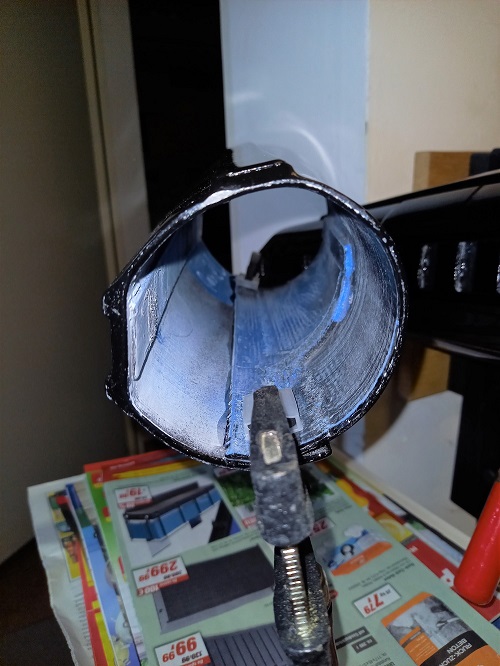
Turned out great with a 3mm drill. Speaker fits exact. A bit of mesh and touch up and that´s it!
-
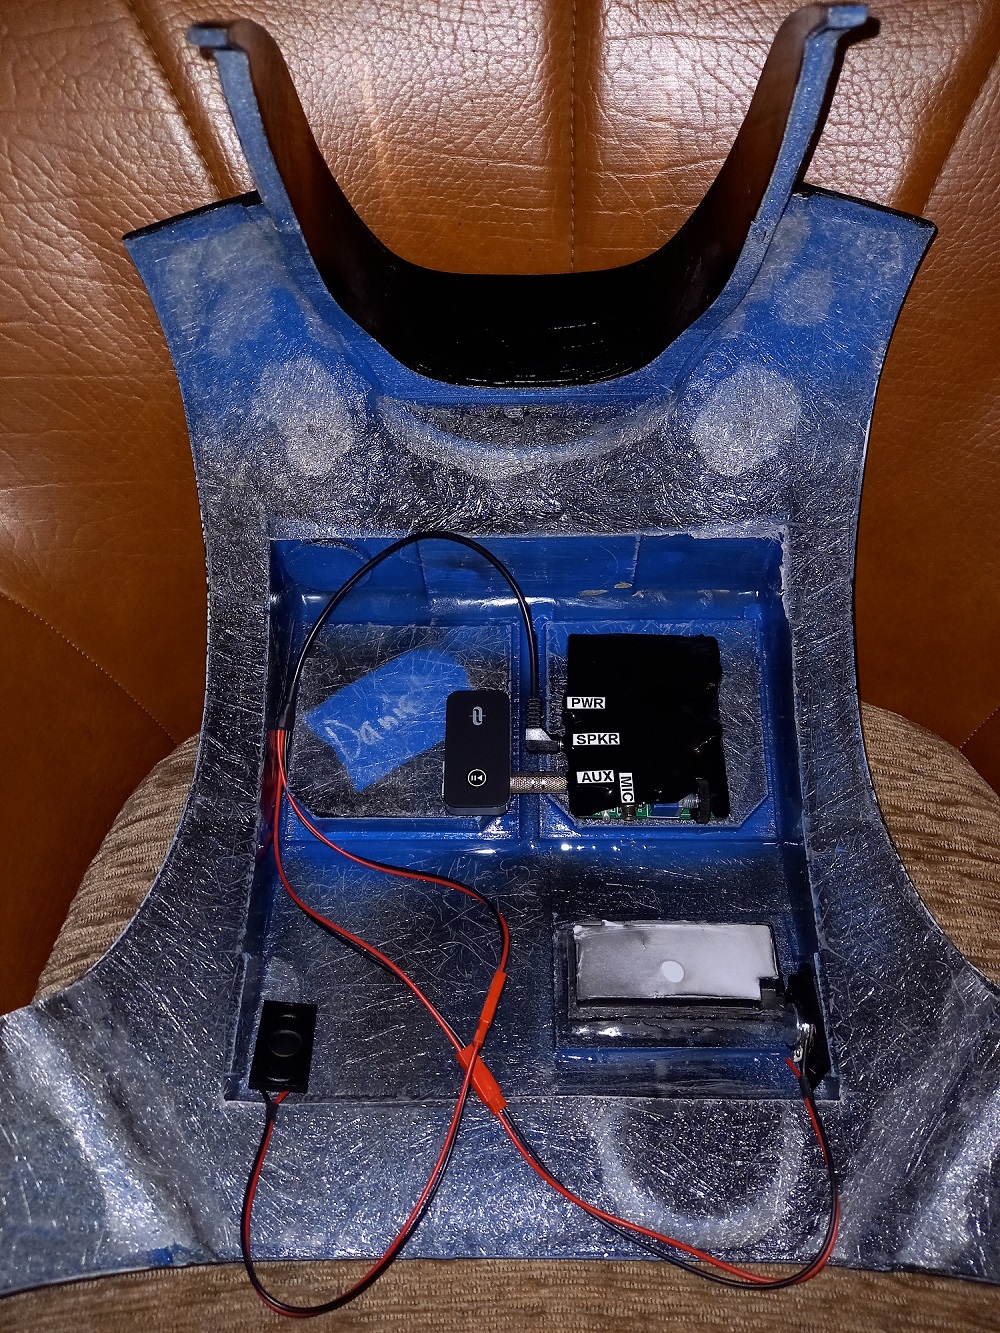
Since I unfortunately have no space in my helmet, but still want to use my Ukswrath sound system, I decided to accommodate the equipment in the back armor. Enough space there and the best, I can use the side vents for the speakers. Just have to cut the recesses with my Dremel and place the speakers behind. They´ll fit exact from the measurements. Some mesh should prevent visibility. Instead of the cable guided headset which came with the set, I´ll order a bluetooth one as I don´t want to have a cable up to the helmet. Just did a pre-setup to see how it´ll fit!
-
The tip with the warming of the thighs was worth its weight in gold! That really worked fine, only a bit warm between the legs?Radius adjusted and cut some material on the inner side of the front plate. No rubbing anymore! I think I don´t need to have the thigh and front plate seperated, because I can put my feet through it easily to put them on when velcroed. I think I´ll glue them together with E6000 instead of velcro. Will also give more stiffness to the parts. I have ordered some buckles and nylon straps that I´ll guide up to a harness to hold the thighs in place.
-
@ChaosBelonging to the CRL and nearly all pics of DT's I saw, its vice versa!??
-
Next major construction site: the thighs. Velcroed them together to see if they fit. All in all they did, but I can´t put my legs together or walk, as the thighs rub at each other and make squeaking noises. I have to contact my best friend the Dremel again to cut some material?I think I´ll also replace the inner ribbed section which is now part of the printed thigh against rubber material. That´ll give more movement in that area I hope!
-
@ChaosYes, that was the only way to make the diameter reasonably fit my forearms. Besides, they seemed too fragile to me so I rather fixed them.
-
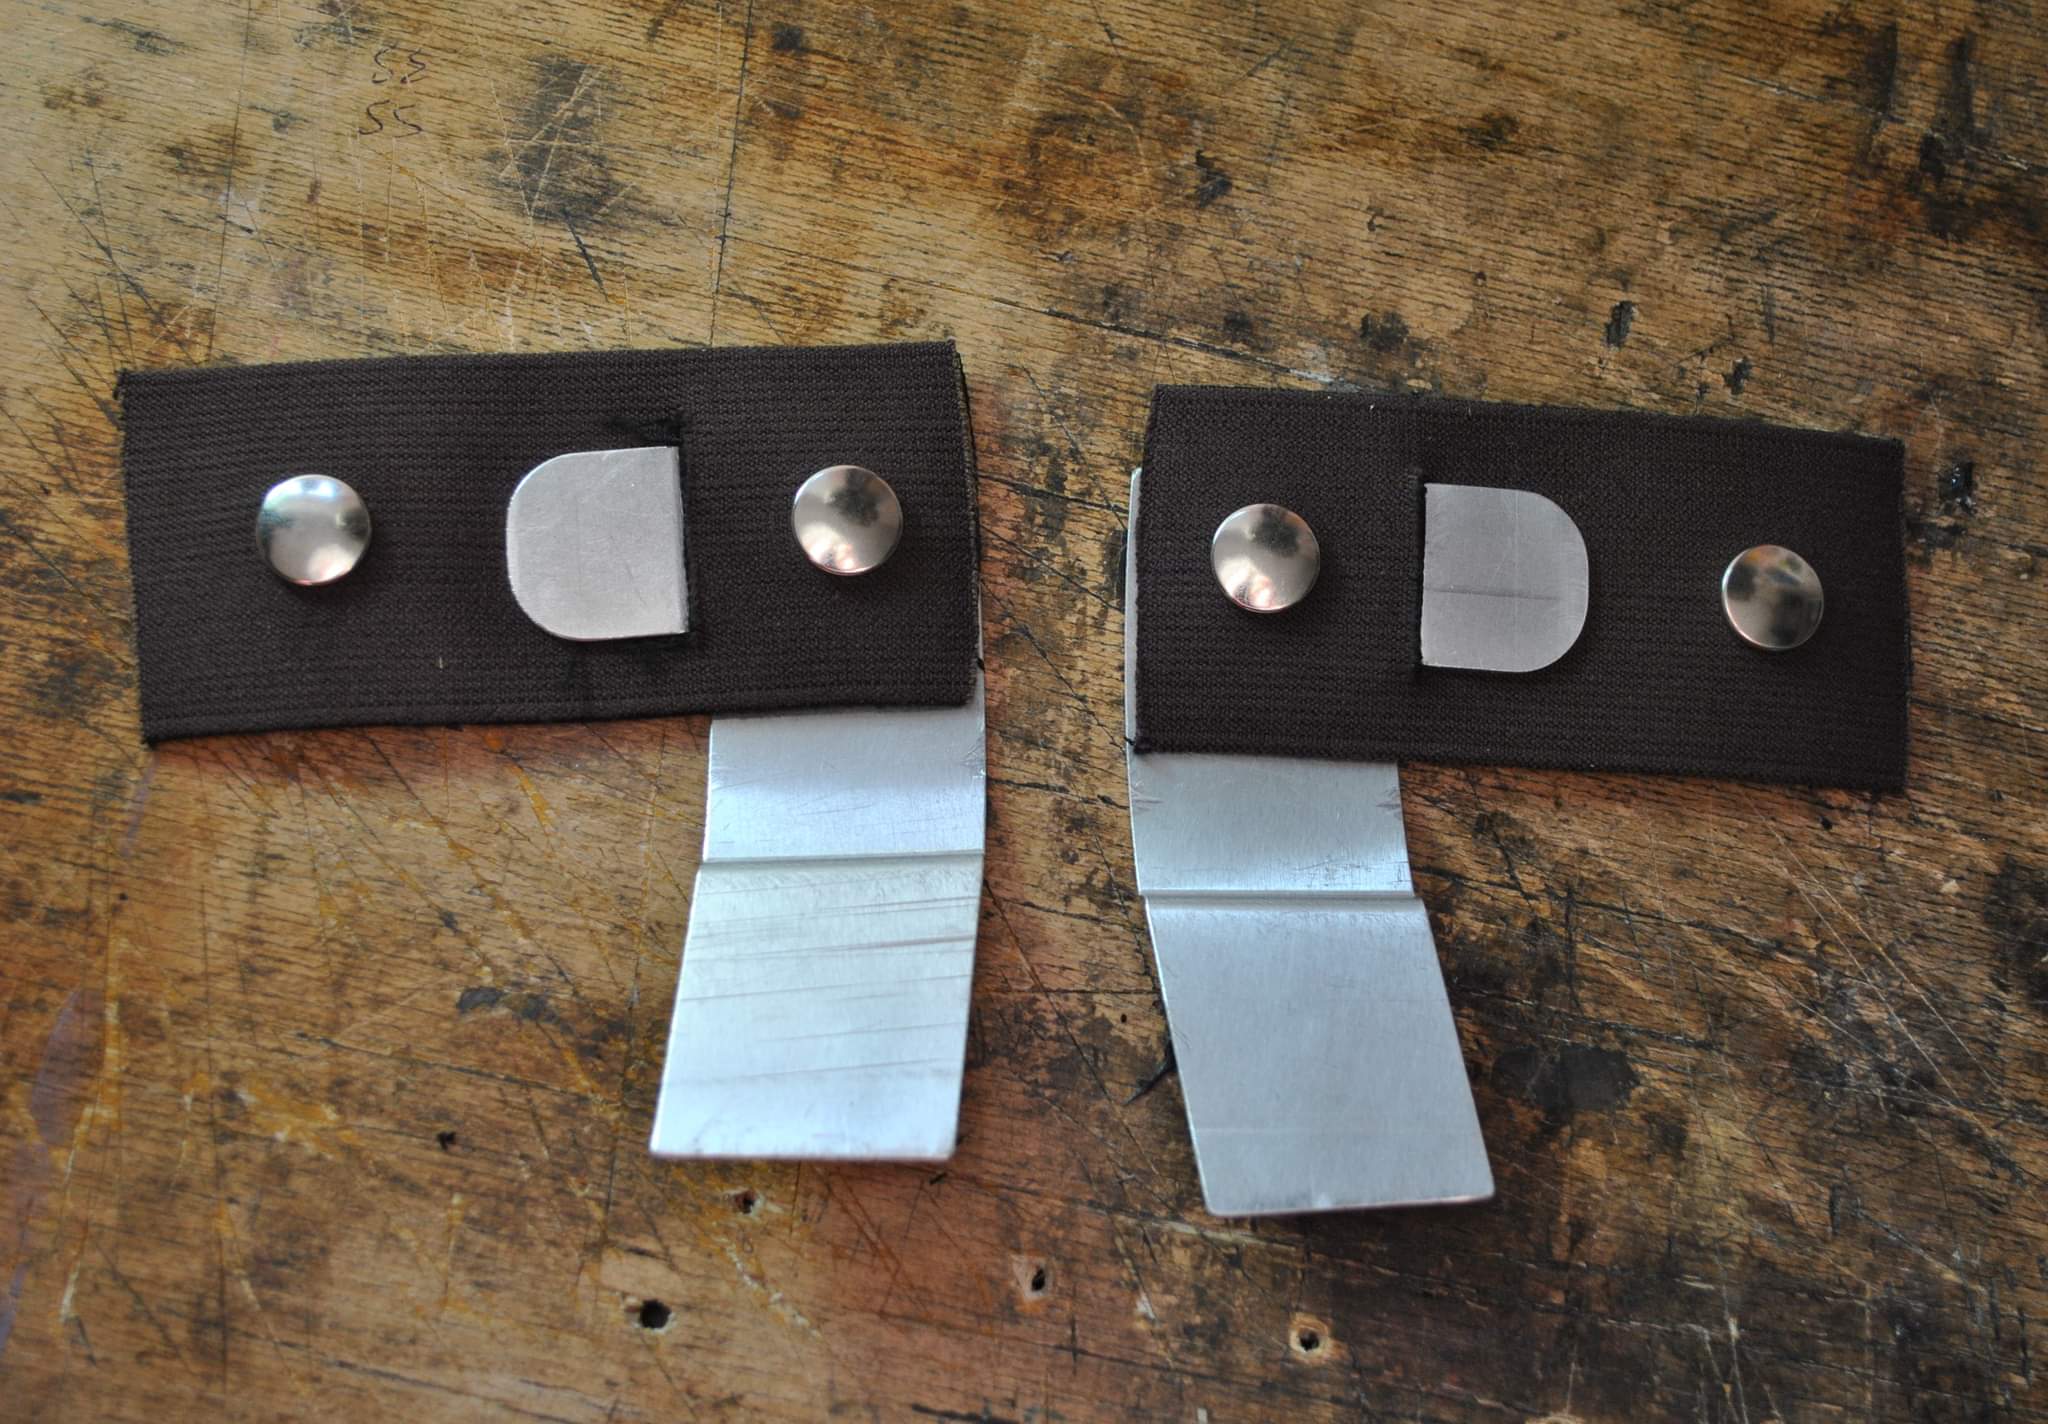
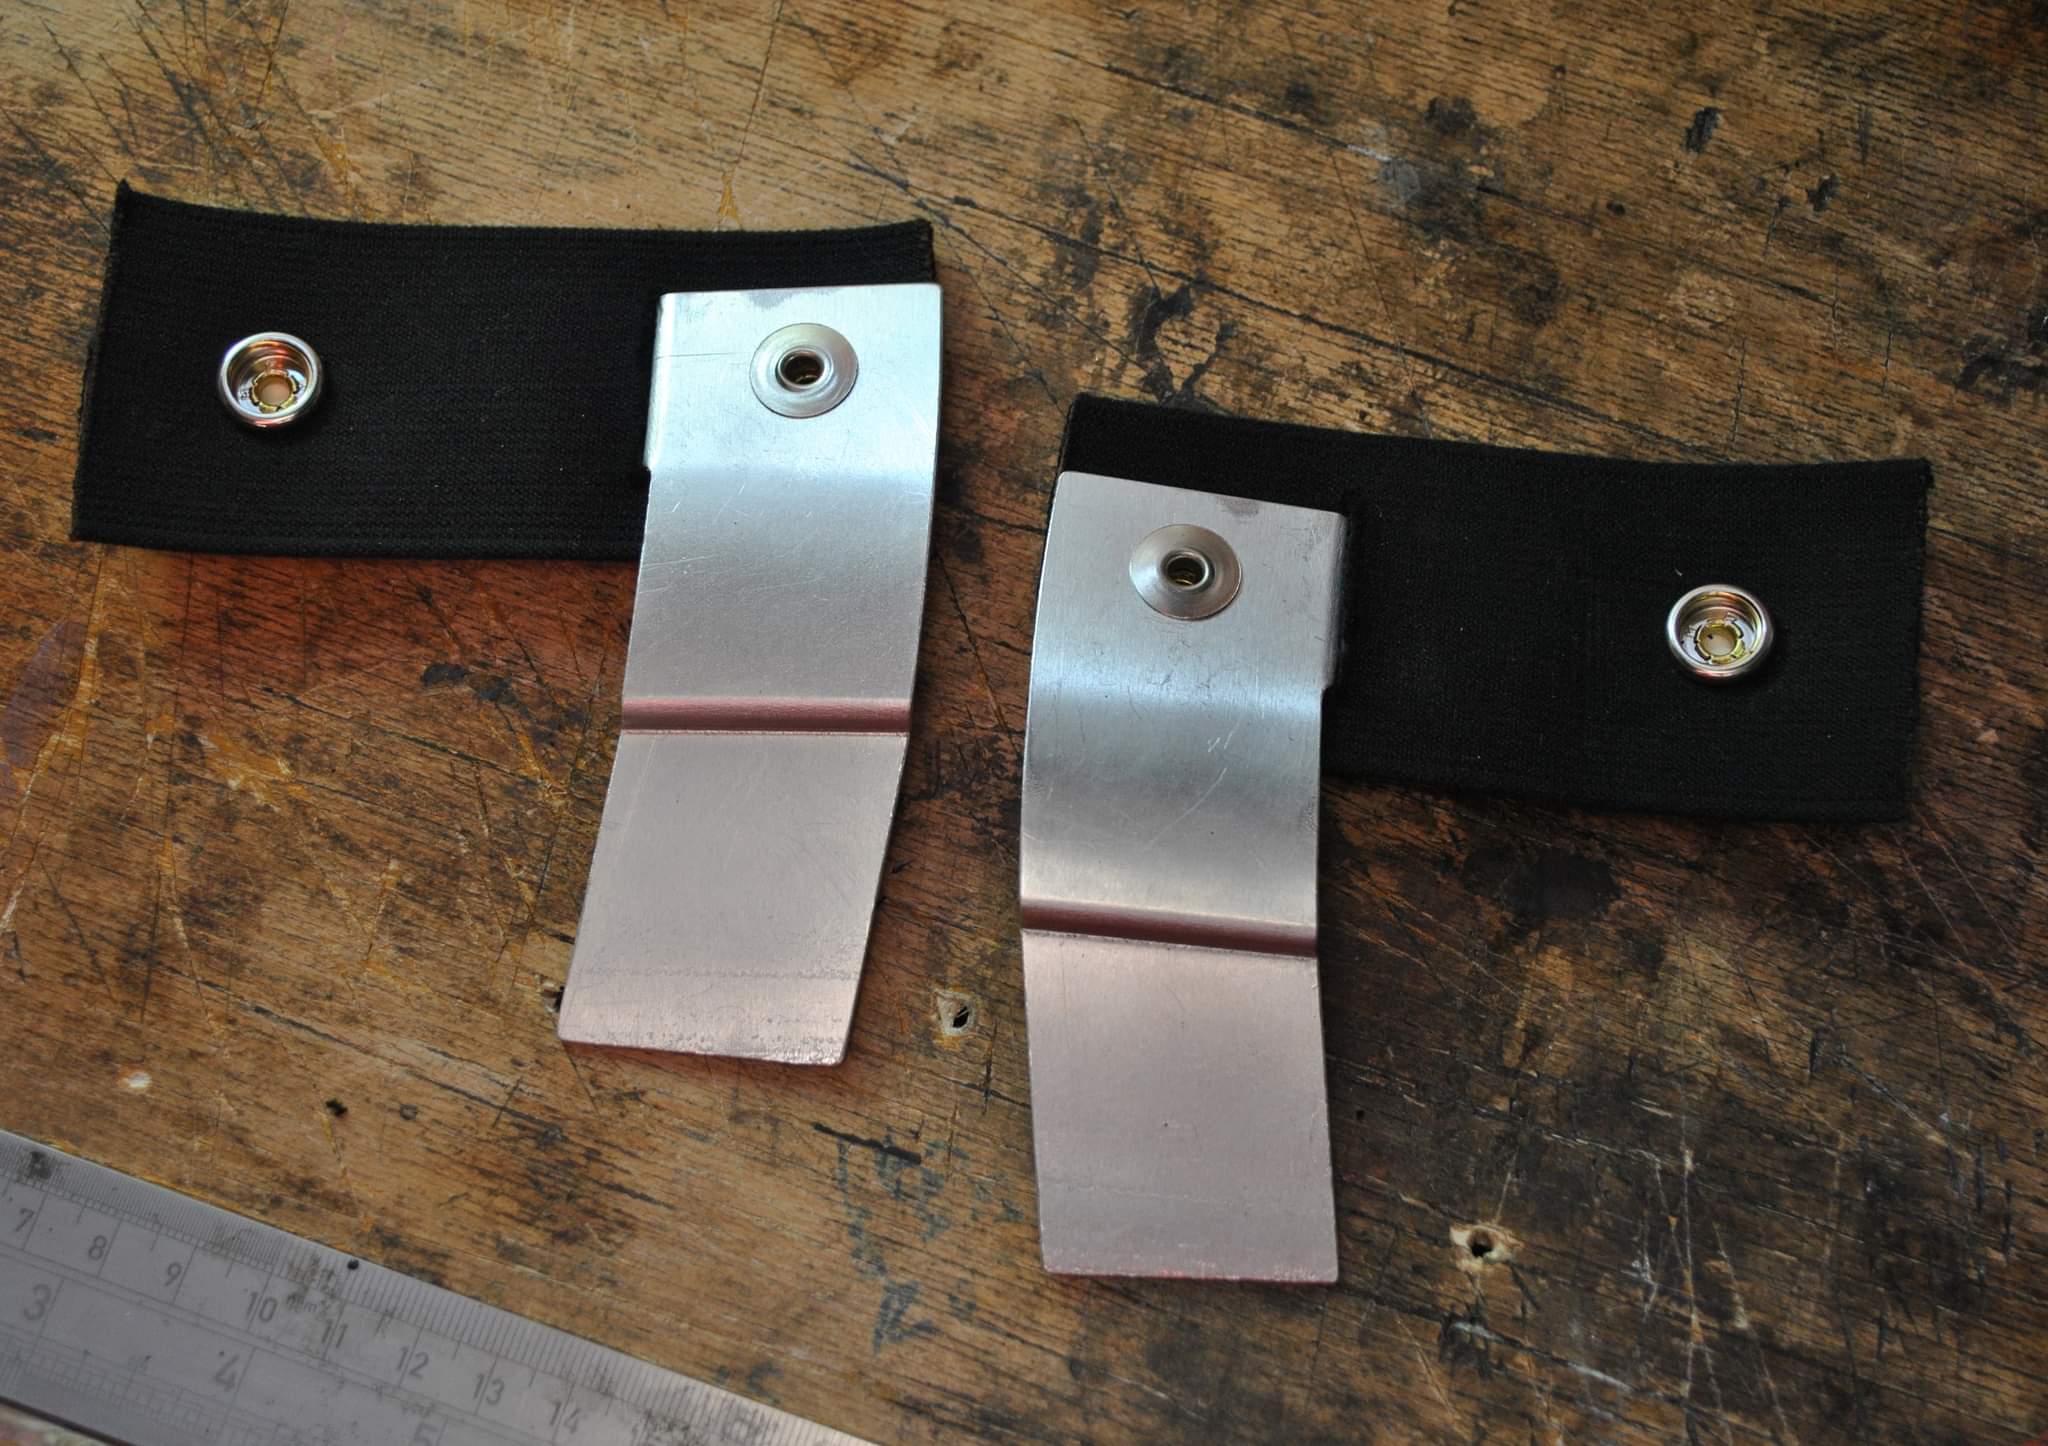
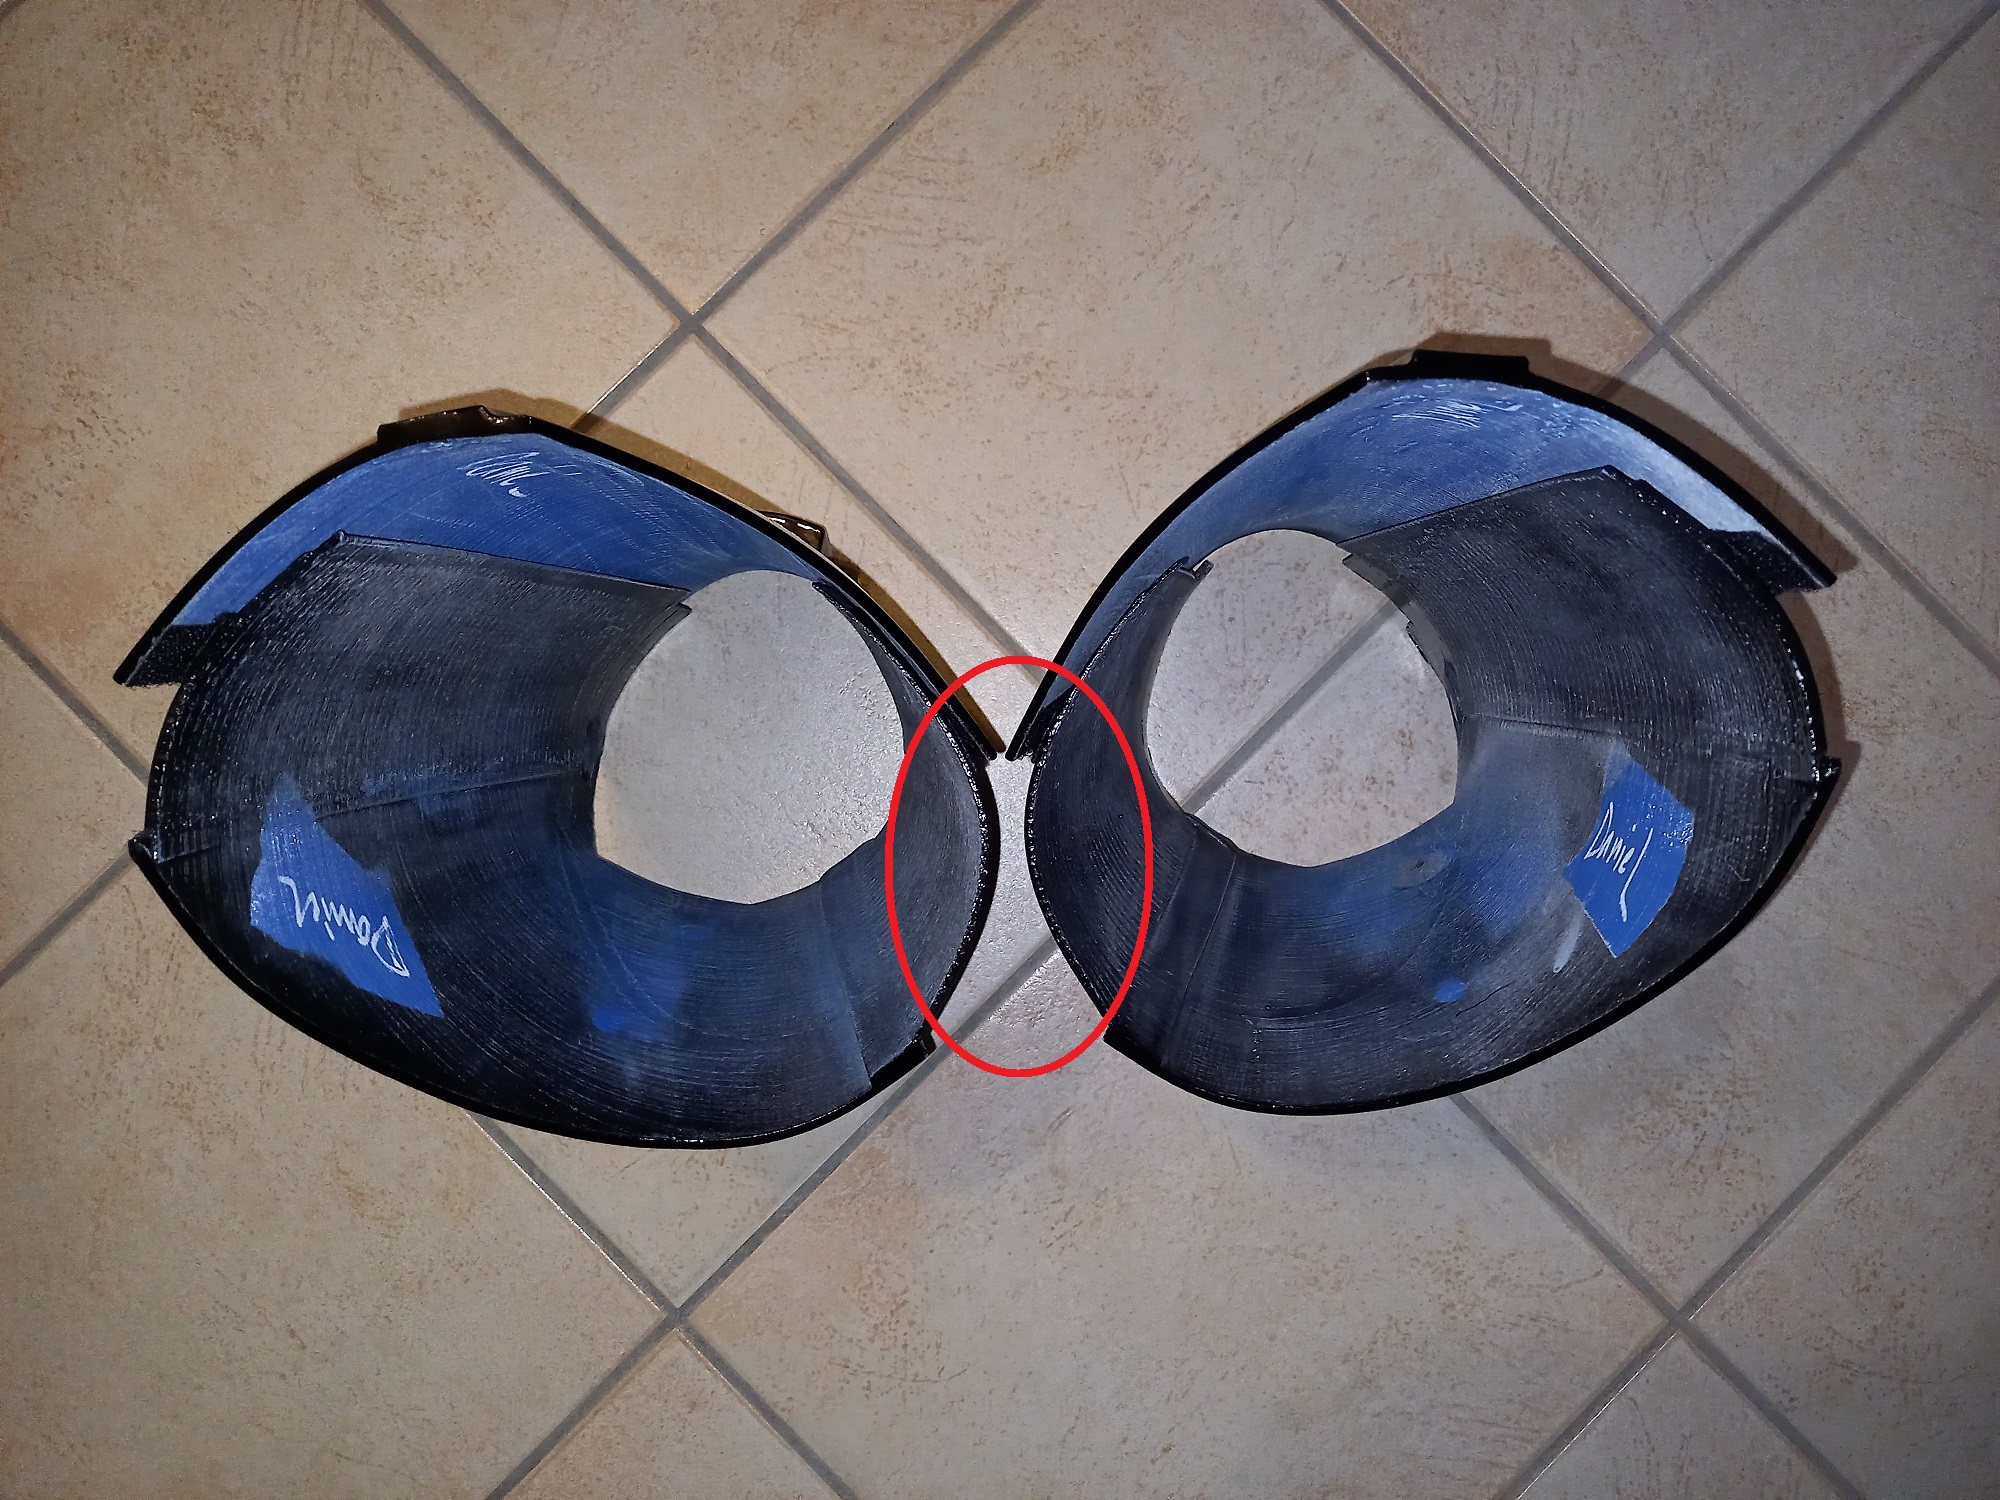
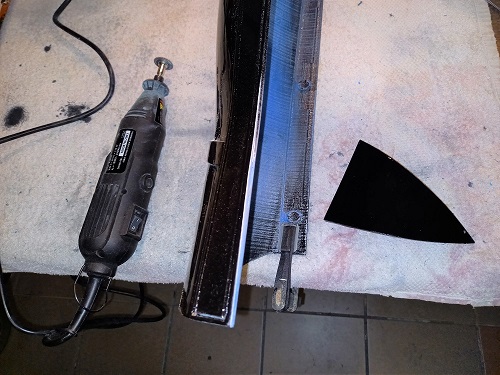
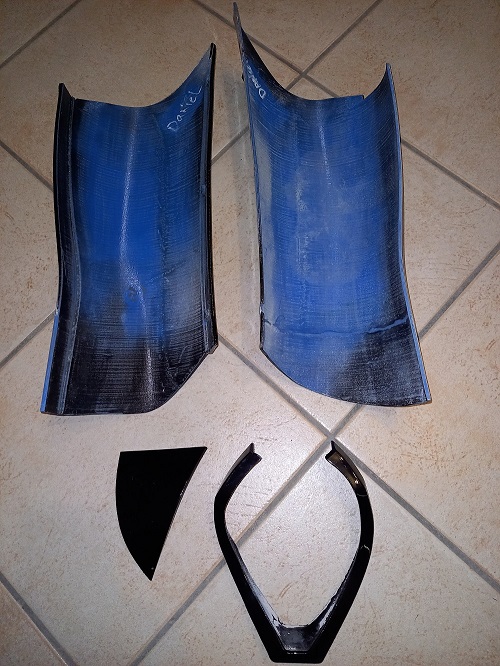
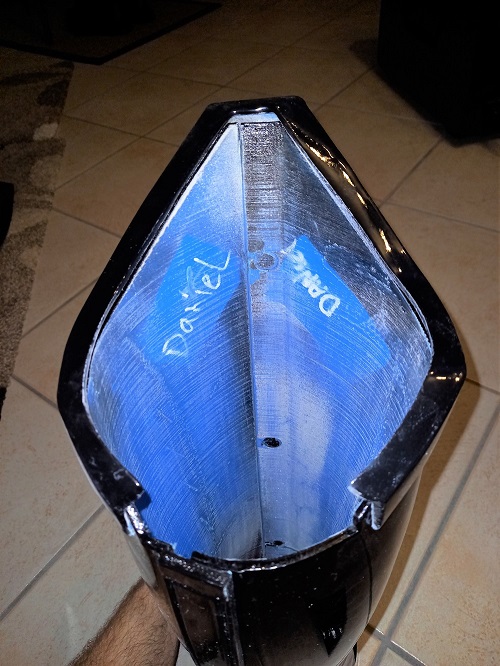
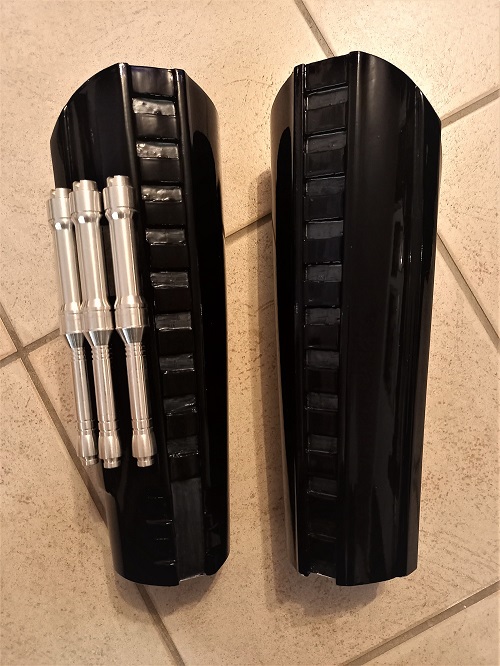
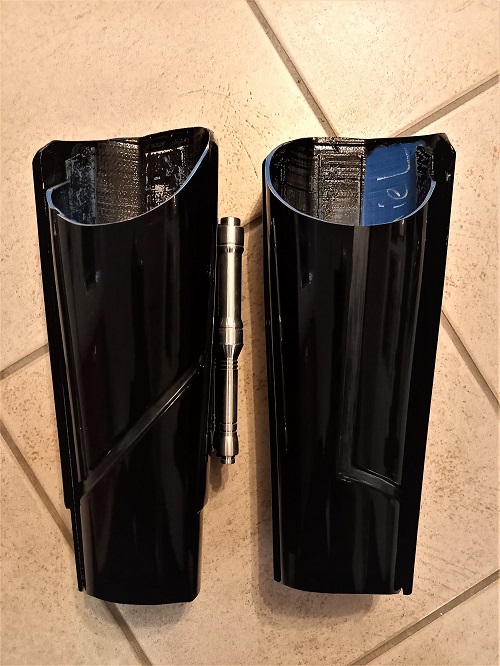
So finally reworked the shins and forearms today. My best friend at the moment: the Dremel. This multitool is really great for exact cuts! I´m really pissed, because I have to rework nearly every single part of my armor. Exactly what I did not want, as I ordered a "ready to wear" kit. You only need to strap it they said, haha? But complaining is useless, I have to get the parts to fit. Ok, I cut the angular extension of the shins and also the support edge of the inner shin to reduce the inner diameter to make them fit better. As said, the angular extension will be glued now to the inner shin. Reworked also the upper raised strip, because on the inside it wasn´t sanded before painting. Now everything fits together properly! Same for the forearms. First I glued the complete clamshell seam to get a smaller diameter, then I cut them in length a bit, added a slight curve on the lower inside wrist area and increased the radius of the upper elbow area to make them fit. Before I did that, I was not able to fold the arms. I have no idea what they did with my measurements when printing these parts? Finally installed the aluminum rockets. Next step will be covering these parts with Plastidip inside. That will also remove the whole cutting lines and small damages from reworking and give a smooth surface.
-
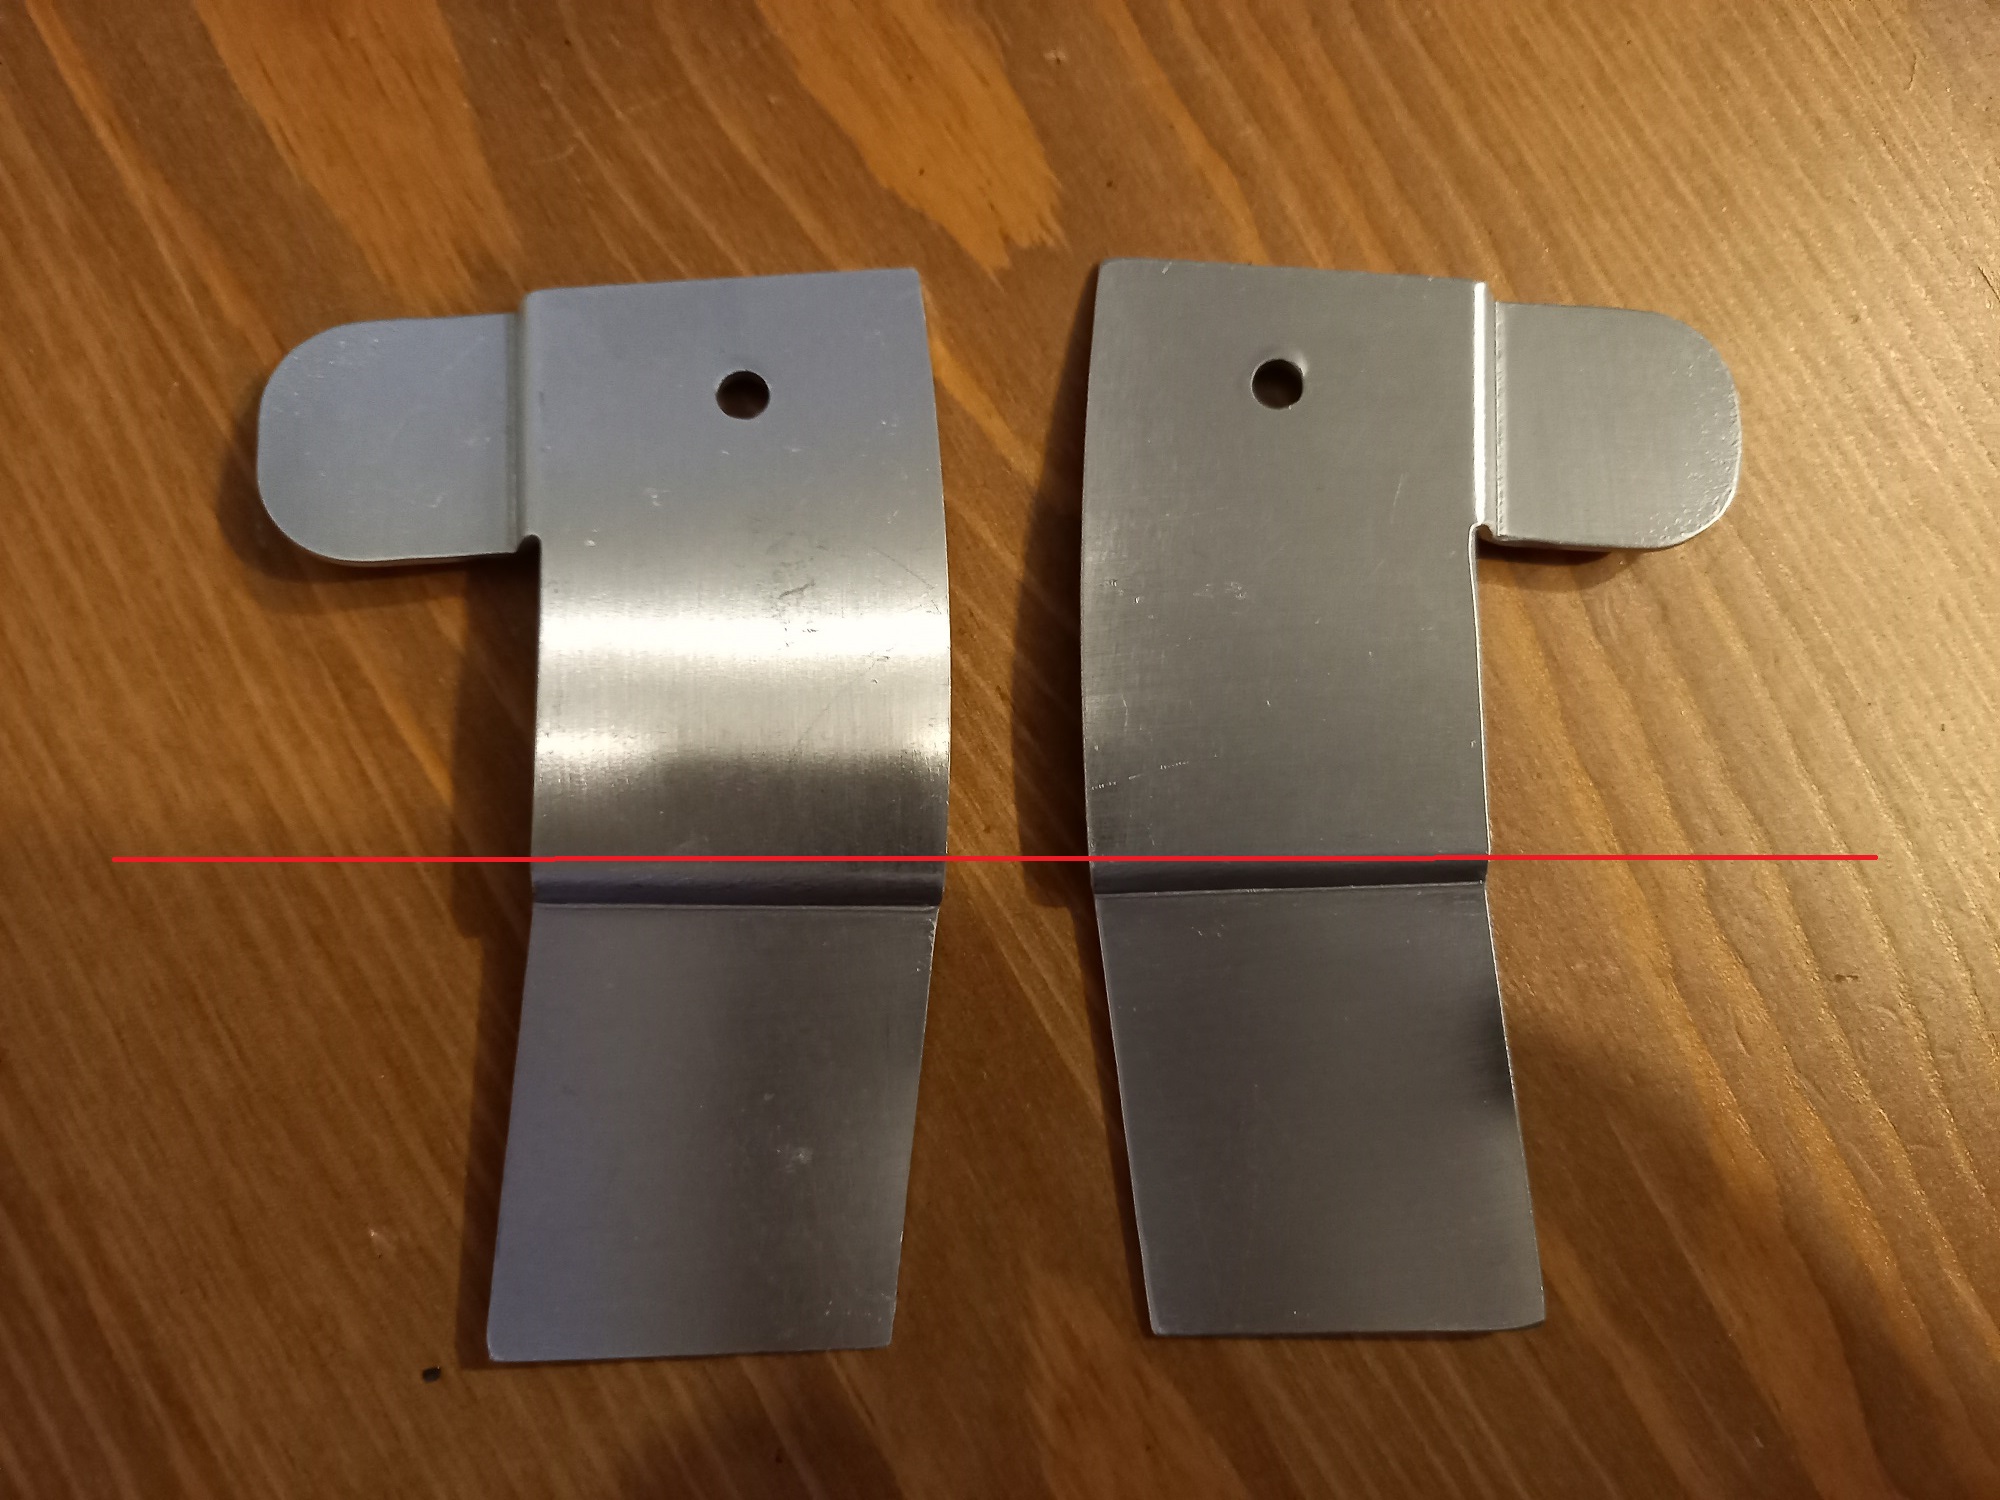
@ChaosThe idea is to cut the angular extension from the outer shin and glue it to the inner shin. This would also make the putting on of the shins more comfortable!
-
The CRL says: "At the bottom of each shin there is a raised angular extension or flap that wraps around the inner ankle forward from the rear cover strip." I have to reduce the inner diameter of the shin to fit to my calf. I will work with velcro. As the raised angular extension is a part from the outer shin it extends more and more outside the closer I put the inner shin inwards. Question: is it allowed to cut the raised angular extension at the cover strip from the outer shin and glue it on the inner shin? When both shins are closed then it should not be too noticeable I think!?
-
TheFireAwakens1807's Deathtrooper WIP
Lt. Dan replied to TheFireAwakens1807's topic in Imperial Death Trooper
Looks not bad, but from my understanding the upper loop should hold the barrel and the lower small one holds the scope. Therefore they must be offset to each other due to the design of the weapon. Yours are lined up, can´t work in my opinion!? -
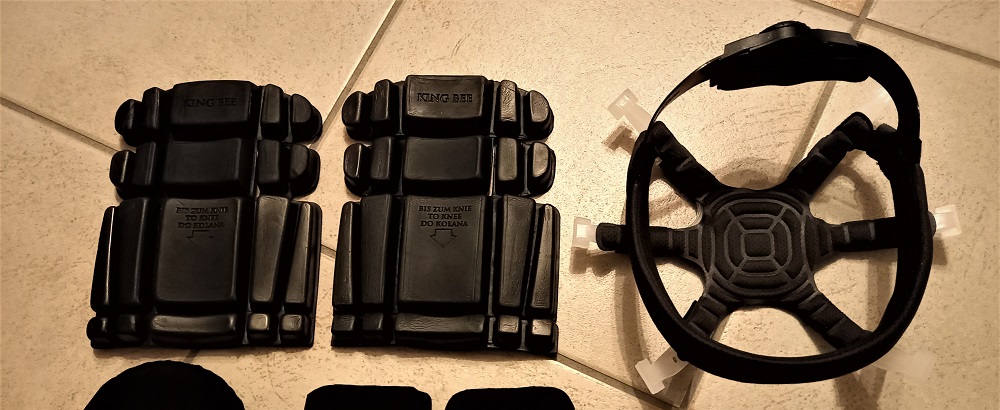
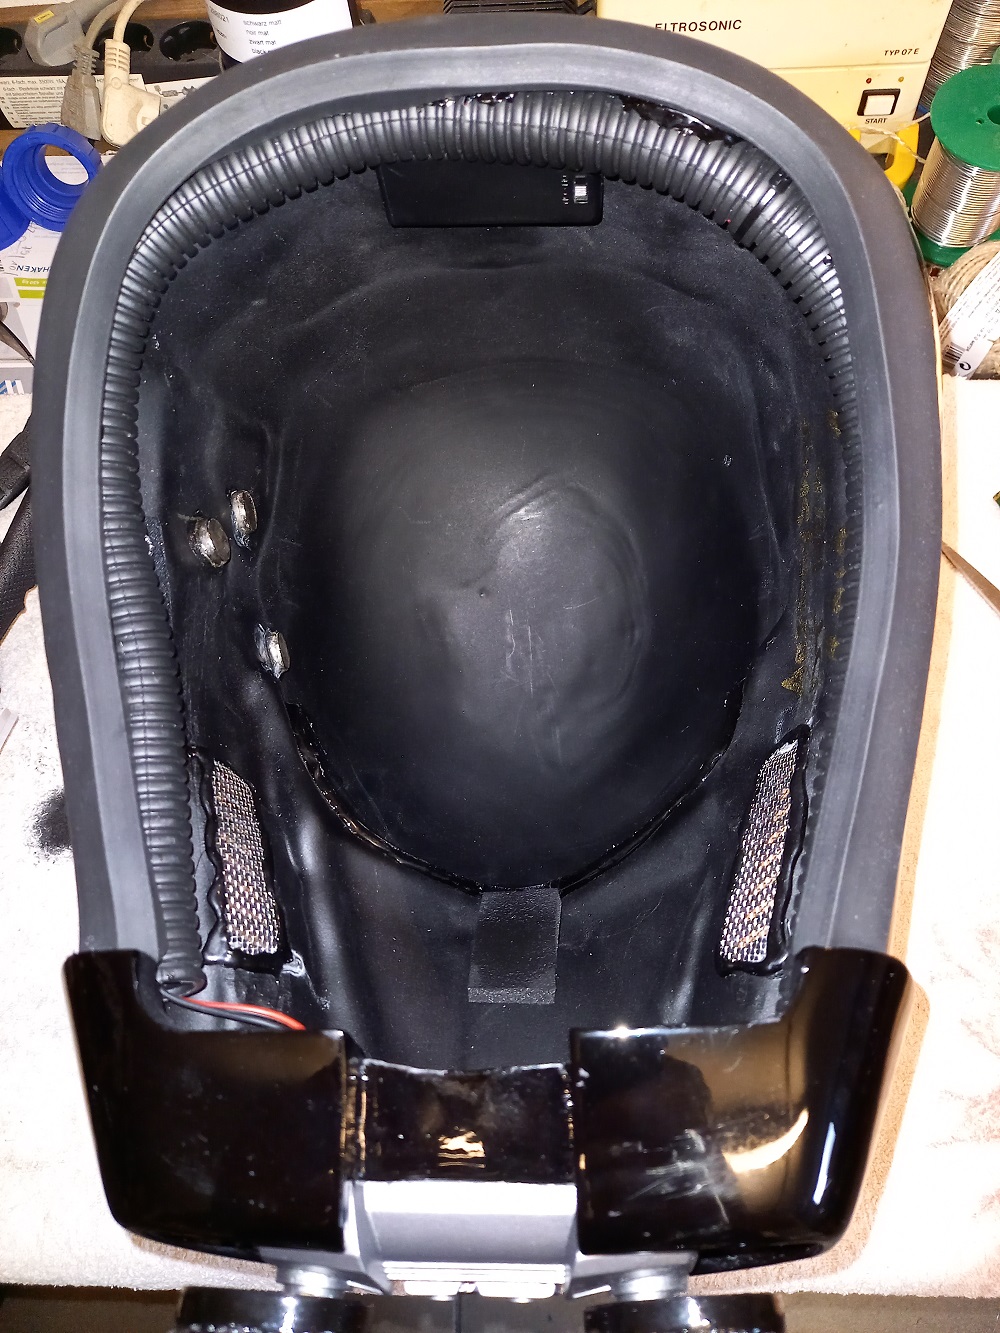
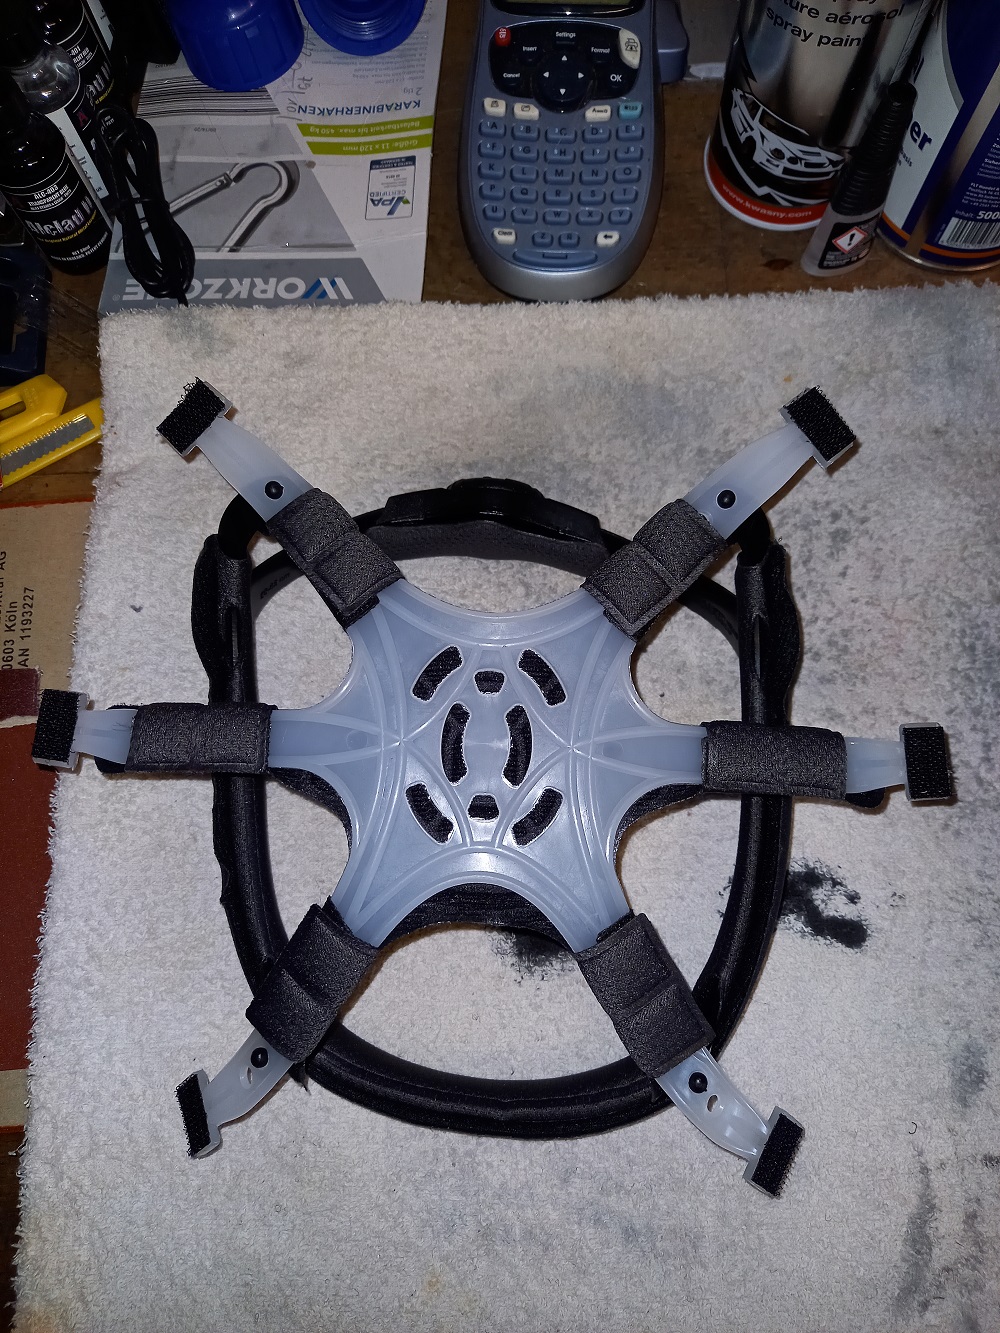
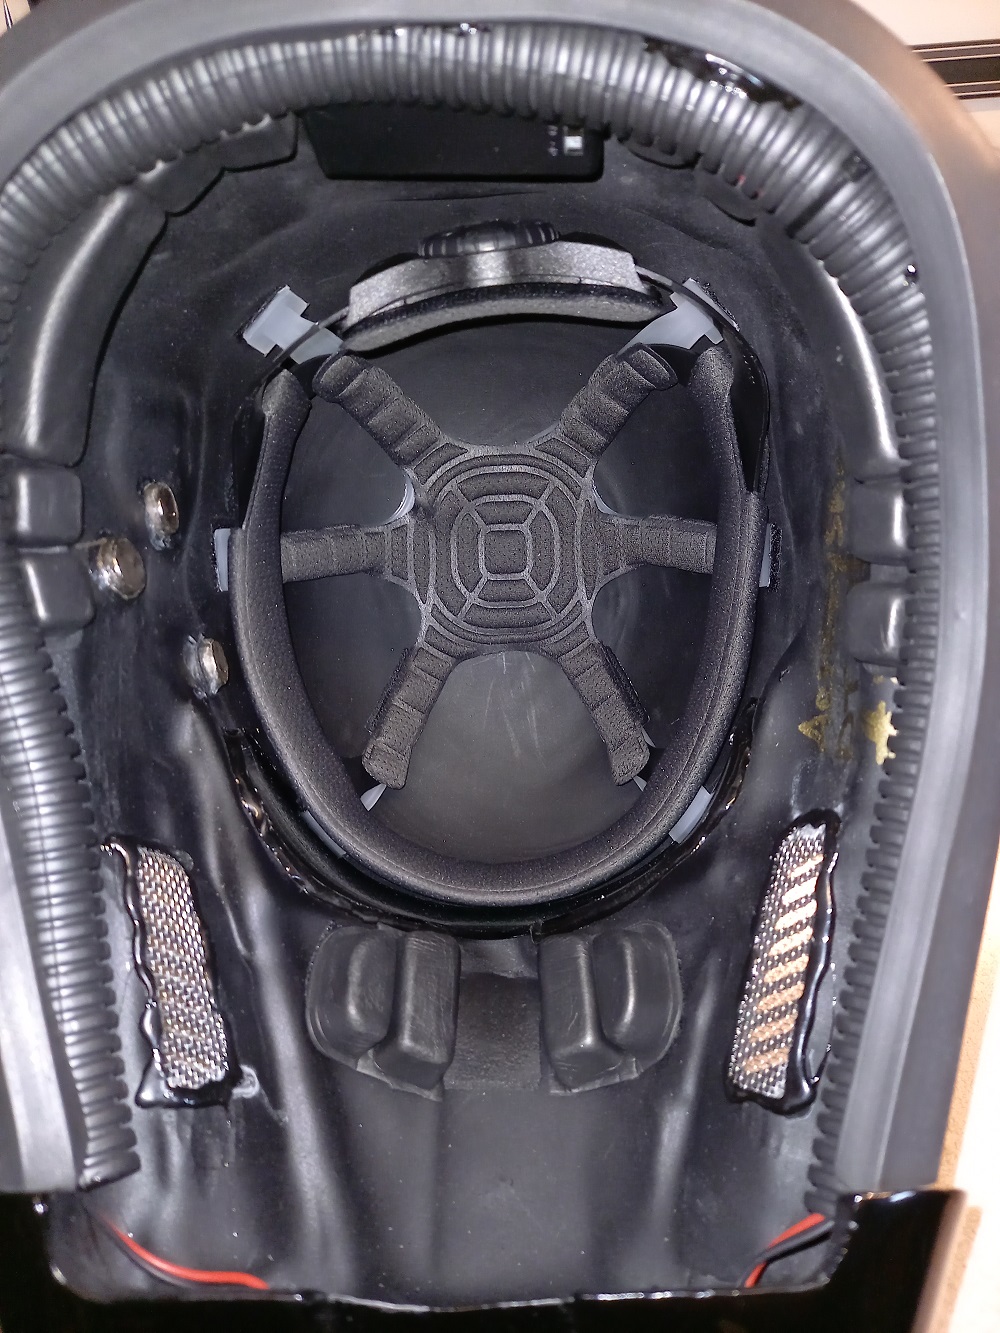
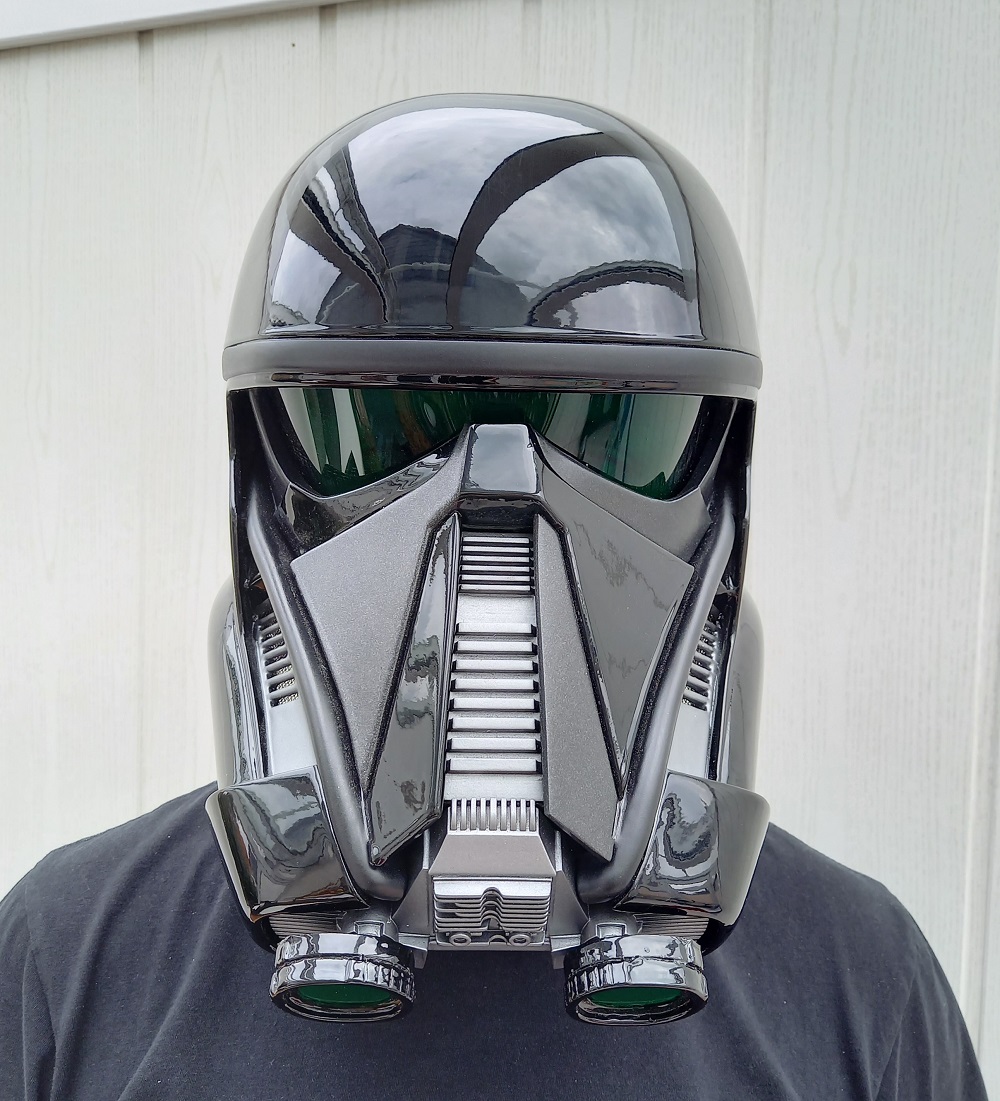
Worked a bit on the helmet today and fixed a hard hat inside plus some foam pieces for better comfort. Bought the stuff on Amazon, the foams are knee pads?They can be cut by scissors to fit. Hard hat is fixed with velcro to prevent wobbling. I stuffed the nose section and lower rear section with foam parts and relocated the LED switch to the backside. Although I ordered a size L helmet I must say its very tight for my head (60cm circumference). Not much space in between, but all in all it sits still comfortable. For this reason and because the helmet already has a considerable weight, I decided against the audio stuff I bought from Ukswrath. I wouldn't know where else to put this? Nevertheless, I will use it for my next project probably!?
-
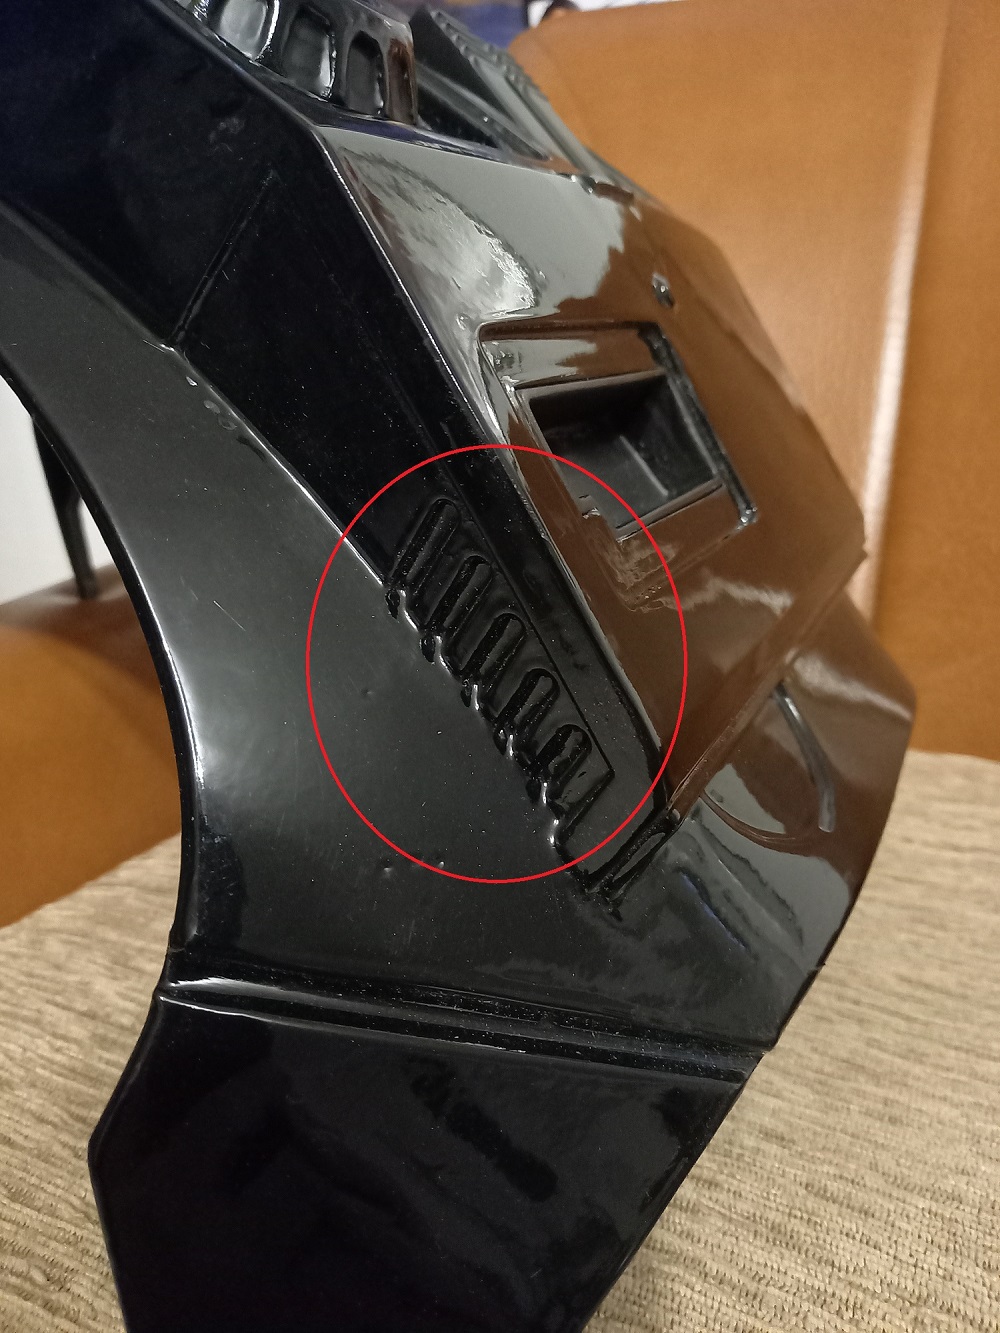
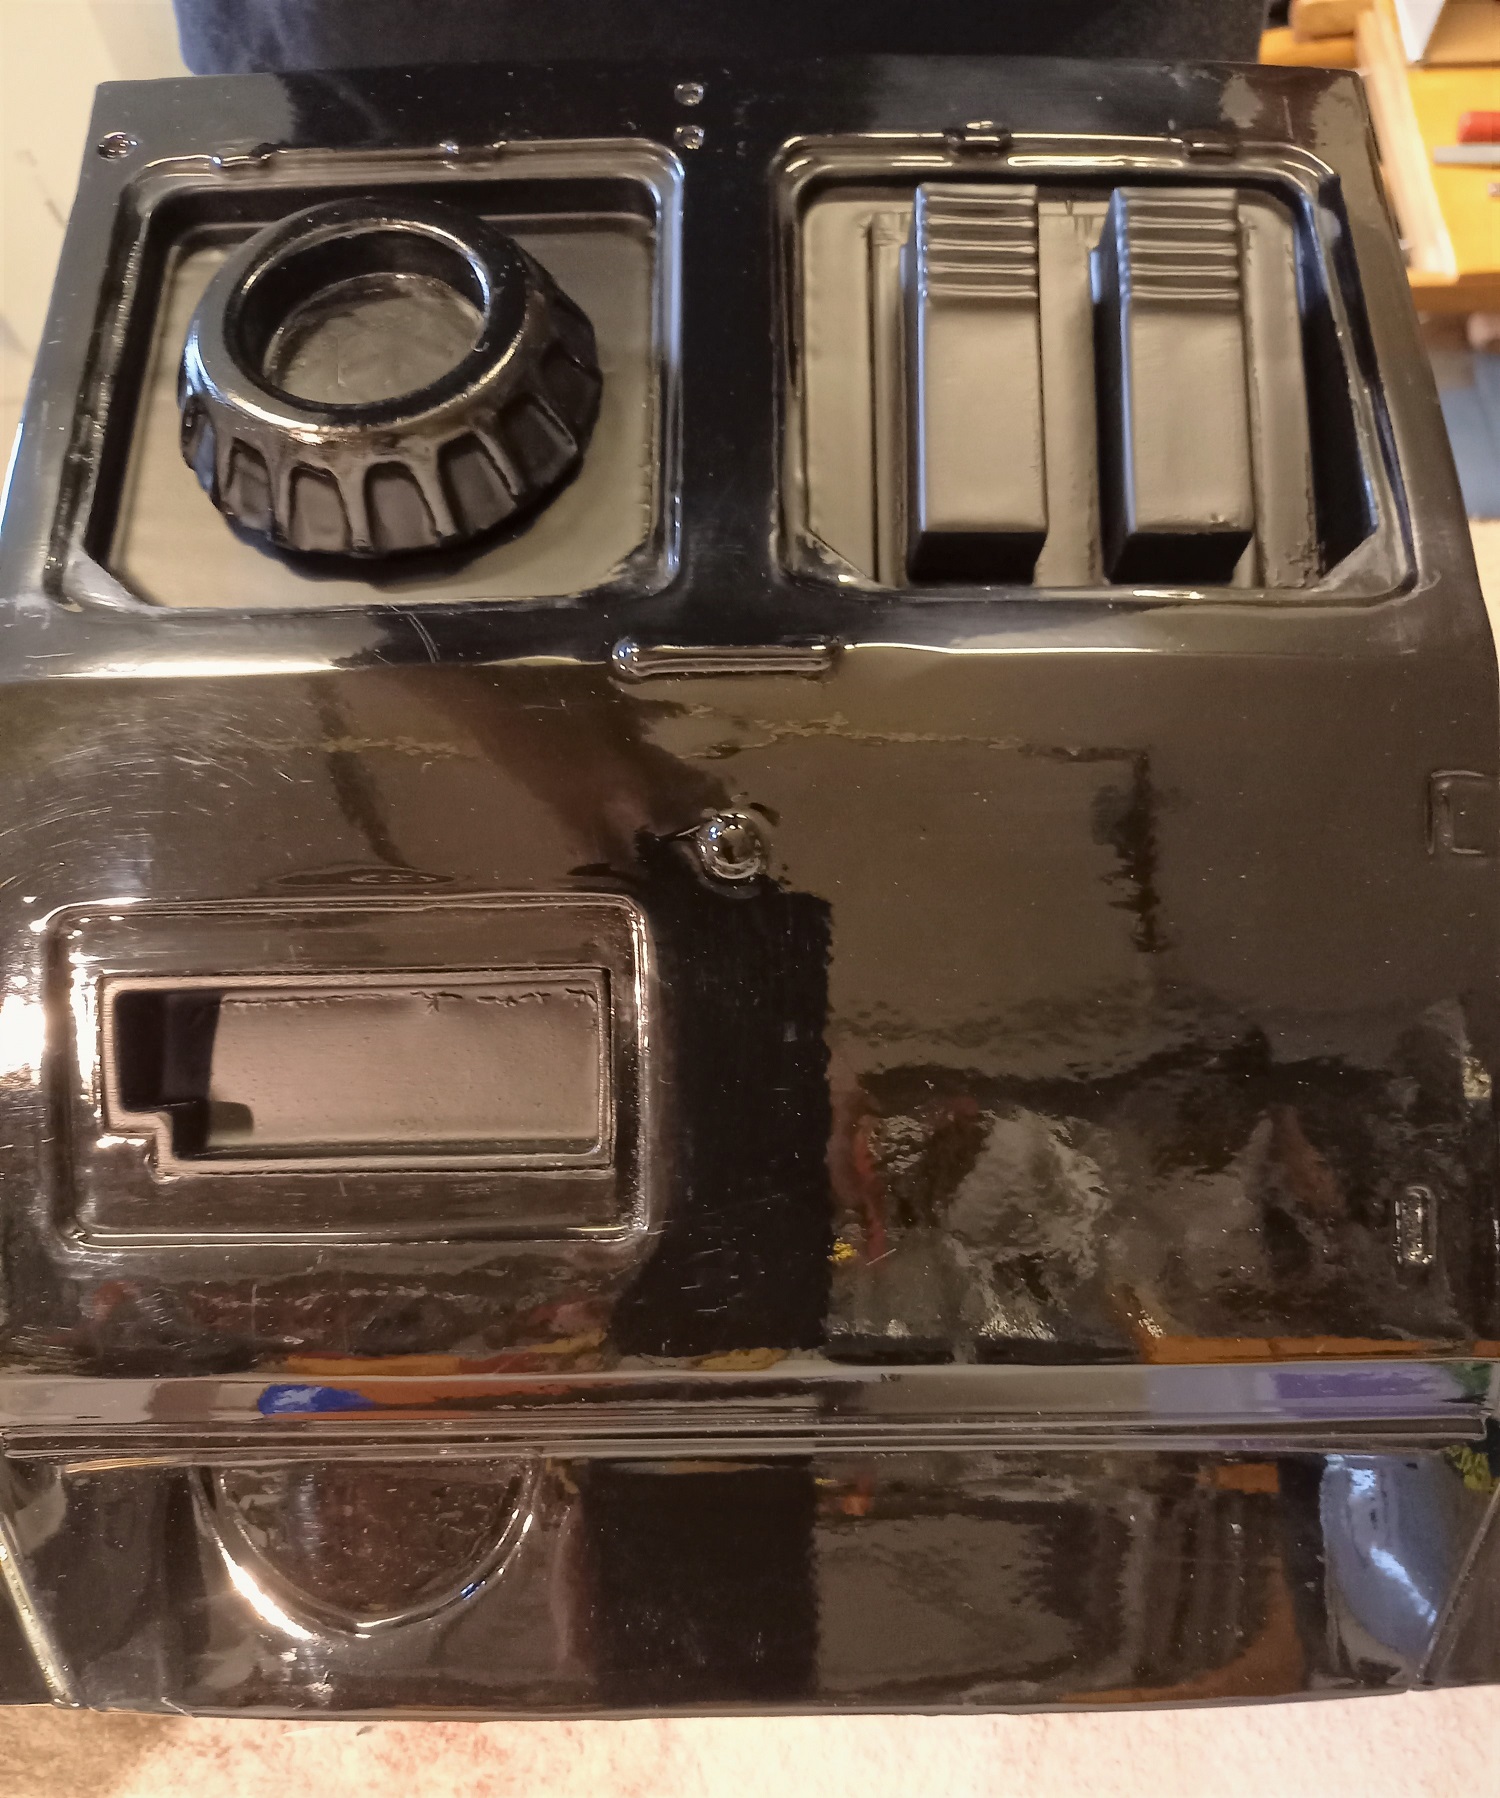
So, redid the recesses and inserts on the back armor as Armory Props painted them unfortunately in gun metal instead of matte black. I followed exactly the color scheme in the CRL, although the guy on the pics has another paint scheme on his back armor?All in all I´m not so happy with the result, as I don´t know which type of color Armory Props used. My paint came a bit off in the corners, it was not as compatible as with the other paint. I chalk this up to battle damage or wheatering?Fortunately, those were the only parts I need to repaint?
-
TheFireAwakens1807's Deathtrooper WIP
Lt. Dan replied to TheFireAwakens1807's topic in Imperial Death Trooper
Great list Andres! I am always happy to help other mates with advice and tips. I myself have already received so much help here in the forum, it is always a pleasure. Great place, you won't be dissapointed! Looking forward to your build, maybe I can gain experiences from you as well? -
No bad idea! I´ll think about it when I come to the forearms and the heat gun number will not work properly. At the moment I´m concentrating on the reinforcement of the body armor parts. Finished the back and front today. Next step will be covering all the parts with Plastidip inside to give a smooth surface. I decided not to reinforce the arm and leg parts, as they are round and its very hard to come inside with all this unhandy fibreglass stuff. The parts are stiff even without reinforcement!
-
I´ll give that a try, thanks! So much work ahead?
-
Thanks @Chaos, got your point! With the shins your idea might eventually work, because they are two-halfed and have material left at the inside strip which I could trim a bit. Hope that this would be enough to make them snug fit. The forearms are one piece unfortunately. They are cut along at the inside to make them flexible, but they are very stiff and I'm aware they could break when bending too much?
-
Today I held the individual pieces of leg and arm armor against the respective body parts to see if they will fit. Thighs are ok, so as the shoulder bells and upper arm parts. Unfortunately, I had to find out that the shins and forearms are much too wide and slobber around although I wore the undersuit. How can I make the parts tighter the best way? Foam inside the parts or better add material onto the undersuit?
-
Awesome, congrats!
-
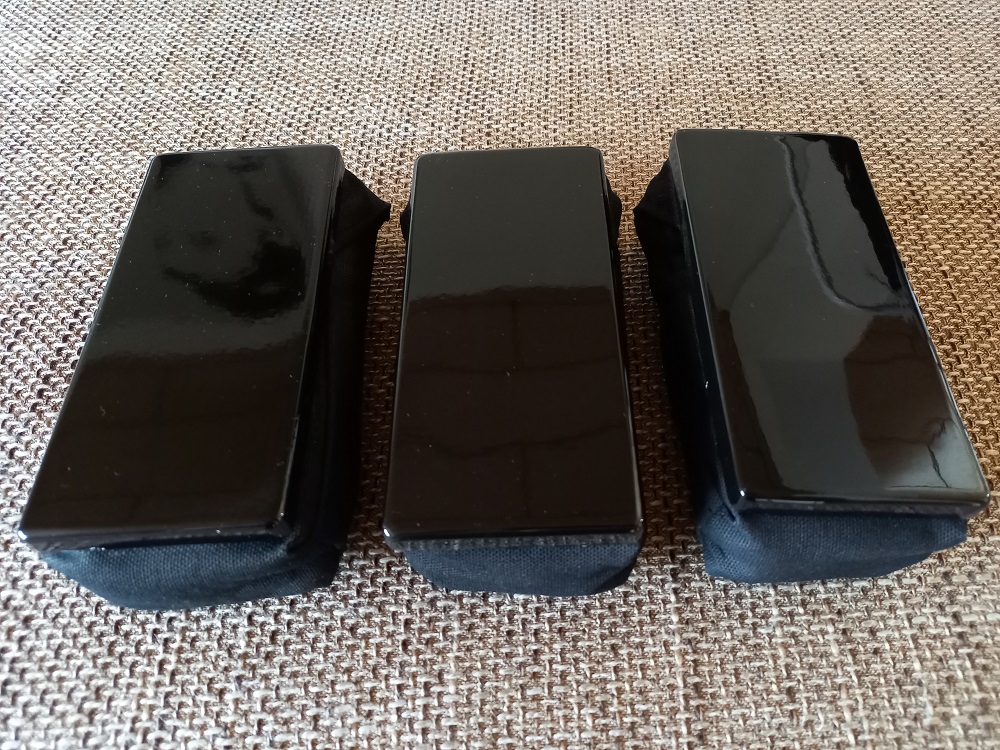
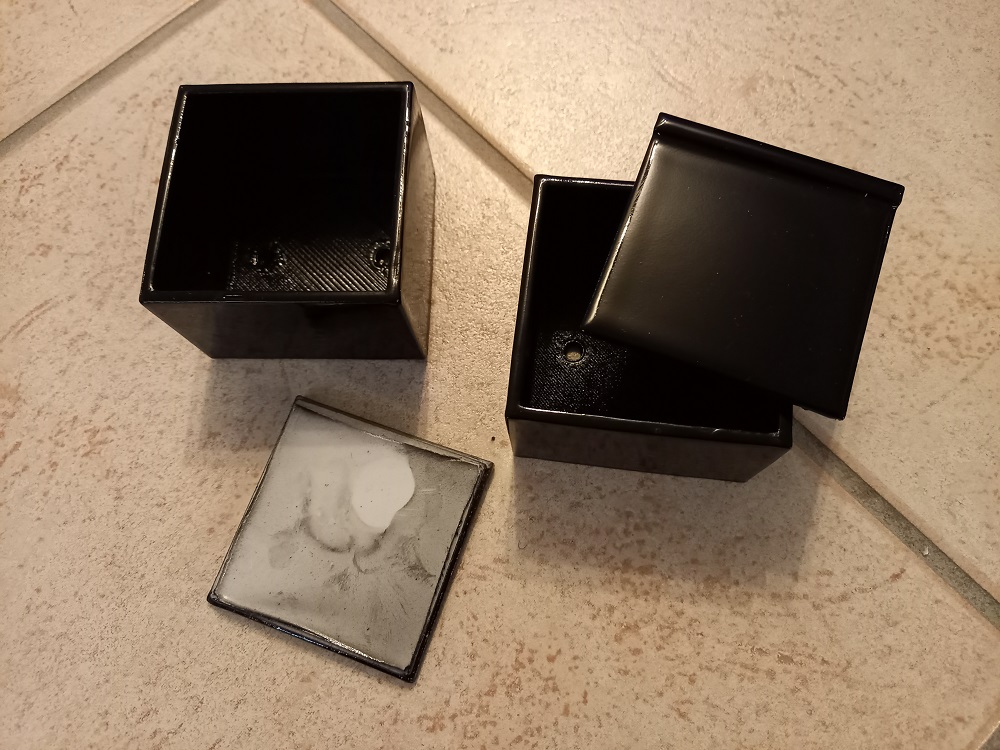
Also velcroed the pouches covers, fit perfect! Question @all: How are the lids of the small boxes attached, so that you can still get access to the screws?
-
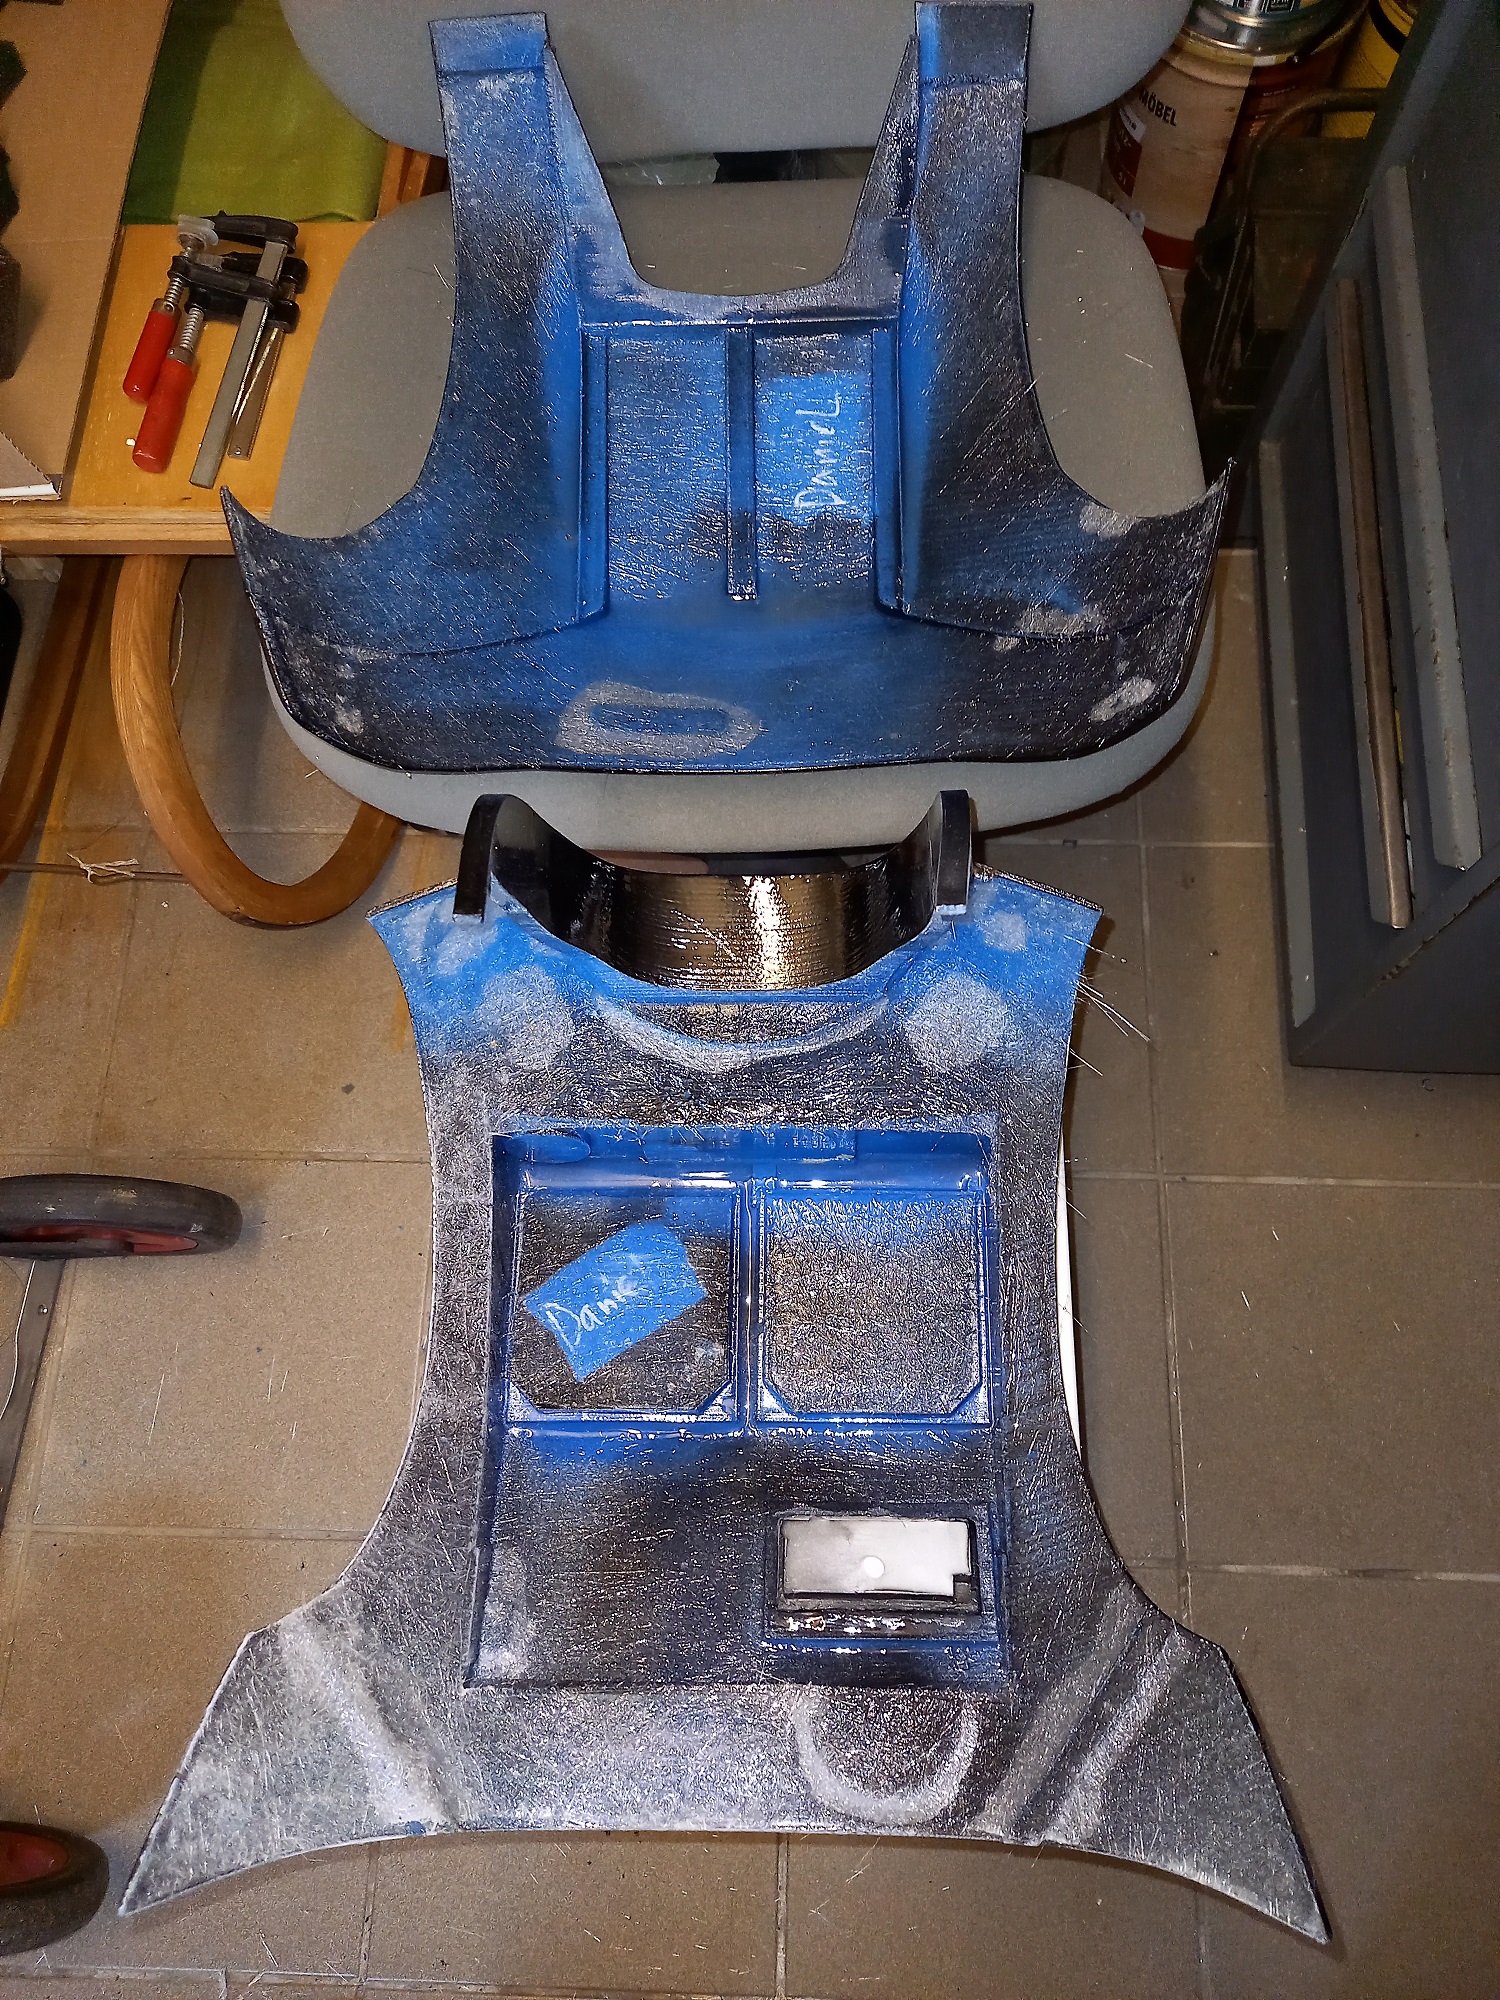
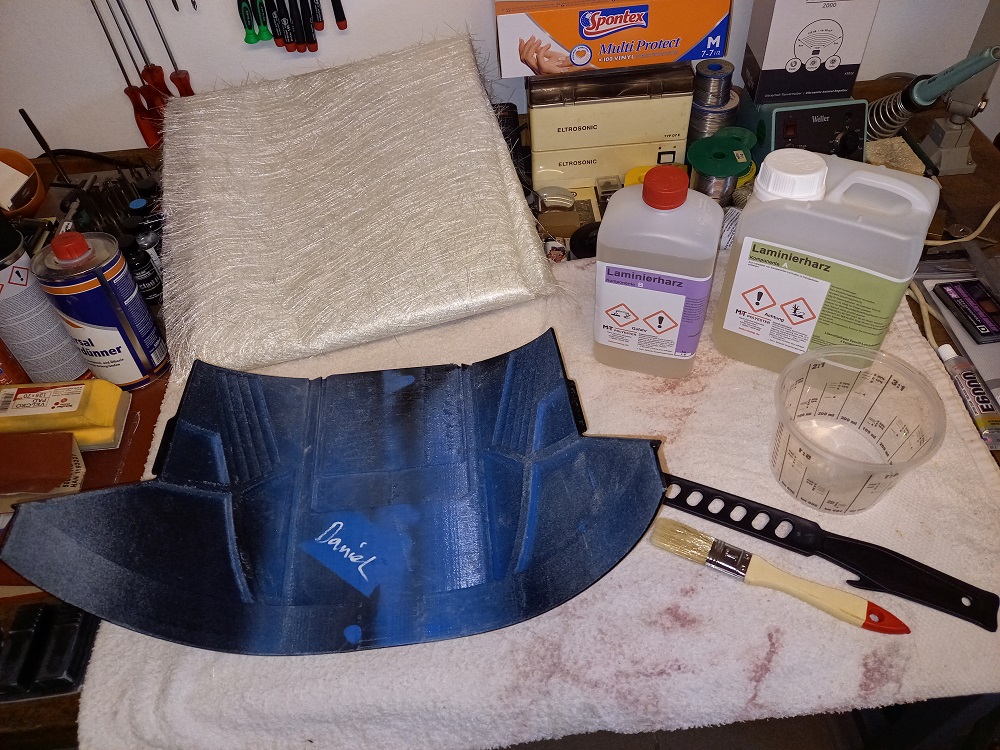
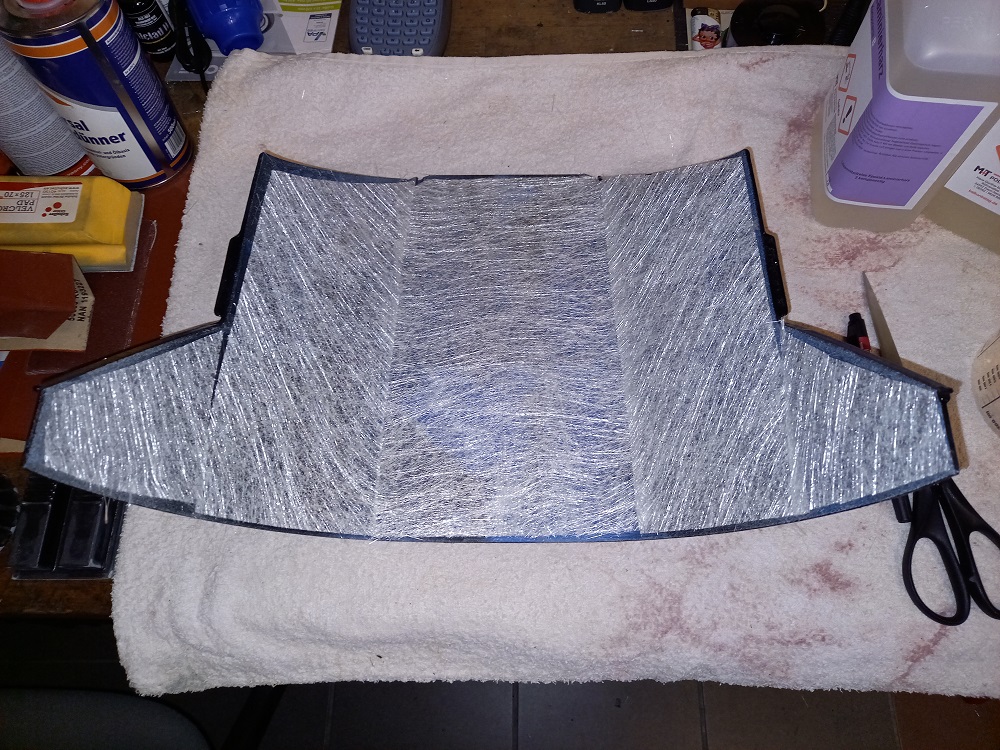
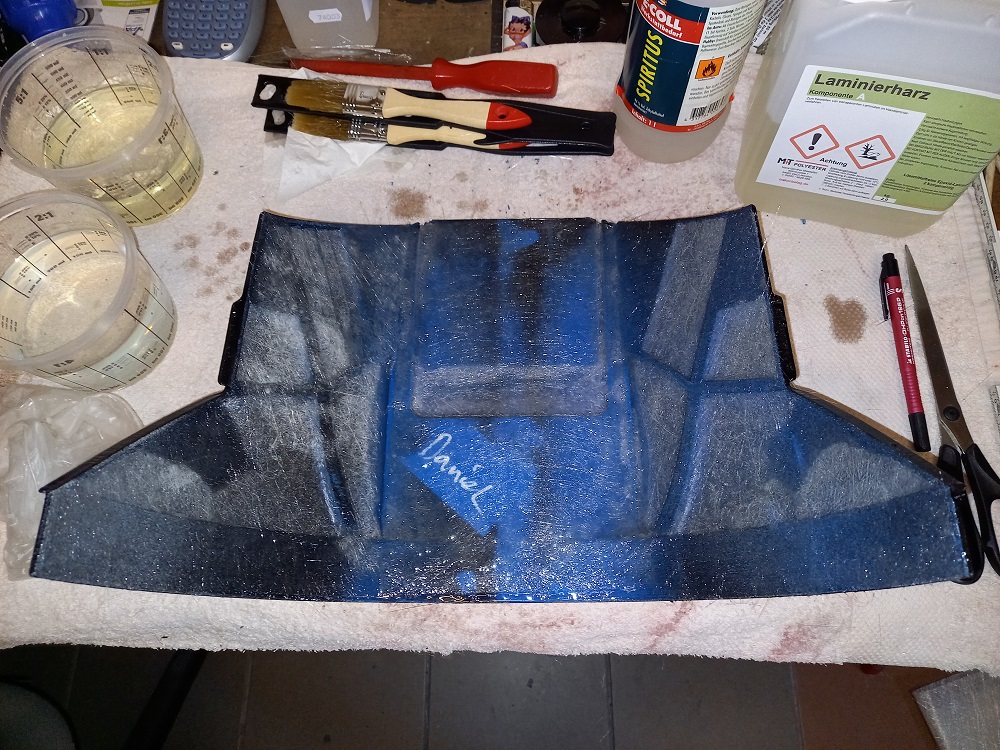
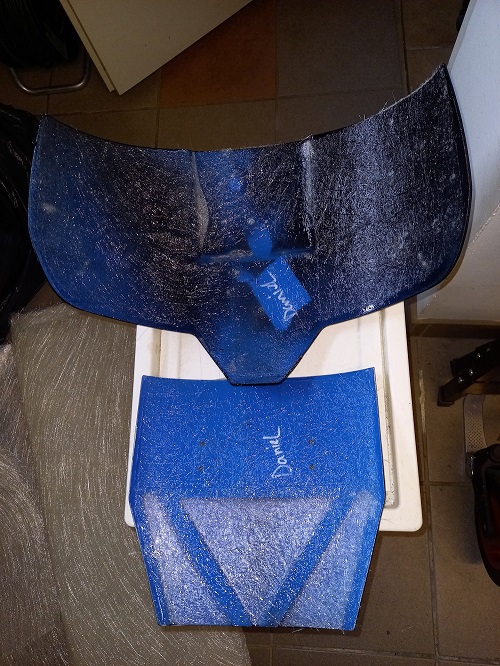
Today I started the reinforcement with some of the big armor parts. As I´m not familiar with fibreglass lamination I did a bit of research and finally ended up with 2K epoxy resin (doesn´t stink, as polyester resin does) and fibreglass mats with a strength of 225g/m². What I can definetely say is, that I have bought way too much resin. Its very productive, but hardens within 30 minutes, so you have to be pretty fast? All in all I must say its not as hard as I thought to laminate, on the contrary it was fun. I pre-cutted the fibreglass pieces and then did a layer of resin on the parts, fibreglass on (overlapping) and another layer of resin, thats it! As you can see on the pics I finished the abdomen plate, the lower back piece and the posterior armor. Tomorrow I´m going to do the chest and back plate. Talking about the back plate: what really gets on my nerves is the fact that all the recess areas on the back plate and the small glue in parts were wrong painted by Armory Props. Instead of matte black, the recess areas are gloss black and the small parts are gun metal instead of matte black. I have to rework them all, because they were additionally painted so thick that they partly do not fit into the recesses. I hate sanding and cutting on freshly painted parts. That was the reason why I bought a ready-made kit, to avoid exactly that!?