IcyTrooper
-
Posts
4,109 -
Joined
-
Last visited
-
Days Won
378
Content Type
Profiles
Forums
Events
Everything posted by IcyTrooper
-
 Got ya! I have both the EA Games versions of the Battlefront series on the PS4 and haven't specifically seen the Dark Trooper in it. I was wondering if it was on a remastered Steam edition of the old Battlefront. I think the picture that you have is from someone who did a mod to the vanilla Battlefront 2 game, and not one that was textured by EA/DICE/Lucasfilms/Disney. Historically, I know that unless it was a character that came with the game or added in an expansion by the developer costumes generally aren't permitted. @Raider is that what you have seen as well?
 -
Any chance that we can get you fully suited up for some pics?
-
Rough guide is very loose! ? We are getting very close on the Sith Trooper CRL and then I'm going to transfer what I have for the FO Jet Trooper over to this section and blend some of the words from the Sith Trooper into it! Exciting times in Spec Ops! ?
-
What is this one from? Did they remake Battlefront with new textures? Interesting! We are sourcing from the original Battlefront game.
-
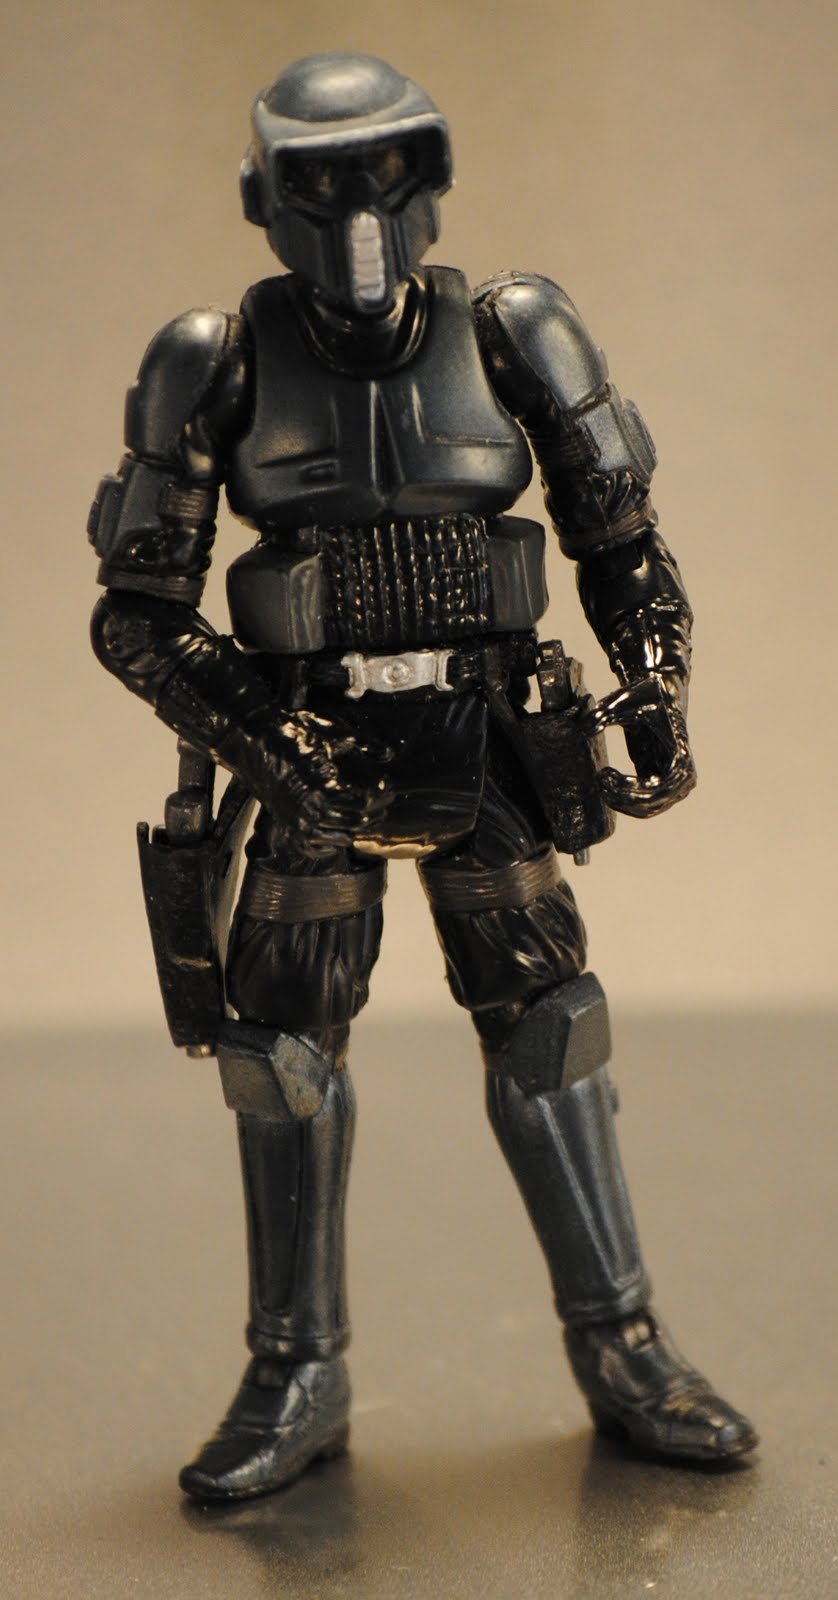
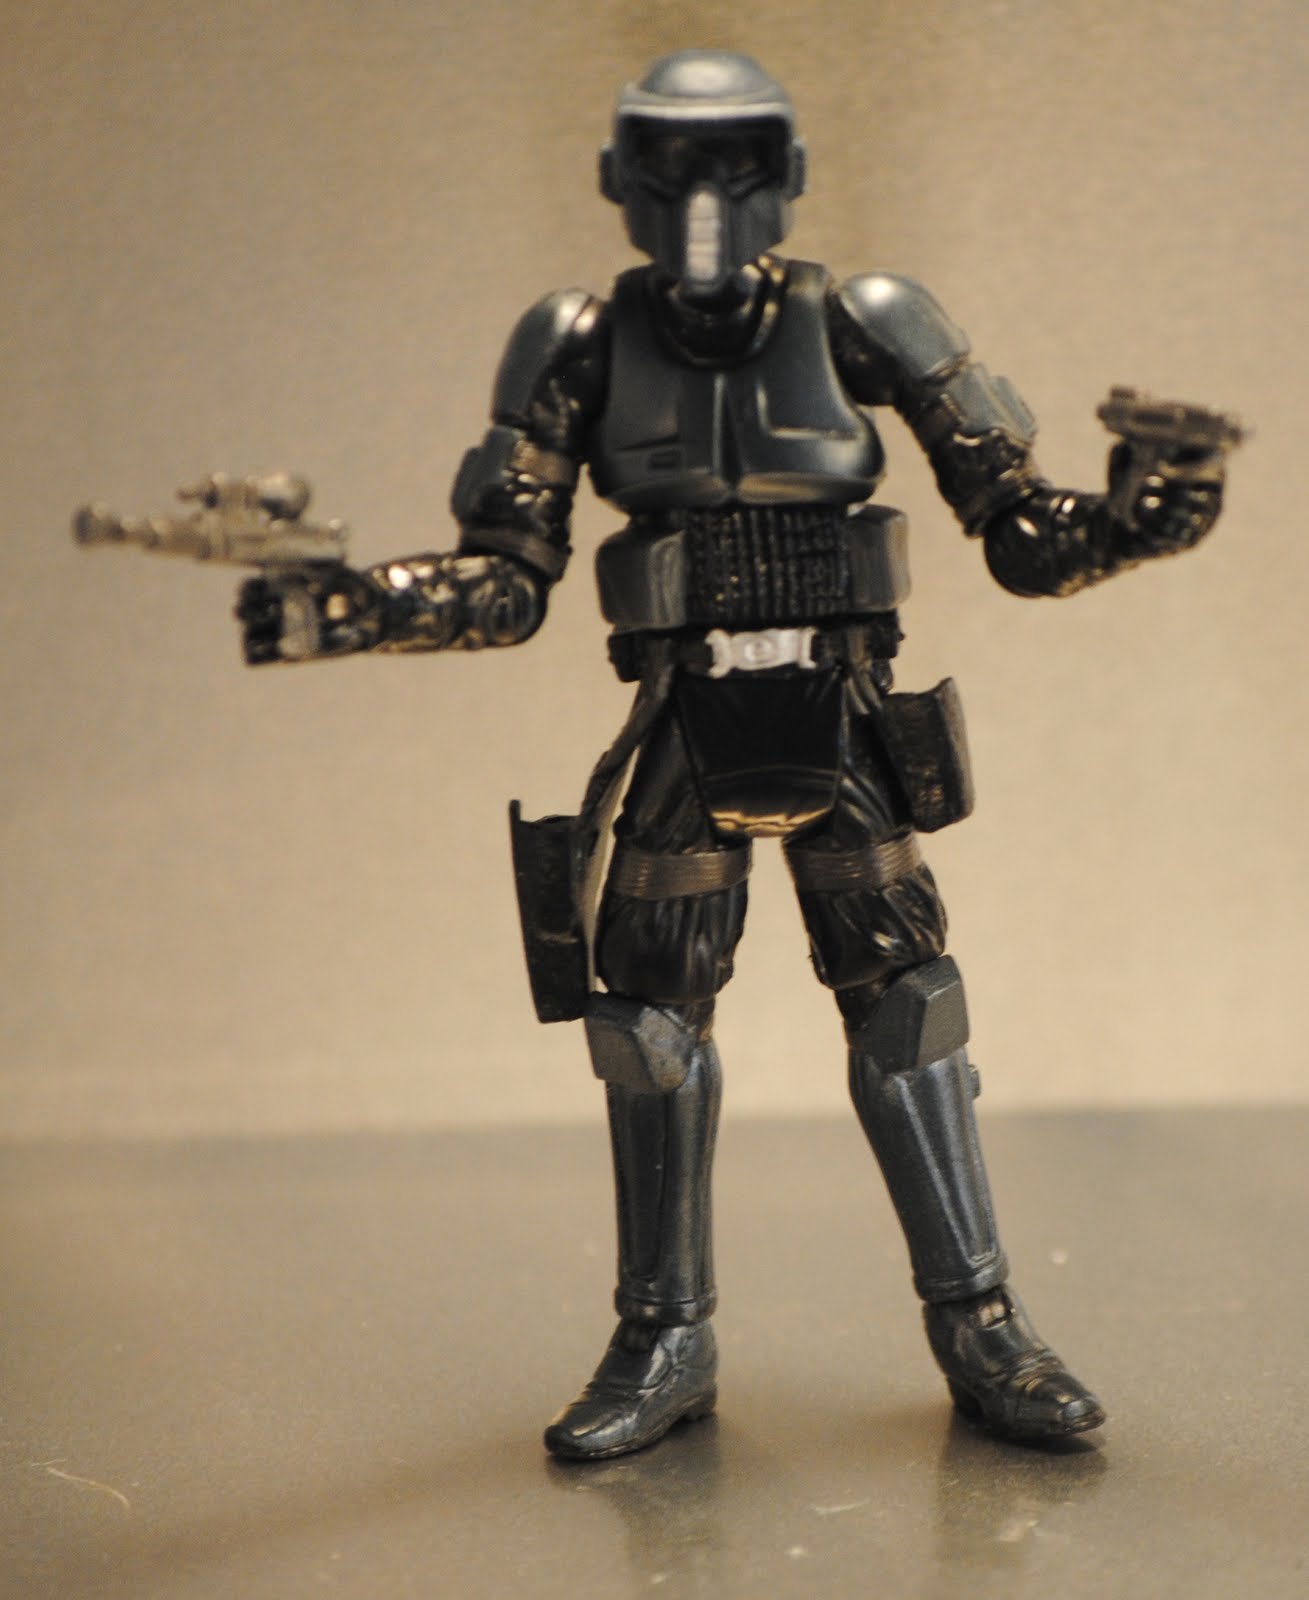
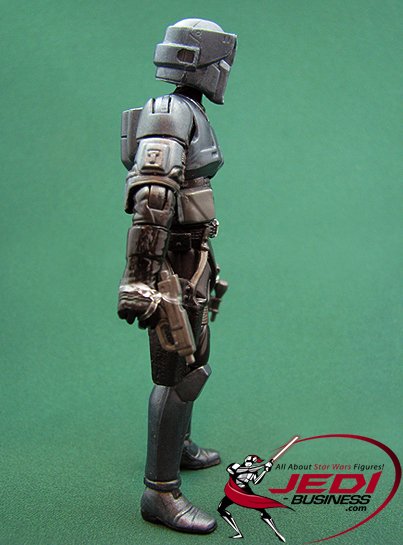
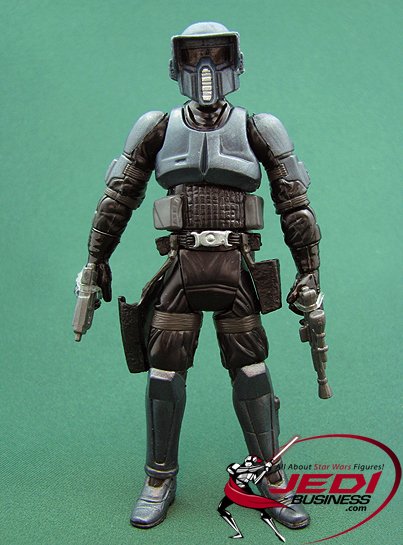
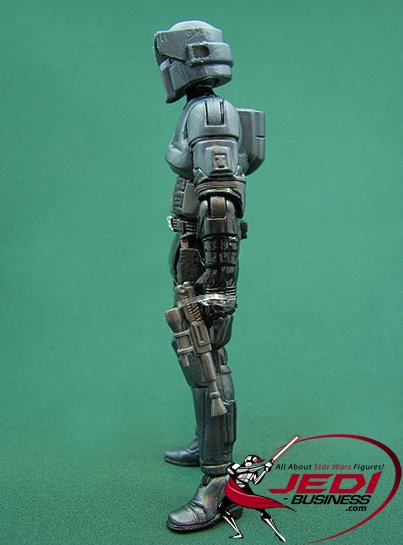
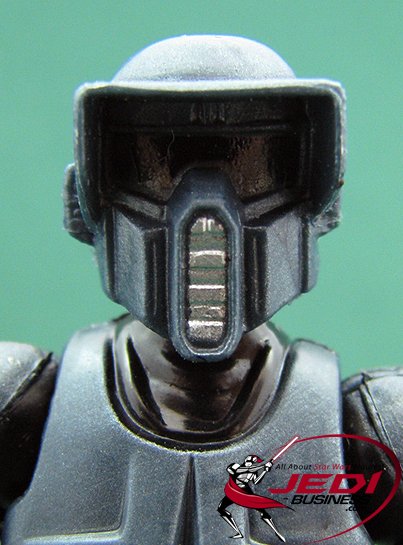
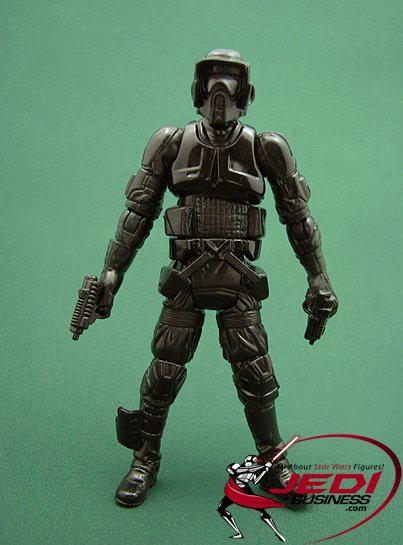
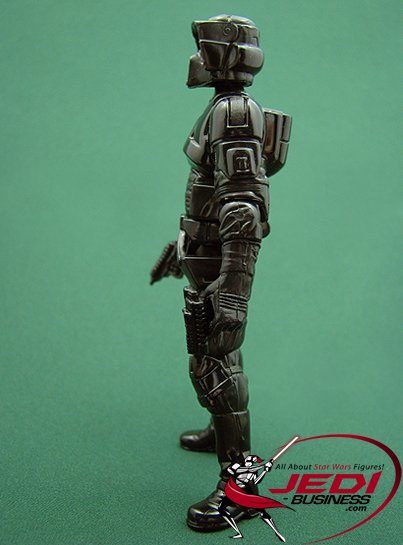
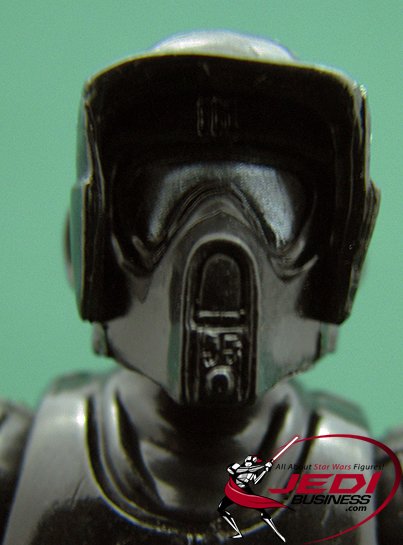
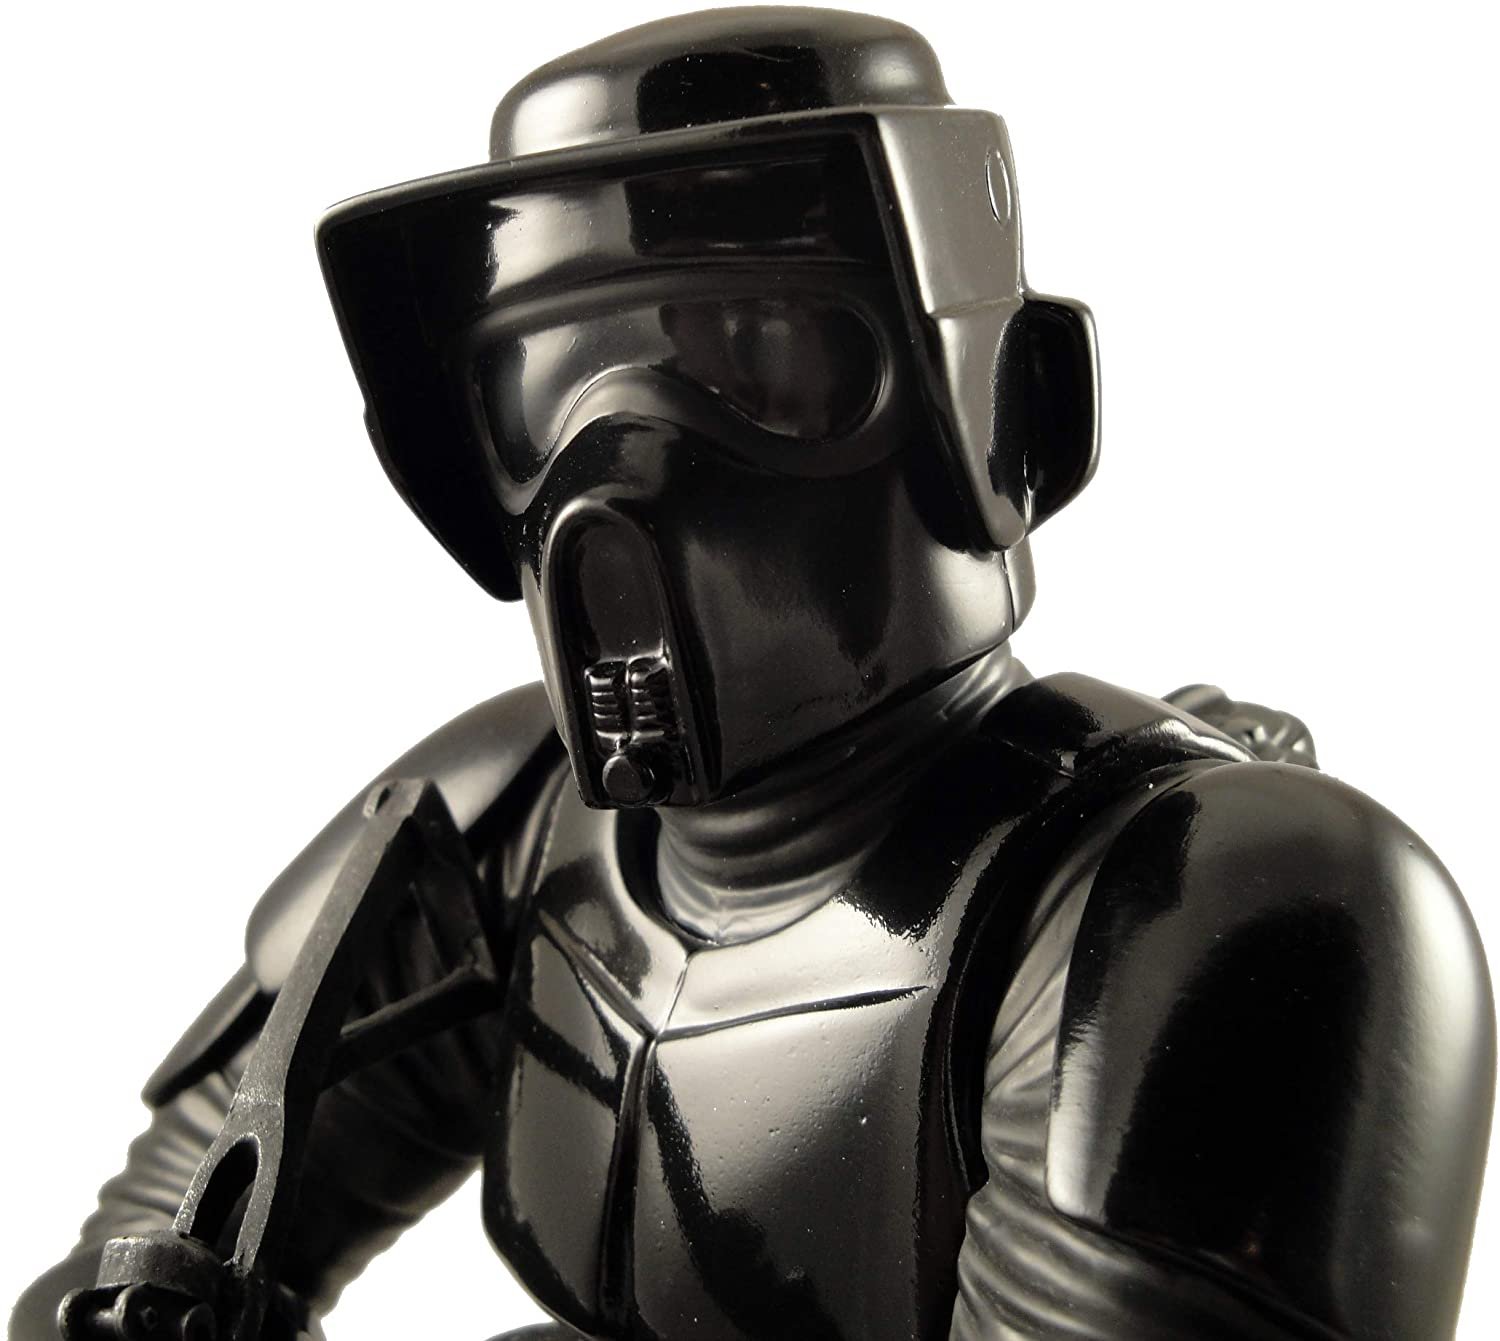
Also, when cross referencing the toys there were two versions of the Storm Commando. The top pic you have is the Empire version and the bottom one comes up as the Clone version. I have updated that reference pics thread to have the two versions.
-
STORM COMMANDO (Clone Commandos 3-Pack) The Legacy Collection 2009

-
STORM COMMANDO (Comic 2-pack #19 - 2009) The Legacy Collection #19, 2010
-
I have put them into the reference pics thread:
-
Star Wars Expanded Universe Imperial Storm Commando Collectible Mini Bust 2011 Premier Guild Exclusive:
-
You may have to use a third-party image host like Flicker, etc. to host the pics and then link em here. I'll take a look on Amazon. Also, I moved this thread to this Storm Commando sub-forum to keep with the other threads on it.
-
Welcome to the forums! Do you by chance have any more pictures/artwork that shows the back and sides of the costume? Is that for sure an E-11 holster on the right side of the scout? The legs look to be a custom shape for each of them with spats that cover the boots. The knee pads are reminiscent of non-detailed (no lines/grooves) scout knee pads.
-
Neck Seal (Optional) Black with horizontal ribs, fitted to the wearer, and extending from the base of the neck to conceal the entire neck. This was taken from the Shadow Stormtrooper.
-
New CRL Proposal - Sith Trooper (TROS)
IcyTrooper replied to RAIDER's topic in First Order Sith Trooper
I finally have the right thread. My two corrections found: On the helmet under jawline bullet "There angle of termination" should that be "Their angle"? Need a period after the end of the text for the undersuit. -
Need a period after the end of the text for the undersuit.
-
complete Sithtrooper Helmet - Draft CRL Development Discussion
IcyTrooper replied to nanotek's topic in CRL Discussion Archive
On the helmet under jawline bullet "There angle of termination" should that be "Their angle"? -
Yep it'll be good to get a WIP started! I'm going to try and refine the FO Jet Trooper once the Sith Trooper CRL goes live.
-
I'd say to keep it optional and if we do base it on the Shadow Stormtrooper text.
-
The space looks fine! Nice.
-
I have added the helmet to the finalized list, now time for the Neckseal.
-
Yeah the color change is fine. I'll update the master thread bit showing the finalized helmet section and we can move to the next section. Here is my comment/post within this thread where the final versions lay:
-
Yeah just cut that off and round it so that it is level and flows.
-
Sounds wild! I'll admit that I know nothing about 3D printing but a few guys in my garrison do plenty of it.
-
With all that being said, are we currently good on the helmet verbiage?
-
Nice! Pretty long print time for it?
-
Very good way to do it!