IcyTrooper
-
Posts
4,109 -
Joined
-
Last visited
-
Days Won
378
Content Type
Profiles
Forums
Events
Everything posted by IcyTrooper
-
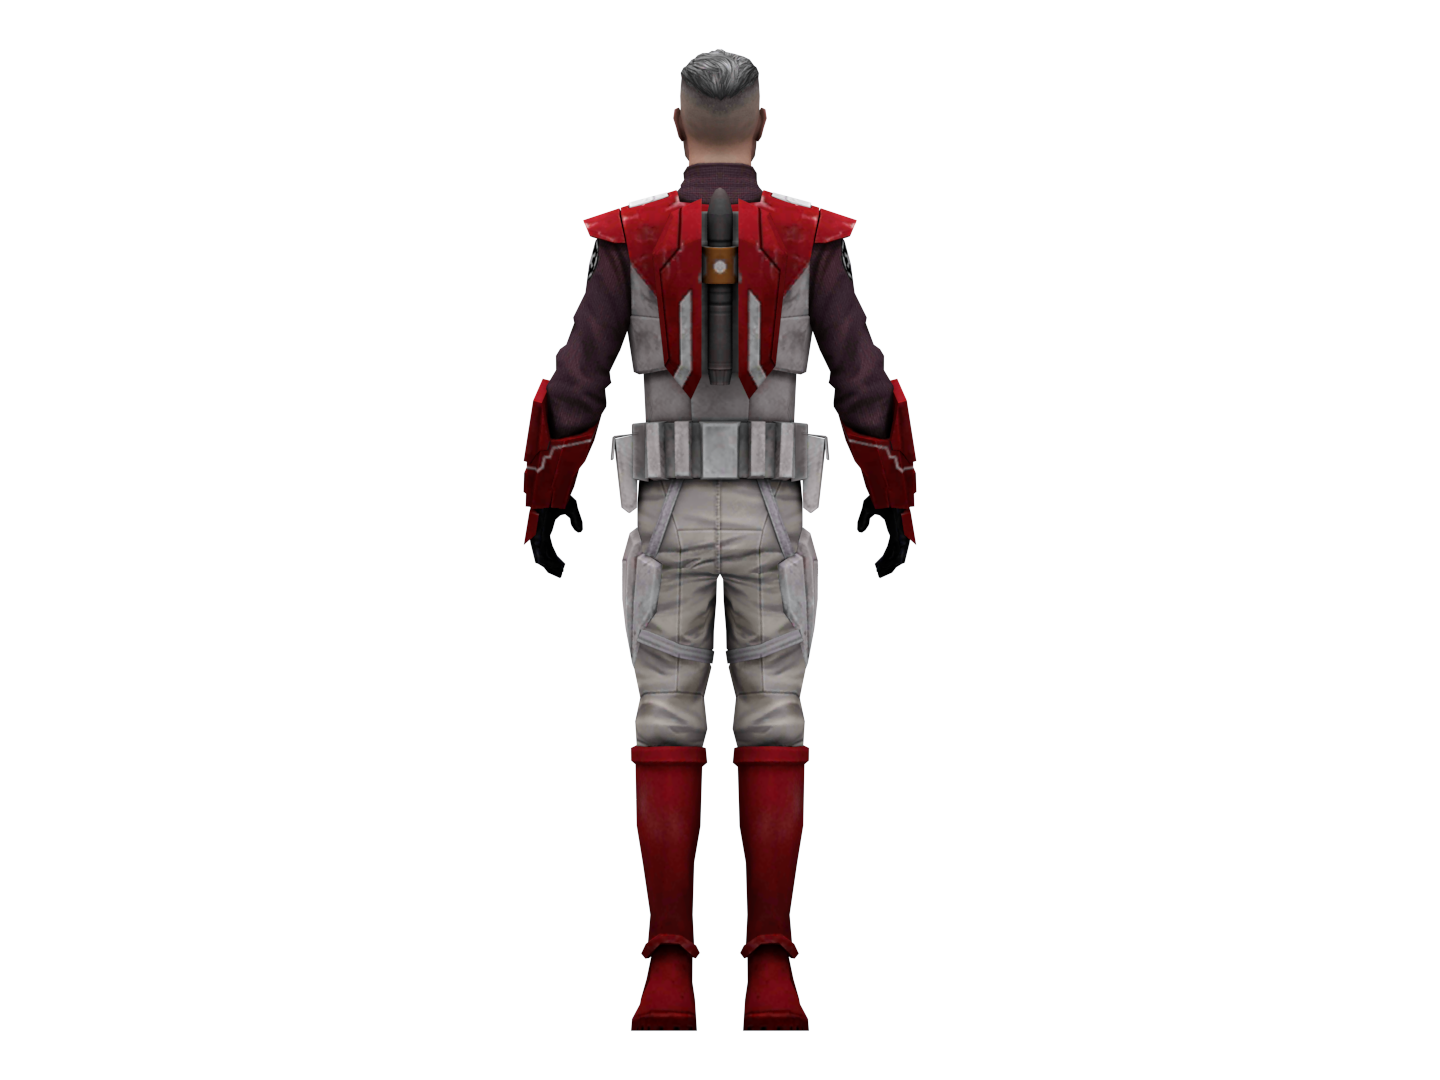
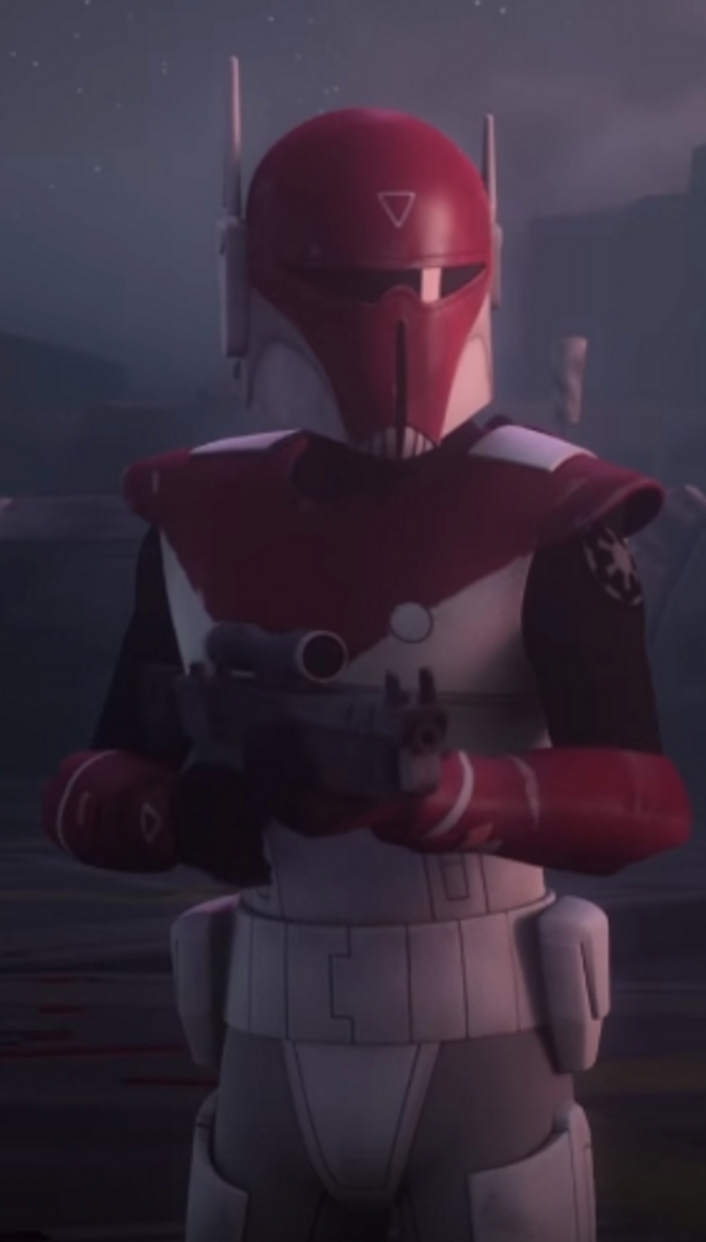
 Here is the thermal detonator text! Thermal Detonator (A.K.A O2 canister) is attached to the center back of the belt. The total length is approximately 7.50" (190.5mm). Detonator consists of a painted dark gray cylinder with 2” (50mm) to 2.68” (68mm) in diameter with gray/silver end caps on each end and a gray/silver control panel pad. The gray/silver control panel pad faces upwards with the following details Four horizontally aligned buttons. These buttons are aligned to the right on the panel, when viewing from behind. There is a circular detail at the top left of the control panel. The detonator may be attached to the belt with 1” (25mm) silver metal or metallic-appearing clips. OPTIONAL Level two certification (if applicable): The detonator is not attached to the belt with silver metal or metallic-appearing clips.
 -
I have updated the finalized section for the belt text!
-
How does this sound (purple underlined text is what was changed)? Belt The belt will have the following details: Belt front has two raised rectangular raised boxes offset from the middle of the belt. Two belt boxes with an angled top that is on the outside edge of each of the two raised rectangular indents. Each belt box has a square indent about half the size of the box towards the top. There are two black lines underneath the square indent. There is another raised rectangular raised box that is to the outside edge of each of the two belt boxes towards the sides of the wearer. Any parts of the belt that are not raised shall be flat. Abdomen armor is completely contained under the chest and back armor. OPTIONAL Level two certification (if applicable): Boxes are notched on the back and fit flush to the belt. Detonator connects to the back of the belt without any visible clips and is firmly secured in horizontal position.
-
You are not being too picky! This the point of the thread! I think that if we use something similar to small boxes, or raised boxes as @Blackwatch suggests that would be good! I liked the "raised boxes" text and can perhaps make mention to it being similar to that on a stormtrooper belt.
-
@Blackwatch here is the thread for the development. @MrShadow is who is working on it!
-
Welcome! @rickyboyblue or @JAFO you guys have any insights?
-
I have updated the post with the finalized text for the codpiece & posterior armor, now onto the belt!: Belt The belt will have the following details: Belt front has two raised rectangular indents offset from the middle of the belt. Two belt boxes with an angled top that is on the outside edge of each of the two raised rectangular indents. Each belt box has a square indent about half the size of the box towards the top. There are two black lines underneath the square indent. There is another raised rectangular indent that is to the outside edge of each of the two belt boxes towards the sides of the wearer. Any parts of the belt that are not raised shall be flat. Abdomen armor is completely contained under the chest and back armor. OPTIONAL Level two certification (if applicable): Boxes are notched on the back and fit flush to the belt. Detonator connects to the back of the belt without any visible clips and is firmly secured in horizontal position.
-
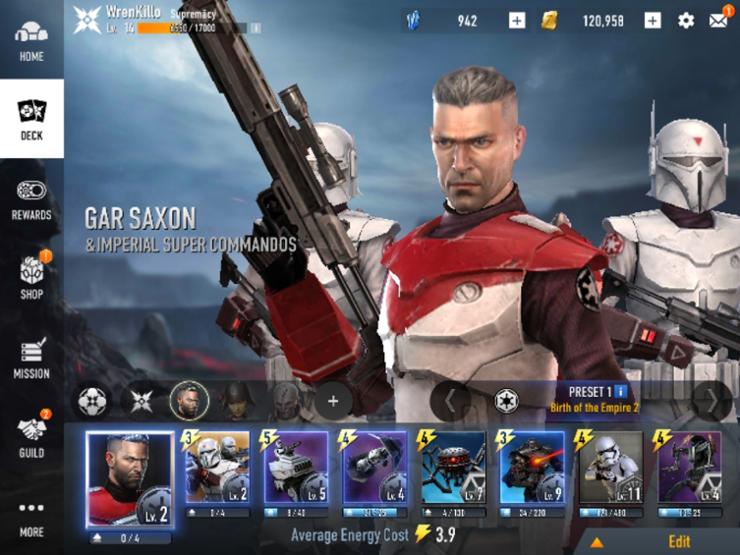
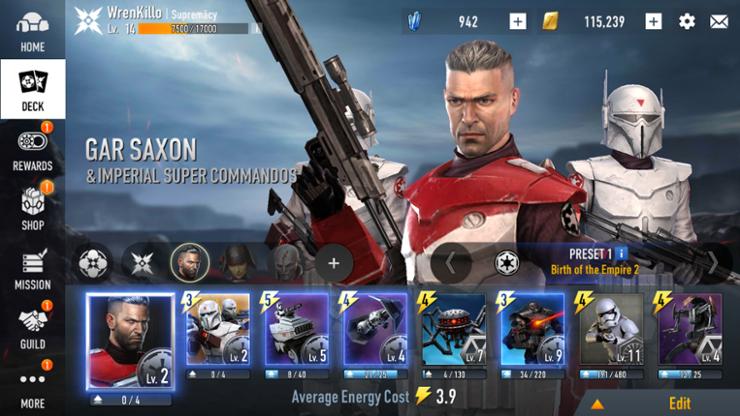
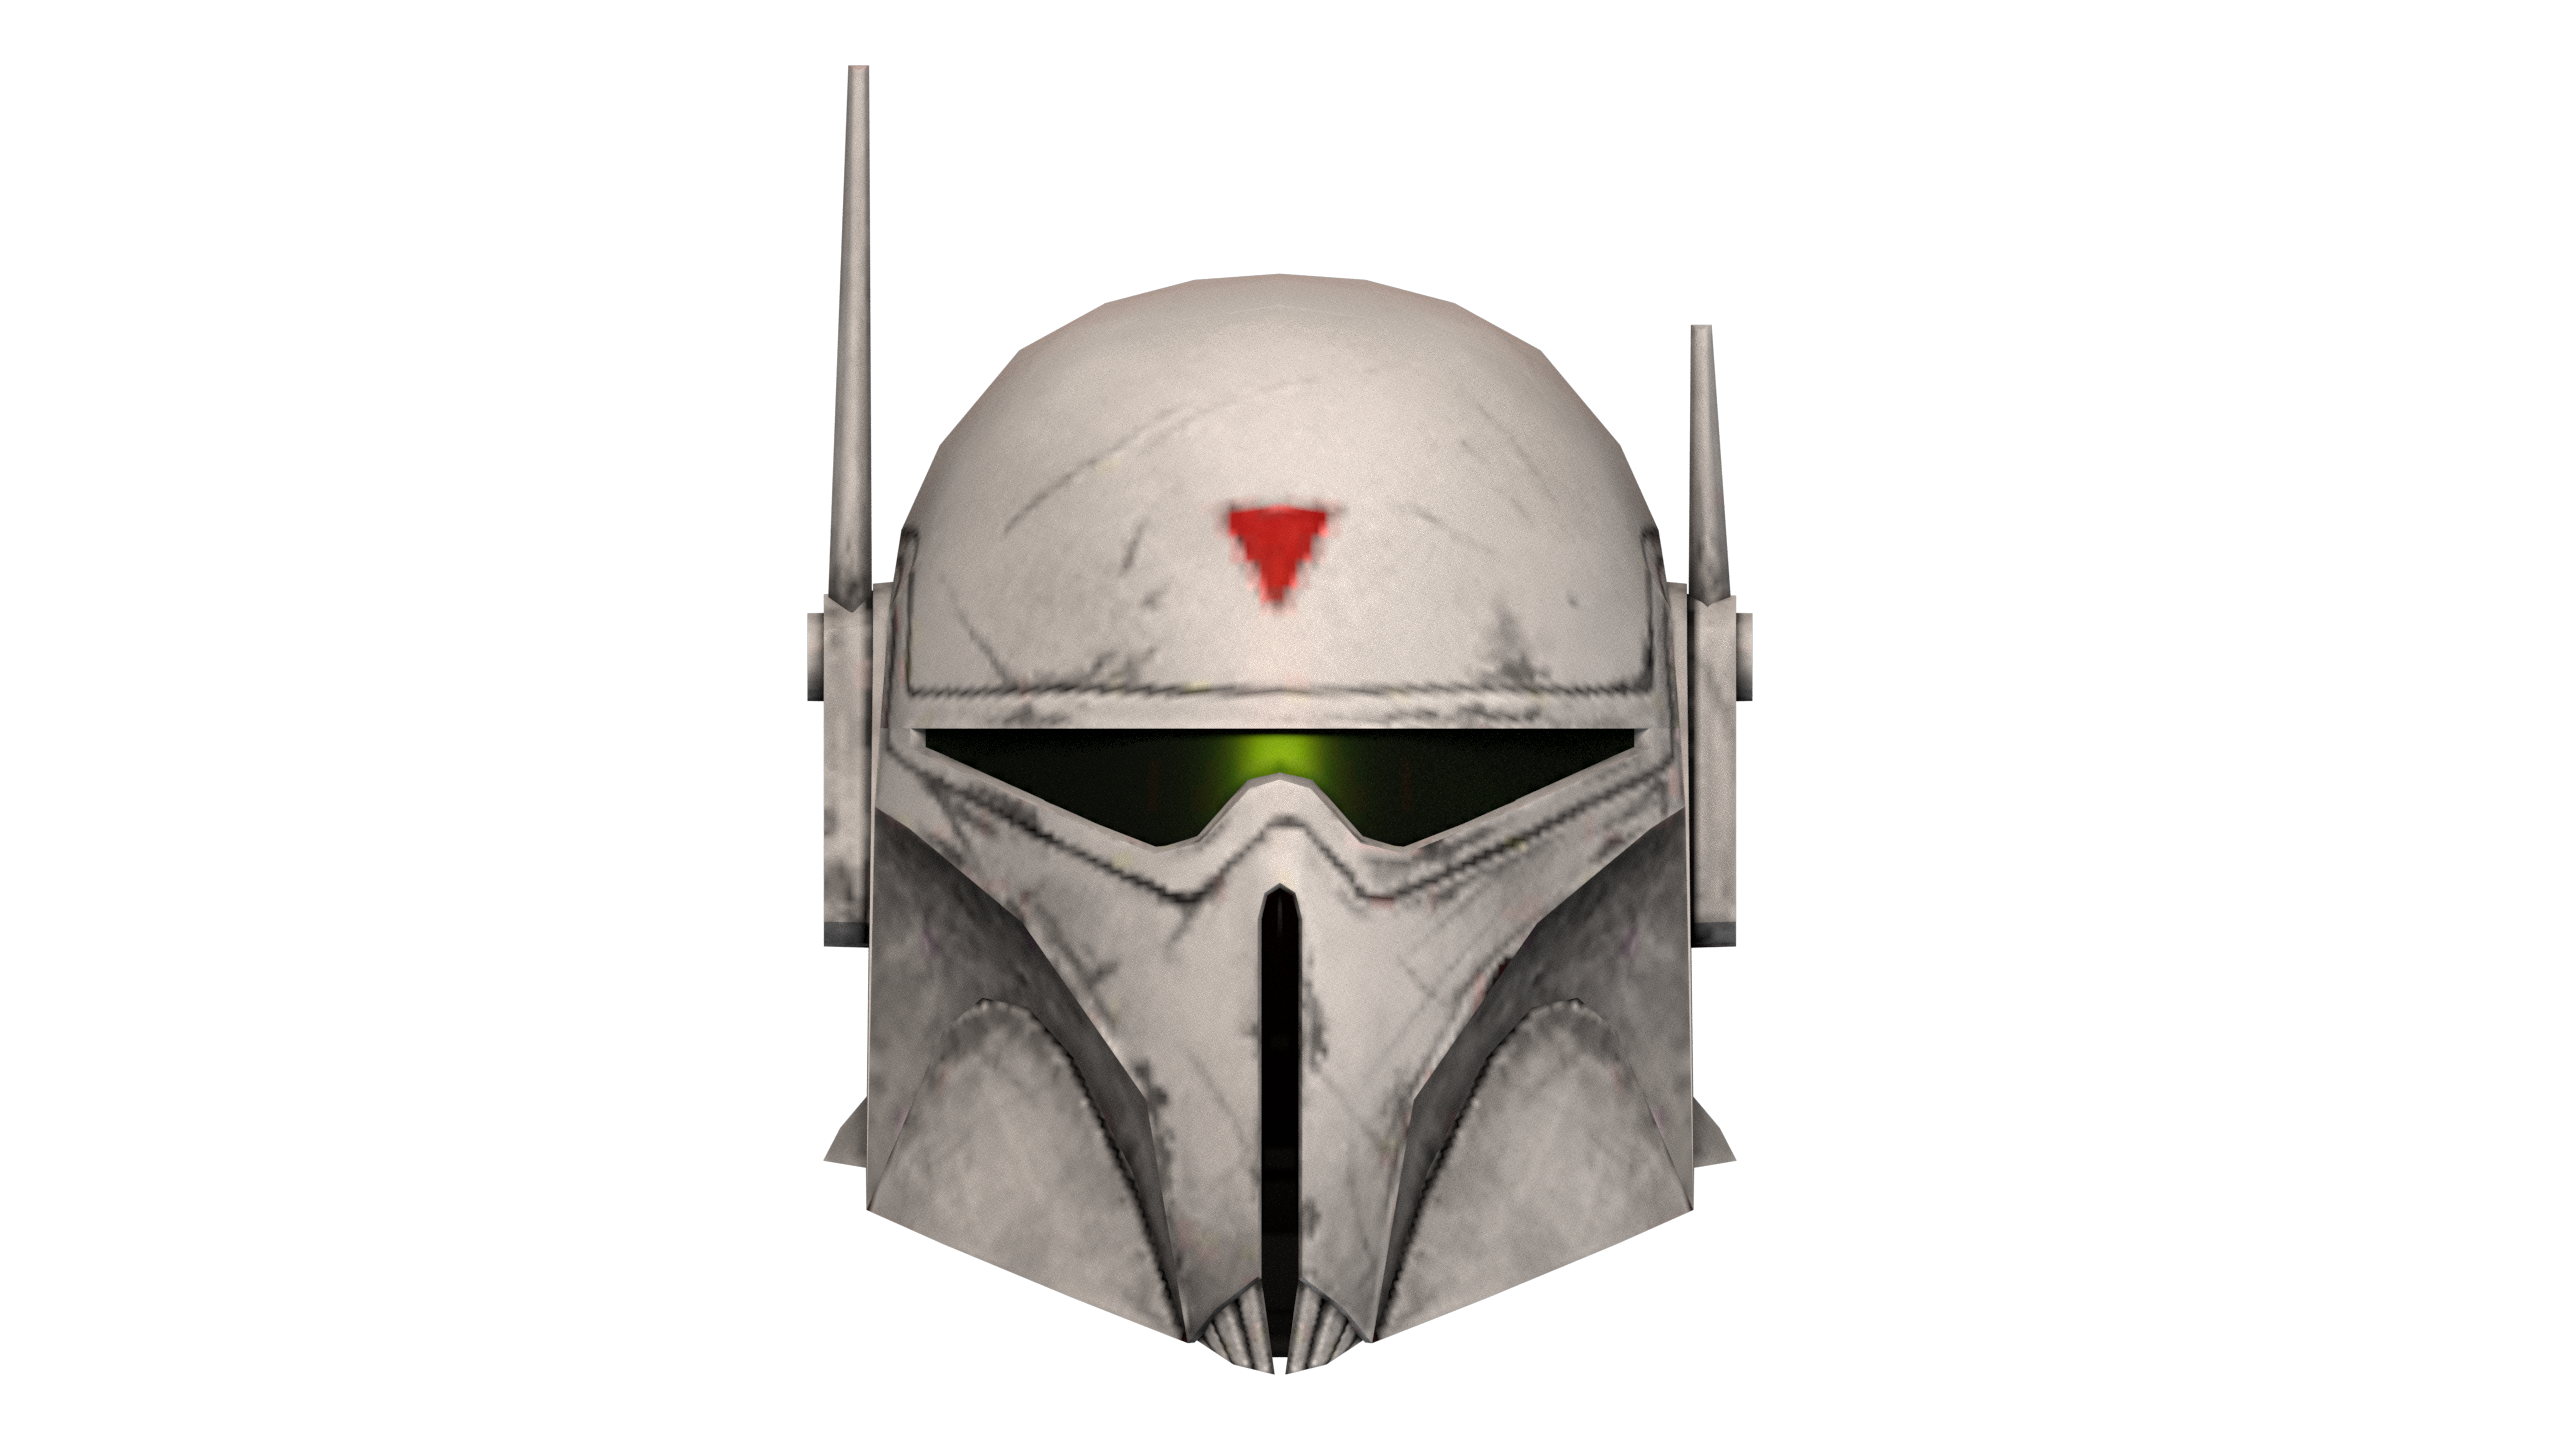
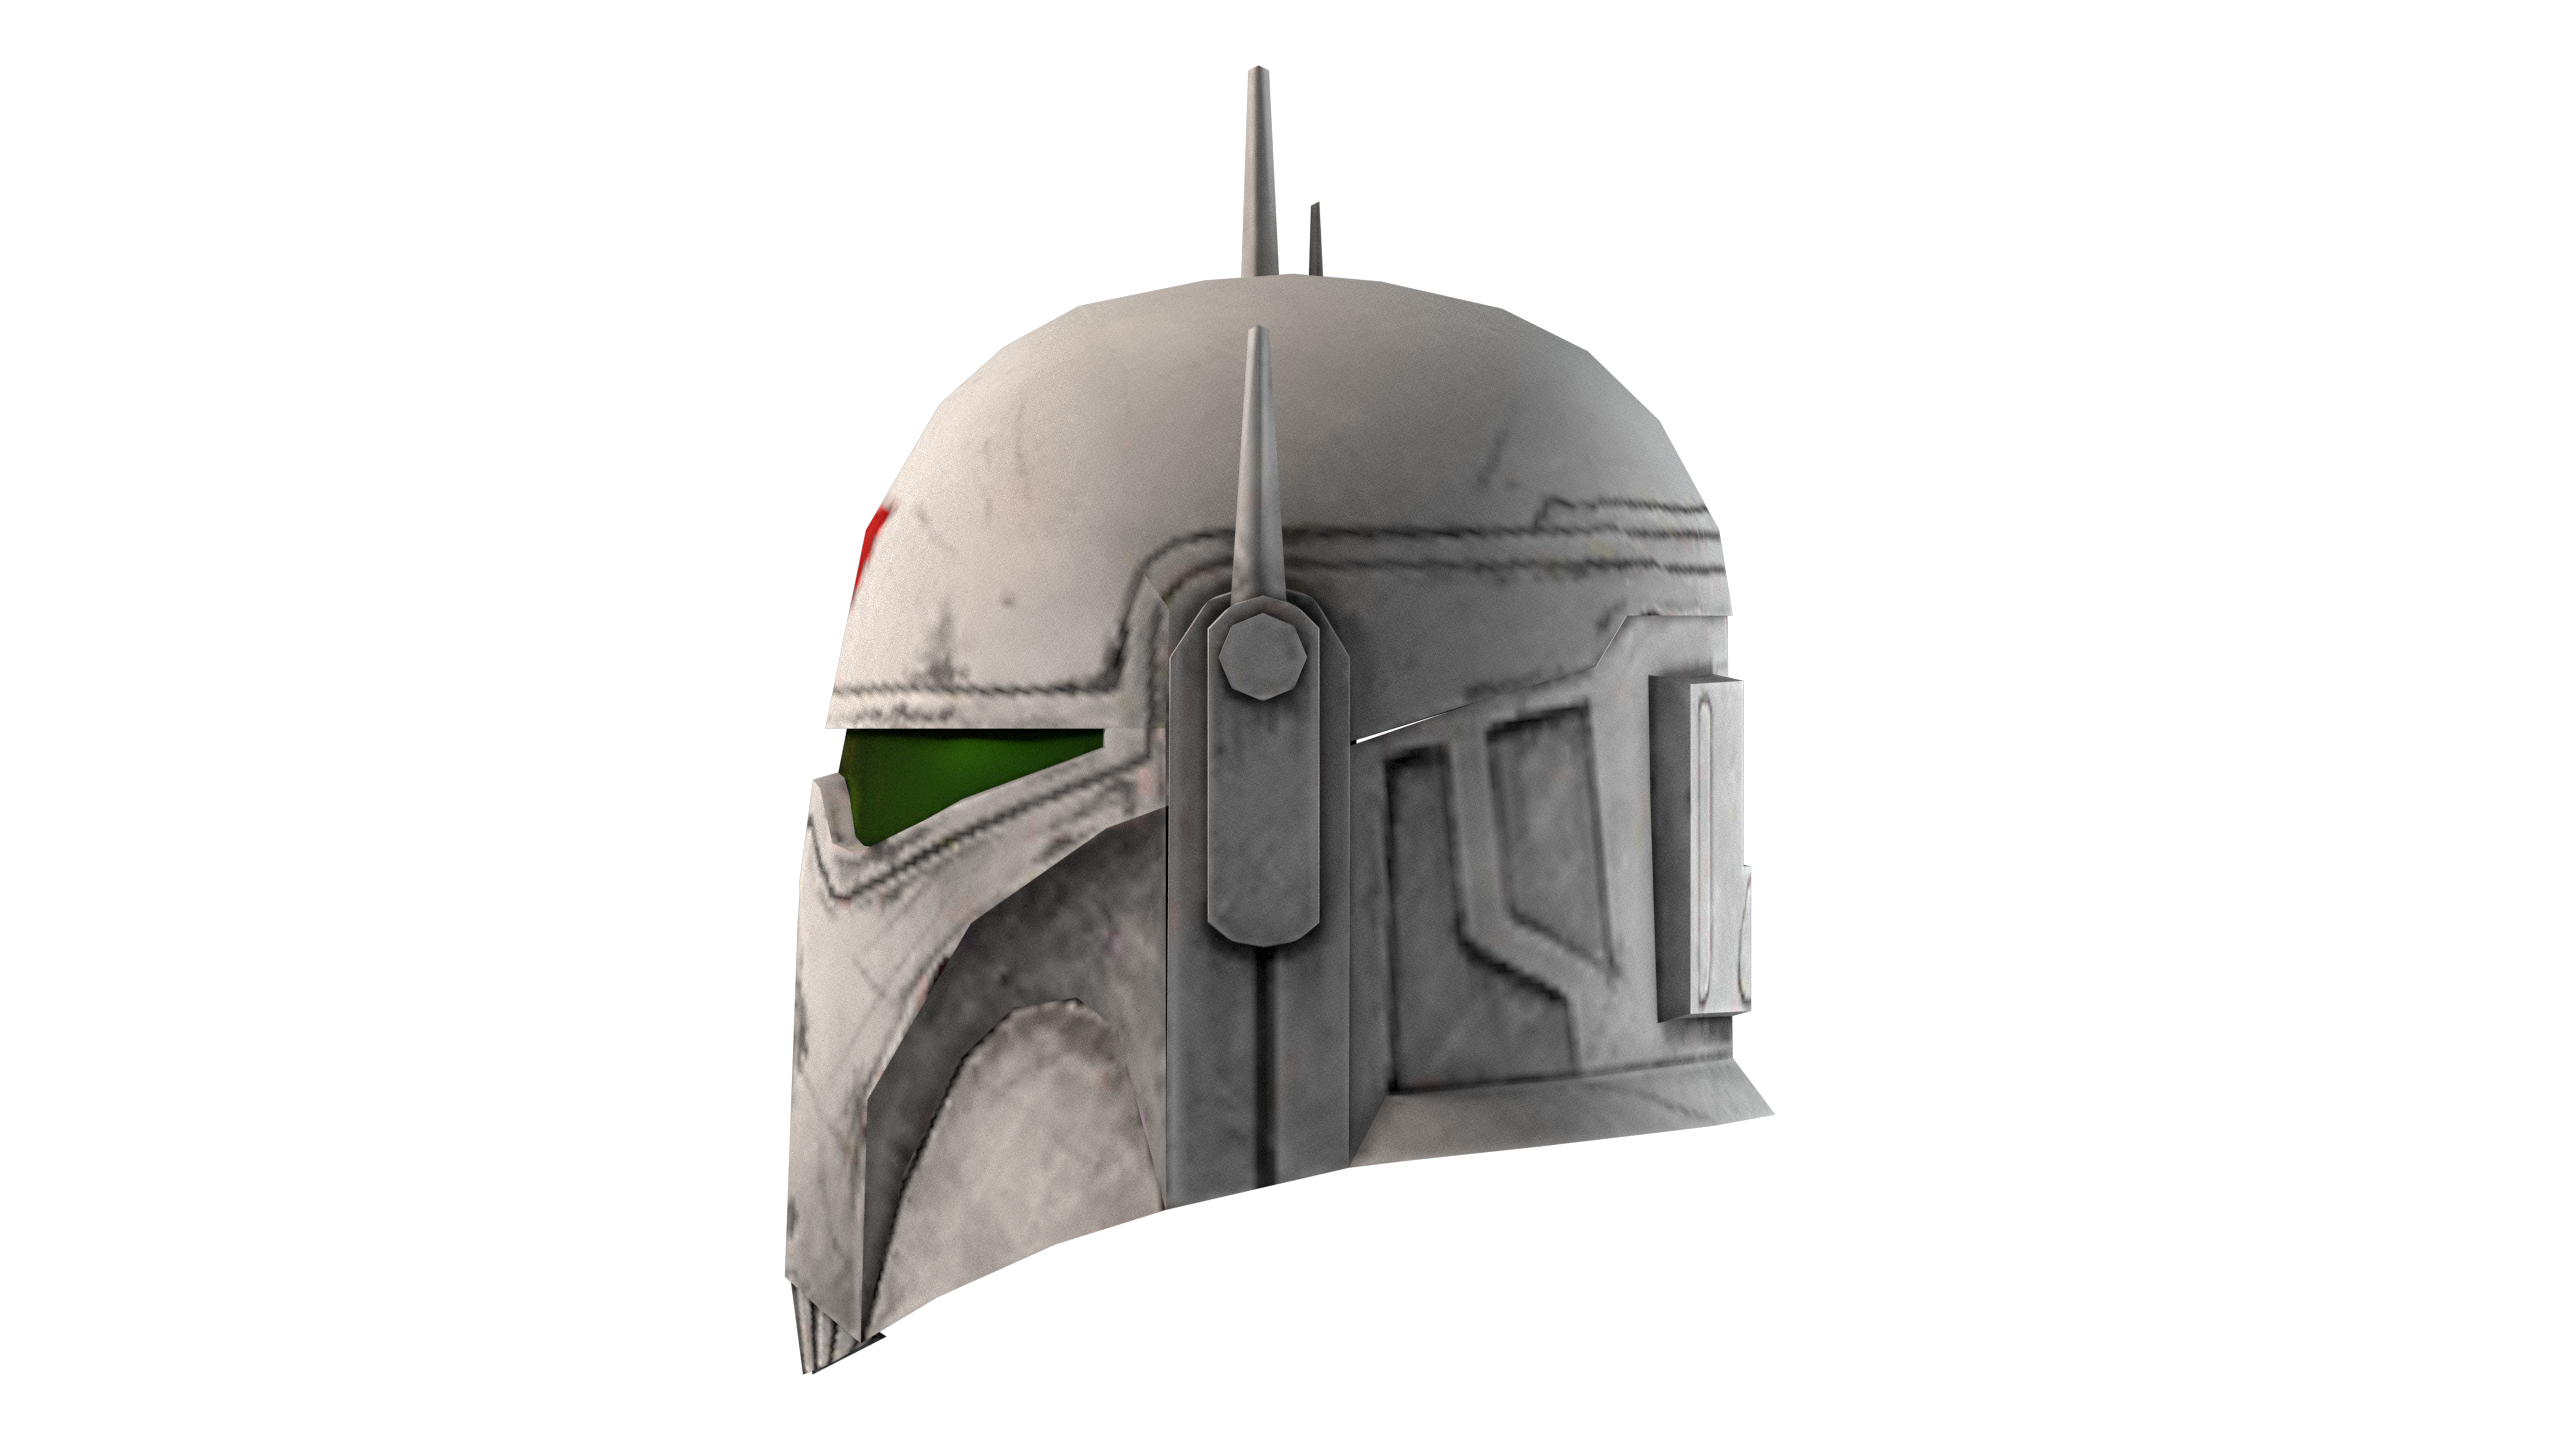
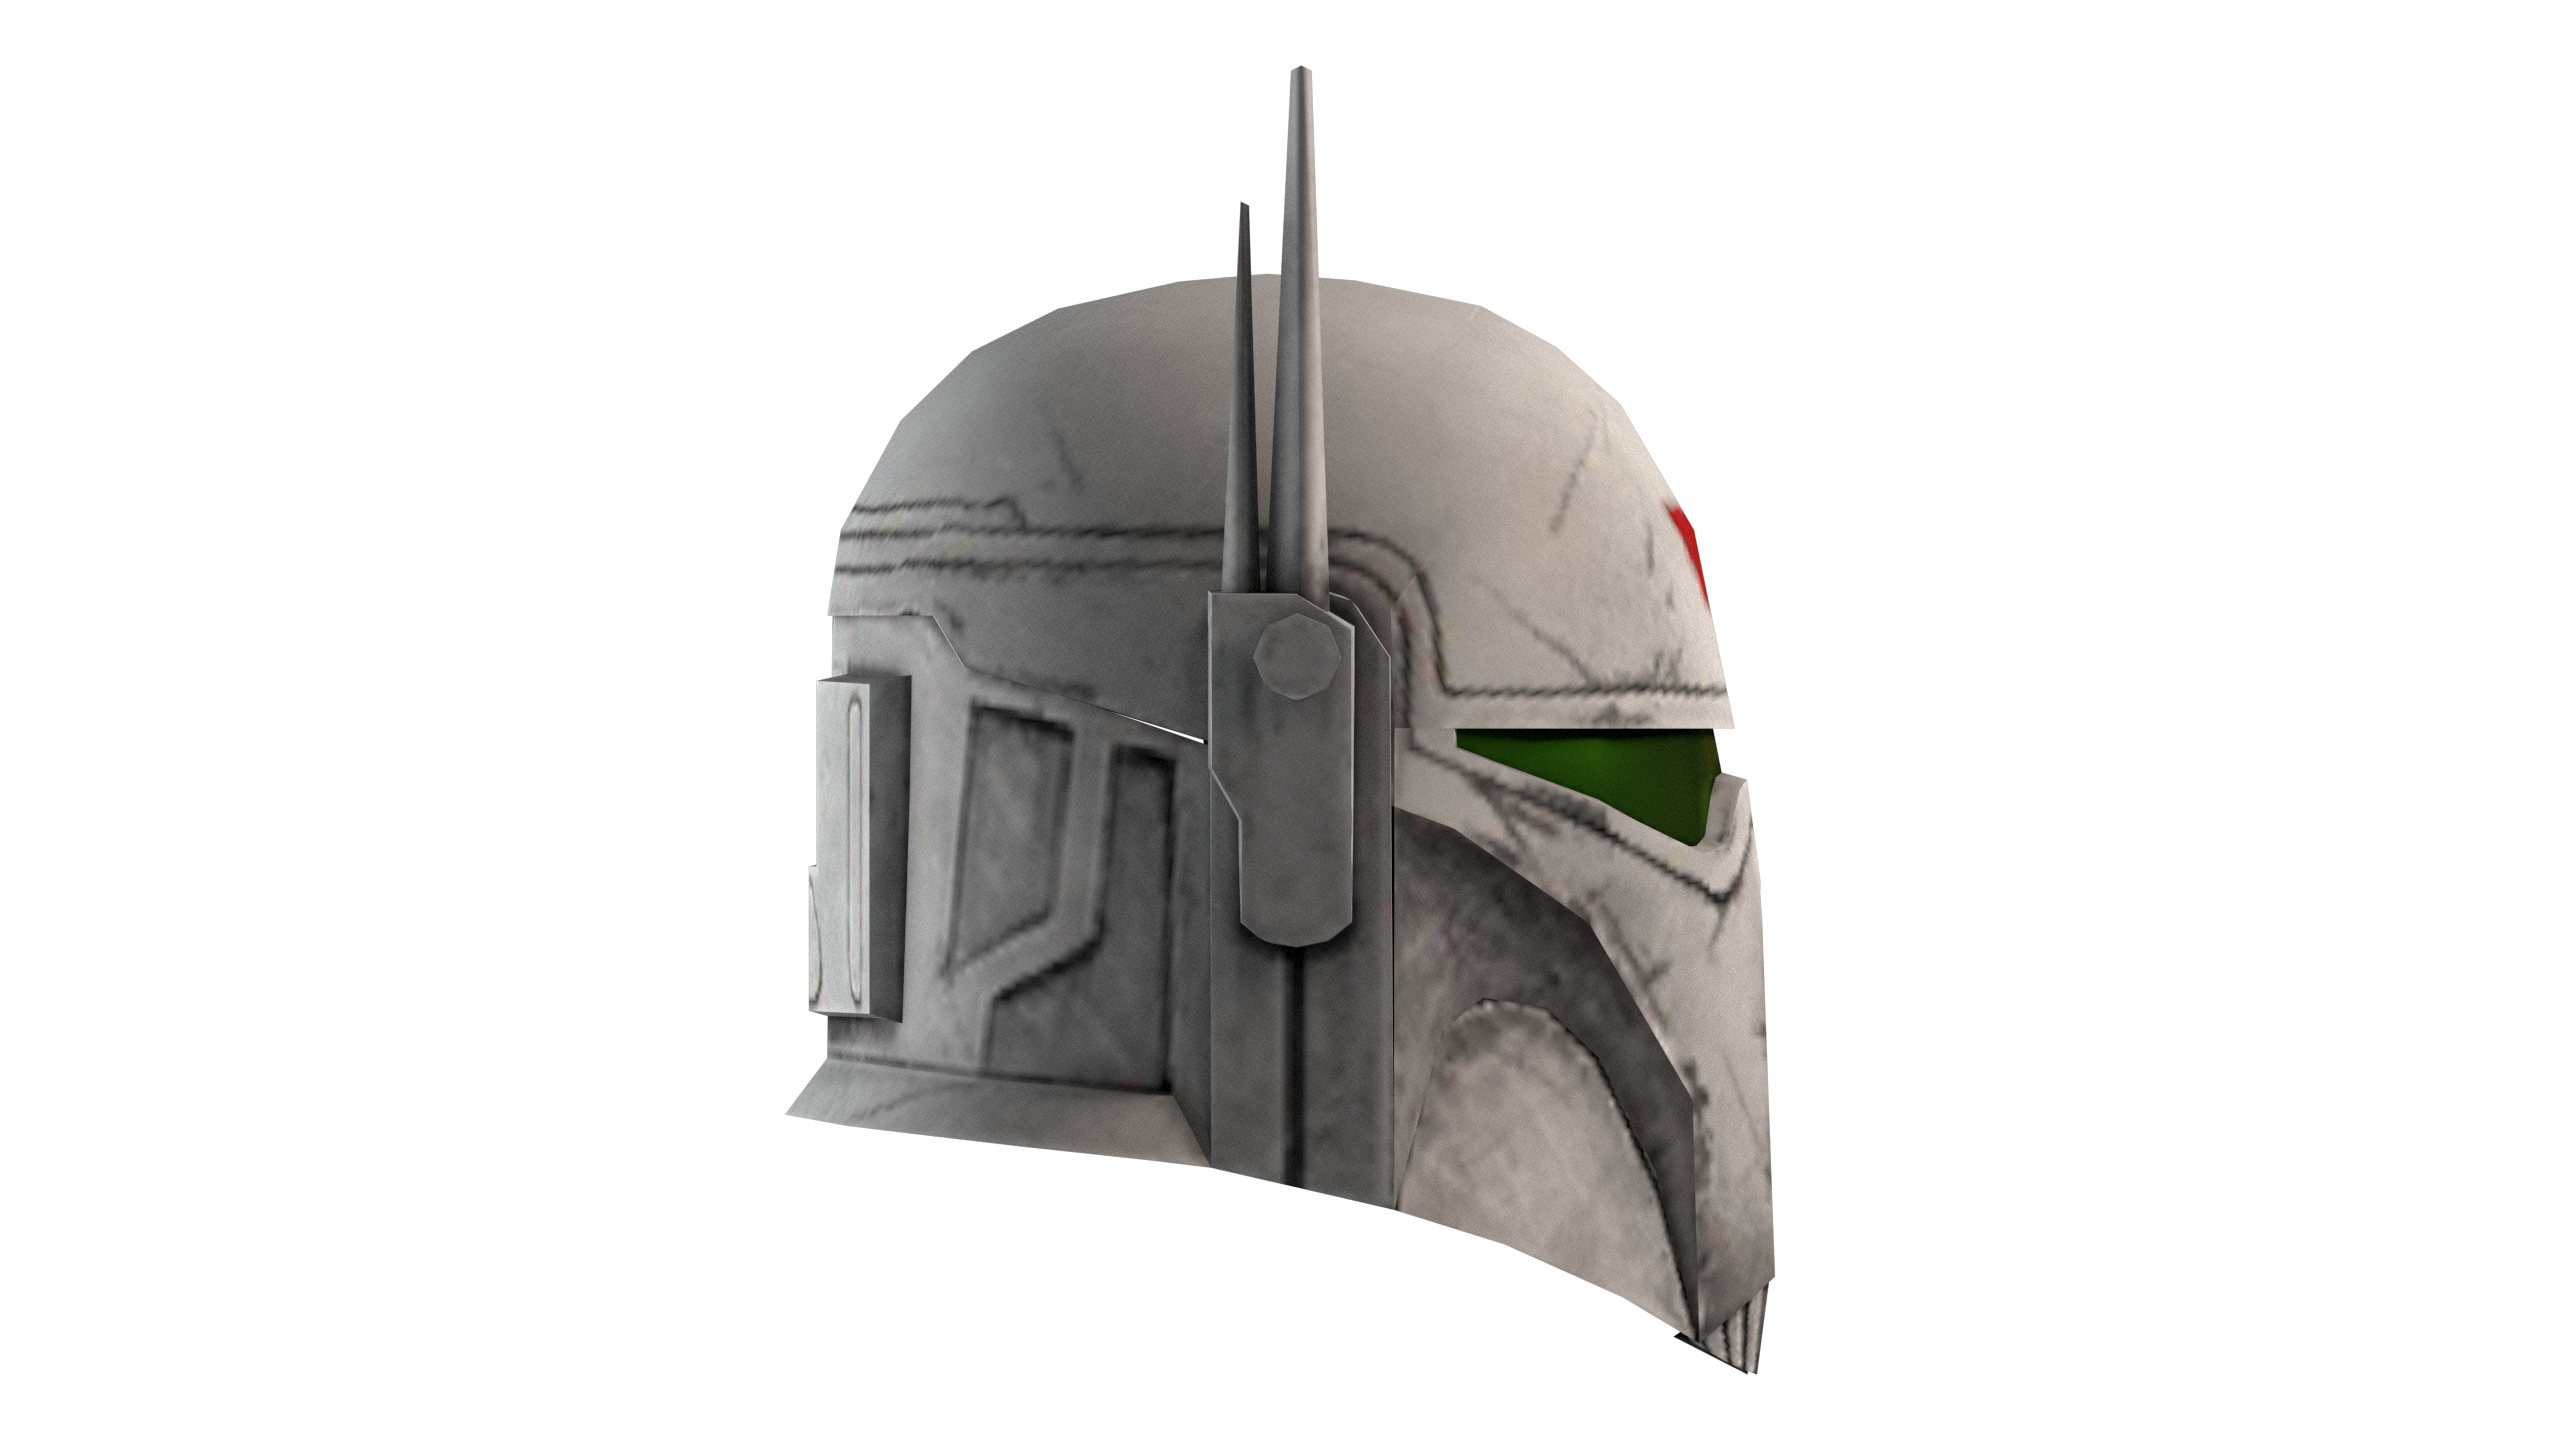
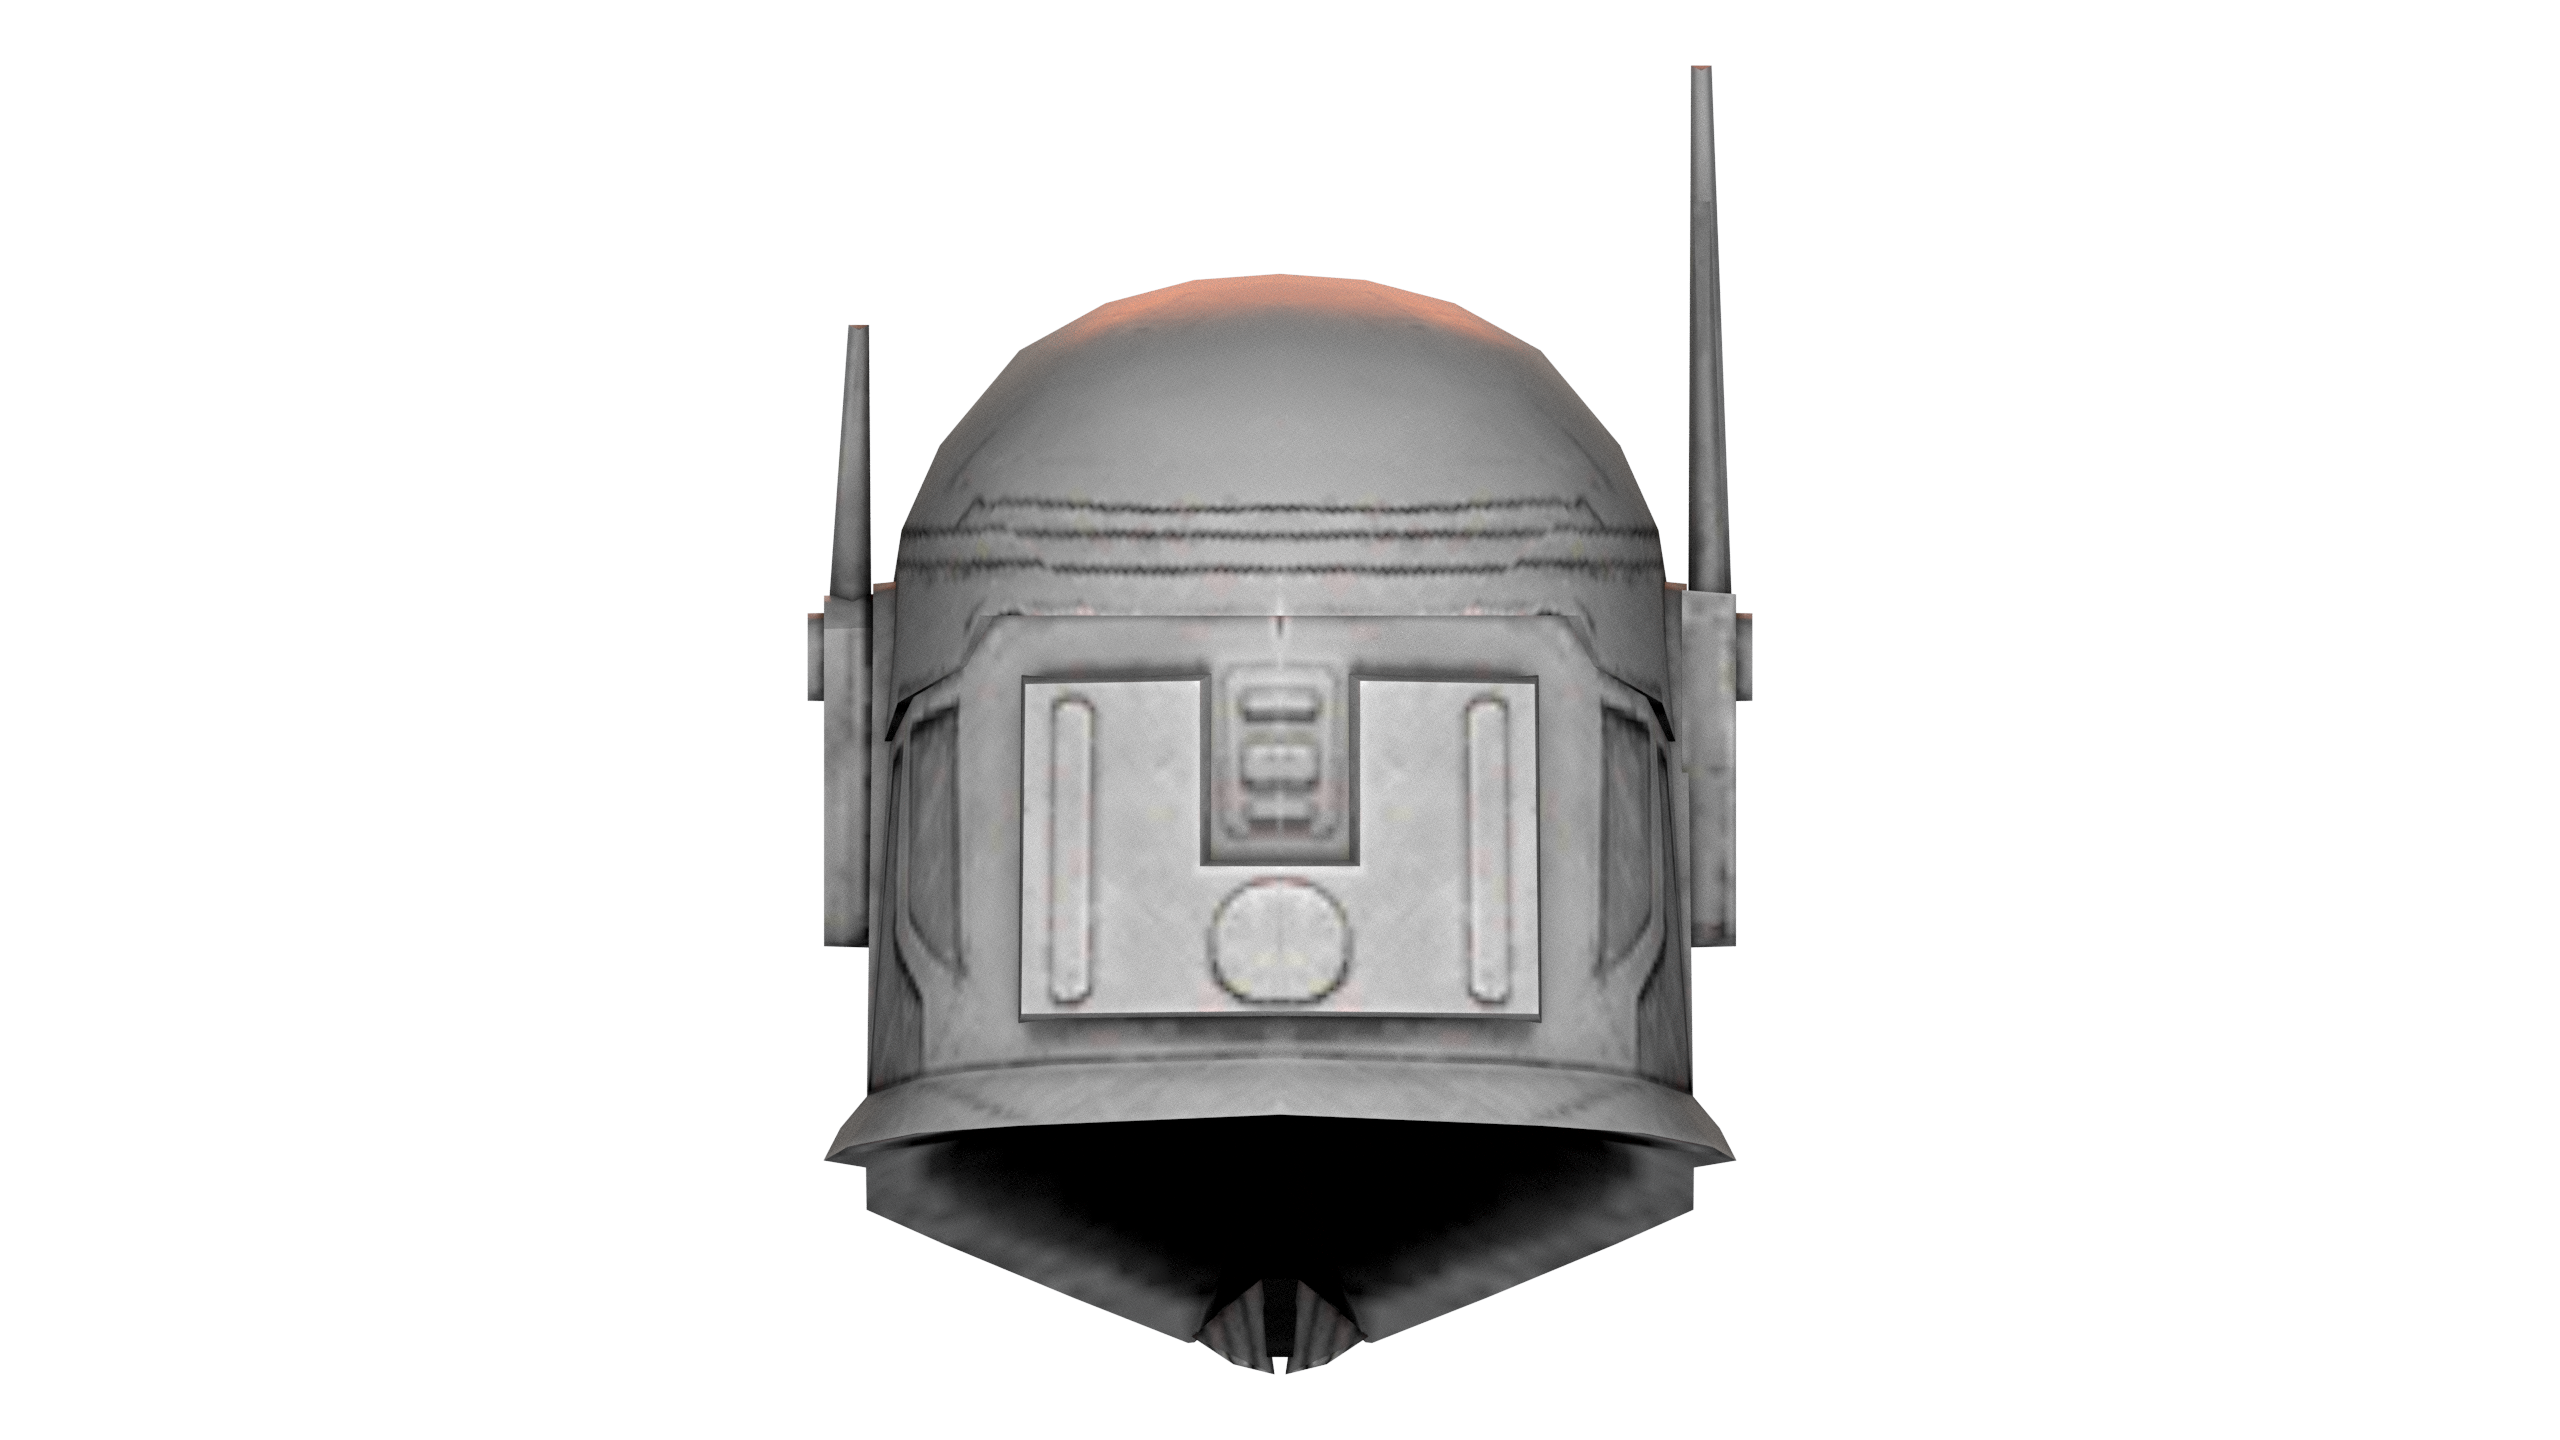
Force Arena Force Arena Helmet Views (non-Gar Saxon)

-
@MrShadow thanks for that! Do you by chance have a shot of the helmet from in the game? I kicked off the CRL discussion thread and have started with the flight suit while we try and source the helmet images.
-
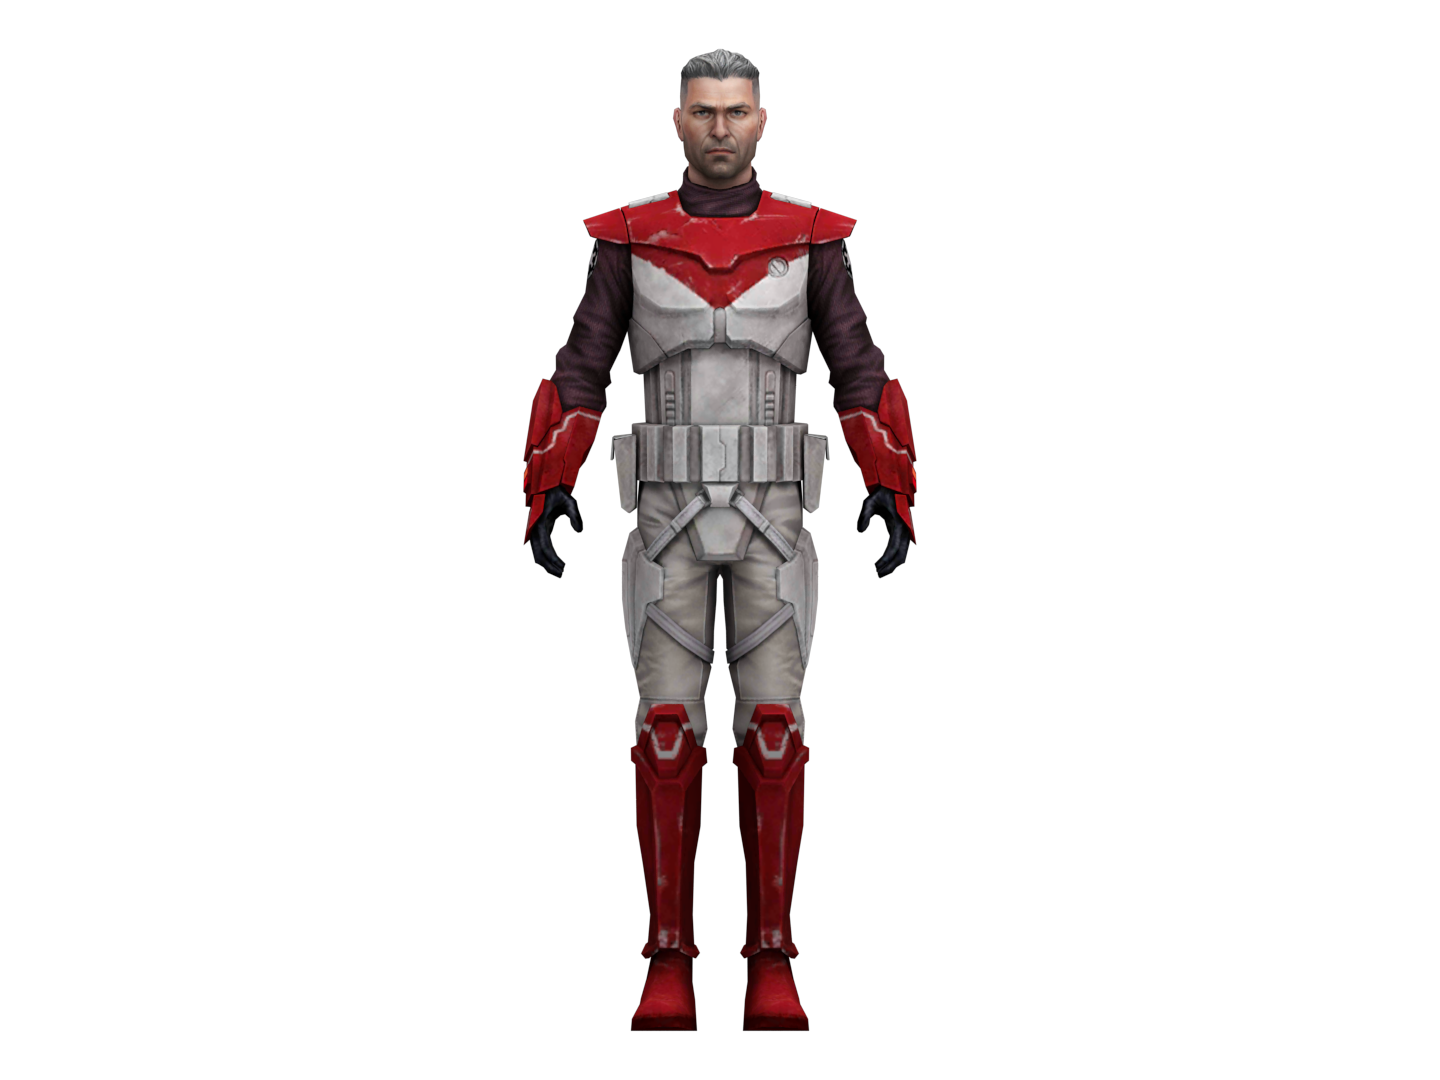
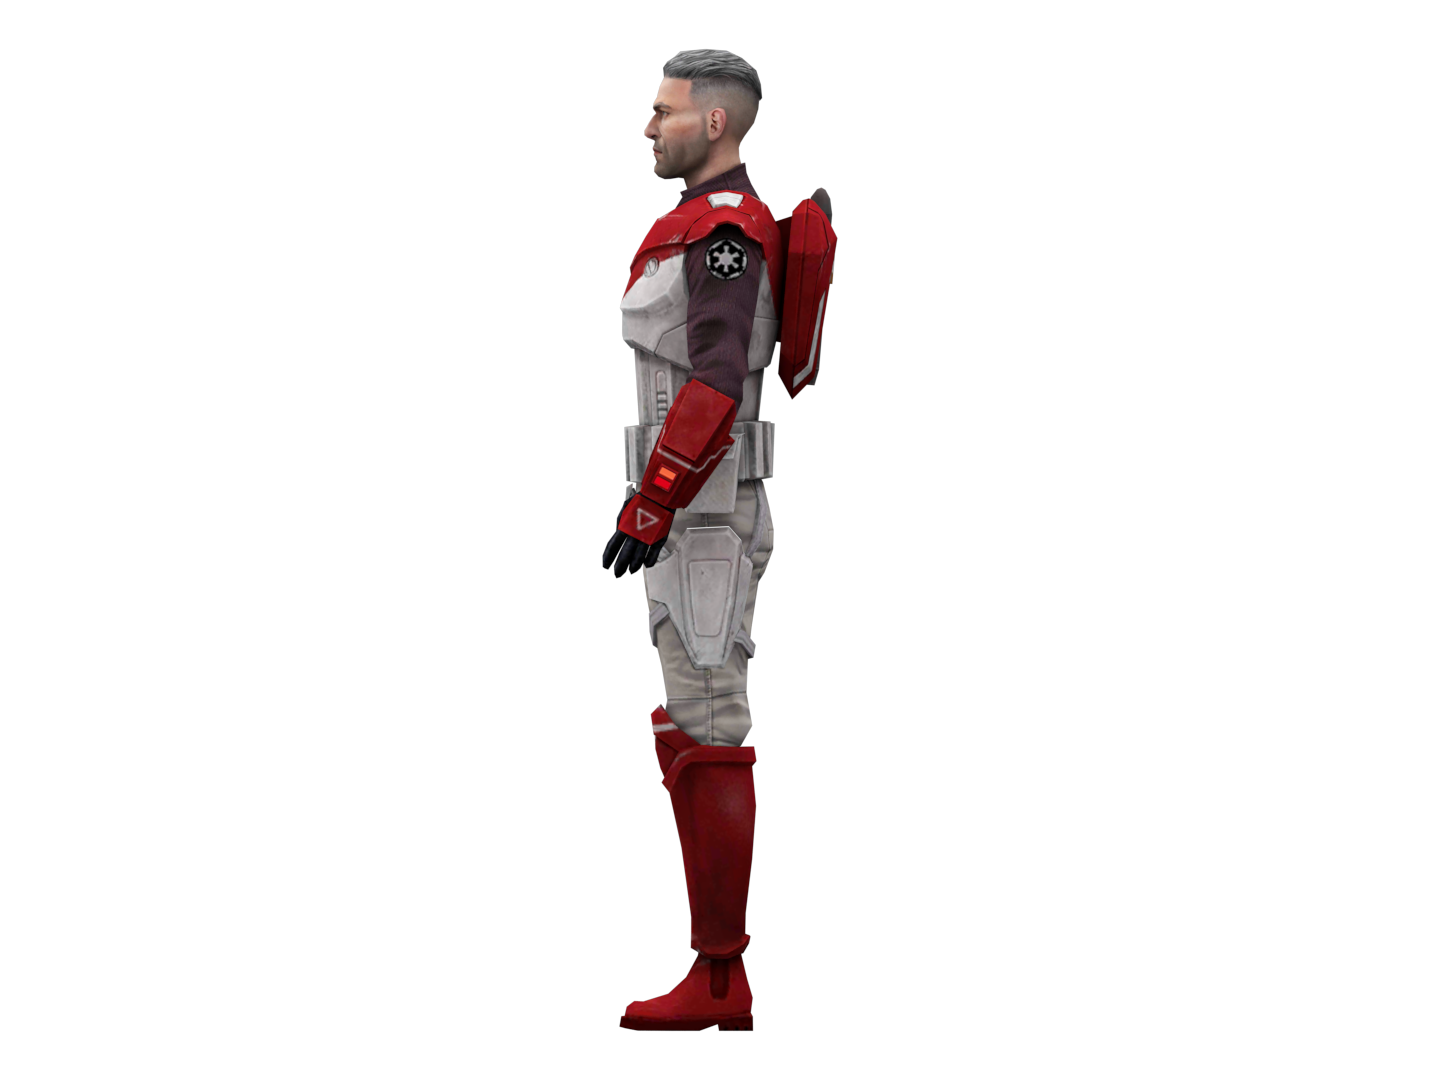
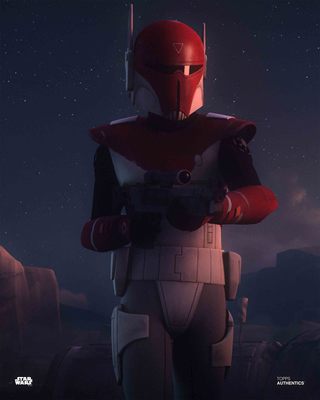
Alright! I will kick this off with the flight suit while I still try to source the helmet. There aren't many good images for the helmet from the Force Arena game itself. We'll make the face character part be optional and the helmet will be required. Flight Suit Must be a cotton or cotton blend, one or two-piece garment, and must be properly fitted and shaped to the wearer. Must not have any visible pockets, pouches or zippers. The upper body part of the flight suit is a maroon-colored. The neck area of the flight suit goes halfway up the neck of the wearer to conceal skin when the helmet is worn. On each shoulder of the flight suit there is a white Imperial Cog emblem on a black background. The cog is 3” or 3.5” diameter and 1” from the shoulder seam. The cog may be embroidered or vinyl. The lower body part of the flight suit is colored to match the white of the armor pieces. The lower body part of the flight suit has the following seams: On the outside of each leg there is a double-lapped seam which runs the entire length of the suit showing from the top of the shins up under the belt. On the front just above the top of the knee armor which wraps around to the back of the flight suit and appears on the back. On the back from the knee seam there is a seam that runs up the back of each thigh and then curves to the outside of the back under the belt. There is a horizontal seam that runs across the butt connecting both of these seams running up the back of each thigh. On the back there is central double-lapped seam which runs from under the belt to the crotch of the wearer. OPTIONAL Level Two certification (if applicable): The flight suit is not weathered.
-
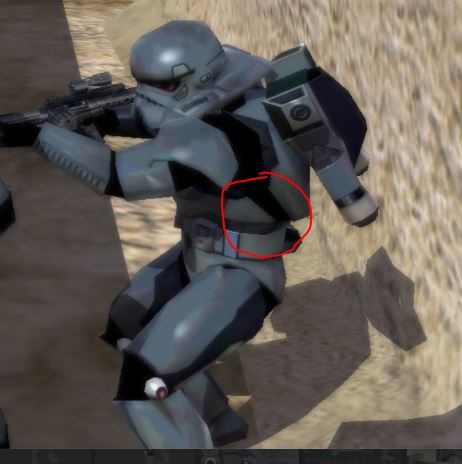
Here is the updated text in purple and underlined: Codpiece & Posterior Armor The codpiece may be a separate individual piece or part of the abdomen armor and has a raised detail/ridge at the bottom. Codpiece has a darker gray rectangle that starts at the flat part of the raised detail/ridge of the lower codpiece up to the top of the codpiece under the belt. Codpiece and posterior armor connects at the hips under the belt. Posterior armor has a raised ridge that starts on each the side towards the middle and goes up the posterior armor. There is a second ridge/shelf that starts in the middle of posterior armor before the belt.
-
The latter that you proposed is what we were looking for and sounds a lot better. Essentially, for movability we were going to allow the codpiece to be a separate individual piece provided the seam is covered by the belt.
-
I have updated the CRL text on the first page with the above! Now onto the Codpiece & Posterior armor! Codpiece & Posterior Armor Codpiece may be one-piece or a part of the abdomen armor and has a raised detail/ridge at the bottom. Codpiece has a darker gray rectangle that starts at the flat part of the raised detail/ridge of the lower codpiece up to the top of the codpiece under the belt. Codpiece and posterior armor connects at the hips under the belt. Posterior armor has a raised ridge that starts on each the side towards the middle and goes up the posterior armor. There is a second ridge/shelf that starts in the middle of posterior armor before the belt. Not sure if we have any other input for this.
-
Okay, that will require entirely different visual references from the ones that we have. Do you have screen grabs from that?
-
This would be strictly based on the Rebels version, that's what you model is, correct? When you begin the work on the build with the prints and what not your own WIP would be good.
-
Congrats on the approval!
-
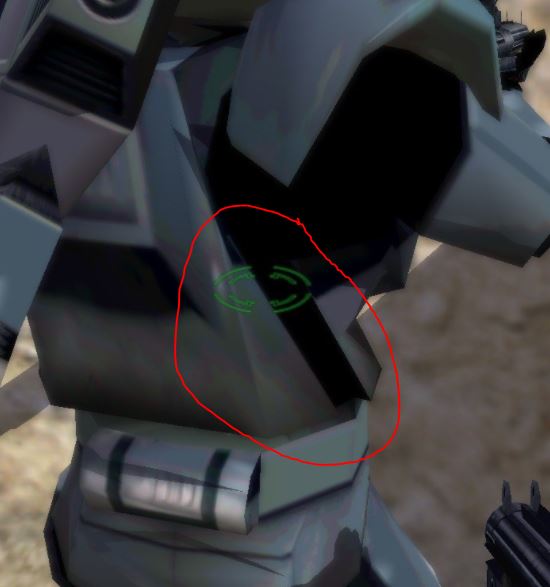
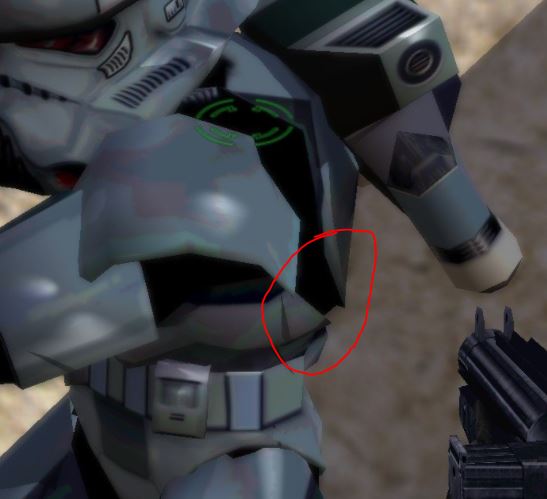
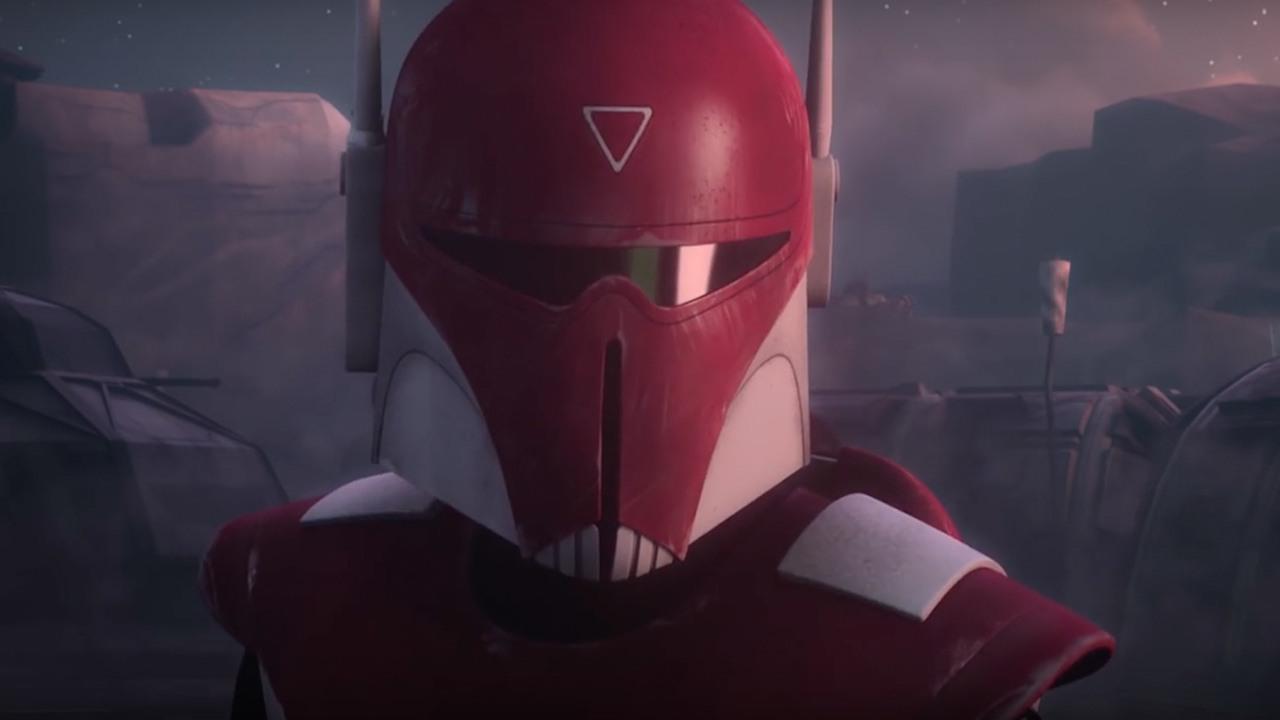
Since I screwed up with the location of that black part, it should be between the chest armor and back armor. Thus this will change the abdomen armor text as well. Here are all of the changes in purple and underlined: Chest Armor Chest armor overlaps abdominal armor. There will be a darker gray coloring that curves up from each outer ridge of the raised portion of each breast towards the neck and shoulder straps. On each side of the chest there will be a silver circular greeblie with a red center that fades to black around the edges. There are two pill-shaped black marks underneath and slight offset from the greeblie. The two pill-shaped marks may be painted or decals. Chest armor wraps around the wearers body and is sealed at the sides or the chest armor is not sealed at the sides and is connected with black fabric or nylon that blends into the under suit. OPTIONAL Level two certification (if applicable): Chest plate shall have return edges all around, thicker at the bottom. Circular greeblies on chest are more conical and have a metal appearance: Greeblies get narrower towards the top and wider at the bottom. Red LEDs within each greeblie give the appearance that it is glowing. The two pill-shaped black marks are actual indentions. Chest armor is not seamless at the sides with the back armor and is connected with black fabric or nylon that blends into the under suit. Back Armor Back plate contains an “O II” design with little or no overlap of the kidney plate. There is a fading black to a darker gray coloring that goes from a 45 degree angle from the shoulder straps down towards the corner of the top of the “O II” box, then down at close to a 90 degree angle about two-thirds of the way down before cutting at another 90 degree angle out towards the sides and then again down at a 45 degree angle to the edge of the back plate under the arms. Back armor wraps around the wearers body and is sealed at the sides or the back armor is not sealed at the sides and is connected with black fabric or nylon that blends into the under suit. OPTIONAL Level two certification (if applicable): Back armor is not seamless at the sides with the chest armor and is connected with black fabric or nylon that blends into the under suit. Abdomen Armor Realistic style Clone Abdomen armor. Six 1/4” (6.35mm) in diameter holes per side on indents of ab plate. Twelve holes total. Abdomen armor has the appearance of no gap between the abdomen armor and posterior armor. Abdomen armor is completely contained under the chest and back armor. I will update the main part of the finalized CRL text as well in the first page of thread with these changes if there are no objections.
-
I did notice that I need this to be for the chest plate and back plate, not the abdomen armor/posterior armor. I'm going to take that out of the above text and make reference to another section. Just based on the photos alone it does appear that it is black, so I'd say that is something worth noting for L1 (either/or) and required for L2:
-
That can work. It appears that this version is Gar Saxon, so I can update the threads that I started for that.
-
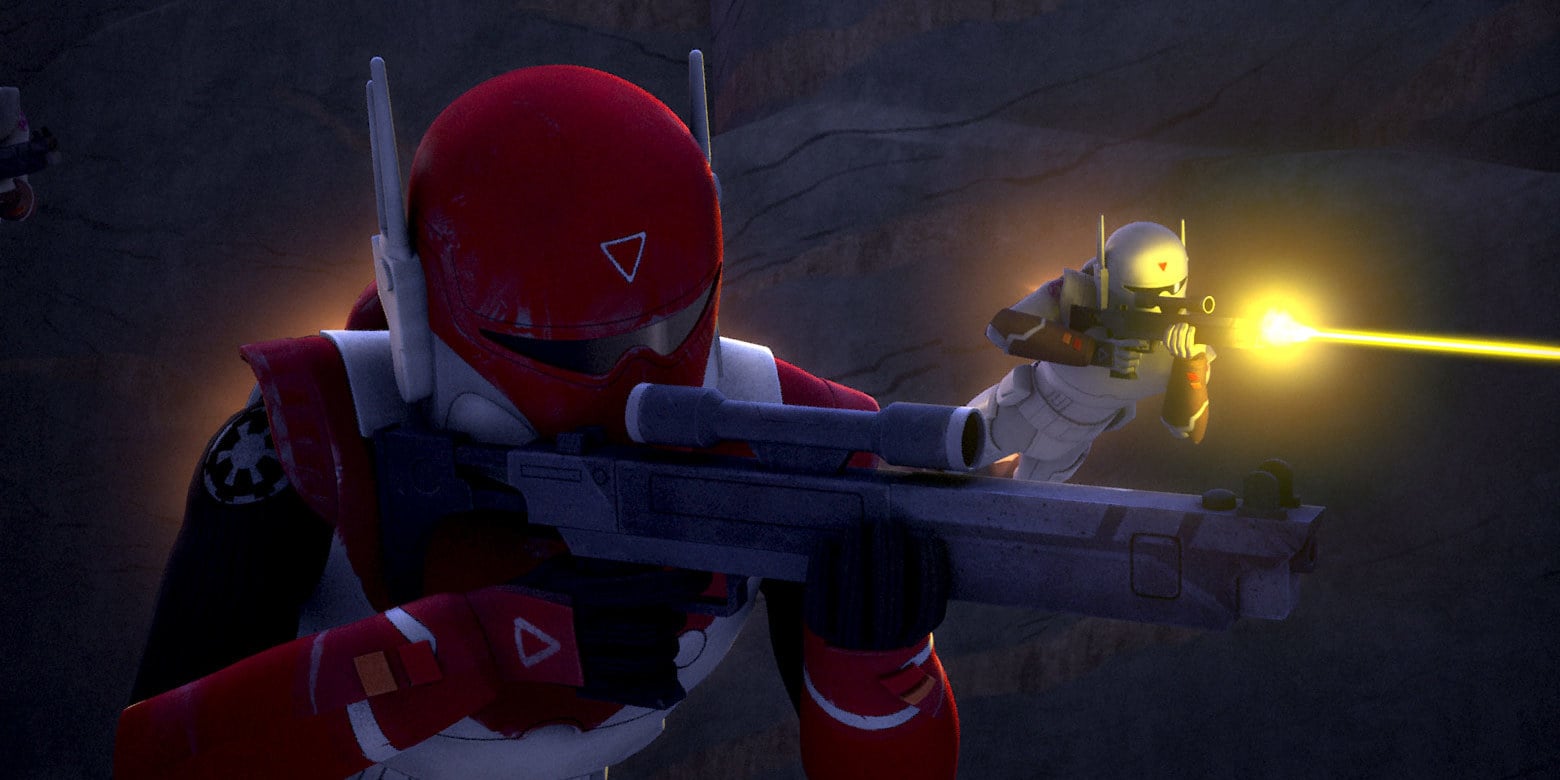
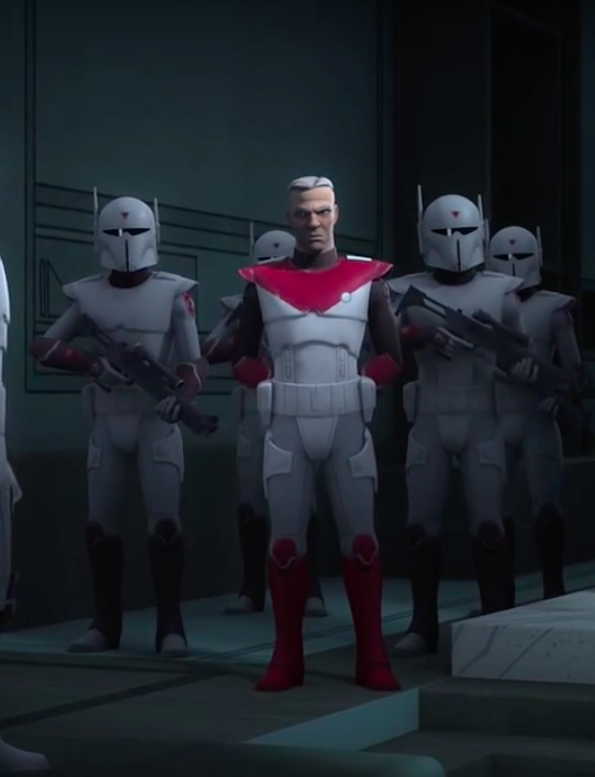
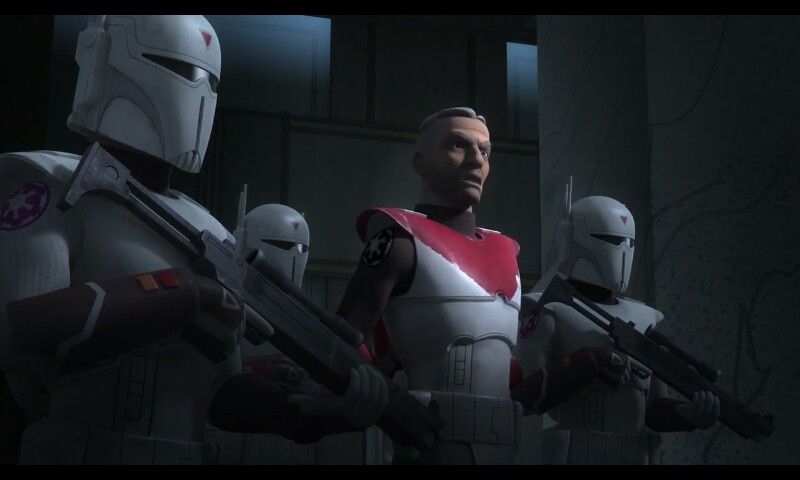
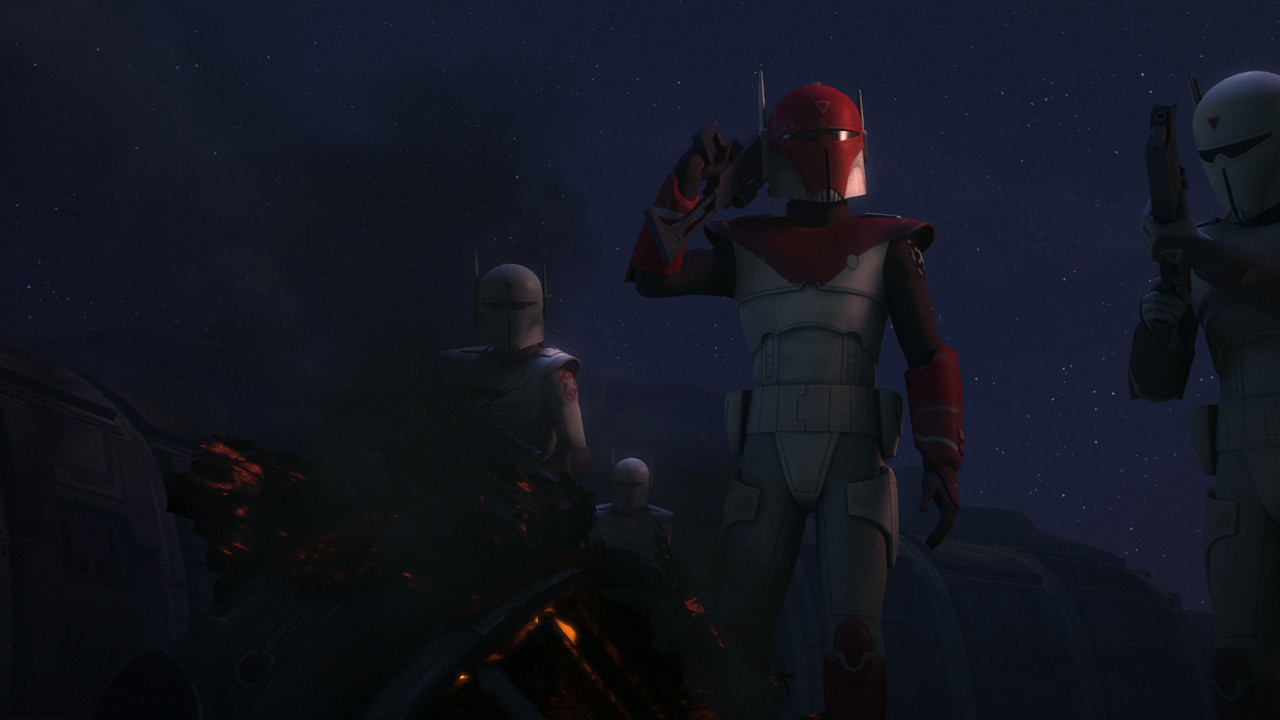
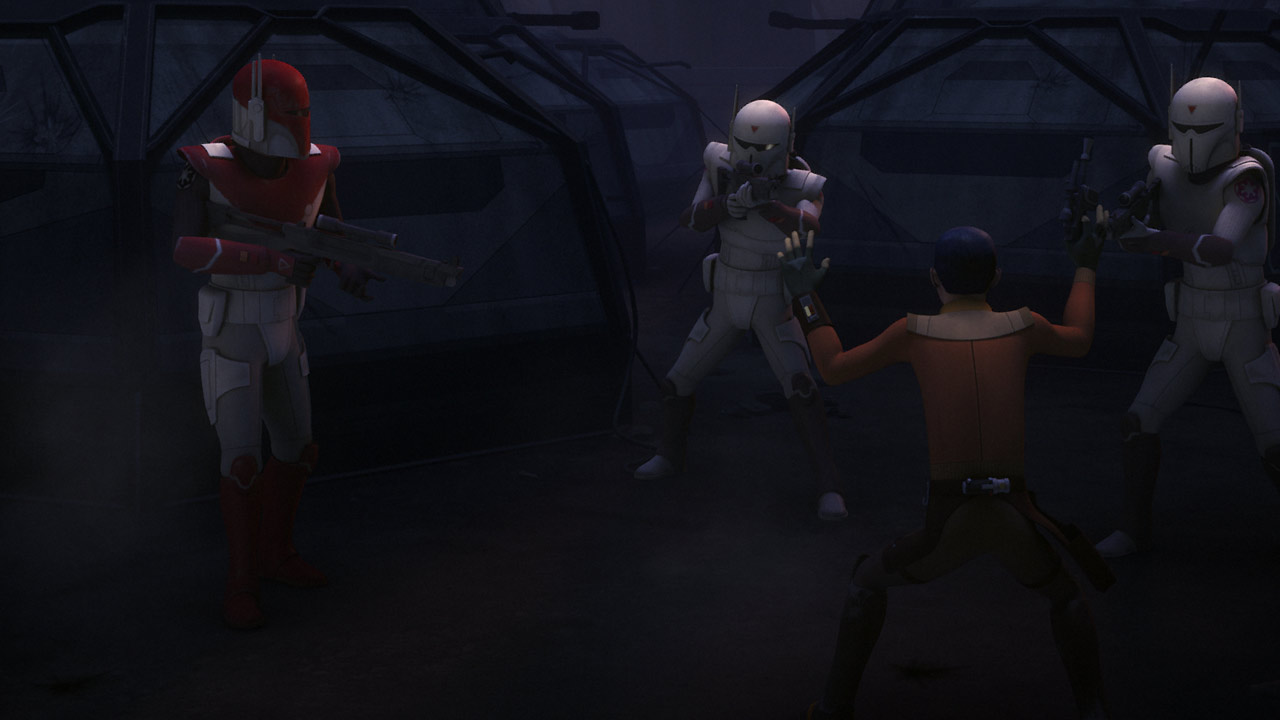
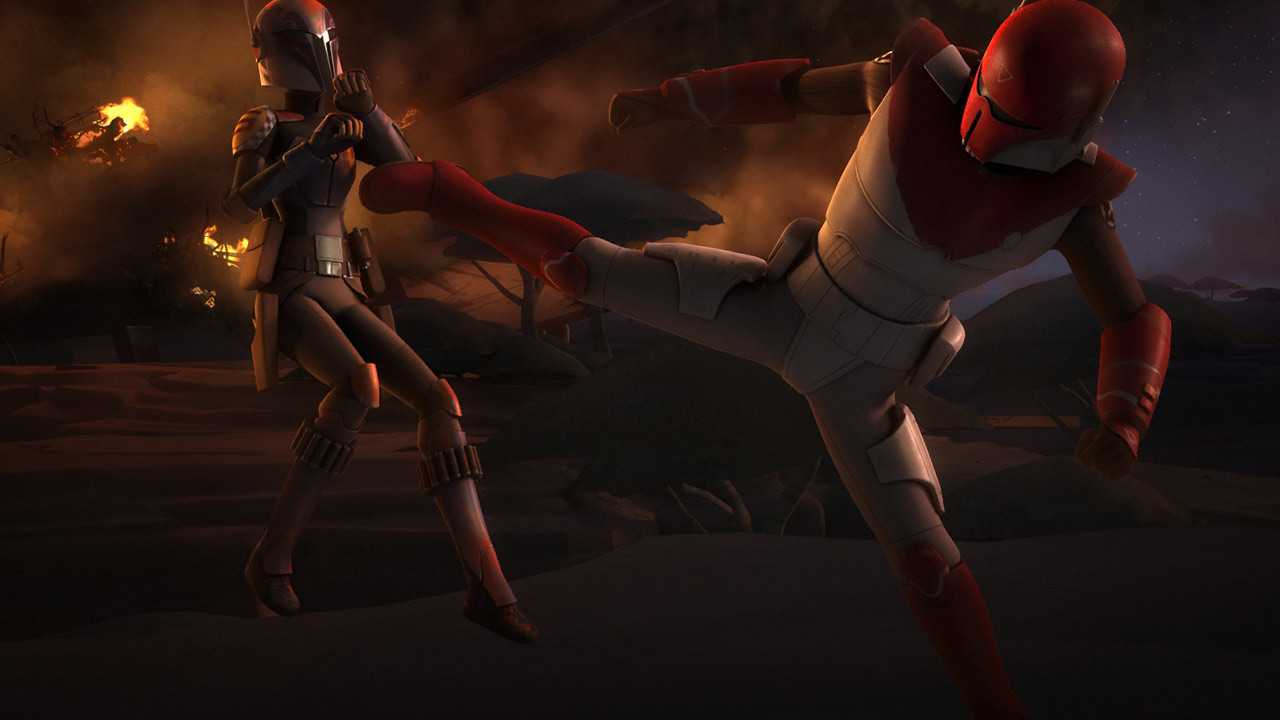
I'll speak with the team on this but from the looks of it I do believe this costume could have two versions within one CRL. The Gar Saxon version (red) and the Grunt version (white). I have set up a pinned reference photo thread and a pinned CRL discussion thread.
-
Star Wars Rebels
-
This will be the main listing and we'll tackle each part piece by piece (green is done, yellow is WIP, and red is not finalized): Helmet Flight Suit Chest Armor Back Armor Jet Pack Abdomen Armor Gauntlets Hand Armor Ammo Belt Codpiece Thigh Armor Knee Armor Boots [Unnamed] Rifle [Unnamed] Pistol --------------------------------------------------------------- Description: Imperial Super Commando - Gar Saxon Prefix: TX Detachment: Spec Ops Detachment Context: Star Wars Force Arena Mandalorian warriors loyal to the Empire, Imperial Super Commandos were deadly and efficient enforcers. Led by Gar Saxon, the Imperial Super Commandos’ armor was a distinctive and streamlined white, and their masterful combat abilities were eclipsed only by their ruthlessness. Under orders of the Empire, they destroyed the Protectors of Concord Dawn with no mercy, and sought to do the same to their missing leader Fenn Rau and any rebel opposition. [this is from the LFL Star Wars Databank, we'll have to change this]
-
Nice job on the Engi!!
-
@MrShadow I spoke with @RAIDER and will assist and take point on the CRL text working with the references. When you get a chance to get the build moving make sure to create a separate WIP thread so that this reference thread remains separate from that. I will create a separate pictures only thread for the references on this one as well as a CRL draft thread, when I get a chance. Great job so far on the model!!
-
Here is the text for the abdomen armor: Abdomen Armor Realistic style Clone Abdomen armor. Six 1/4” (6.35mm) in diameter holes per side on indents of ab plate. Twelve holes total. Abdomen section wraps around the wearers body and is sealed at the sides or back or is not sealed at the sides and is connected with black fabric or nylon that blends into the under suit. Abdomen armor is completely contained under the chest and back armor. OPTIONAL Level two certification (if applicable): Armor is not seamless at the sides and is connected with black fabric or nylon that blends into the under suit. I know that in the reference/in-game images on the sides it does not connect with the back armor.