-
Posts
3,324 -
Joined
-
Last visited
-
Days Won
401
Content Type
Profiles
Forums
Events
Everything posted by RAIDER
-
Noob I am (in Yoda voice). ABS cement is purchased or made? If made, how do I make it? Thx guys!
-
Thanks gents!!! Simple build really. Scope is 4 pieces. Stock to body was pre-assembled. Top barrel was one pre-assembled piece that just slides into body. Main barrel is made of 3 joints...both end joints were pre-assembled w/ inner barrel...center barrel was inner and outer piece. All in all took maybe an hour to put together waiting for CA and putty to dry. Minor sanding. I'll put up the final painted version when it's done (hopefully today). If I don't like it, I have a former student who offered to give it a car body paint job.
-
Hey all...need suggestions on repairing a pretty bad crack in my belt. No pics because Ive tied to fix it and need it to survive some troops this weekend. Ive tried bondo, putty, e6000, CA. Let all sit enough as well. Nothing keeps the crack sealed. Crack sits at top of the belt at the seam of the buckle box and runs down the seam to just under the buckle. Help!!! Lol
-
New toy I started putting together. DLT-20a (Pulse Cannon) from Star Wars Battlefront. 3D Printed PLA by Christopher Zuk (Belgium).
-
To my understanding (based on a starwars.com article and wikipedia lol) is that all PRE-Disney EU is now called SW Legends. The only pre Disney canon material are films and Clobe Wars. However... Everything POST-Disney regardless of source is considered canon on equal status w films...including novels and comics. Apparently it all has (or is supposed to have) continuity as it all filters thru the Disney Star Wars team. Anywho...thats mostly from Wikipedia so who knows how accurate that is. Sidenote...did u see the new elite stormtroopers concepts appearing in Star Wars #21? I think I found a use for my Anovos kit.
-
Chef...ur da best!!! Sent you a pm btw. Thanks guys for the input!
-
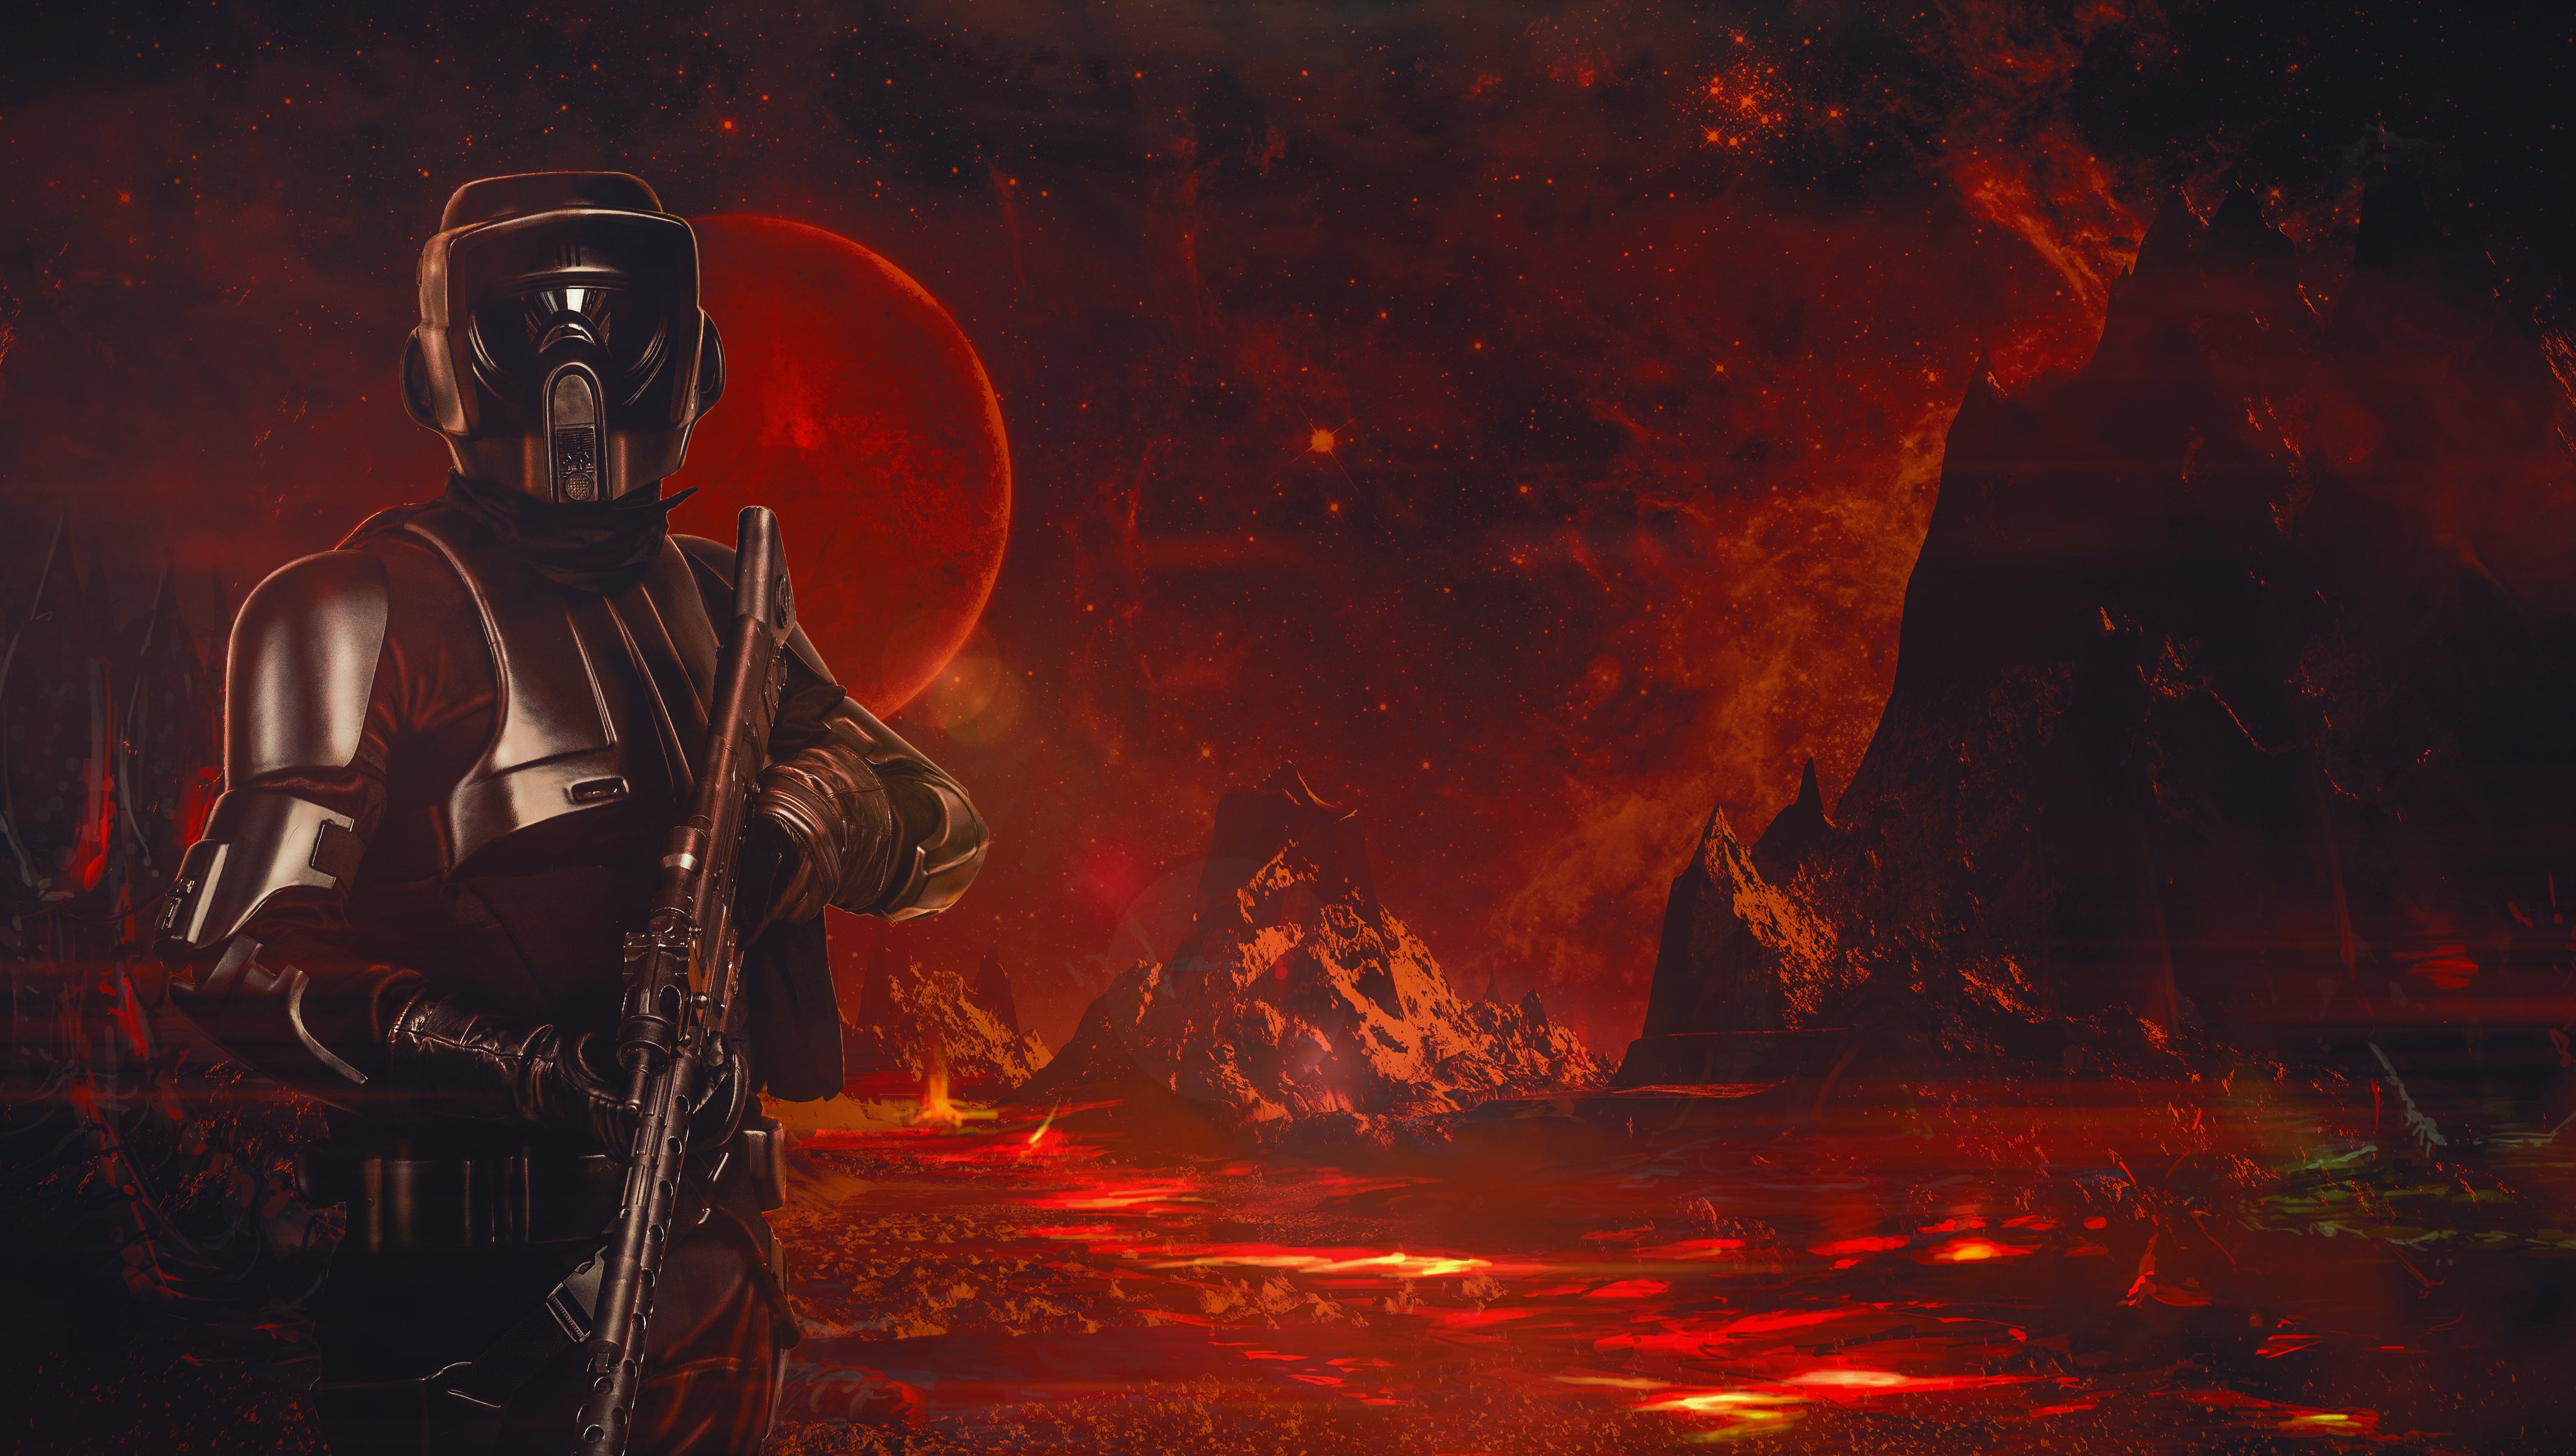
Shadows on Battlefront...that counts for something no? They even made a novel on the game (Disney era). I like these though...heard them termed Death Squad Troopers...not sure if that's official yet or not though. I may dump my Anovos TK and save up to do one of these.
-
Do you use the dryer or just line dry? I'm thinking line dry...less chance of color fade...cold water right? And the suede has no problem in a normal wash? That seemed to be the drycleaners major issue...the suede shrinking or getting destroyed. They wouldn't take it because of that. You also run the vest and bund through the wash?
-
Hey all...so after several troops here in sunny Florida where sweat abounds, I would like to figure out how I'm supposed to launder these softgoods to avoid man-stench. Any ideas? Took the flight suit to the top laundromat in my city and they said they couldn't do it because of the suede flap and patches. How about the vest and cummberbund? Tips appreciated. THANKS!!!
-
Same...just rigged the Aker/iComm. I also picked up the wireless mic system through the same shop/seller as well. Love it!
-
Approved Clay? I saw ur pics on the Florida GMLs photobucket so knew u were in the pipeline. Any word?
-
Except that's the bottom RIGHT corner lol. After reading the comic...the scouts DO NOT appear in the issue (neither do Snowtrooopers or TIE Pilots). They are just on the cover. BUT.... This is the main cover...not a variant. Could this actually qualify it for canon or would they have had to appeared in the story? Who decides that...Disney? I NEED AN OFFICIAL STATEMENT!!!!!
-
So...I just received my latest issue of the Darth Vader comics under Marvel (canon right?)...check out the bottom left of the cover (the Snowtrooper is lit by the AT-AT blaster fire...but that scout is clearly black as night)... I haven't read the issue yet to see if they actually appear in storyline or not, but what would this mean for Shadow Scouts status in the Disney-owned Star Wars universe? P.S. Photo won't be on my photobucket long. Don't want to leave it up or cause any issues...just a quick peek.
-
It's working and I posted almost everything (just need to add the boot/holster pics once the glue resets).
-
wut wut! thx!
-
yea it's blacked out and says I cannot start a new topic (do i need permissions granted to post in that forum?).
-
Triple Zero is an awesome character too...love him in the comics. Just need to hook you up w/ BT-1 (spring loaded dome armament and all lol) for mass destruction.
-
Ready to do the Specialist approval process I think. Went to the forum though and it won't let me start a new topic. Any help on that? Thanks!!!
-
GOOD LUCK! And you're in Florida!
-
I'm already done and approved so yea lol. Unless I need to be a Specialist for that...I still haven't put up pics for that (trying to start that today). Let me know! I'm crazy proud to finally be apart of this
-
Sooooo....it's technically soft lol. I'm trying to see if there's a way to snag a SpecOps patch/stickers (*makes it rain dollar bills*). Holler atcher boyeeee w/ a PM if u can point me in the right path! THANKS!
-
Hey Amber! We met at the AP in Tampa! Just saying hey and good luck! These guys rock and can guide you. Ask away!!!
-
Back to work??? I have an Anovos TK kit sitting in the corner...but the thought of trimming and sanding makes me want to curl into a whimpering ball in the corner. Got the Specialist recs...I will start a thread there this week and take more pics of the "blue" requirements and post. Thx again! P.S. Are there SpecOps badges (main logo) or anything like that to b had?
-
APPROVED!!! TX-99924 reporting for duty! GRACIAS PEEPS!!!
-
Ah yes...I wasn't sure which way those biceps went. Thanks! How do you do Specialist submission? I already submitted to the Florida GML for approval today...let him know about Specialist, but he said that wasn't on him. Do I need to submit to someone else?


