IcyTrooper
-
Posts
4,109 -
Joined
-
Last visited
-
Days Won
378
Content Type
Profiles
Forums
Events
Everything posted by IcyTrooper
-

tat2trooper anovos shadow trooper build
IcyTrooper replied to Tat2trooper's topic in Shadow Stormtrooper
Just make sure there are no traces of acetone in anything as that'll melt the ABS, especially as thin as the Anovos armor is. I'd test whatever mineral spirits you are going to use on a scrap and see how it reacts over about an hour period. Mineral spirits should be safe. I personally use Turtle Wax black vehicle stuff for cleaning/shine and haven't had issues. -
What David said is correct. We make reference to ANH TK in the CRL itself, and the R1 TK has the details that David mentioned plus more (e.g., trauma plate on back, back/chest attach at sides, etc.)
-
tat2trooper anovos shadow trooper build
IcyTrooper replied to Tat2trooper's topic in Shadow Stormtrooper
Yep, I found out that I had to take more of that bicep down with the Anovos kit (all 3 of em). -
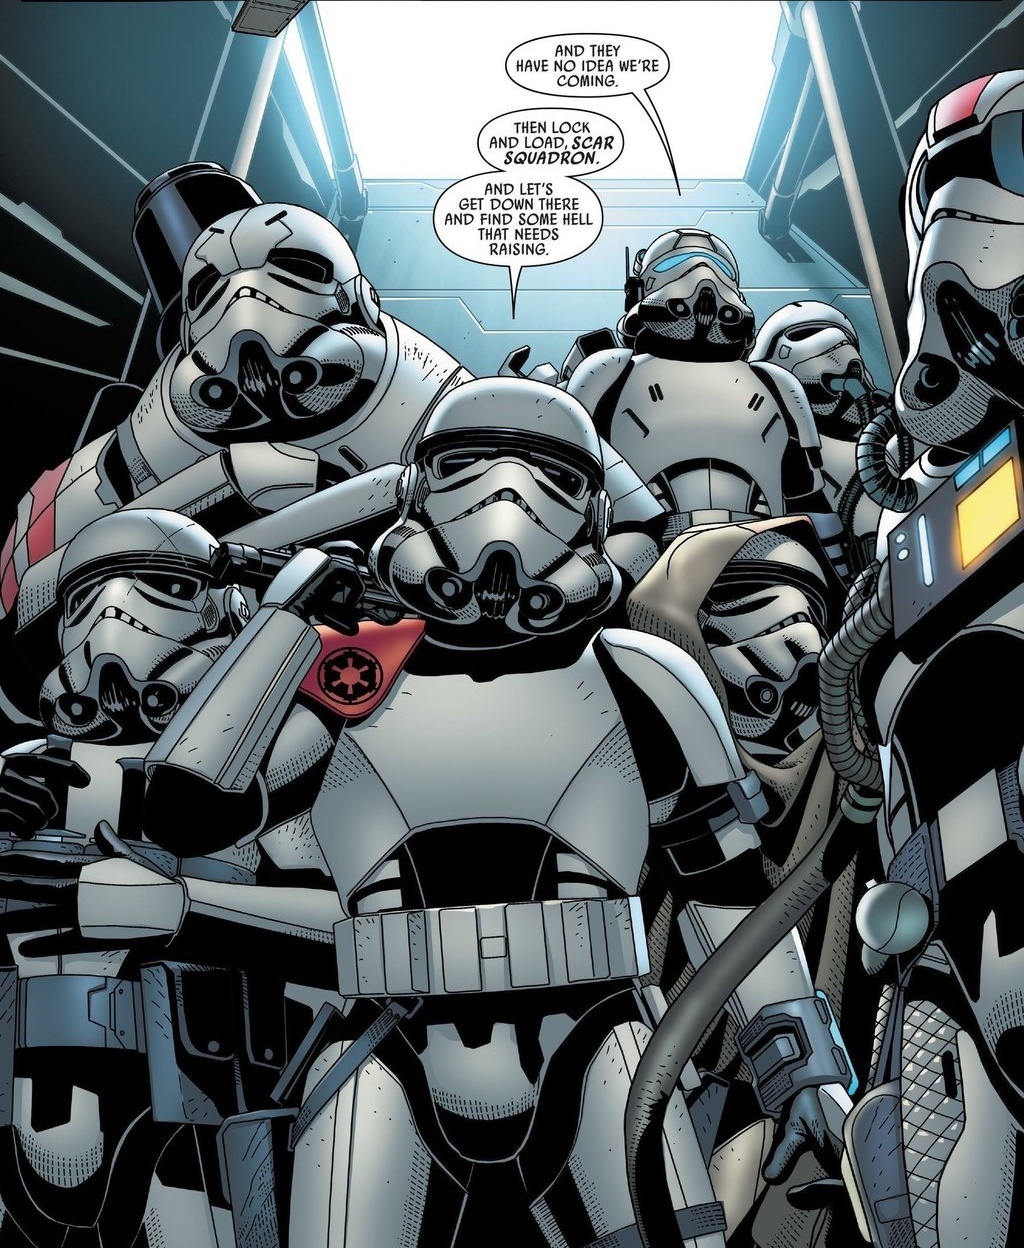
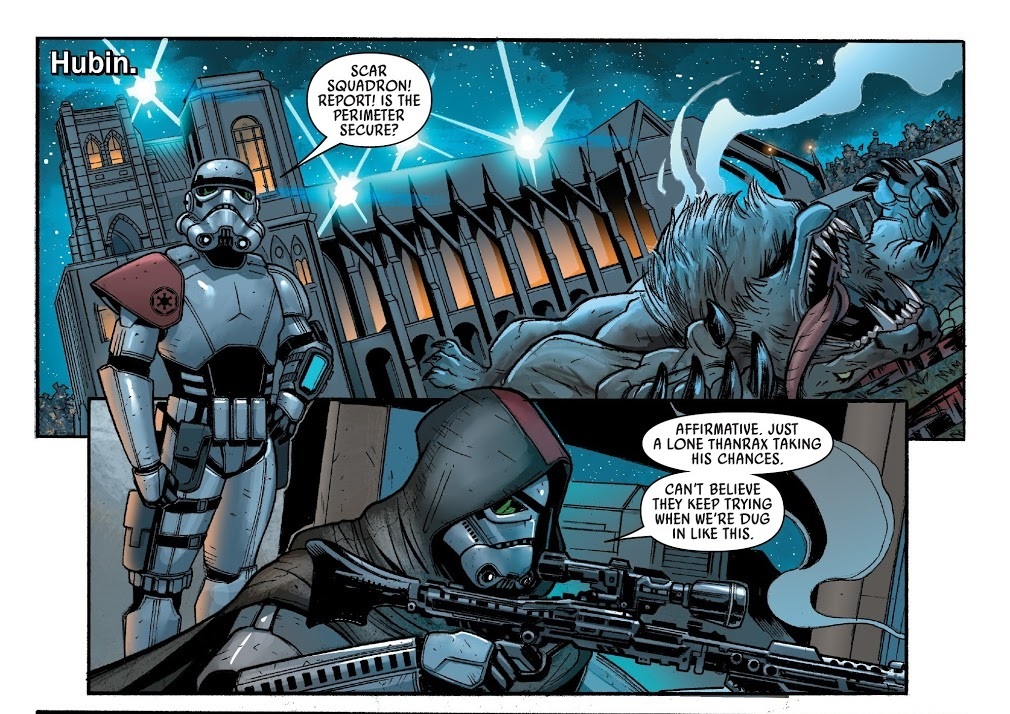
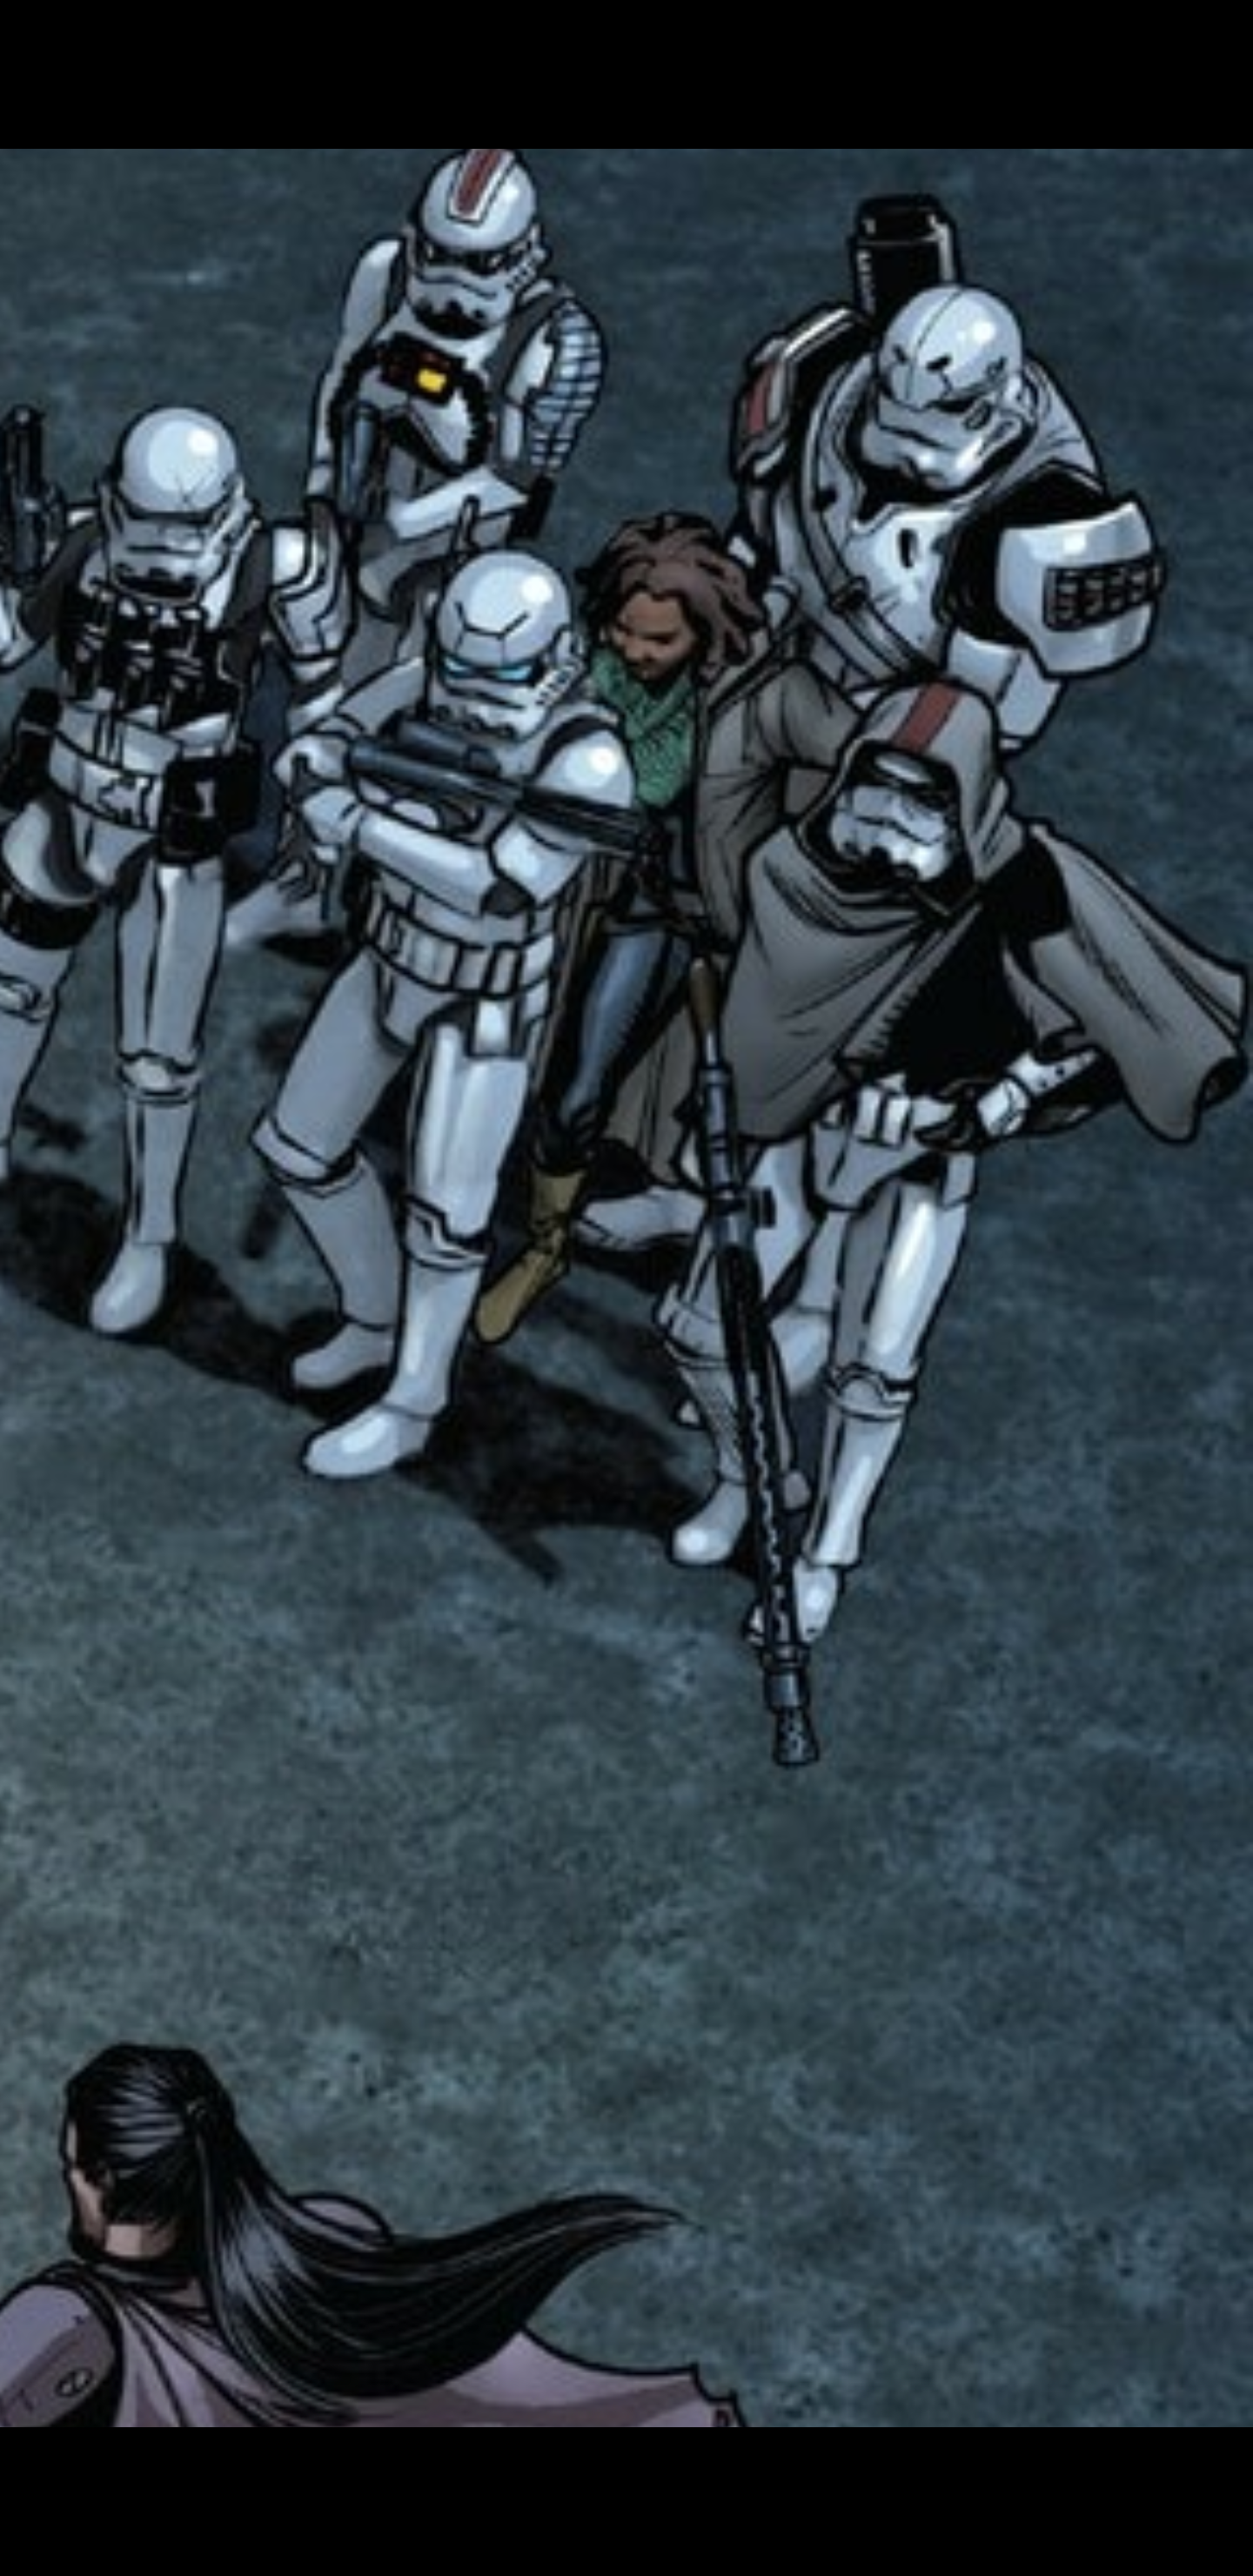
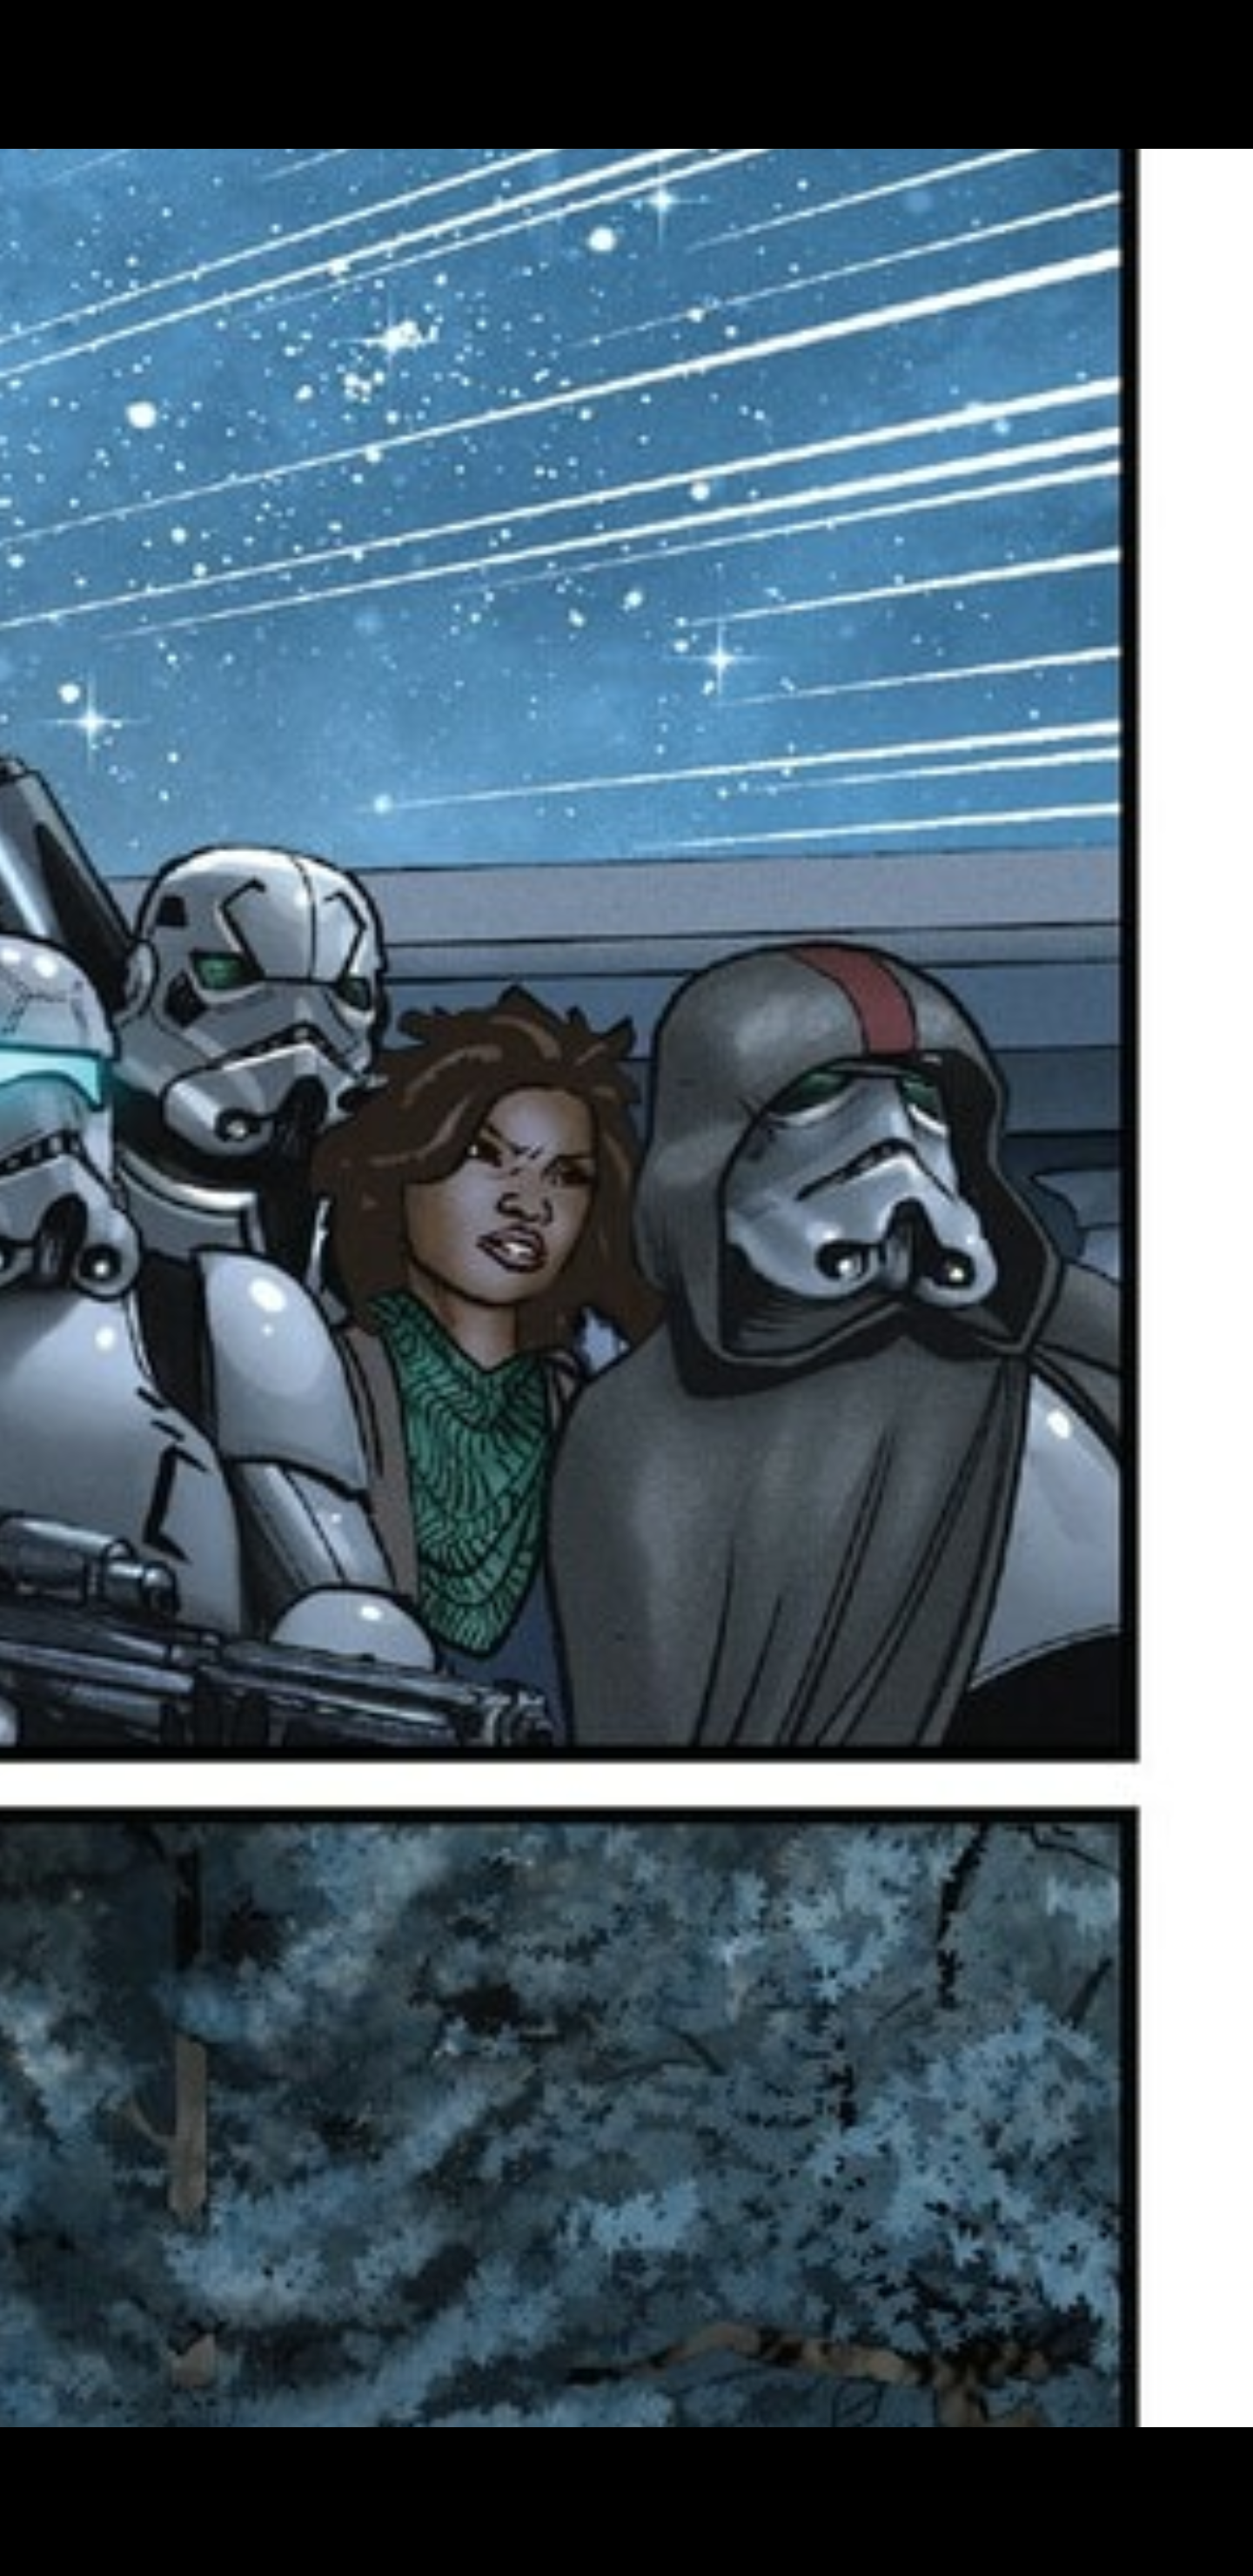
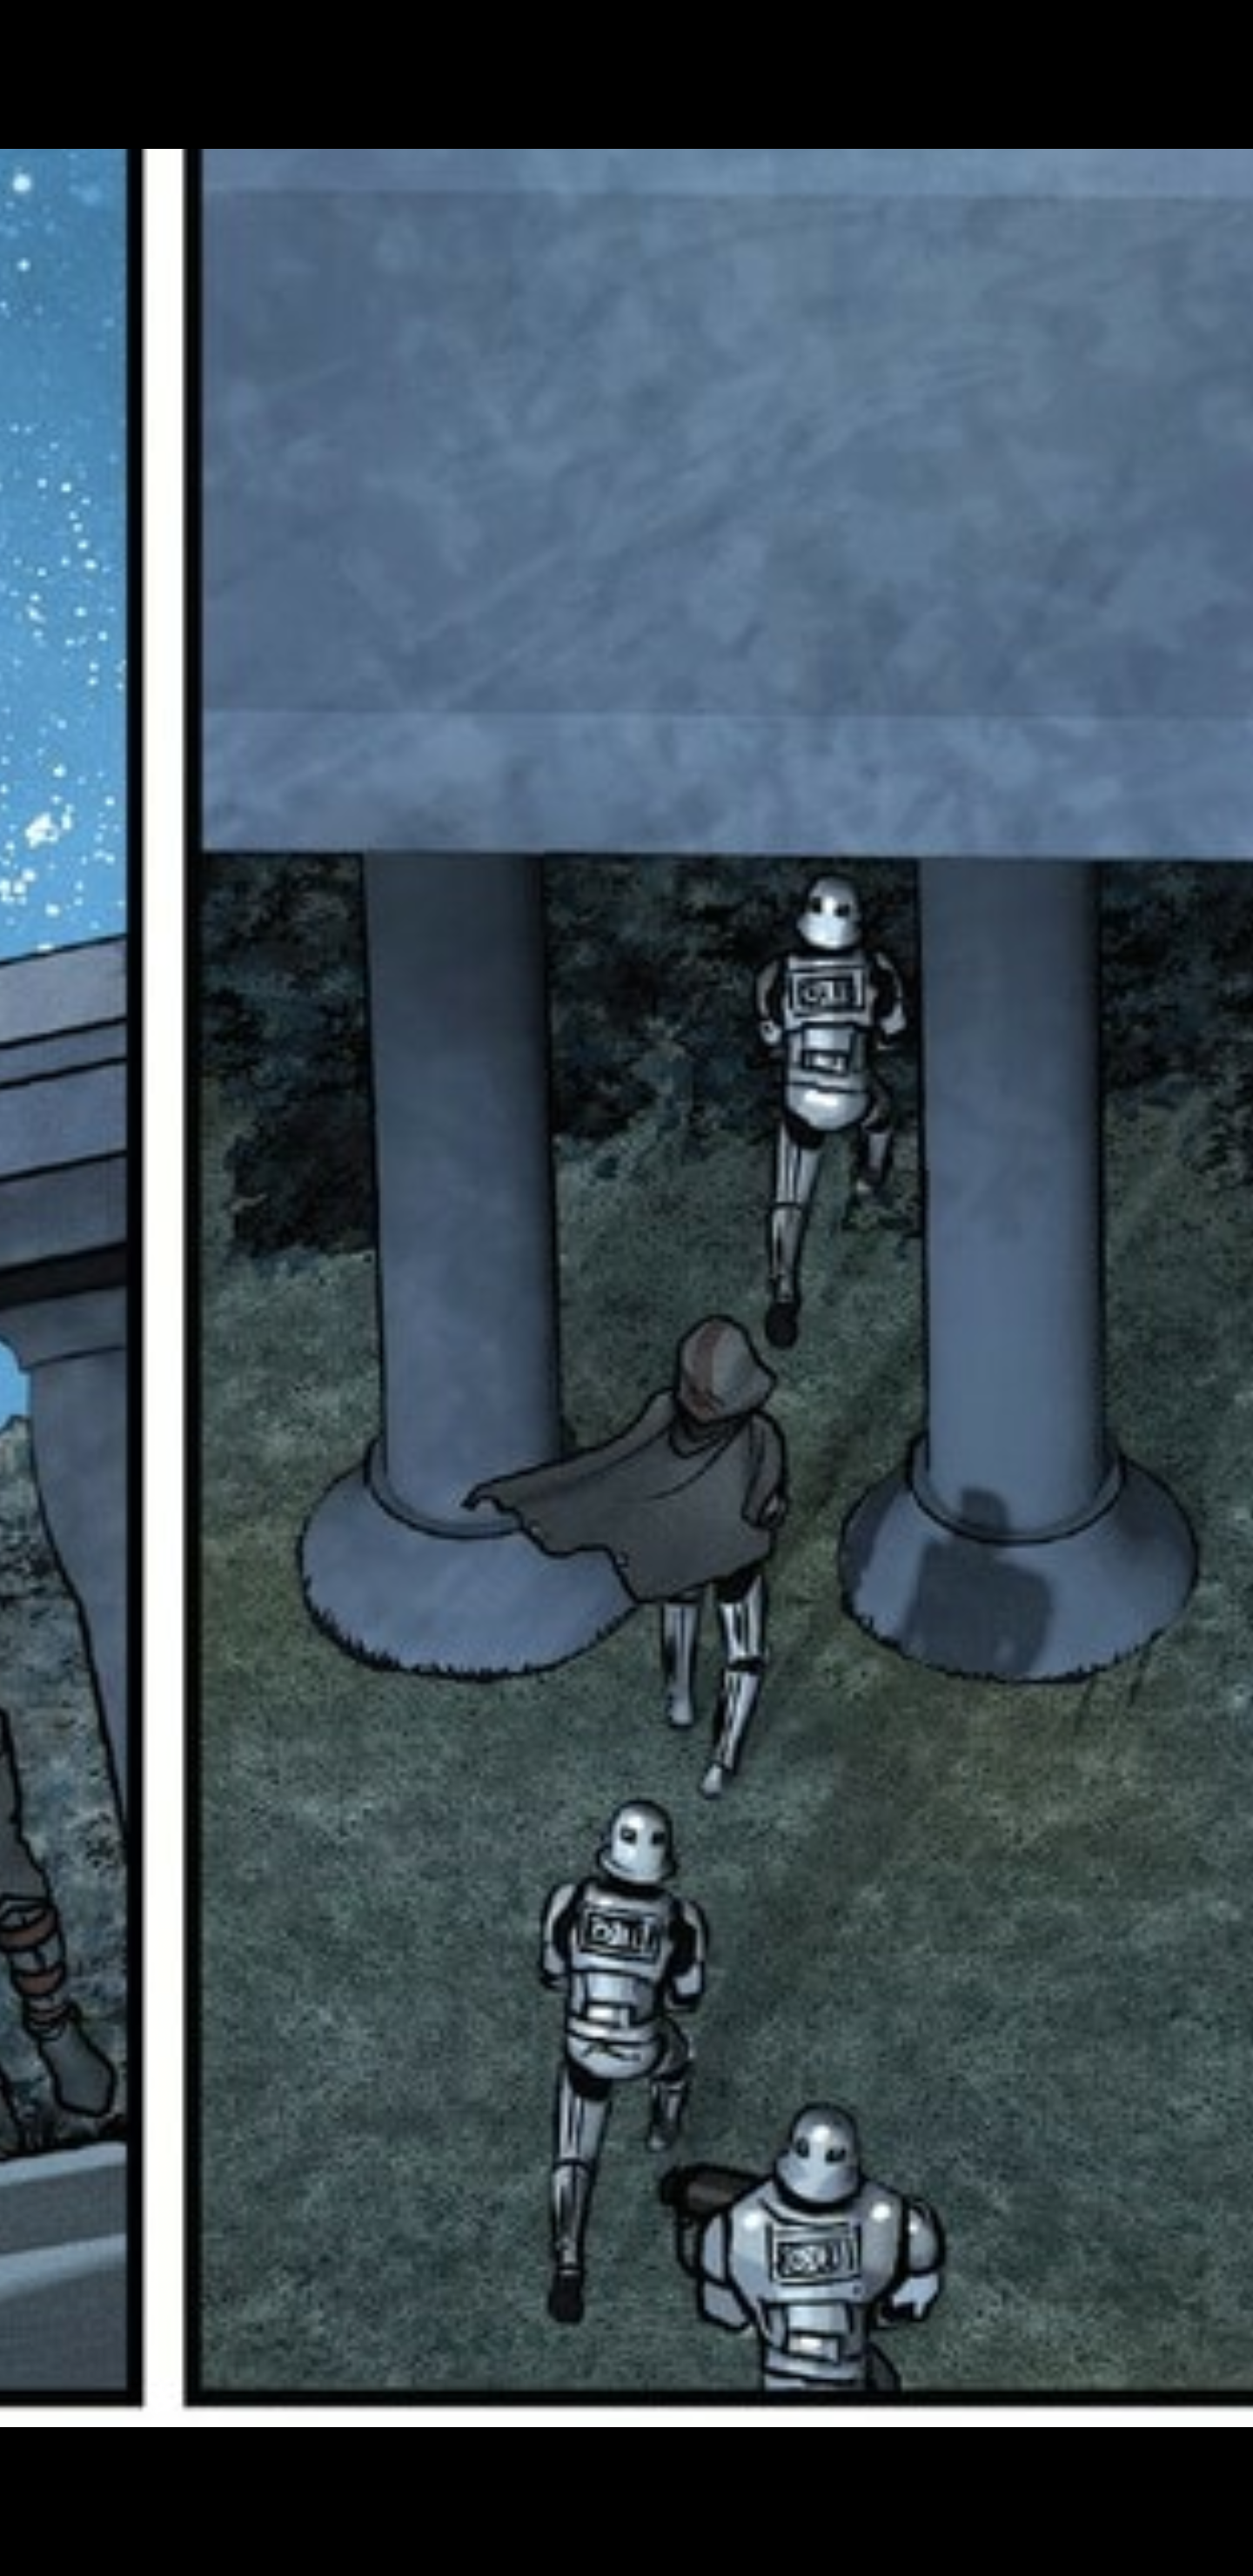
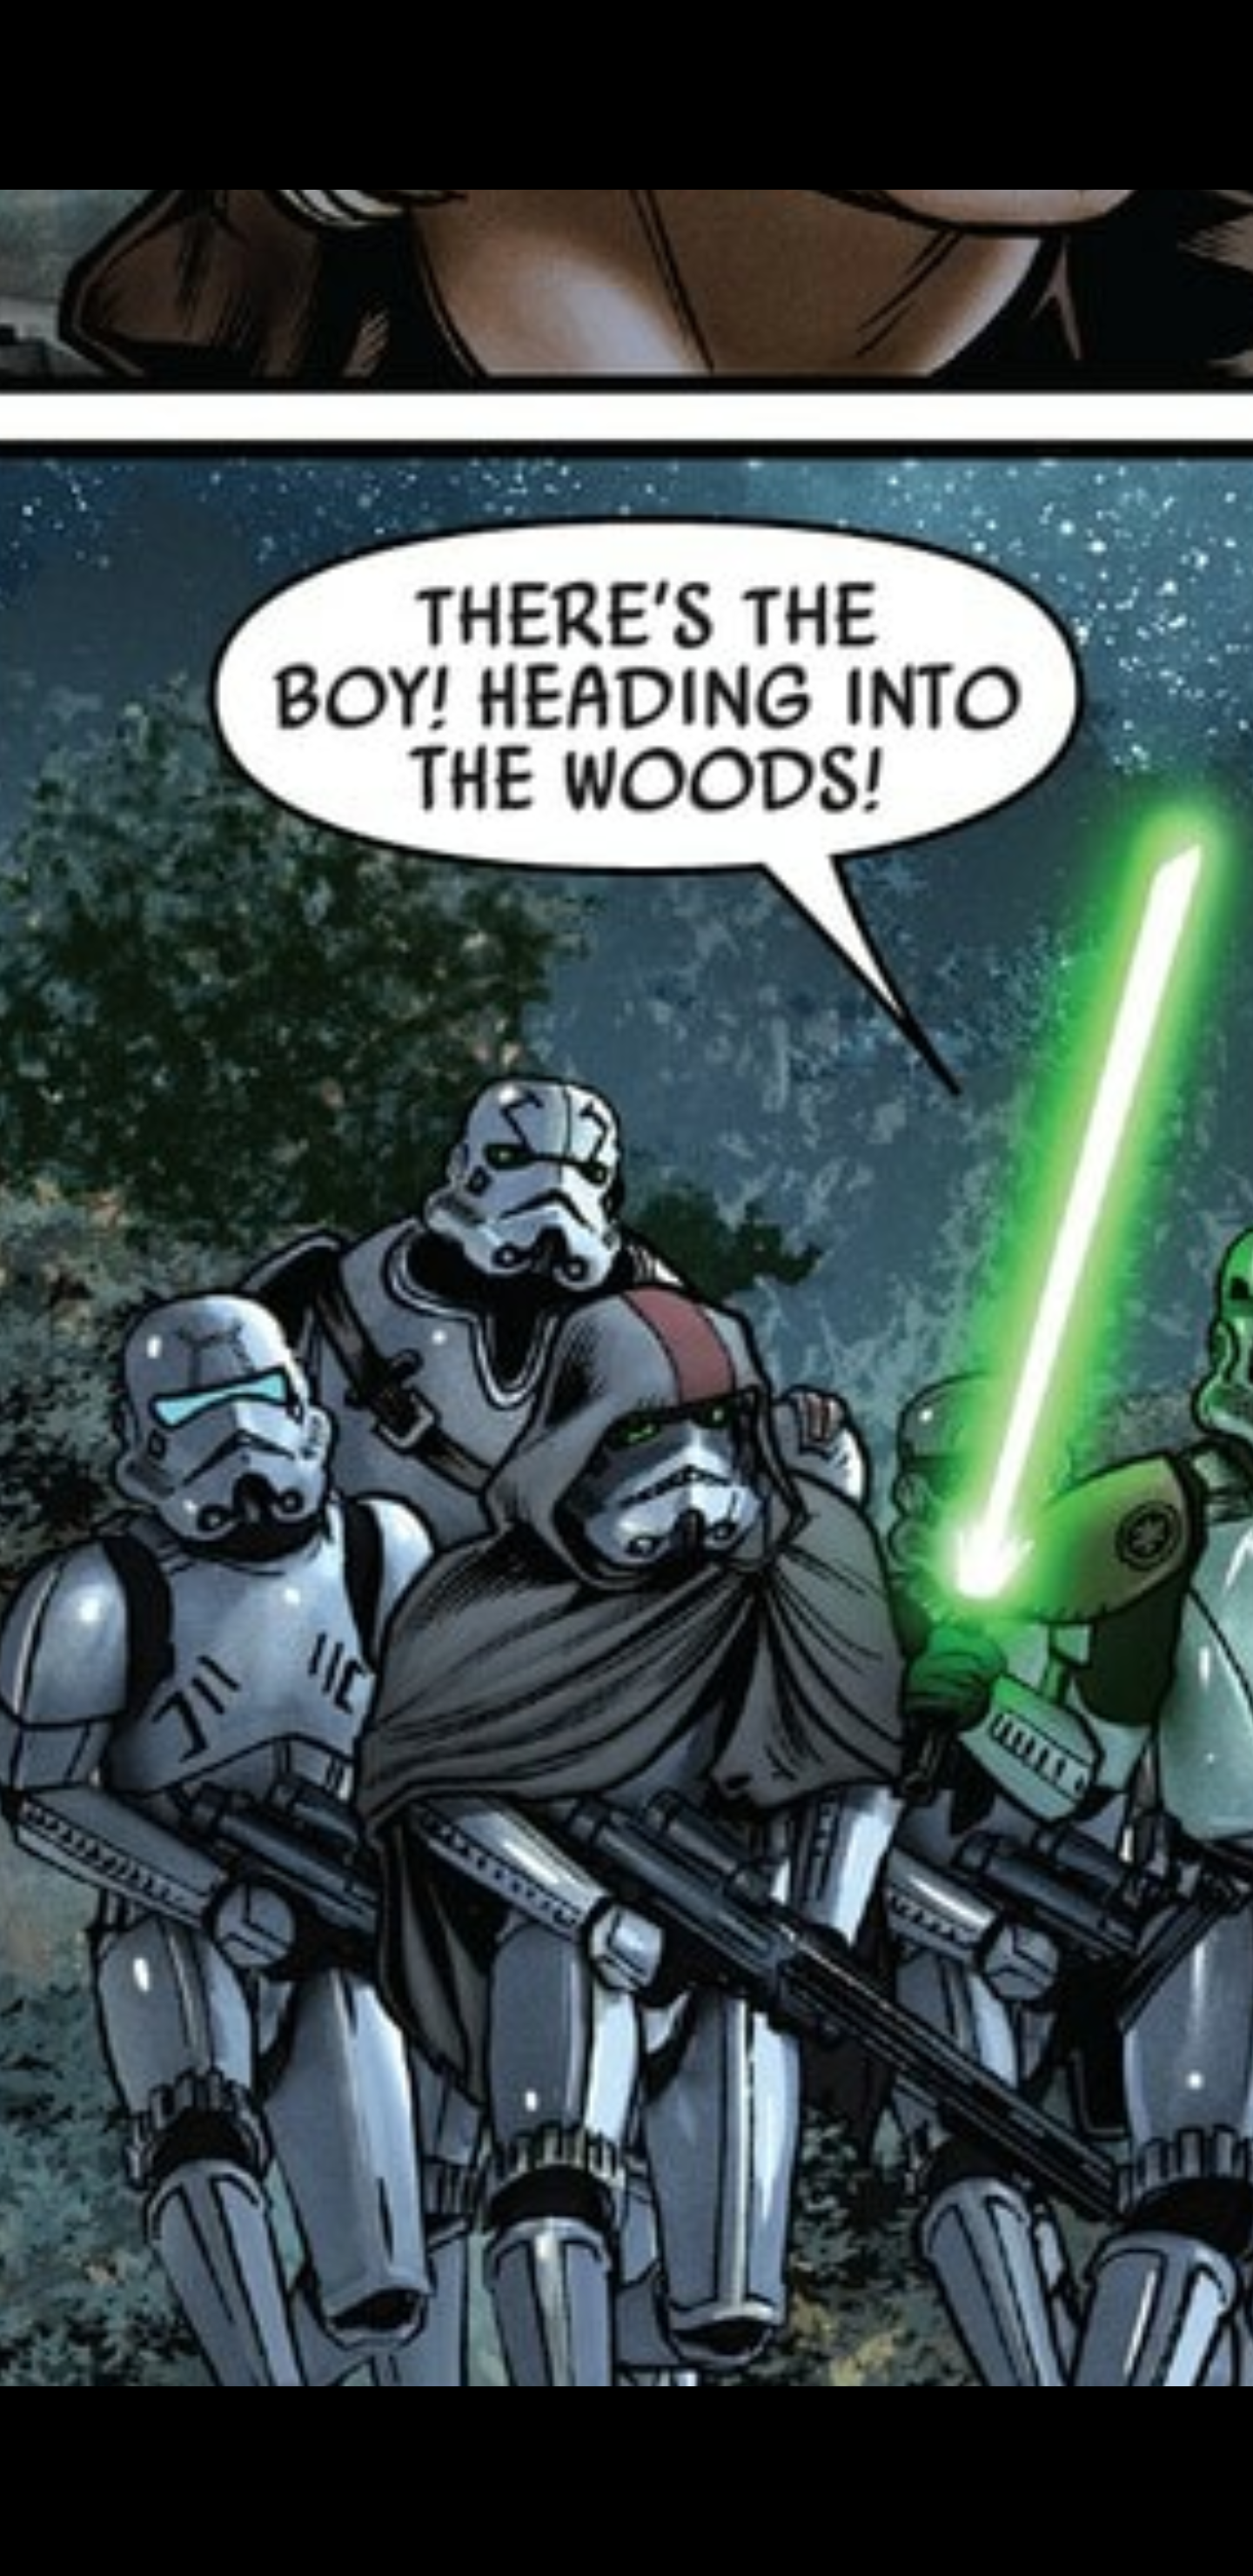
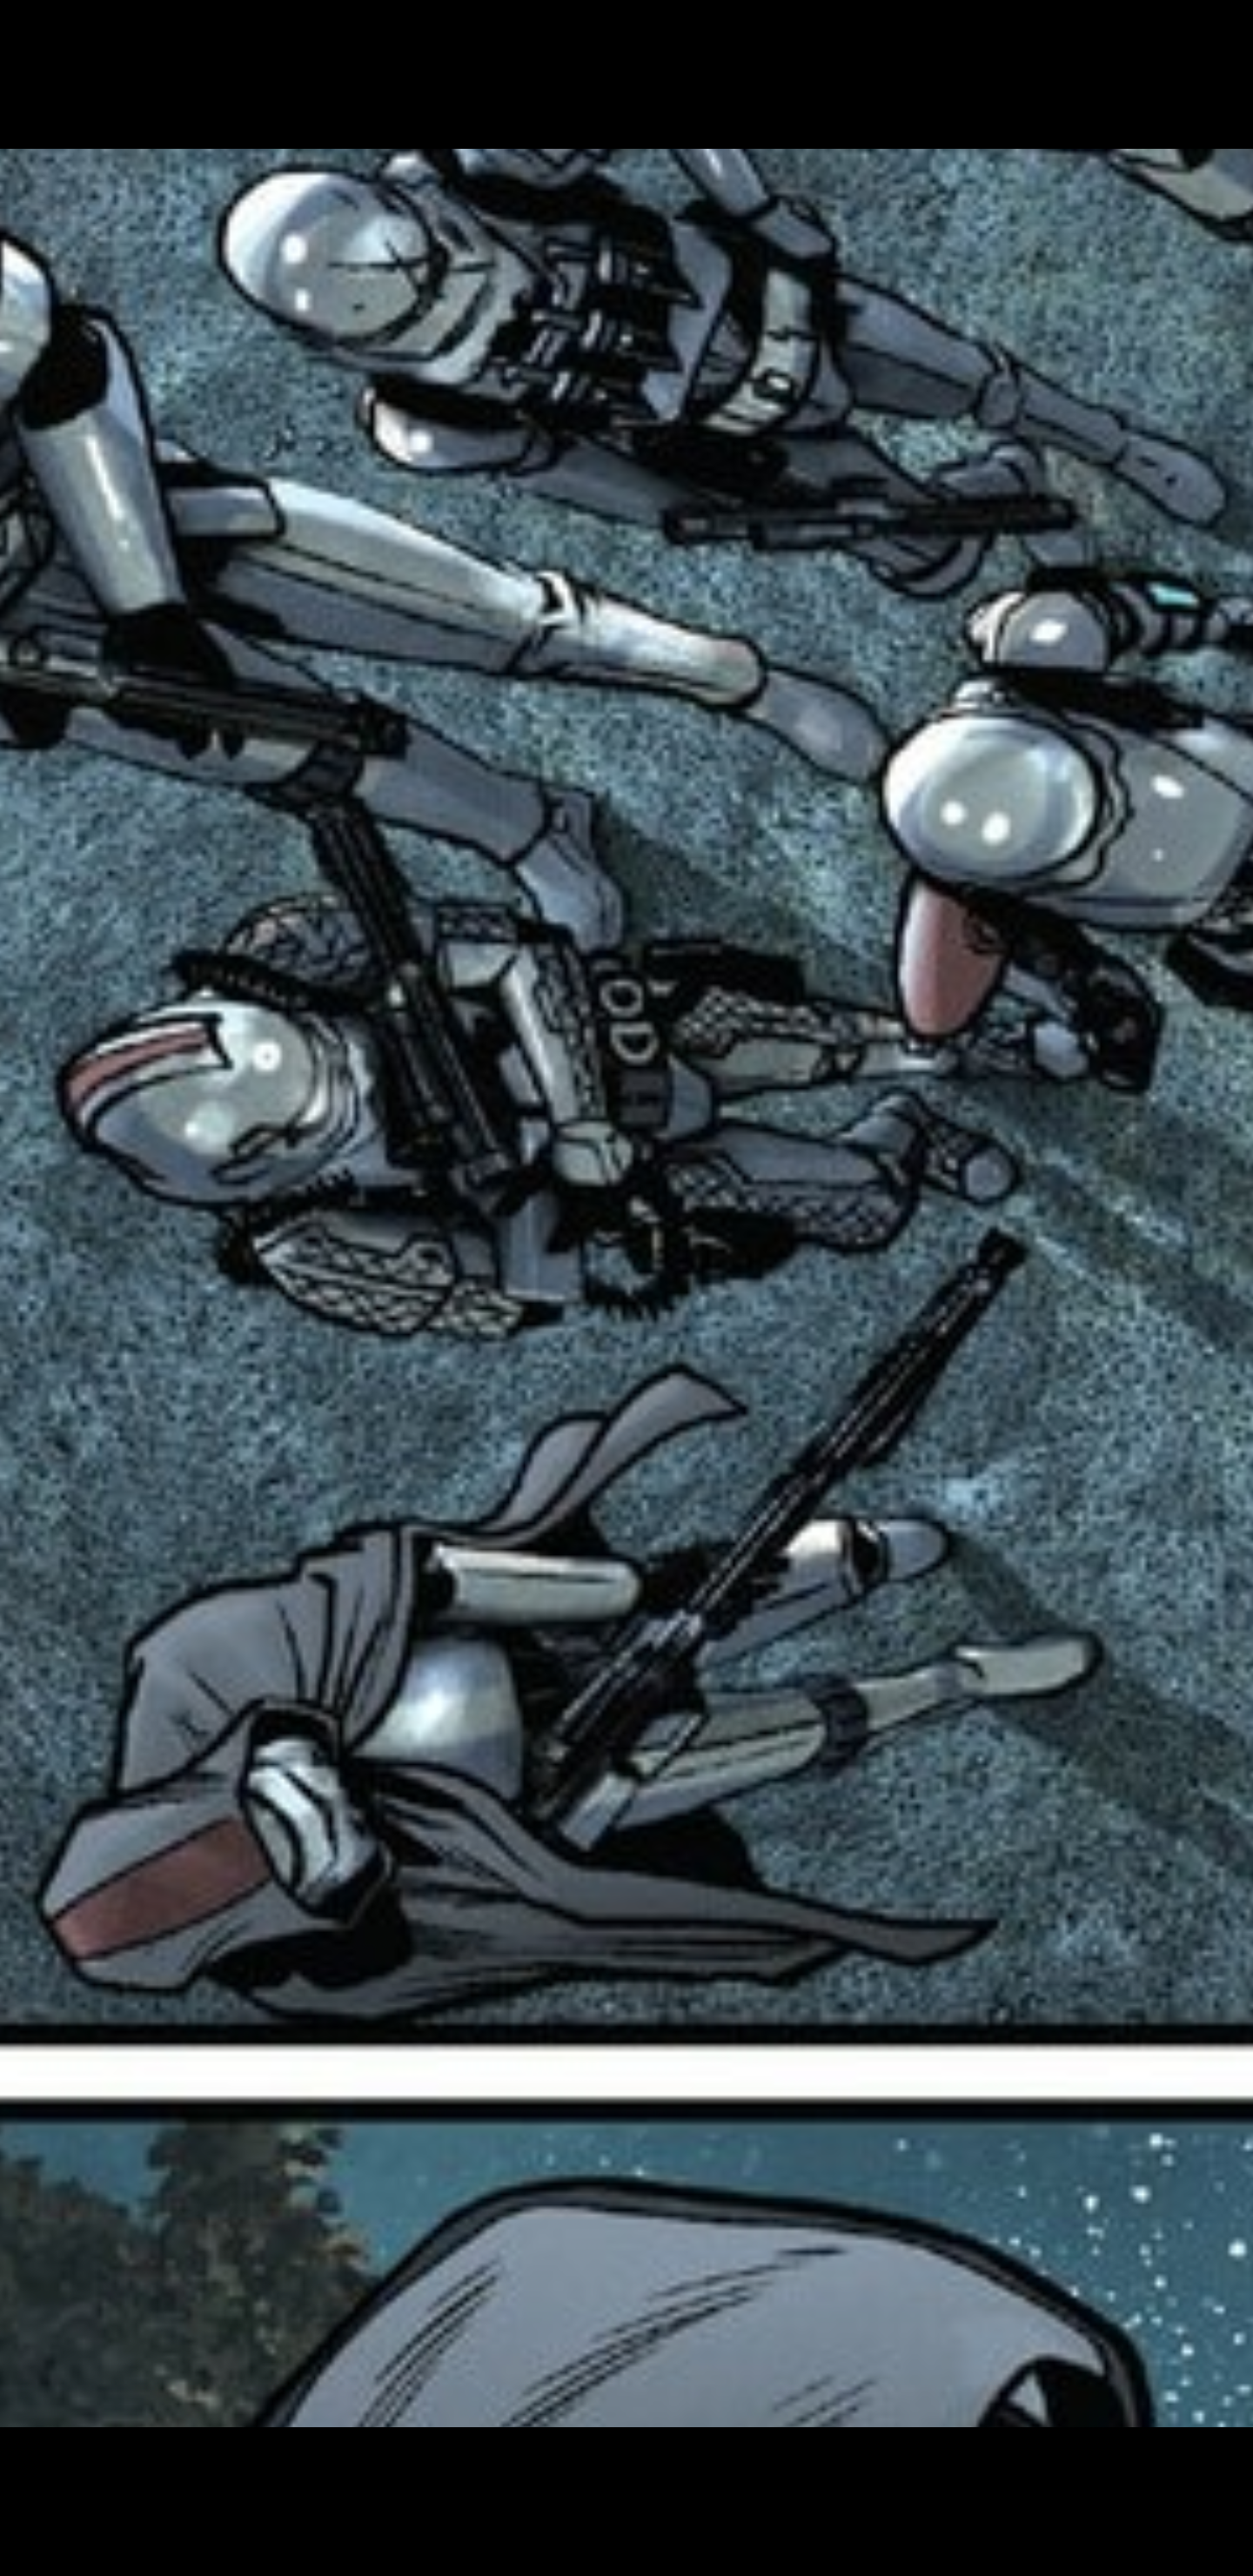
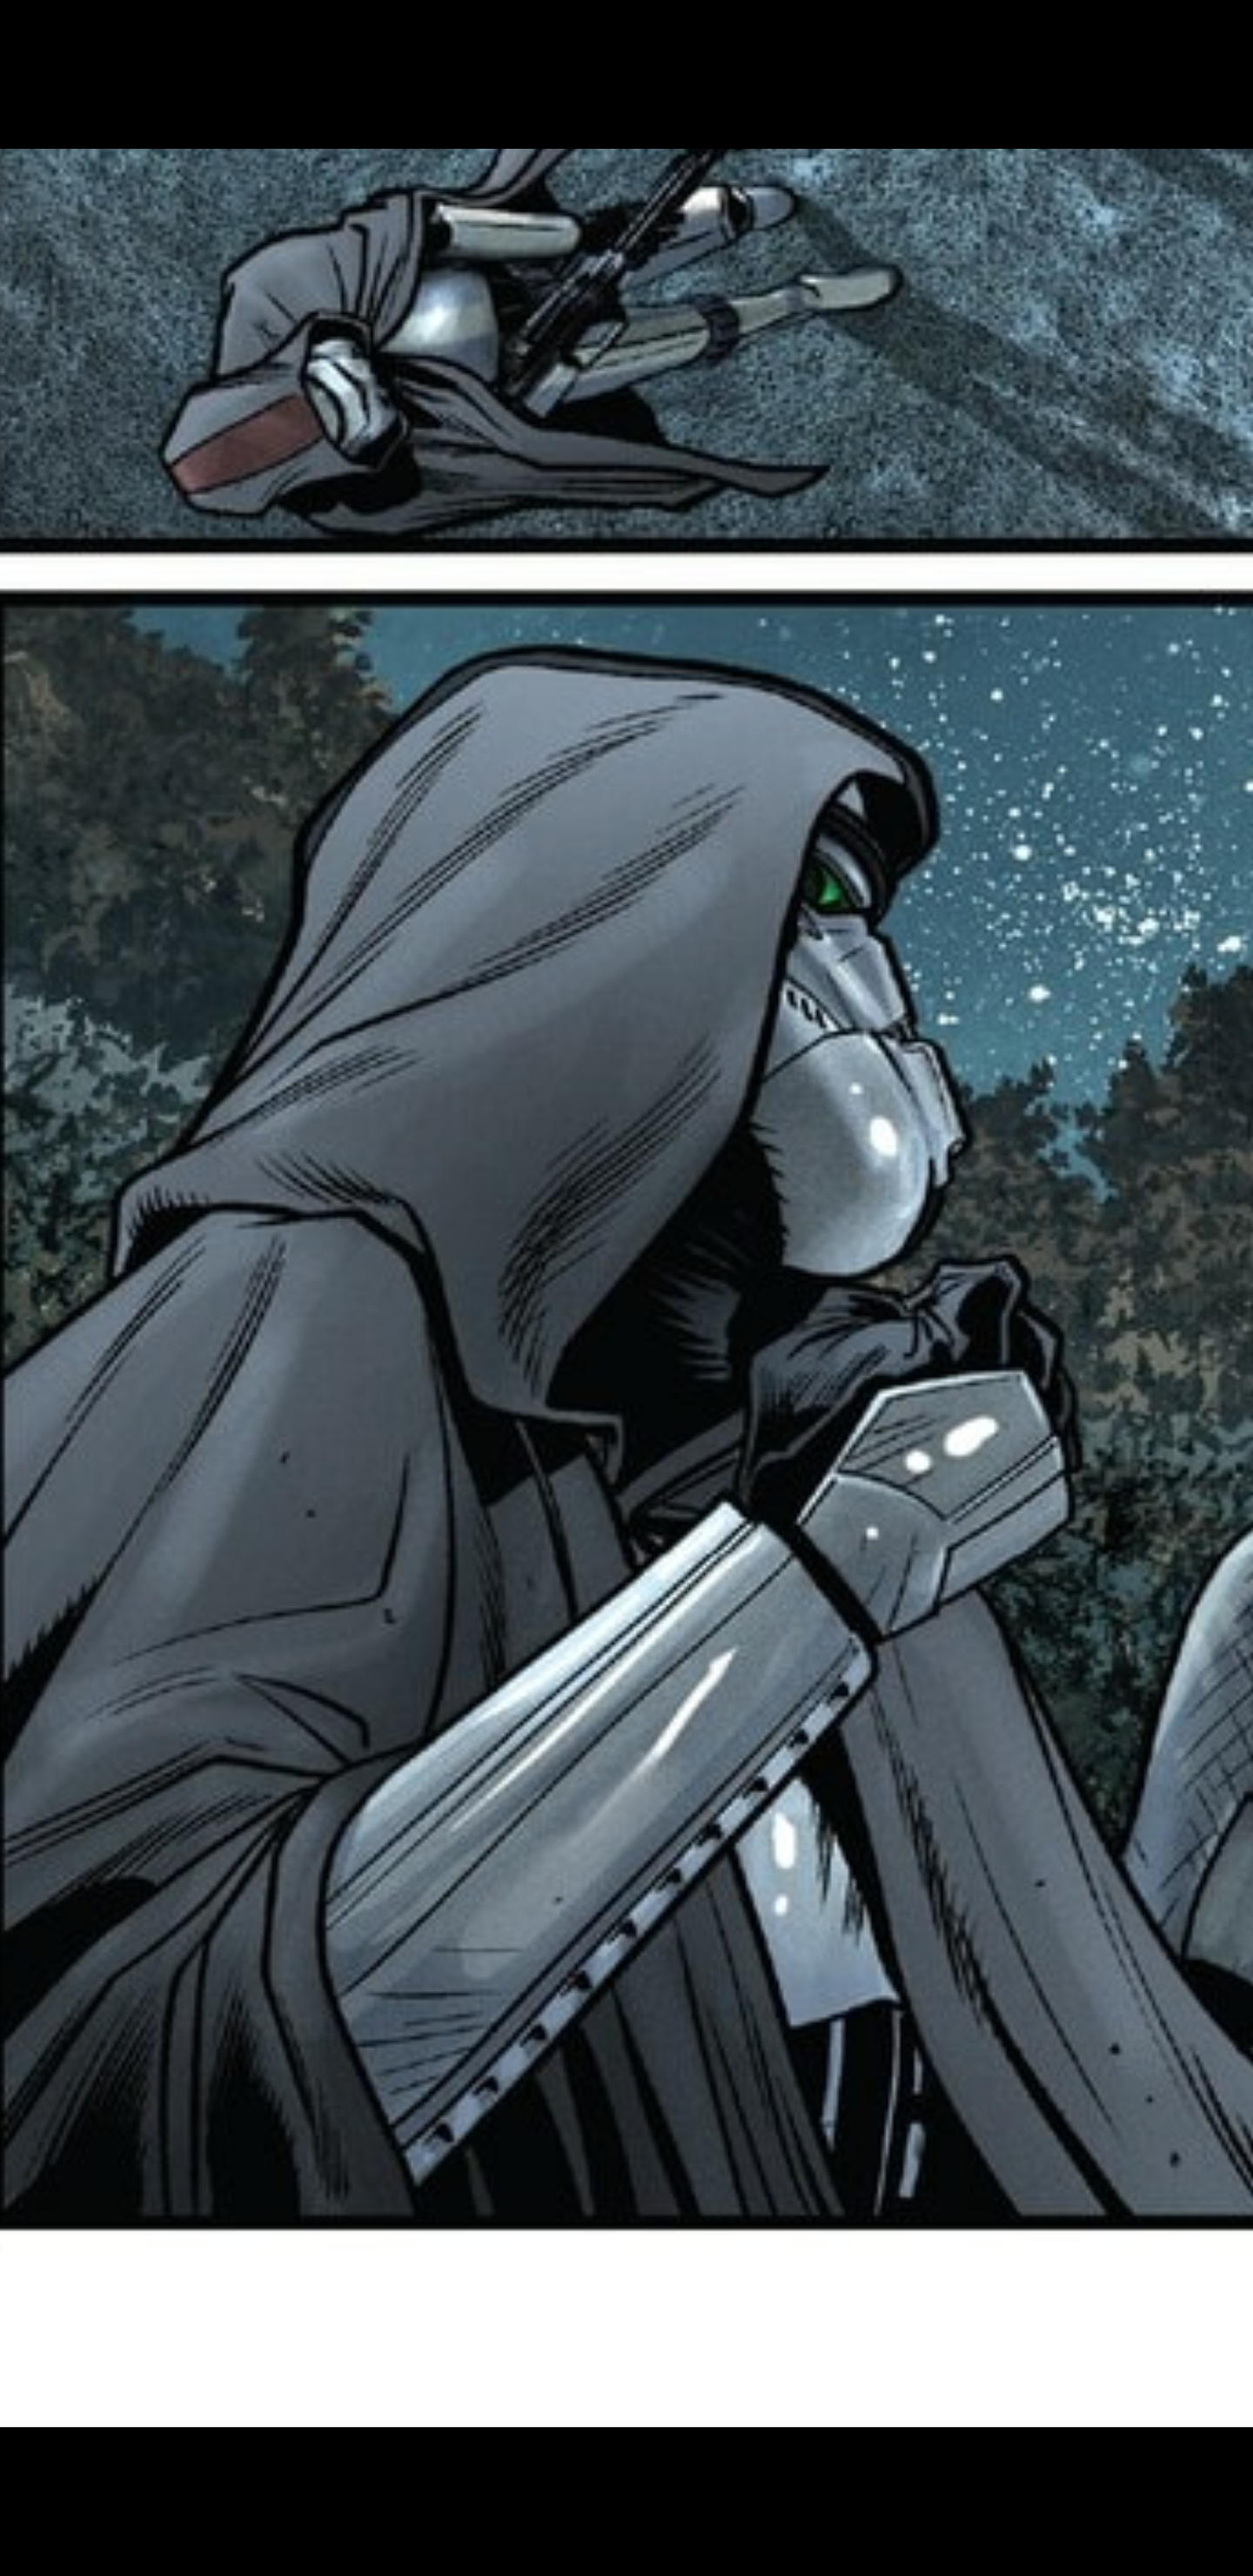
Sergeant Kreel WIP. Comic Star Wars (2015) Issue #59&60
IcyTrooper replied to darthRivera's topic in Sergeant Kreel
I think the finish suits it well. -
It wouldn't be a 501st project if at least 1 thing didn't go wrong haha
-
Very nice update! Looks like you cut the model at the right spot to save that reprint, very nice.
-
Looking good! FYI I got your images fixed. For Imgur you'll have to right click the image on the Imgur page and select "Copy image address" and then paste into the thread box. It should have a .jpeg at the end of it to work. Then you can double click that image within the thread and add the URL for the actual Imgur link in the pop-up box to allow for someone to click it for full size.
-
Force Unleashed Jumptrooper CRL Discussion
IcyTrooper replied to Fivezero's topic in TFU Jumptrooper
They look good to me! -
Force Unleashed Jumptrooper CRL Discussion
IcyTrooper replied to Fivezero's topic in TFU Jumptrooper
Awesome! Thank you!! -
Force Unleashed Jumptrooper CRL Discussion
IcyTrooper replied to Fivezero's topic in TFU Jumptrooper
Alright so I have the first post with all the text updated to the format we used for Lt. Janek Sunber so that it flows into the CRL wiki when able. I also added the cod piece part into the abdomen armor section from the posts above. The pictures have been edited and we'll need that separate ab plate pic if we can get it on the Google Drive folder. We'll also need to hash out a character description which goes below the context part of the CRL. -
tat2trooper anovos shadow trooper build
IcyTrooper replied to Tat2trooper's topic in Shadow Stormtrooper
Here you go: I have a T-strap of nylon which has Veclro on each end and then a third elastic strap that comes out to attach to my shoulder bell. There is another elastic strap with two Velcro ends which go on top of the aforementioned T-strap. You can see it layered here. You could probably achieve it all with one strap but the L2 details for that state the following: Chest and back shall be connected with a black fabric (preferably elastic) that does not stick out or show under the shoulder plastic straps. Are you looking for placement? All depends on if you are going for basic approval or are planning on going L2 (Specialist). Here are some pics of mine: A bunch of pics from my Anovos kit are in my Specialist thread: Also some good intel in this thread of @ukswrath: -
tat2trooper anovos shadow trooper build
IcyTrooper replied to Tat2trooper's topic in Shadow Stormtrooper
I used a T-shaped strap with Velcro on all 3 ends and then used a velcro/elastic combo over top of that to tie both pieces together (chest and back). -
tat2trooper anovos shadow trooper build
IcyTrooper replied to Tat2trooper's topic in Shadow Stormtrooper
That was the best part of having a TK and going to a TX as well, used the same cuts and measurements and it made it 10 times easier -
Very nice! A very rewarding experience for sure
-
You can take a bunch of that off, there is no requirement for a return edge at basic level approval. If you are going to for Specialist (L2 with detachment) then I'd plan on leaving only 3/8" (10mm) around all edges. Personally, I'd even leave 3/8" (10mm) for basic as it adds a level of depth to the armor.
- 1 reply
-
- 2
-

-
Very flexible and strived for realism! It is great to see the hard work pay off! Great job!
-
Haha I like it!
-
Force Unleashed Jumptrooper CRL Discussion
IcyTrooper replied to Fivezero's topic in TFU Jumptrooper
I think that works out beautifully! I appreciate including the rationale for it and I agree with it. We'll keep that in our deck in case it is asked. Thanks for reworking the wording for it. -
Very nice! Make sure to remove the little clips and such on them as well.
-
Force Unleashed Jumptrooper CRL Discussion
IcyTrooper replied to Fivezero's topic in TFU Jumptrooper
Time to hit up this text again! -
I like that shine! I second using that black as the base from the primer, never has failed me! Same with a lighter color primer or base under a bright color you wanna pop my ROTJ royal guard helmet is lookin' good cause of that.
-
Sergeant Kreel WIP. Comic Star Wars (2015) Issue #59&60
IcyTrooper replied to darthRivera's topic in Sergeant Kreel
I like it! -
tat2trooper anovos shadow trooper build
IcyTrooper replied to Tat2trooper's topic in Shadow Stormtrooper
Ahhh yeah, I see that now! -
Well done!