-
Posts
1,469 -
Joined
-
Last visited
-
Days Won
111
Content Type
Profiles
Forums
Events
Everything posted by Chaos
-
I don't have access to that sub forum, probably for GMLs. Maybe post up the photos here?
-
I've got Jim Tripon's suit. I just put it in the washer on cold, gentle cycle and let it air dry. I've been doing this for over 2 years and have never had any issues at all.
-
Thomas, lots of hard work has been done by you and is apparent. All the previous issues brought up are easy fixes. On 850's back piece there is a parallel features just below the ^ lines, the flat area between the ^ and the parallel is where your TD should be attached. Concerning your SE14 holster, Kerry Alan Roundtree makes an awesome and accurate set, he is on Facebook and can be found in the Death Trooper Build Group. https://www.facebook.com/kerry.rowntree.5 The rubber on the outer thighs is ribbed side facing out, the pieces that came with your kit should have the ribs, just detach them and turn them around. You can put a strip of 1/2 inch velcro along the ridge at the top of your cod piece and along the inside lower edge of your belt, this will keep the cod in place. Put another strip of velcro along the ridge just below the circle on your abdomen, and on the inside top of your belt. Don't worry about the number of horizontal "ribs" on the abdomen that show. There is no required # that must show. Us short folks may only have 1 or none showing, whereas a taller trooper may have 5-7 showing. Keep at it, you're doing well. This album may help you out, there are also several really good build threads in this forum you can reference to assist you. http://imgur.com/a/7GT4R Keep posting your adjustments, we will help you get things right.
-
Holy Bovine Glenn!!!!! You did an amazing job!
-

Hopefully almost have everything I need
Chaos replied to Brandt8442136's topic in Armor Tips, Tricks and Tutorials
Brandt, For the TX Magma currently there are no "Level Two" criteria additions to the CRL for the armor and helmet. There are proposals in the works. You can go take a look at the proposed changes under the TX Magma CRL thread and get an idea of what's in the works. However, in the "Specialist Program" (which is a higher level of accuracy) there are certain criteria that your armor must meet. You can look at it this way, if you just want to be 501st approved by your GML then use the guidance that is in the CRL. Once you get approved, if you wish to apply for the "Specialist" recognition, then you can tweak your armor to meet the criteria set forth in the TX Magma "Specialist" sub-forum. Ideally, to save you some time, you can initially build your TX Magma using the "Specialist" criteria and once you get approved from your GML, you can go to the "Specialist" section and apply there for your "Specialist" badge. As far as strapping your armor, the TX Magma and the TK Stunt have the exact same pieces, so any strapping reference you can find on the FISD forum or using Trooperbay's videos will get you the desired results. The "piano wire" method which TB is referring too is how the original costume designers of the TKs in the OT movies used to attach the pieces together. If you really want to go for "originality" when strapping your TX Magma you can use that method. However, I can tell you from experience it's really not the best way to do it. I would recommend using the snaps or as some people call them "poppers" method. It allows you a greater tolerance for fitting measurement errors. If you use industrial elastic for your connections it will give you more freedom of movement in your upper torso and thigh area. Hope this all made sense and can assist you in your endeavors. Welcome to Spec Ops and best of luck with your build. There are plenty of WIPs and reference post in the TX Magma section and as always if you hit a brick wall or something just doesn't make sense, there is a plethora of knowledgeable people here. -

Simple e-11 flashlight attachment?
Chaos replied to ImperialLoyalty342's topic in Blasters/Weapon Mods
Welcome to the dark world of Shadow troopers. There are available attachments such as are used on the E-22 (Shore trooper), the E-10 (Mud trooper), or the E-11D (Death trooper). Weapons are not part of the 501st "approval" process. https://databank.501st.com/databank/Weapons_policy Where the weapons come into play is "if" you troop with a weapon at a "canon" event it must be IAW the "Option Accessories" section of the CRL For the Shadow trooper two weapons are identified; the E-11 and DLT-19, for canon events they have to be as close to original as possible. However, for non-canon events, your GML can approve you to use any weapon you would like. Your best bet would to get with your GML and see what his/her policy is. Since Shadow troopers have special senors which allow them to see in the dark, I don't think a flashlight would be needed. -
Xanthais, that's my armor. The chest buckles are secured to the chest piece with screws. The ridged straps are epoxied to the back piece and lay over the front and are held in place with earth magnets. There is a nylon and velcro strap that runs under the shoulders to actually hold the front and back together. There are also snaps on the nylon/velcro straps that my shoulder bells attach to. There are better detailed photos in the same album where you can see the straps and magnets. https://imgur.com/a/7GT4R
-
Yes you can put the audio system in at anytime. I put it in last so I could make sure of placement.
-
I prefer elastic as it allows the armor pieces to move with me. As far as glue, I was in Hawaii, E6000 has a tendency, when heated, to loose it's adhesion. I use a plastic weld epoxy. Has been over 2 years without ever coming apart.
-
If you're getting Tony's fan system you might as well get his helmet audio system as well.
-
This might give you some ideas about the strapping http://imgur.com/a/7GT4R
-
Awesome work on your blasters.
-
Check with The Armory Shop or The Plastic Arms Dealer
-
https://www.dropbox.com/s/oujqg1jp108ob82/1 Box no extras.stl?dl=0 https://www.dropbox.com/s/c2pqpw2ais4r90t/2 belt loop clip.stl?dl=0
-
@nanotek is correct I do have Jim's kit. To be honest, I went to my local hardware store and bought a metal window screen repair kit, I think it was #20 size but can't be sure. I put the screen under the vents and then painted the silver weathering color. It turned out great. I did put a piece of black weed blocker fabric under the mesh before I installed @ukswrath's helmet audio sound system so that the speakers were not visible. Best of luck with your build, like @nanotek said above, there is a plethora of experience here and we are always happy to help.
-
Congratulations! Welcome to the Brotherhood.
-

in progress Sithtrooper Draft CRL Checklist
Chaos replied to nanotek's topic in CRL Discussion Archive
Ernesto, there are already draft CRLs in progress. I recommend that you go thru them. -
Hey Sal, If you are looking for a STL file for the trading card holder, I made one for my own personal use. I could send you just the plain box and belt clip files. Its fairly easy to customize and add your Legion ID and a logo. Keep in mind that with the Legion "Merchandising" rules, if you use any logos or designs from the Legion, Garrison, or it's Detachments, you should get approval before making it. But you can use a generic Imperial or FO cog and be OK.
-
Looks like they took the white display FOJT and painted it Sith Red .... LOL so if I paint my DT Red, I wonder if that will make it a Sith DT? Ohhhh what about the Magma Troopers? Distance second cousins?
-
How could I have forgotten about Denis?! Geez it must have been a long day at work. Yes The Armory Shop is another great source for your kit. He has some new filament designed for his 3D prints which looks to be just as durable as resins. I'm getting my Sith Trooper from him once he finally gets his "Sith" together!
-
Sean, so your the DT in the Carolina Garrison. I'm transferring in from the Pacific Outpost. I saw a DT in the CG's gallery and was like "YES" another DT! We just bought a house in Wake County and I'm overseas. Hopefully within the next 6 months or so I can finally get back to trooping. How many DTs are there in the CG?
-
I have Jim Tripon's kit , he is on Facebook https://www.facebook.com/jim.tripon Also you can get with Andrew over at The Plastic Arms Dealer - https://www.etsy.com/shop/PlasticArmsDealer Both are awesome fiberglass resin kits. Keep in mind that unfinished kits are less expensive than finished. Raw kits may seem daunting at first but they are actually fairly easy to assemble and finish. Key thing is to always take your time, measure twice/cut once, sand, sand, and sand again, and always triple any recommend cure times for any paint product. Best of luck we are here for advice if you have any issues or questions.
-
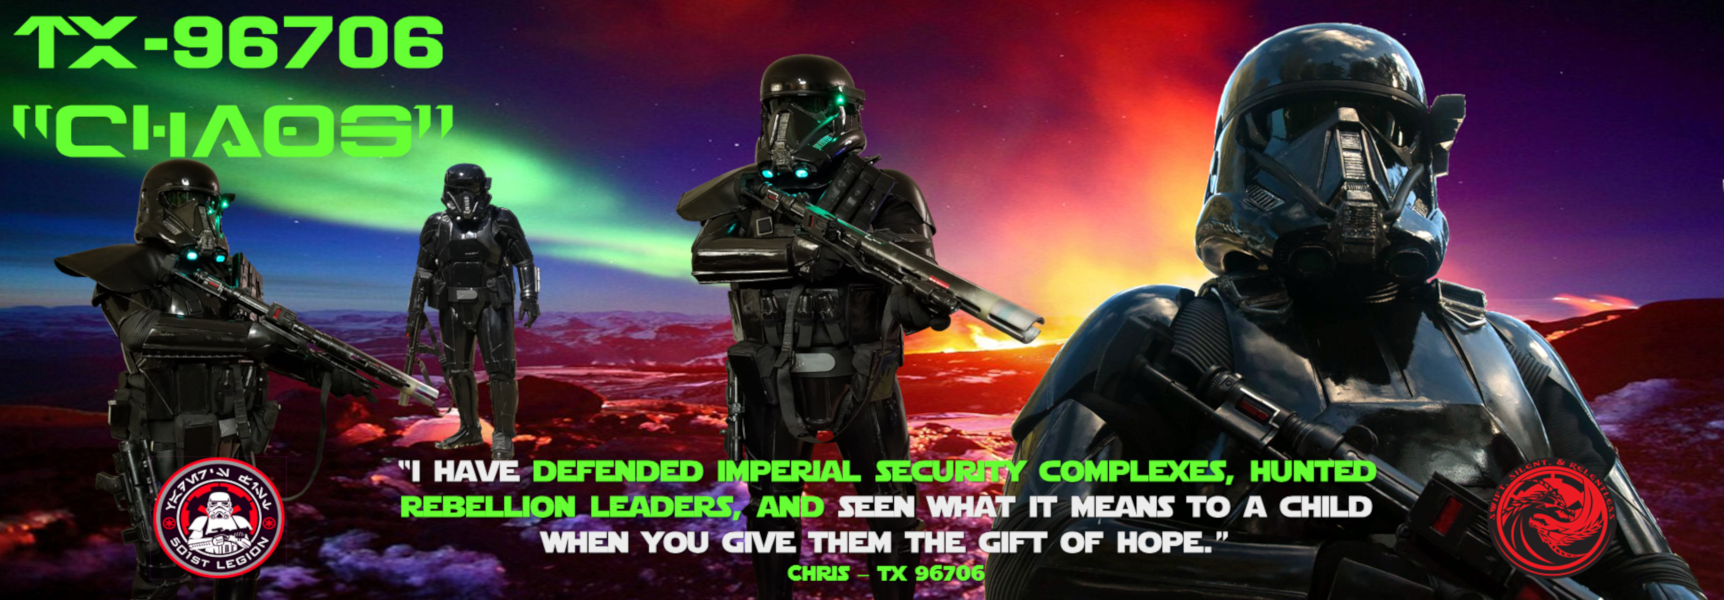
To be honest, the weight difference of a fiberglass resin type kit is not that much. I have Jim Tripon's kit and it's weight is negligible. I am a 5'9" 54 year old medium build man and I can troop in that thing for hours. I've even walked in several holiday parades for over 2 miles in it. The secret to weight distribution is to use a good strapping system so that the parts move with you securely. Most people think of fiberglass as a multi-layered heavy material. The fiberglass resin that people like Jim and Andy use in their kits today are lighter than you would think, easy to work with when building, have higher details, AND more durable than ABS. You should try and find someone near you that has a kit and see for your self. "Chaos" Chris Walker TX 96706 Death Trooper Shadowtrooper
-
Have you looked on his build group page? https://www.facebook.com/groups/212554895893880/
-
Plus $24.18 for shipping and handling!


