Chaos
-
Posts
1,469 -
Joined
-
Last visited
-
Days Won
111
Content Type
Profiles
Forums
Events
Everything posted by Chaos
-
PROPOSED CRL MODIFICATION: Inferno Squad Del Meeko (COMPLETED)
Chaos replied to MahXPrime's topic in Inferno Squad Del Meeko
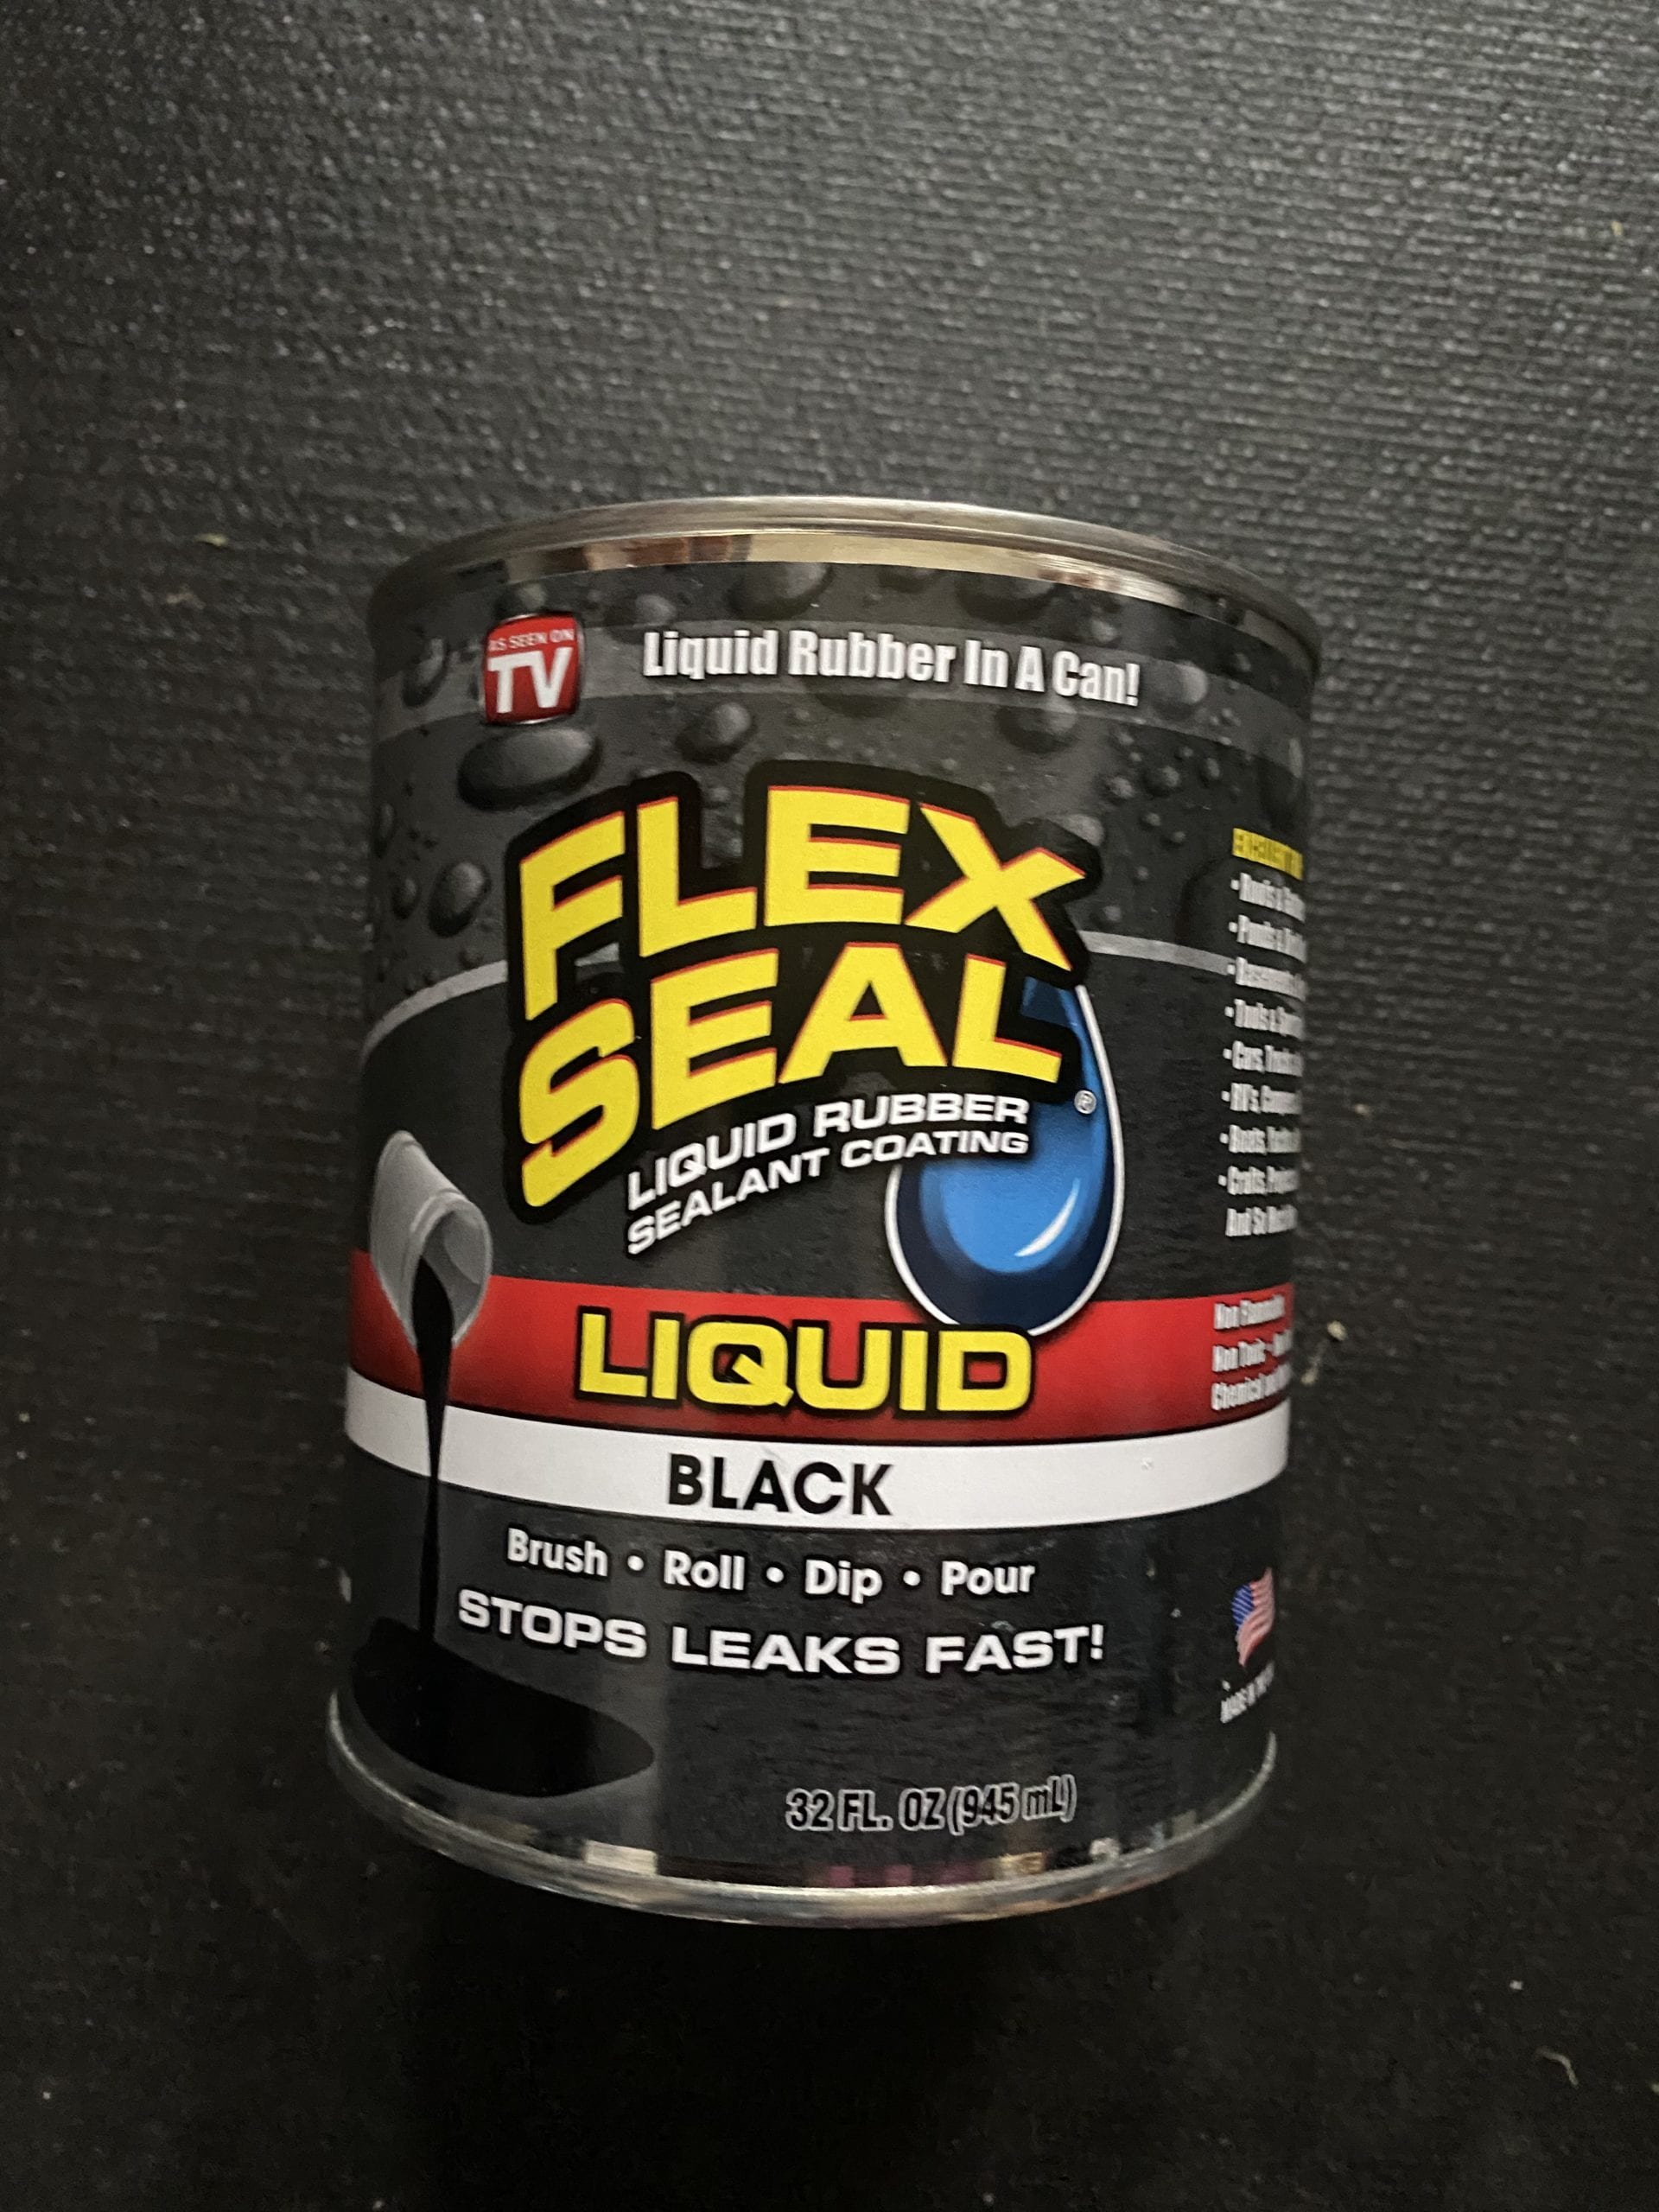
PlastiDip or Flex Seal in a can. That's how I am going to do mine. Then just sew the vertical pen slot seams.
-
PROPOSED CRL MODIFICATION: Inferno Squad Del Meeko (COMPLETED)
Chaos replied to MahXPrime's topic in Inferno Squad Del Meeko
Nice work! -
Awesome!
-
Kevin makes an ABS with resin/3D greeblies. His kit has some inaccuracies in it but it is CRL Level 1 Basic approvable. Matt Leigh has one for sale over in the FB Death Trooper Build Group. Andrew at The Plastic Arms Dealer makes a very accurate fiberglass resin kit. PAD's kits are a little heavier than KB's and you are working with fiberglass instead of ABS plastic. Either kit would be easy to complete as long as you did your research and followed other's WIP threads here in the forums. Jim Tripon out of the Philippines also makes a fiberglass resin kit, which is what my kit is. I have been trooping in it since Jul 2017 and it has held up very good. I have had to make a few modifications to it over the years to bring it up to the CRL Level 2 requirements, but that was a choice I made. Jim's kit is CRL Level 1 Basic approvable as well after fitting and assembly. Jim also I believe is the only maker that can still produce the undersuit as well. What a shame about Denis and The Armory Shop Props. Hopefully his country and Ukraine's situation will change and his Team can get back to business as usual.
-
TookBreaker's Death Trooper - COMPLETED
Chaos replied to TookBreaker's topic in Imperial Death Trooper
Yes, Jim Tripon is Jimmi I have used his undersuit/gaskets with my Jimmi DT armor since July 2017 and it is still in very good shape. @jimmiroquai -
The Neuro-Saav Macromotion (NSM) Monitor is optional, so whether you are going for the Version 1 or Version 2, if it is permanently attached it will not be an issue for Level 1 approval. I really like Denis' kit, ASP does a great job on their unfinished and finished kits. Its unfortunate they have been affected by current events. If you run into issues with ASP and fulfilling your order, there is a PAD (Plastic Arms Dealer) kit for sale by one of our Troopers. It has some preliminary work done on it. Andrew uses Tom's files and he was the first DT so the kits from PAD are top notch as well. Best of luck with your quest for a kit.
-
Questions regarding recess and highlight painting
Chaos replied to Tiderion's topic in Imperial Death Trooper
@Tiderion Let me try to clarify, in my post I made a statement: "However, there was a time when the Tamiya Metallic Black TS40 was not available, so to give the armor that screen look of different lighting effects, it was determined that a matte black would give the same effect. This enable builders to meet CRL requirements and it also eliminated people from choosing just any "Metallic Black" paint and using something that totally didn't look right." This was done so that as the CRL was updated, previous builders kits would still be Level 1 compliant. Even now if a builder does not have Tamiya TS40 and it is not available they can use a matte black to achieve the same effect that the Tamiya metallic black TS40 provides. The reference to the Color Scheme for those individuals is to provide them with where the asymmetrical painting is to be done if they only can use matte. If they use a metallic black it will be the Tamiya TS40. The Color Scheme is the preferred color painting colors and their locations, the Scheme says Metallic Dark Grey because that is indeed what the Tamiya Metallic Black TS40 is: The CRL lists what may be used: matte black or metallic black. So, if you use matte black; the Color Scheme tells you where it must be located, if you use metallic black; the Color Scheme list what color is preferred (Tamiya TS40) and where it must be located. You can say as well as the rest of us that BOTH sources are the "source of truth." I hope that helps clarify the "why, what, and where." -
PROPOSED CRL MODIFICATION: Inferno Squad Del Meeko (COMPLETED)
Chaos replied to MahXPrime's topic in Inferno Squad Del Meeko
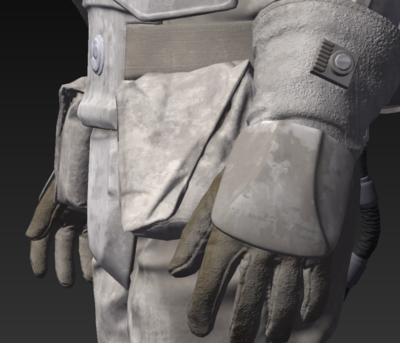
So this piece of leather-not nylon, if I had to guess, is correctly identified as not nylon, however since there is no perimeter stitching around it and only a vertical stitch line that divides the pen slots its difficult to justify that it is a piece of leather as well. It almost looks like it is a rubberized/plastic piece placed across the top edge of the pen pocket and folded over and adhered to the fabric some how, then the pocket piece of cloth is sewn to the flight suit sleeve and a vertical stitch(es) made to divide the pen pockets. This piece is likely designed to protect the top edges of the pen pockets from being worn out by the clips on the side of a pen or code cylinder. Just my thoughts since I do wear flight suits all the time and always have pens in my pockets. -
Questions regarding recess and highlight painting
Chaos replied to Tiderion's topic in Imperial Death Trooper
Ok here is the intent of the coloring and weathering: (and I was sure it was rather obvious) Coloring, if an item lists a specific coloring in the grooves/recesses that means it must be that color, it is says "may" then if you choose to color the grooves/recess they can be painted either color. Keep in mind that if you are going for Level 2, and the CRL says use the Color Scheme Galley, then all the recesses/groves must match. You can leave everything painted gloss black and be perfectly legal per the CRL except where it lists an asymmetrical panel color scheme IAW the Color Scheme Gallery. However, there was a time when the Tamiya Metallic Black TS40 was not available, so to give the armor that screen look of different lighting effects, it was determined that a matte black would give the same effect. This enable builders to meet CRL requirements and it also eliminated people from choosing just any "Metallic Black" paint and using something that totally didn't look right. Don't over think the process, if the item refers to the Color Scheme Gallery then use that. If it says "may be matte or metallic black" and you don't have the Tamiya, then you can use matte and you will be IAW CRL requirements. I happen to like the look of the matte black in my recesses and grooves over the dark gray, or matte silver, or metallic black, but that is just my preference. However I did paint IAW the Color Scheme Gallery when applicable. Just make sure if you do paint the recesses they have to be consistent across the whole armor. Now weathering, this is touchy subject with me, and we intentionally mentioned it in the CRL: "may be slightly weathered to produce a worn look. The weathering must be uniform across all costume parts. If weathered, a light gray or white tint paint wash, or dry brush technique, or powder dusting may be used to create the oxidized or dirty effect. More information can be found in the Gallery Weathering Guide." I have seen people weather their armor so much that I thought I was looking at a Sand Trooper that had been banged up by a Banta against an outcropping of rocks. In the movie you will see the DTs "dirty after a battle" and later on they will be all clean and shiny. They are Elite Operators so they will always take care of their equipment more so than a normal grunt. To create my weathering I used a light gray craft acrylic paint, watered down and applied to the areas I wanted to have a little "dusting" with an airbrush, you can get the same effect with just a soft bristled 2 inch craft brush. When you apply the paint let it dry, then using a dry soft cloth wipe and buff away the paint from the smooth surfaces, this will leave the "dust" in the corners and crevices. If not enough comes off with the dry cloth you can always slightly dampen the cloth with water and wipe the armor down. I prefer the acrylic craft paint because if I decide to wear my armor to an event where I feel the DT would be cleaned up and looking pristine, I can take soap and water and completely remove all the "weathering" then Boom! I'm back to looking like I just walked out of the factory with a fresh coat of paint. I hope this helps answer your questions. Just remember to not over think the paint and weathering. -
ScottishSith - Rogue One Death Trooper WIP
Chaos replied to ScottishSith's topic in Imperial Death Trooper
Congrats! Welcome to the DT Elite! -
They are a lot closer than the first ones. The heel stitching is good, the sole to uppers stitching will need to be darkened to blend in better with the sole. The toe should be acceptable as long as the lace cover goes down far enough to give the same appearance as the Jared/Talib toe. The CRL says the boot is a "capped" toe, though the toe is not actually a capped toe per se, but because the lace re-enforcement stitching extends down the tongue opening to the sole, it gives the Jared/Talib toe the appearance of being "capped." My best suggestion would to get with your GML and show him/her the boot and see what the answer would be. We can sit here and say all day long that an item is questionable as CRL approvable but then a GML interprets the CRL slightly different and approves an item. The CRL is a guide for GMLs to determine if a costume has the appearance of being what we see in the movies, TV, or comics. Level 1 501st approval is up to the GML's interpretation and they should be asked if they would approve something. The above boots won't meet CRL Level 2 standard but possibly Level 1. Let us know what your GML says.
-
Issues with various Deathtrooper parts
Chaos replied to Deathtrooper25801's topic in Imperial Death Trooper
It depends what the issues are; were they manufacturing defects, painting defects, damage created during shipping. Everyone that I know that has a PAD completed kit may have had to touch up paint jobs due to shipping damage but were pleased with PAD's product. Maybe more of a detailed explanation would assist in answering your question. -
I'll repost again here. Honestly there are quite a few details that are incorrect with those files, The back piece is missing a couple CRL required details, the TD is not correct. There are no abdomen pieces or upper front chest details shown, so I couldn't tell you if there are any issues there. To be honest it would be worth your time and money to purchase Tom Campbell's files. You can find him at TDK Props. If you are going to 3D print your files, and are shorter than 5'8"-5'9" you might want to look into getting The Armored Garage's Armorsmith Designer software. It allows you to scale each piece based upon your body measurements. This is how Denis at Armory Shop Props scales his customers builds. Get Tom Campbell's files, they are just a little more than the CG files but the money you would save by getting the cheaper set, will be spent upgrading and making the necessary corrections to be CRL compliant. You will probably spent even more than what it would cost you to buy Tom's files and the Armorsmith software. FYSA I am one of the Detachment Deathtrooper CRL advisors and I have seen many members get frustrated and spend more time and money when they try to go cheaper on their DT builds. This build is complicated and can me pricey if done correctly. The main reason is there are very few suppliers right now due to the low supply of materials. Best of luck on your build. We are always here to assist.
-
I don't think so, the heel stitching is not correct. Have you contacted Imperial Boots or Giovanni at CrowProps from Gio?
-
Death Trooper Upper/Lower Torso and Arm Armor Rigging
Chaos posted a topic in Imperial Death Trooper
I have seen a few post requesting assistance on how others have rigged/strapped their armor. There are several ways to rig the armor and most have used the TK strapping method, this works and is what most of us are familiar with. When I was overhauling my Jim Tripon kit to meet the Level 2 CRL requirements I did a lot of research on the other armors we saw in Rogue One. All these armors were completely redone and designed specifically for R1 to incorporate the same basic assembly procedures, which made it much easier for the prop department and costume wranglers to dress and assemble the armor on the actor's. The closet such armor/assembly to the DT I could find was the Shoretrooper. This armor shares a lot of hidden rigging systems with the DT. Paul, from Mr. Paul's Shoretrooper Build ( https://www.mrpaulsshoretrooperbuild.co.uk/?fbclid=IwAR2vDFXjtF7in8jsdpWBBA5UKfUuobpKBsix_nZinhteu8tu4uW1Rwth7vQ ) has done an excellent job of replicating the Shoretrooper and I honestly believe the most accurate representation there is next to an original screen used/built armor set. As a matter of fact, the chest and back armor are identical with the exception of a few minor details. It is because of this basic similarity, I recommend using the rigging techniques that Paul uses to rig/strap your DT. I applied the ST rigging techniques to my DT for the upper armor, shoulder bells and bicep armor and I can tell you, the way that they are rigged makes for greater upper arm movement and it allows the pieces to easily return to their original position after you make any movements. Another assembly technique I used was the abdomen, There has been much said about the abdomen and lower back armor pieces being a corset where the abdomen and lower back armor are attached to the abdomen gasket (be it a formed rubber piece made to look like the leather like ribbed arm and knee gasket material or a sewn ribbed piece of material) so I looked at that and compared it to the way the Shoretrooper's abdomen and lower back armor were constructed and found that it made sense that the costume department utilized the same construction techniques to make the DT armor. So I completely deconstructed Jim Tripon's under shirt, removed the abdomen gasket section, replaced it with a heavy duty meshed fabric like we see in the armpit area, and assembled the gasket material and abdomen/lower back armor into a corset type construction independently strapped from the chest and back pieces and supported in the same manner as the ST. I found that this gave me more freedom of movement in the torso and allows the upper armor and lower armor to move independently from each other. I also recommend either using a separate waist belt or suspender type support system to attach your thigh armor. This prevents the thighs from pulling down on the abdomen armor and the abdomen armor from pulling up on the thighs. So this is how my armor is strapped: The upper section consists of the chest and back secured/strapped at the shoulders and the sides, the same way as the ST is in Mr. Paul's ST Build, then the shoulder bells and biceps are attached to the upper armor pieces (my attachment point is the overlap of the back armor) as the ST. The mid torso section is an individually strapped and supported corset consisting of the abdomen and lower back armor. The chest and back pieces just overlap the abdomen and lower back and are not attached to them. The lower section of the thigh armor is independently attached/supported by a belt or suspender straps with a front strap and a side strap that attach to the thighs. UKSWRATH's suspension rig works well with this concept. I used his system and just made a few minor modifications. I also used Mr. Paul's ST technique for the closing of the forearm armor pieces. Its a clamshell design and uses internal elastic type bands to keep the forearms closed but allows enough stretch to be able to slide your hands through. The necessary cord blocks are in the bicep cord lock stl files, you simply need to just print out four to six each for the forearms and attach and thread them. Here is a link to some photos of my kit and Mr. Paul's ST armor so you can get an idea of what I have described above. https://imgur.com/a/xaRbyZg Here is a link to my 3D files that I made to attach to my shoulder bells and bicep armor pieces which work the same way as the ST's. (You can download and print these files for personal use. I do not authorized you to sell the files or print and sell the files. I have not yet made any 3D files that I am satisfied with yet to mimic Paul's shoulder bell support pieces. I recommend getting these from him as they are excellent quality and he is an awesome guy to work with or simply make your own. https://www.dropbox.com/s/7f5nduyuql2xfoh/bicep cord lock block.stl?dl=0 Best of luck with your builds, and as always I and the other Spec Ops are here to help if needed. -
Possibly, you'd have to change the sole to look like the Docs, that could be as easy as removing the tread portion and leaving the flat part or a complete replacement of the sole, the lace hooks are much of an issue as they will be covered by the lace cover, the only other requirement I am unsure of the back heel seam stitching, I can't really see from the photo.
-
MKE-Trooper – Rogue One Death Trooper WIP
Chaos replied to MKE-Trooper's topic in Imperial Death Trooper
@Lt. Dan Daniel, there is a way to make the spandex ribbed fabric ridged enough to retain the ribs. Where we see the loss of ribbing is mostly in the abdomen gasket. If you can back the fabric with a stiffer no elastic fabric such as a rhino canvas or a rubber sheet, the spandex fabric will not flatten out the ribs. It is a little warmer but not that much more. -
@0igrez Sergio, Welcome to Spec Ops! ASP does a great job with their finished product. I would, however, go take a look at the CRL Color Scheme link and make sure that all your painting details are IAW the CRL. I have mentioned to Denis at ASP that the little recessed pill on the lower chest is FLAT BLACK and not silver. It's a minor detail but one that is a CRL approval requirement. https://databank.501st.com/databank/CRL_Gallery:Imp_Death_Trooper Best of luck with your build, we are here if you have any questions.
-
TookBreaker's Death Trooper - COMPLETED
Chaos replied to TookBreaker's topic in Imperial Death Trooper
@TookBreaker Tarkan, Welcome to Spec Ops, looks like you are well on your way with your list. Jimmi is probably your best bet for an undersuit, it might be a little more than the others but his seamstress individually sews the ribs over inserted cording which makes the ribs hold their form when stretched (this is a Level 2 requirement should you go that route as you build your kit) Its good that your are in contact with Andrew (PAD) he is a wealth of knowledge and one of the original DT Troopers. Best of luck with your build, we are all hear if you have any questions. -
MKE-Trooper – Rogue One Death Trooper WIP
Chaos replied to MKE-Trooper's topic in Imperial Death Trooper
@Lt. Dan Jimmi's undersuit and gaskets are individually sewn. His seamstress takes the leather like material and sews in cording so the ribs hold their form. The result is much better than Mood's Ribbed Faux Leather Spandex material. -
@stnc Michael, welcome to Spec Ops, excellent choice on the DT. Your list looks like you have done your research. I replied above to MKE - Trooper's post concerning under-suits. As far as the blasters, you can get them pre built and painted but if you have some time and ability to assemble your own it will be way less expensive. There is a list of Vendors for the blasters, most sells 3D printed kits. The good thing about assembling your own as you can wire up any audio and light kits you wish as you build it. Definitely better than trying to disassemble a premade and painted one to install electronics. There is a lot of knowledge available in the DT forums, use the search function when you start your build, make a build thread and post up pictures and questions as you go. Best of luck and I am here if you have any questions.
-
The good thing about Jimmi's undersuit is that his seamstress takes a leather like material and individually sews the ribs, it's time consuming but it looks so much better than the spandex/pleated faux leather material that Mood was selling, which I think is what DSC and ASP were using. That material when stretched lost its ribbed appearance quite easily. https://www.moodfabrics.com/black-rib-quilted-stretch-faux-leather-111296 I had heard that Geeky Pink's Gaskets was looking at making an undersuit but I haven't seen anything from her yet.
-
Since the character is computer graphics generated, the color of the "real world inspirational item" can be manipulated. The palm leather is gray and the nomex backing is a Sage Green which if sprayed with white/gray fabric paint could closely resemble the screen grab. I doubt you will ever find an exact commercially produced glove, someone like Gio, IB, or Endor would have to specially make them.
-
And by the way, when the Nomex on the back of the gloves gets worn the texture very much resembles the texture in the screen shots. I don't think the back sides are a suede or rough leather. I honestly think the creators were going for the Flyer's glove look as they are flame/flash fire resistant.
-
I haven't had a chance to really look thru the whole thread, but something to think about when it come to the gloves. The stitching pattern and construction of the gloves actually resembles Nomex Flyer's Gloves. Are we sure they weren't intended to be Sage Green Nomex gloves? I'll give this a better look when I get back to the US next week. https://www.ebay.com/itm/263896280045?mkevt=1&siteid=1&mkcid=2&mkrid=711-153320-877651-5&source_name=google&mktype=pla_ssc&campaignid=10460522637&groupid=106739056274&targeted=pla-293946777986&MT_ID=&adpos=&device=m&googleloc=9076963&itemid=263896280045&merchantid=116792603&geo_id=210&gclid=CjwKCAiA78aNBhAlEiwA7B76p7G-1OI5jBFs68tBw7F7RFaj58110Vo1SdxI3XgBuQ59r51rYPY9KBoCRhAQAvD_BwE