
tipperaryred
-
Posts
596 -
Joined
-
Last visited
-
Days Won
24
Content Type
Profiles
Forums
Events
Everything posted by tipperaryred
-
Great job Tyler, I always enjoy seeing another Inferno kit coming together. For the armour I'd definitely recommend velcro. I tried a few other methods but nothing else was as reliable or simple as that. I epoxied the hard shoulder straps to the rear plate, then used velcro to attach the shoulder straps to the chest plate, and then more velcro to attach the side plates.
- 1 reply
-
- 1
-

-

Del Meeko CRL Change proposals FEBRUARY 2025
tipperaryred replied to Blackwatch's topic in Inferno Squad Del Meeko
I'll sort one when I get back to my laptop 👍 -
Del Meeko CRL Change proposals FEBRUARY 2025
tipperaryred replied to Blackwatch's topic in Inferno Squad Del Meeko
No worries mate, that's why this is a team job! Will be great to finally have the update ready to go now. -
Del Meeko CRL Change proposals FEBRUARY 2025
tipperaryred replied to Blackwatch's topic in Inferno Squad Del Meeko
Hi Dennis, thanks for the feedback. It's definitely important to give people as many options as possible while staying true to the references, so that's what we want to do with the vest too. I fully agree that the weave on the vest is slightly wider than that in the flightsuit. Just a quick reminder of the new text we currently have in draft form: "The tactical vest and its pouches are made of black fabric similar to the flight suit material. Heavy black canvas is recommended. " It's important to note that we're not saying that it has to be the same material as the suit, just that it has to look quite "similar". As you show in your picture above, the Cordura already looks extremely close to canvas, so would be 100% acceptable for both basic and Level 2 clearance under the newly proposed text. I wouldn't like to specifically name the Cordura brand as a possible option in the current text, just in case people get confused and think the flightsuit should be made from that material too. However to make it even more flexible, what about the following small tweak? "The tactical vest and its pouches are made of black fabric similar to the flight suit material. Heavy black canvas or similar fabrics are recommended. " -
Del Meeko CRL Change proposals FEBRUARY 2025
tipperaryred replied to Blackwatch's topic in Inferno Squad Del Meeko
Excellent stuff, it feels good to have a lot of that ironed out. Are there any outstanding issues that you can see from the JRS side @Wingman? -
Del Meeko CRL Change proposals FEBRUARY 2025
tipperaryred replied to Blackwatch's topic in Inferno Squad Del Meeko
Sorry David, not sure how I missed your boot edits above despite replied to your post! But yes, boot edits are good too so I think we're good to go. Do we need to tackle any of the optionals, or are things like the chest box and hoses established enough that we don't need to redo that work? -
Great idea. I'm looking forward to seeing how it looks!
-
Del Meeko CRL Change proposals FEBRUARY 2025
tipperaryred replied to Blackwatch's topic in Inferno Squad Del Meeko
It strikes me as more of a gameplay issue why Del's holster is always empty in game. If the player doesn't actually have an E-11, then it would break immersion to see one hanging from Del's hip. But if the promo images clearly show the holster being used as above, then there's no reason at all for insisting that it should always be empty. Would you be happy with the other proposed changes above? -
Del Meeko CRL Change proposals FEBRUARY 2025
tipperaryred replied to Blackwatch's topic in Inferno Squad Del Meeko
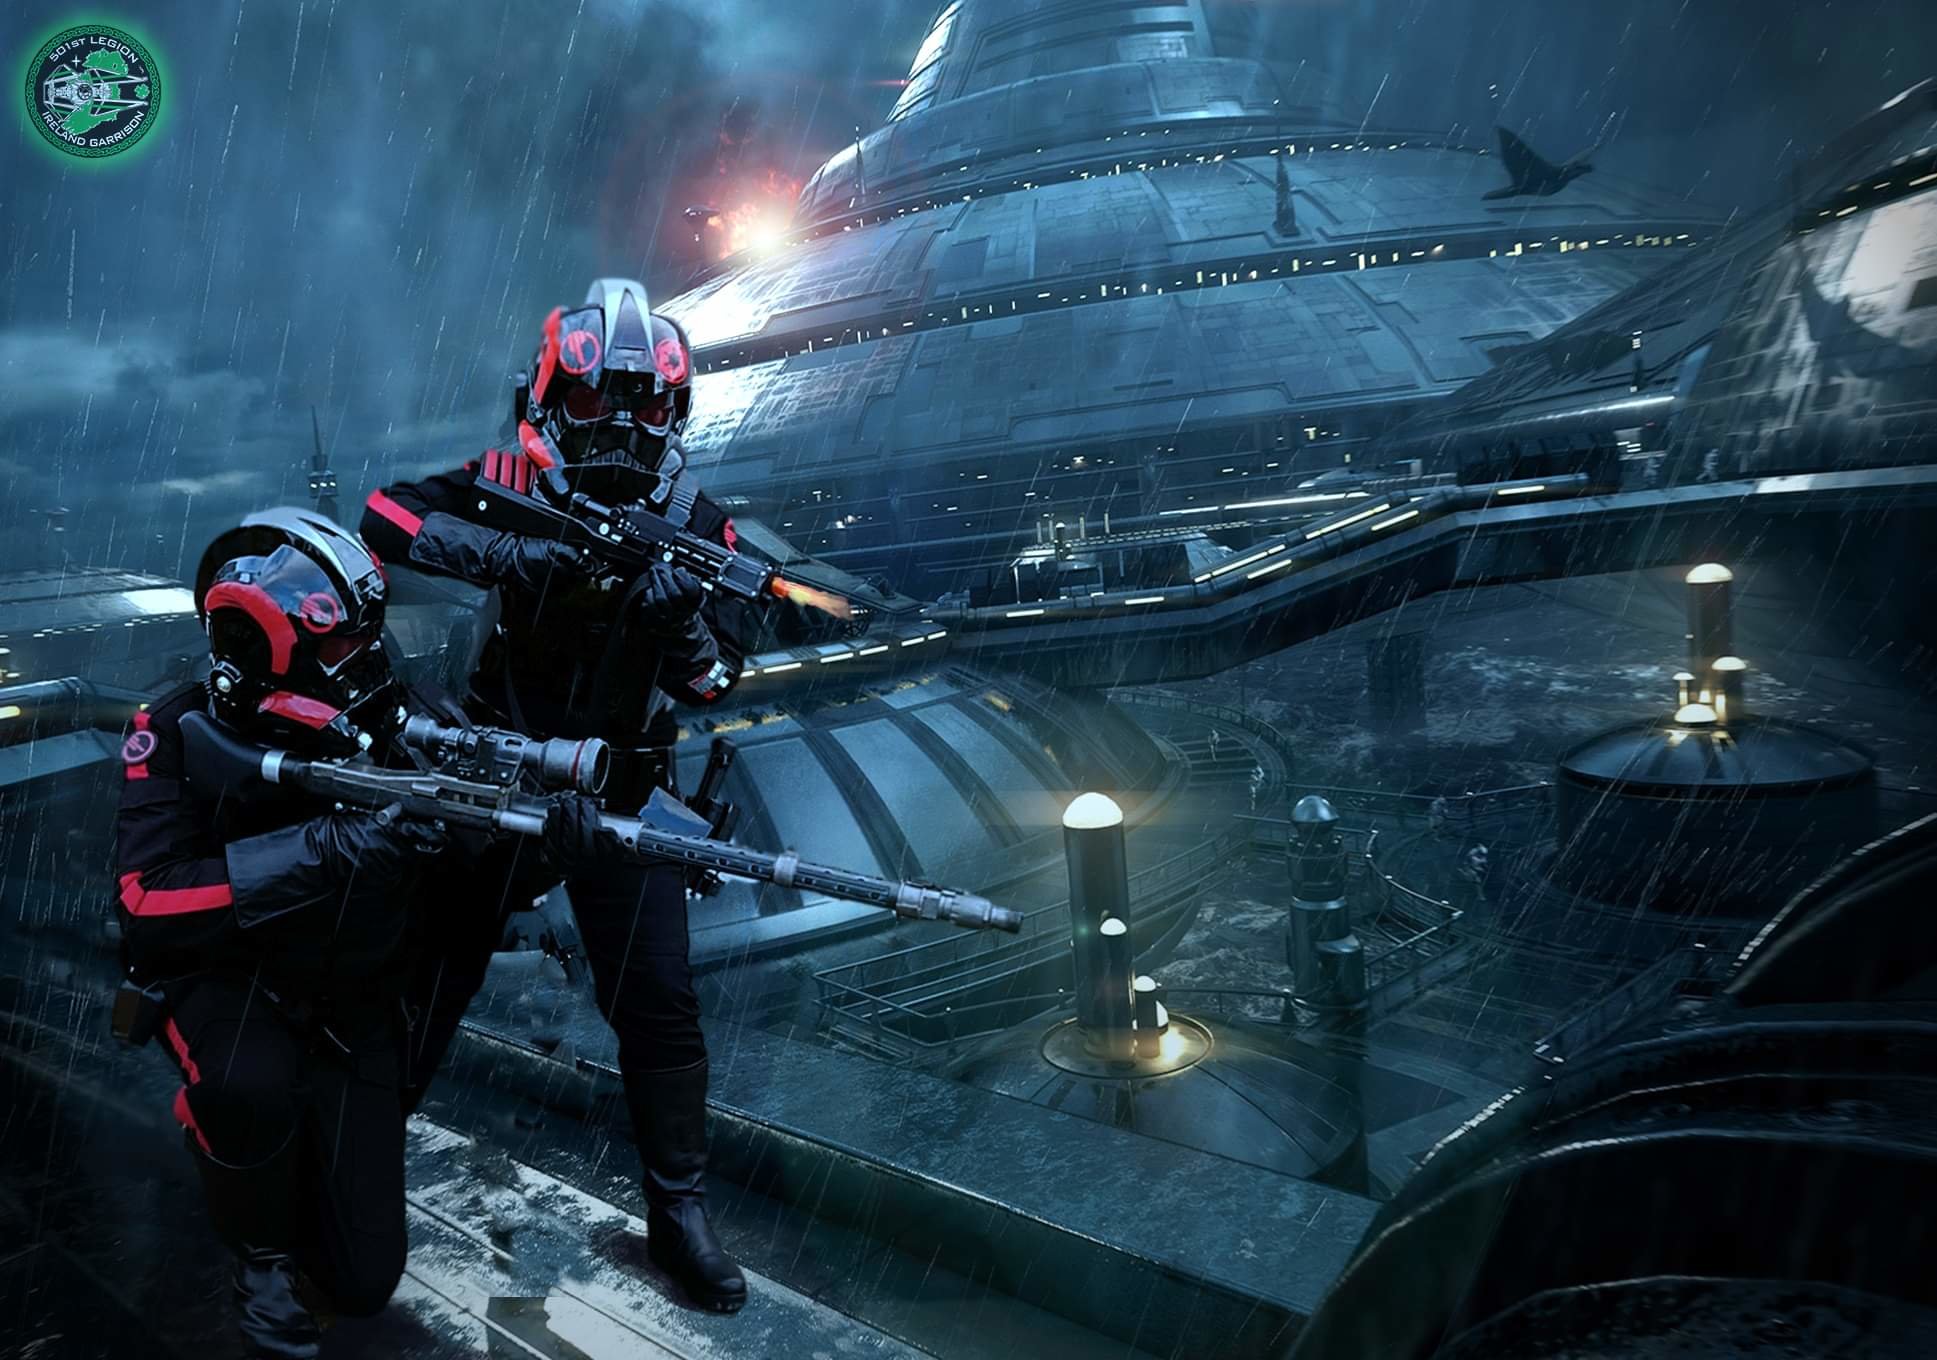
No, I think we're good on that now, cheers. Onto the holster next, and I'd offer up a few potential changes for discussion already. I've moved the comment on strap length to Lvl2, and removed the specific information on how the holster should be attached to the belt (it is invisible behind the belt, so the attachment method can be whatever works best). It is also worth bringing up the official rendering of the costume that we looked at earlier in the discussion: This clearly shows an E-11 being worn in Del's holster, so I see no need for a demand that the holster must always be empty. Holster Holster is made of black leather or leather-like material. A Stormtrooper style holster is acceptable for basic approval. Holster is worn on left side of belt. Holster is attached via 2 black leather straps which pass behind and are attached behind the belt, using two fasteners in the middle of the belt. Fasteners may be rivets, snaps, or Chicago screws. Note: The straps are slightly longer for this holster than seen on Stormtroopers. There is a retention strap which ends in a point approximately 1/2" (13mm) beyond a black snap closure. OPTIONAL Level two certification (if applicable): The holster is made of leather. A leather square is seen under the rivet at the top corners of the holster where the straps are mounted. Note: The straps are slightly longer for this holster than seen on Stormtroopers. There is a retention strap which ends in a point approximately 1/2" (13mm) beyond a black snap closure. Holster is worn empty. -
Del Meeko CRL Change proposals FEBRUARY 2025
tipperaryred replied to Blackwatch's topic in Inferno Squad Del Meeko
Cheers. Moving on to the TD. Only one more "with reference to the 3D model" change jumps out at me straight away. Thermal Detonator Attached to the back of the belt is a rectangular gloss black Thermal Detonator with a black corrugated hose. The ends of the hose is covered by gloss black end caps. The Thermal Detonator fits between the two back belt pouches. There are two silver detail greeblies on the central box. These details consist of a dome-shaped greeblie on the left side of the box and rectangular greeblie with various designs on the right side of the box. For basic (Level 1) approval a gloss black Shadow Scout style Thermal Detonator with standard greeblies is acceptable, as long as the greeblies are painted silver. OPTIONAL Level two certification (if applicable): Made with reference to the game's 3D model and scaled to the wearer. The detonator consists of a boxy central structure containing a ribbed hose, and end caps which are "closed" where the tube enters the end cap. The detonator box features a round dome-shaped greeblie approximately 5/8" (16mm) on the left side and a 3/4" x 1.5" (19mm x 33mm) rectangular greeblie featuring various designs as seen in the reference images. The standard shadow scout thermal detonator is not accurate and is not to be used for Level 2 approval. -
Del Meeko CRL Change proposals FEBRUARY 2025
tipperaryred replied to Blackwatch's topic in Inferno Squad Del Meeko
If everyone is happy with the over belt, we can move onto the scout pouches: Scout Style Pouches Two "scout" style pouches are made of black matte canvas or canvas-like material. The "scout" style pouches are filled to appear full and worn at the back of the belt. The pouches will leave sufficient room for the Thermal Detonator mounted between them. Pouches may be hung from the tactical vest waist strap, or from the over-belt strap, at the wearers choice. Pouches are a maximum of 6" tall x 5" wide x 2" deep (152mm tall x 127mm wide and 51mm deep). The lower edge of the flap will not be wider than 2.5" (63mm). Pouches are proportional to the size of the wearer and match in-game references. OPTIONAL Level two certification (if applicable): Scout style pouches match in game references. Bottom edge of the pouch flap is less than half the overall width of the pouch. Pouch outer flap has a stitch set back 5/16" (8mm) from the edge. -
Del Meeko CRL Change proposals FEBRUARY 2025
tipperaryred replied to Blackwatch's topic in Inferno Squad Del Meeko
Looks good to me! -
Del Meeko CRL Change proposals FEBRUARY 2025
tipperaryred replied to Blackwatch's topic in Inferno Squad Del Meeko
Agreed, it solves both issues at once - scaling to the underbelt, and scaling to provide a better fit on different body sizes. -
Del Meeko CRL Change proposals FEBRUARY 2025
tipperaryred replied to Blackwatch's topic in Inferno Squad Del Meeko
Over Belt The Over Belt consists of 5 gloss black boxes made of ABS or similar hard material plastic, mounted to a leather or leather like waist strap which closes under the thermal detonator. The waist strap is approximately 1"-1.5" (25mm-40mm) wide. The over belt is worn around the under belt, so that the top third of the under belt shows above the over-belt. There are special-shaped boxes on left and right of the 3 central boxes which are horizontal in position as seen in reference photos. A total of 8 rivets are present with 2 rivets mounted vertically on the left and right at the edge of the special-shaped boxes. Hanging from the right side of the belt is a hip box made out of hard material. This is connected to the belt by 1.5" (40mm) wide black leather or leather-like straps. The strap is and as long as necessary to allow the box to hang on the wearers right hip. For basic L1 approval a standard Scout style hip box may be approved. The strap is attached to the front of the over-belt through a slot on the right side of the central box. The back end of the strap goes behind the under-belt, to the left side of the thermal detonator. The hip box strap has 1.5" (40mm) quick release buckles on the front and back. Each buckle is attached at the mid point of the strap. OPTIONAL Level two certification (if applicable): The rigid front portion of the outer belt is made from referencing the game's 3D model and scaled to the wearer. The box is smaller than a typical scout box, is curved, the back is closed with a back plate, and features a rectangular depression near the bottom out facing side of the box. The boxes may be lightly stained or weathered. Silver is not permitted. -
Superb work on this one, and thanks for the tag David to remind me to check back in! Particularly loving the way that the paint scheme has developed - I think that you've got a perfect foundation for it now. Huge congratulations. Will defer to David's expertise on the wider scout detailing, though I'll add my agreement to the consensus that you've both agreed to on the collar. If the low res model doesn't clearly show a mandarin (or any other specific type of) collar, then it should be grand leaving that open on the CRL. My instinct would be a similar approach to what I attempted with the draft Inferno Trooper CRL before it got scrapped - to make sure that the "standard" Shadow Scout flight suit is clearable for this one, but to also allow a bit of flexibility for suits that might not quite hit the same standard (at least when it comes to details that aren't clearly identifiable in the references for this particular costume).
-
Del Meeko CRL Change proposals FEBRUARY 2025
tipperaryred replied to Blackwatch's topic in Inferno Squad Del Meeko
The width of the leather strap is something that has been brought up before. It's currently fixed at 40mm, while the underbelt provides a range of 51-76mm. The problem being that a 40mm overbelt looks proportionally much too big on top of a 51mm underbelt. I'd recommend allowing a similar range, maybe 30-40mm? With a line of text making clear that the overbelt strap should be scaled correctly relative to the underbelt? -
Del Meeko CRL Change proposals FEBRUARY 2025
tipperaryred replied to Blackwatch's topic in Inferno Squad Del Meeko
Yep, I think all is good there. It's the underbelt that is a bit more contentious I think, so we can address that when we get to it. Happy to move on -
Del Meeko CRL Change proposals FEBRUARY 2025
tipperaryred replied to Blackwatch's topic in Inferno Squad Del Meeko
Perfect, I think we've got the wording as good as we're going to get it for now. We've fixed a few glaring errors, cut down on some of the more verbose wording, and ensured there's a good level of detail for those pursing Level 2. I think we're good to move on! -
Del Meeko CRL Change proposals FEBRUARY 2025
tipperaryred replied to Blackwatch's topic in Inferno Squad Del Meeko
Sound, if it doesn't even appear on the 3D renders then it probably doesn't belong as a requirement for basic clearance. It might be a good rule of thumb to stick to for consistency? Features that don't appear in the game renders but are visible in the hi-res promotional images can be strictly limited to Level 2? The mesh behind the lenses is another good example of that. -
Perfect and yes, the absence of gaps seems to be a huge difference. As far as disallowing the OT TIE helmet goes then, rather than adding in loads of extra explanation to the CRL, can we simply add a single sentence along the lines of, "For further explanation of the differences in helmet styles, please see the Detachment forums"?
-
As a starting point, here is a useful thread by one of our JRS colleagues, explaining the difference between a Rogue One and an OT TIE helmet: https://forum.jrs501st.com/topic/14160-r1-vs-ot-helmet/#comment-134307 This is pretty comprehensive, so there is no need for us to waste time re-doing work already carried out over in the JRS forums. Suffice to say that the two helmets are sufficiently different that it is safe to separate the Inferno helmet from the OT TIE helmet completely. Our CRL already rules out the use of OT TIE helmets for Inferno, so the only question is whether we add some of these details to help guide GMLs. For those who don't have access to the JRS forums, the main text is below (credit to "RBJ", the DXO over at JRS): So what are the differences between R1 Ties and OT? Short answer is everything is different. I’ll start with the R1 helmet. -The face is symmetrical with much smaller eyes -there is no visible assembly hardware -cogs are idealized and white with no slit cut -the way the helmet is trimmed leaves no gaps at the sideburn area - the side “gas mask clip” area is trimmed in line with the bottom of the side burn -the ears have the gas mask clips molded in -the ears also have a small round raised area that appears on the APH helmets. Although hidden by ears on OT, it appears on that helmet as well but only on the wearers right. The only thing I think it shares with OT would be mowhawk clips and pill box. I’m probably missing somethings but our resident R1 experts can chime in😁
-
Del Meeko CRL Change proposals FEBRUARY 2025
tipperaryred replied to Blackwatch's topic in Inferno Squad Del Meeko
Good catch, though given that this has gone virtually unnoticed for years I'd say that it's safe to put this new text as a Level 2 requirement? -
Thanks for the observations so far. When I get a chance, I'd like to go back to basics and try and get a side by side comparison of the original reference images for both. Apologies for being missing the past week, I've had a lot on. I should be able to jump back into this, and Del's updates, later this week.
-
Now that we have our first Del Specialist, I think it is important to have a discussion to clarify the features of the unique "Inferno" helmet, compared to the Rogue One or OT TIE helmets. As it is strictly a Level 2 requirement, it has not been an issue for builders or GMLs in the past, but now that we are getting specialist applications in I think we need to lock it down and be as specific as we can. Dennis @Wingman, you are welcome to post up some of the media that you published in one of the Specialist threads earlier. These will help as a starting point comparing not just the canon references, but also the sculpts used by our real world vendors.
-
ISB Tactical Agent - CRL Discussion
tipperaryred replied to IcyTrooper's topic in Imperial Security Bureau
Unless we see evidence that they dramatically altered the IST tunic just for this one costume, I'd say it is safe to proceed with the previous CRL text. Do we have confirmation from those who were on set that it is 100% the same tunics used? And yes sorry, if there's anything that is 100% hidden by the armour then probably no harm either dropping it or maybe better yet moving it to Level 2.
