RAIDER
-
Posts
3,316 -
Joined
-
Last visited
-
Days Won
400
Content Type
Profiles
Forums
Events
Everything posted by RAIDER
-
Im the worst with colors/shades but will tag @Bfknto share the color(s) he used. Edit: He is the CRL model from the update we did not too long ago
-
It may be that you just need to get the bund/crotch retailored for a better fit. The crotch itself seems oversized which is contributing to the bunching. Where the belt is in these current pics…that is where your waistline is or is it higher/lower?
-
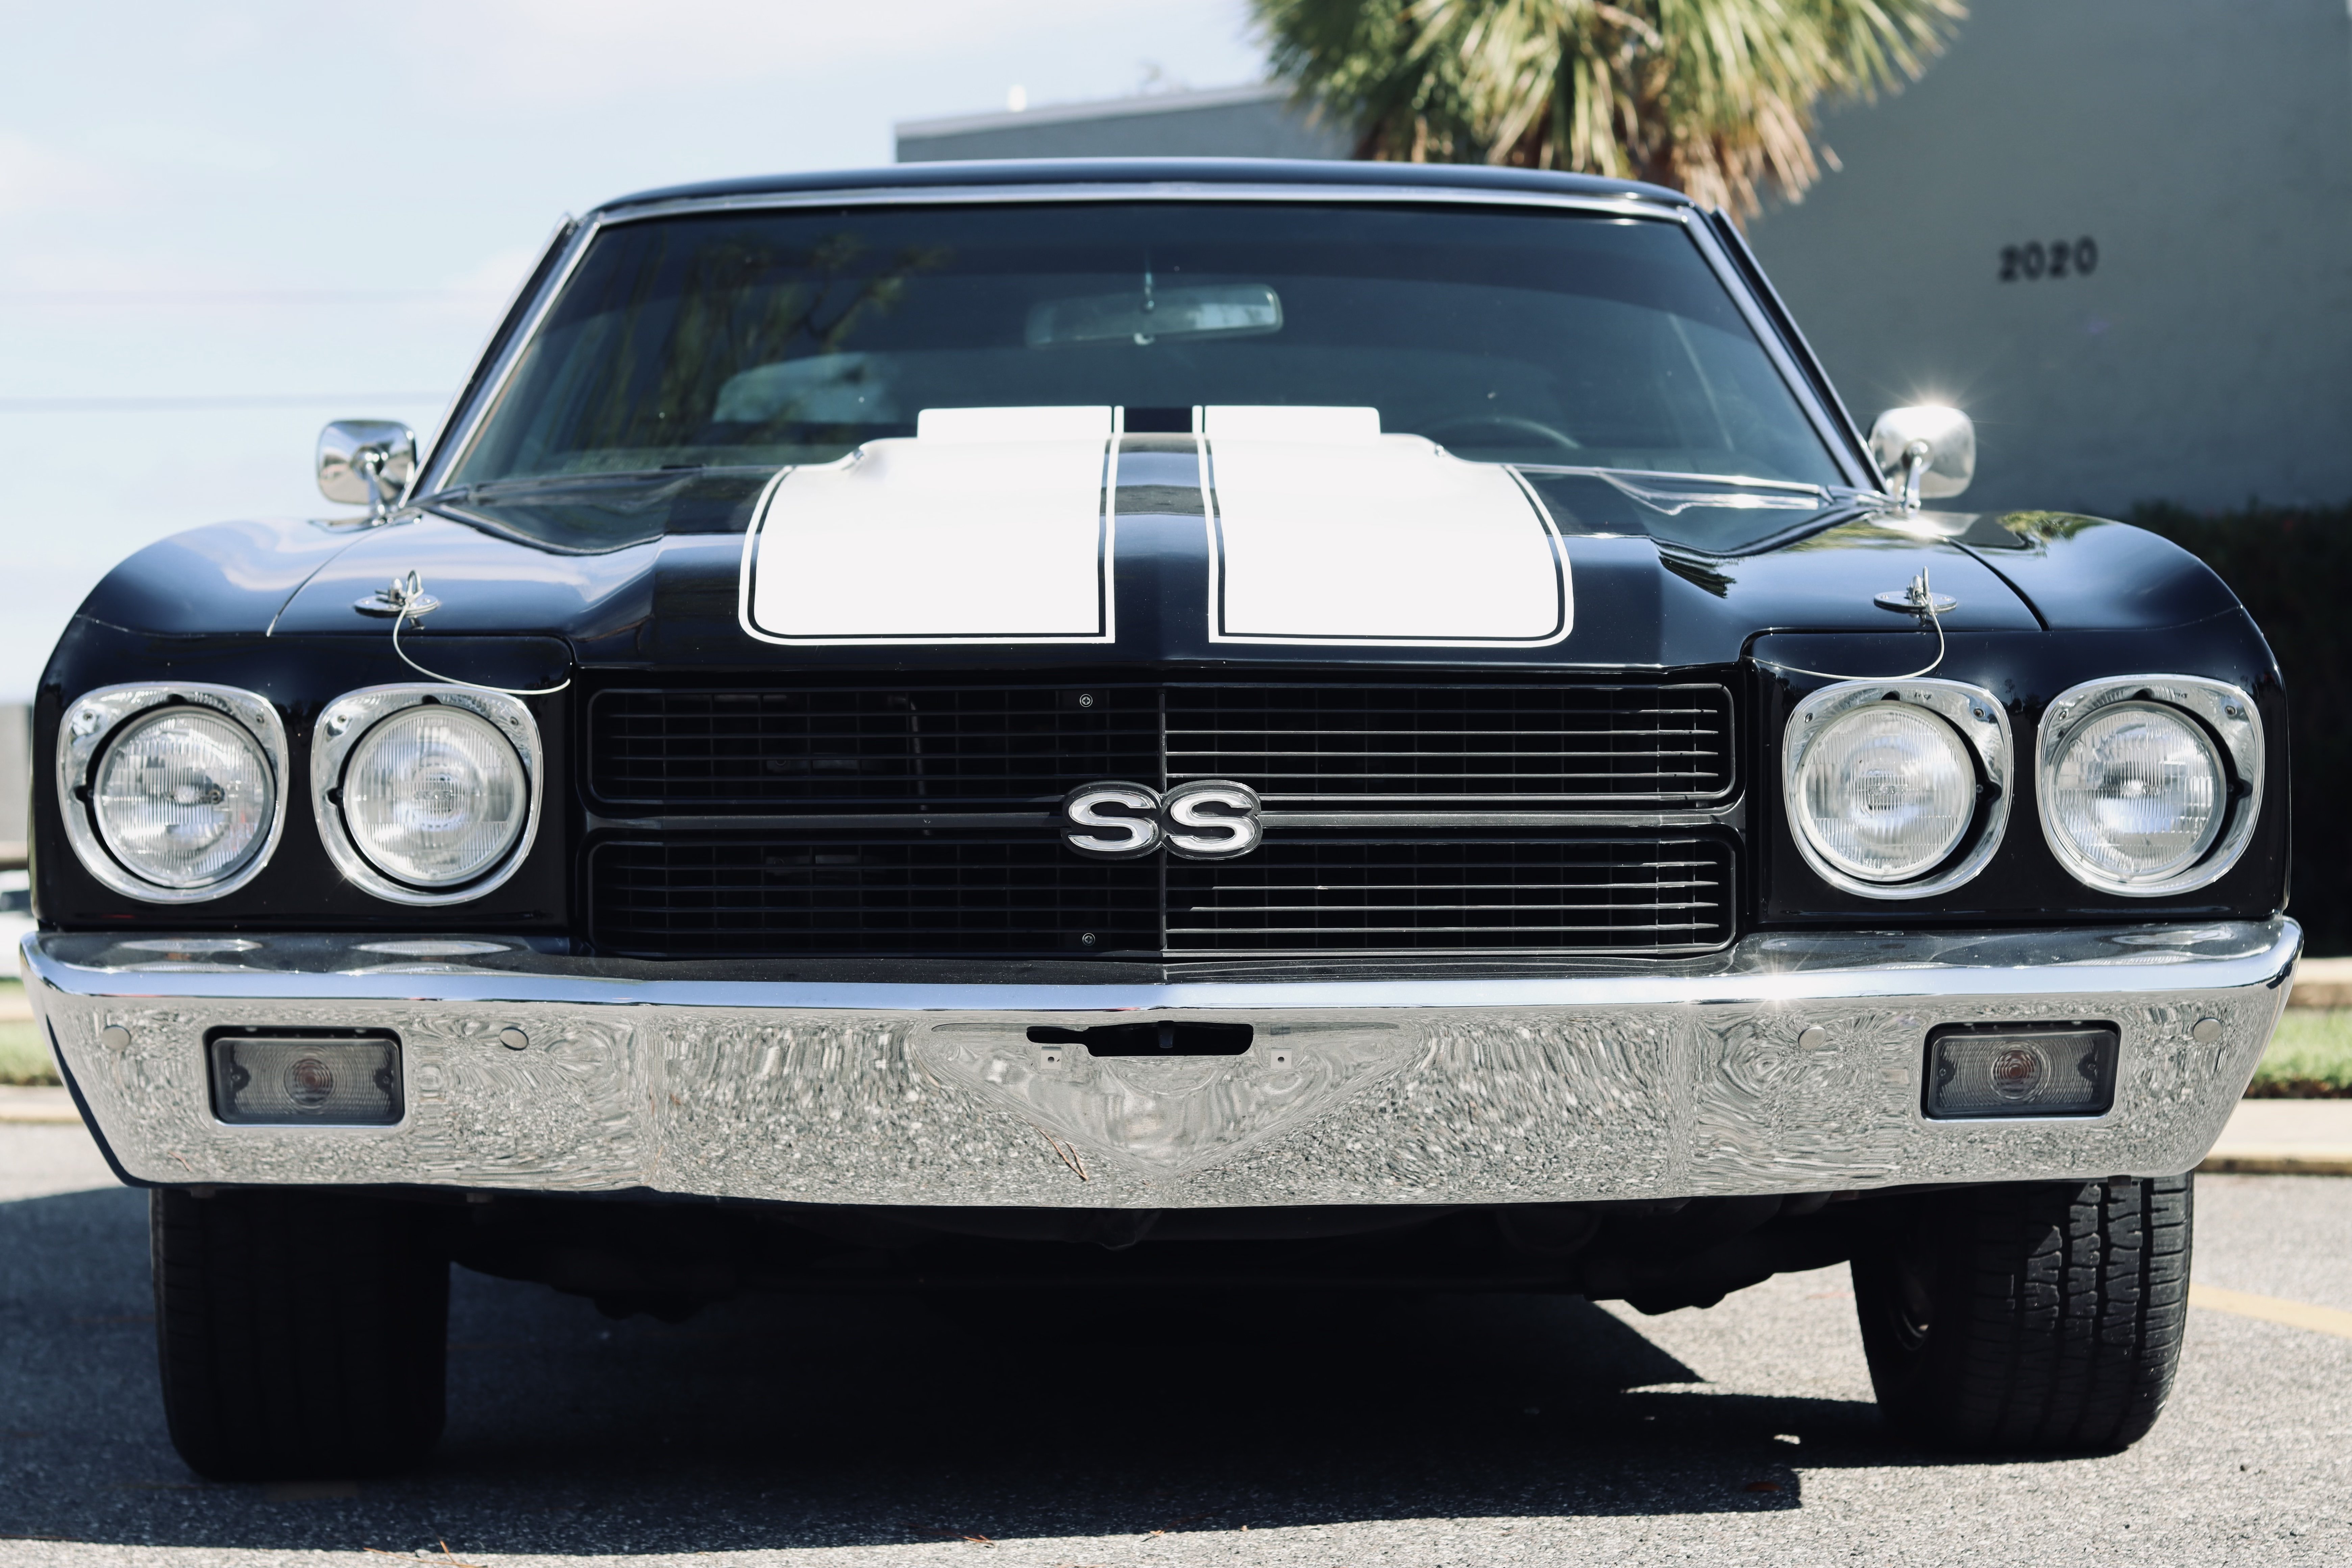
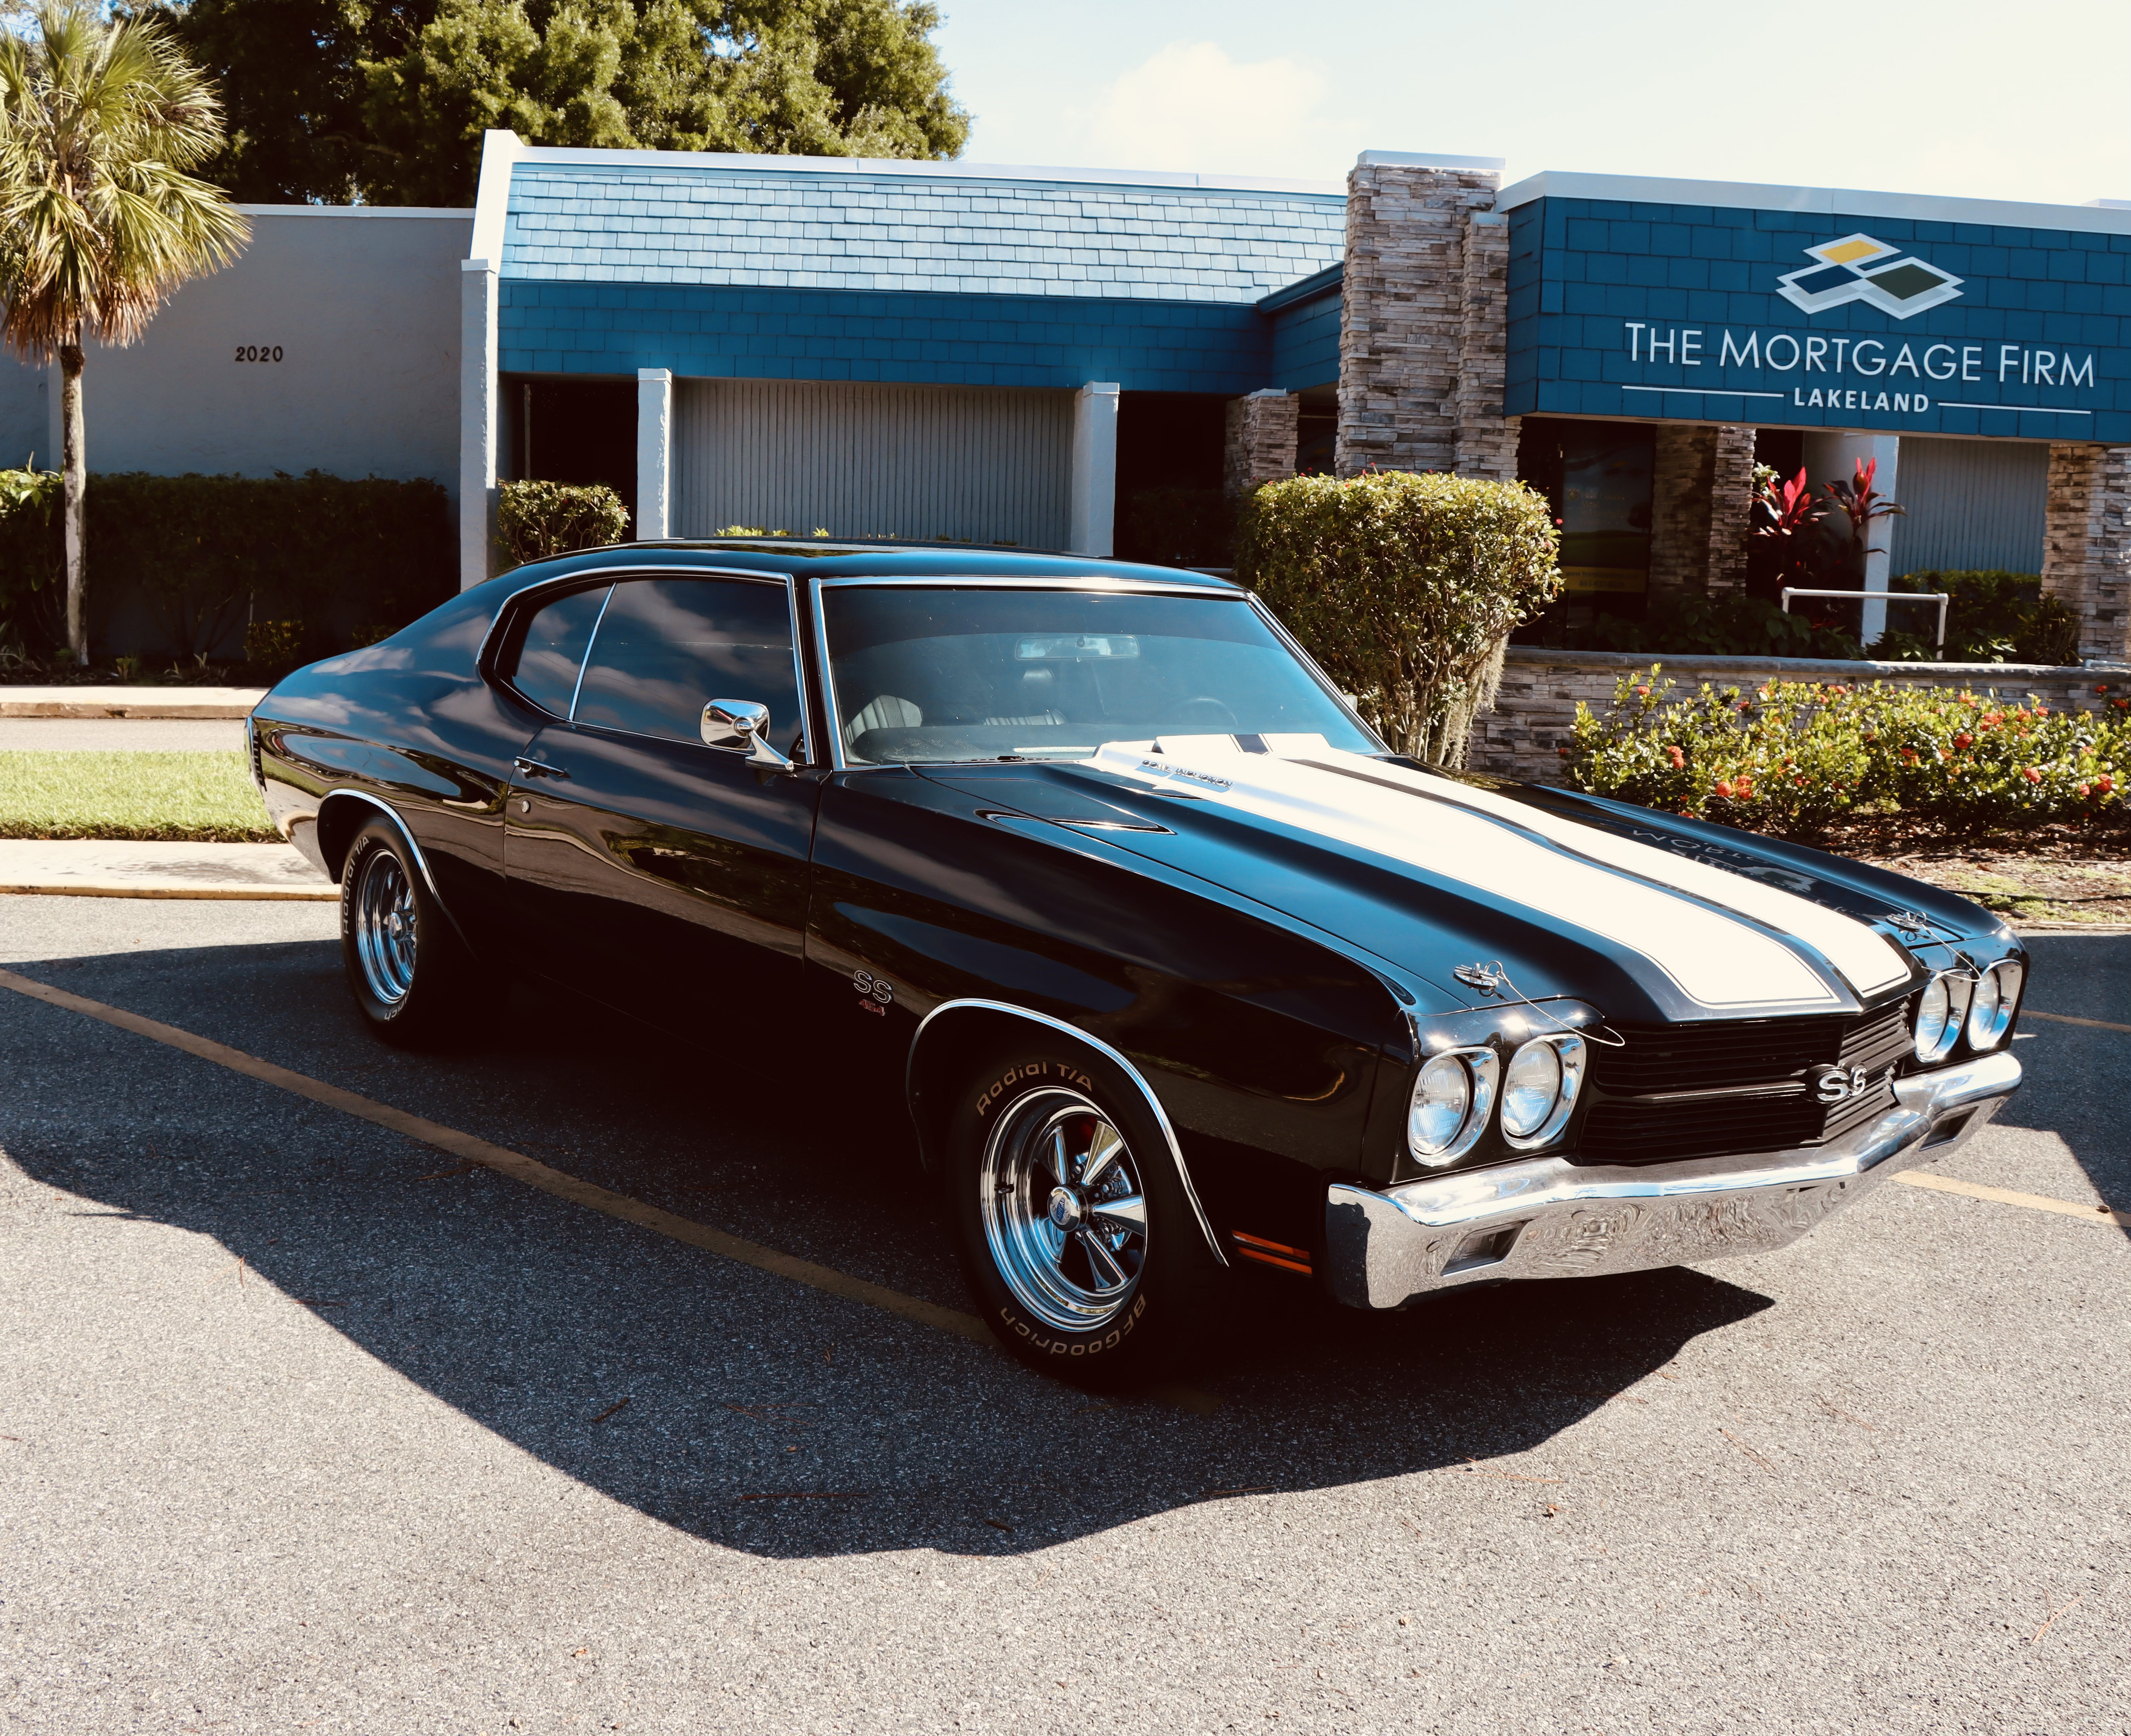
Ayyy! My guy! Your ears must have been itching ? Nice on all things…close!!! And here’s a couple shots I took of my friend’s Chevelle at work lol

-
Leather goods arrived! Spot on. Weather has been hot and super humid and so and raining when I get home from work so at a standstill at the moment till I can get a good day of painting in. Then I can start attaching these (semi-permanently) to the armor. Chest pad will be a challenge to get to fit on the contoured chest. Pouches will go on the canvas belt at the edge of the belt armor (like a Sandtrooper) when I ge the belt. Thigh straps are extra long and the “pad” under the sheath (which is a continuous piece w the straps per reference) will need to be cut and the pad trimmed back to the sheath as well.
-
@minimo Ur a standard scout…live closeby to assist?
-
I used the same paint and then used a rustoleum satin clear coat. Its nice to be able to magic eraser off scuffs BUT the finish was a little more shiny then i wanted. Initially, I assembled armor then painted. Repainted multiple times over the years and just tape the straps inside the armor and tape off whatever else needs taping off and paint/coat. You can either put greeblies on and then tape off n paint or wait…main thing try n keep the greeblies matte black (unpainted)
-
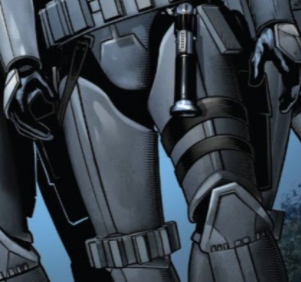
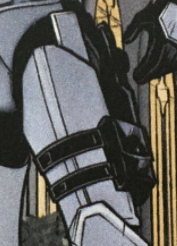
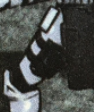
More leather updates…chest pad/knife sheaths (will be black)… Thigh knife sheath/strap. This will get screwed into the thigh armor to prevent sagging…
-
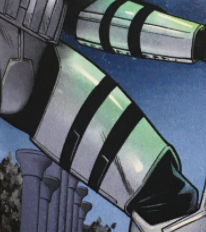
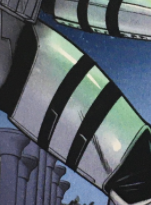
Right shoulder bell. Has no ridge like a standard TK. More closely resembles a scout trooper bell. The scale on this was pretty big and so I had to cut the armor down to get it closer to a normal TK size. Not exact but alot closer than the original print… Before trimming… After trimming with comparison…
-
Abdomen armor update… Unassembled. Assembled with fiberglass backing progress…
-
@IcyTrooper @darthRivera Yes both sides of my 3D print are the same. Do you think one side should have U cutout and the other filled in or same on both sides? Here is an underside look of the thickness.. As I look at it, it seems like the raised area cutout doesnt really swoop up…should it be more like this? And finally the issue of scale…these show a comprison to a normal TK bell and then over a bicep piece. Thoughts on scale/proportions compared to what art is showing?
-
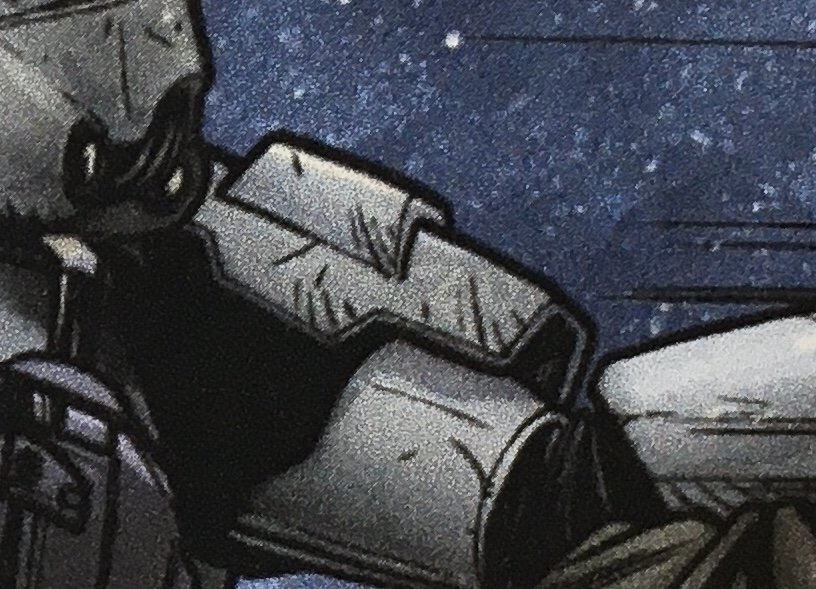
I need some quick feedback on this part if possible please @IcyTrooper @Blackwatch @nanotek @darthRivera The left shoulder. As per the usual, the references are inconsistent and I need to see what the consensus is on this part and if anything needs adjusting. In this shot notice the angled look of the bell aat the bottom as it wraps the arm (angled all the way across…not smooth like a normal TK. Also note the shape of the raised area…and that this seems to just be a shoulder bell by itself… Here is the opposite side of the bell…notice we cannot see the underside of the bell and so dont see the angled look but here the bell appears smooth instead lol which contradicts the previous reference. The shape of the raised area is also different with the “cutout” in the center. Note that it still looks like just a shoulder bell though. Here…tough to make out anything really.other than the raised area which seems to have the cutout. Here we see not a whole lot other than it looks like a shoulder bell with a bit extra size. Now heres where it gets weird…this image is from a faraway look so i had to zoom quite a bit…raised area is entirely different and looks more like an attachment to the bell. And finally…this shows an angled armor part as a bell covering…again taken from another faraway shot. NOW…here is the current model i have… First…its a decent bit larger than a standard TK shoulder bell. Smooth in that it has no ridge line. Does have a raised area that is smooth across the top. This one uses the cutout in the center-side…make note of the “swoop” upwards. It has the side-look shape which i think is right…and is using the angled (as opposed to rounded/smooth) arm opening at the bottom. My biggest questions… Does the raised area and style of the cutout look good or does anyone see something that may need adjusting? Does the angled arm opening (and then how that angles the lower parts of the bell) seem ok?
-
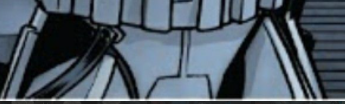
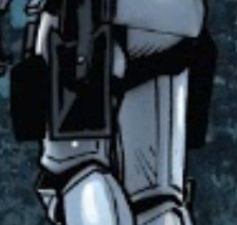
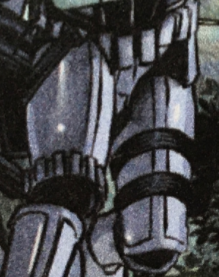
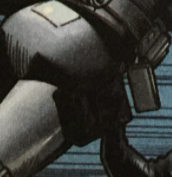
Armor update. After attempting the modification of TK parts and not being pleased with achieving the unique details nor the overall weight of the armor, I opted for some custom 3D modeled parts… The chest…unassembled… Assembled with fiberglass backing…view to show upper details. The squared neck line w recessed area (similar to a Shoretrooper). The notches in the shoulders are just guidelines for the shoulder straps. Lower view to show the return edge seen in references… Straight on view…
-

Shadow Stormtrooper Assembly Entry 1
RAIDER replied to Grand_Commander_Umbra's topic in Armor Assembly and Trimming
To add on the hand plates…if you’re intent is to build to what we call “Level 2” or “Specialist” (these are the blue requirements on the CRL) you will need latex hand plates which would settle the thickness for ya as u wouldnt trim em. -
So the hilt is required basically? Ultimately I will roll w whatever…esp w what other dets have laid out before…just trying to make it make sense to me lol…for it to be required but not really which then makes it…optional (?). I dunno.
-
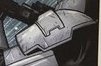
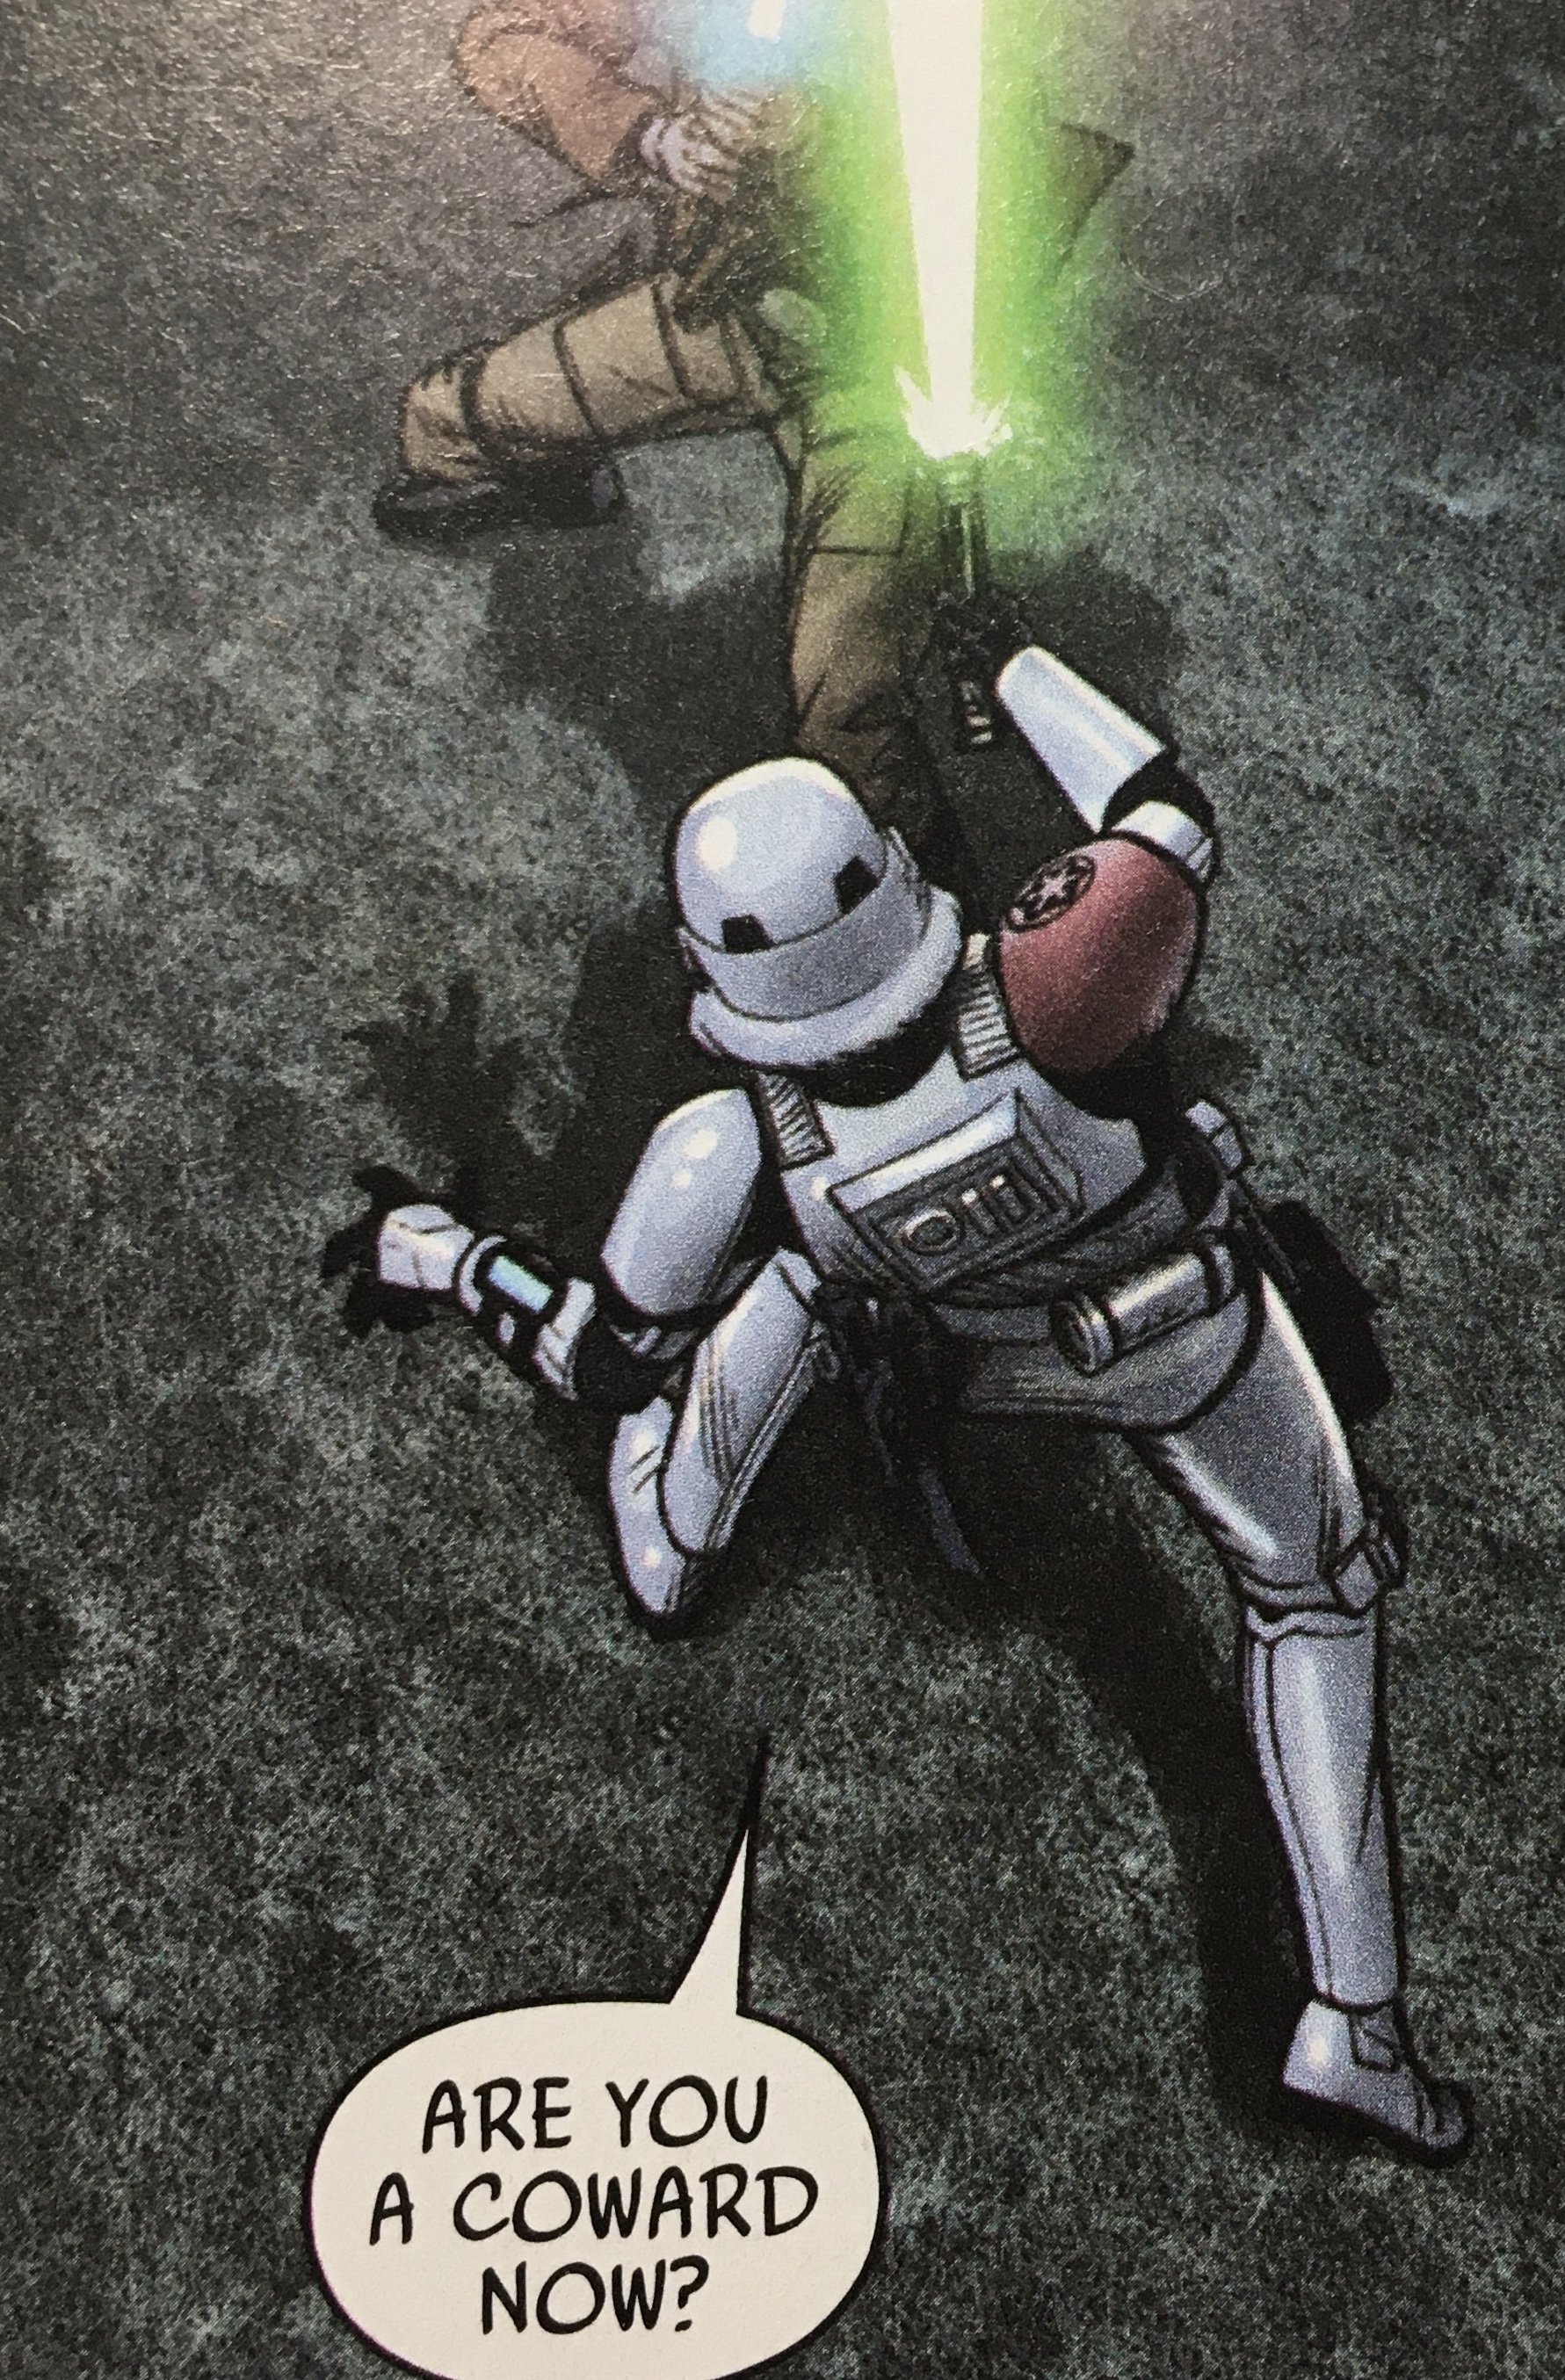
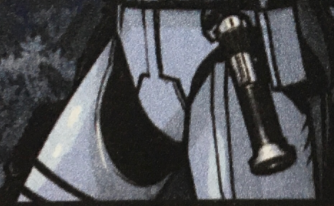
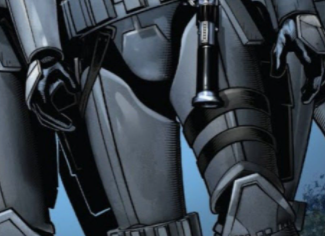
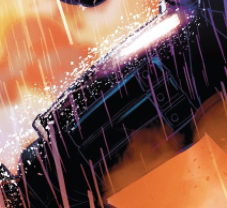
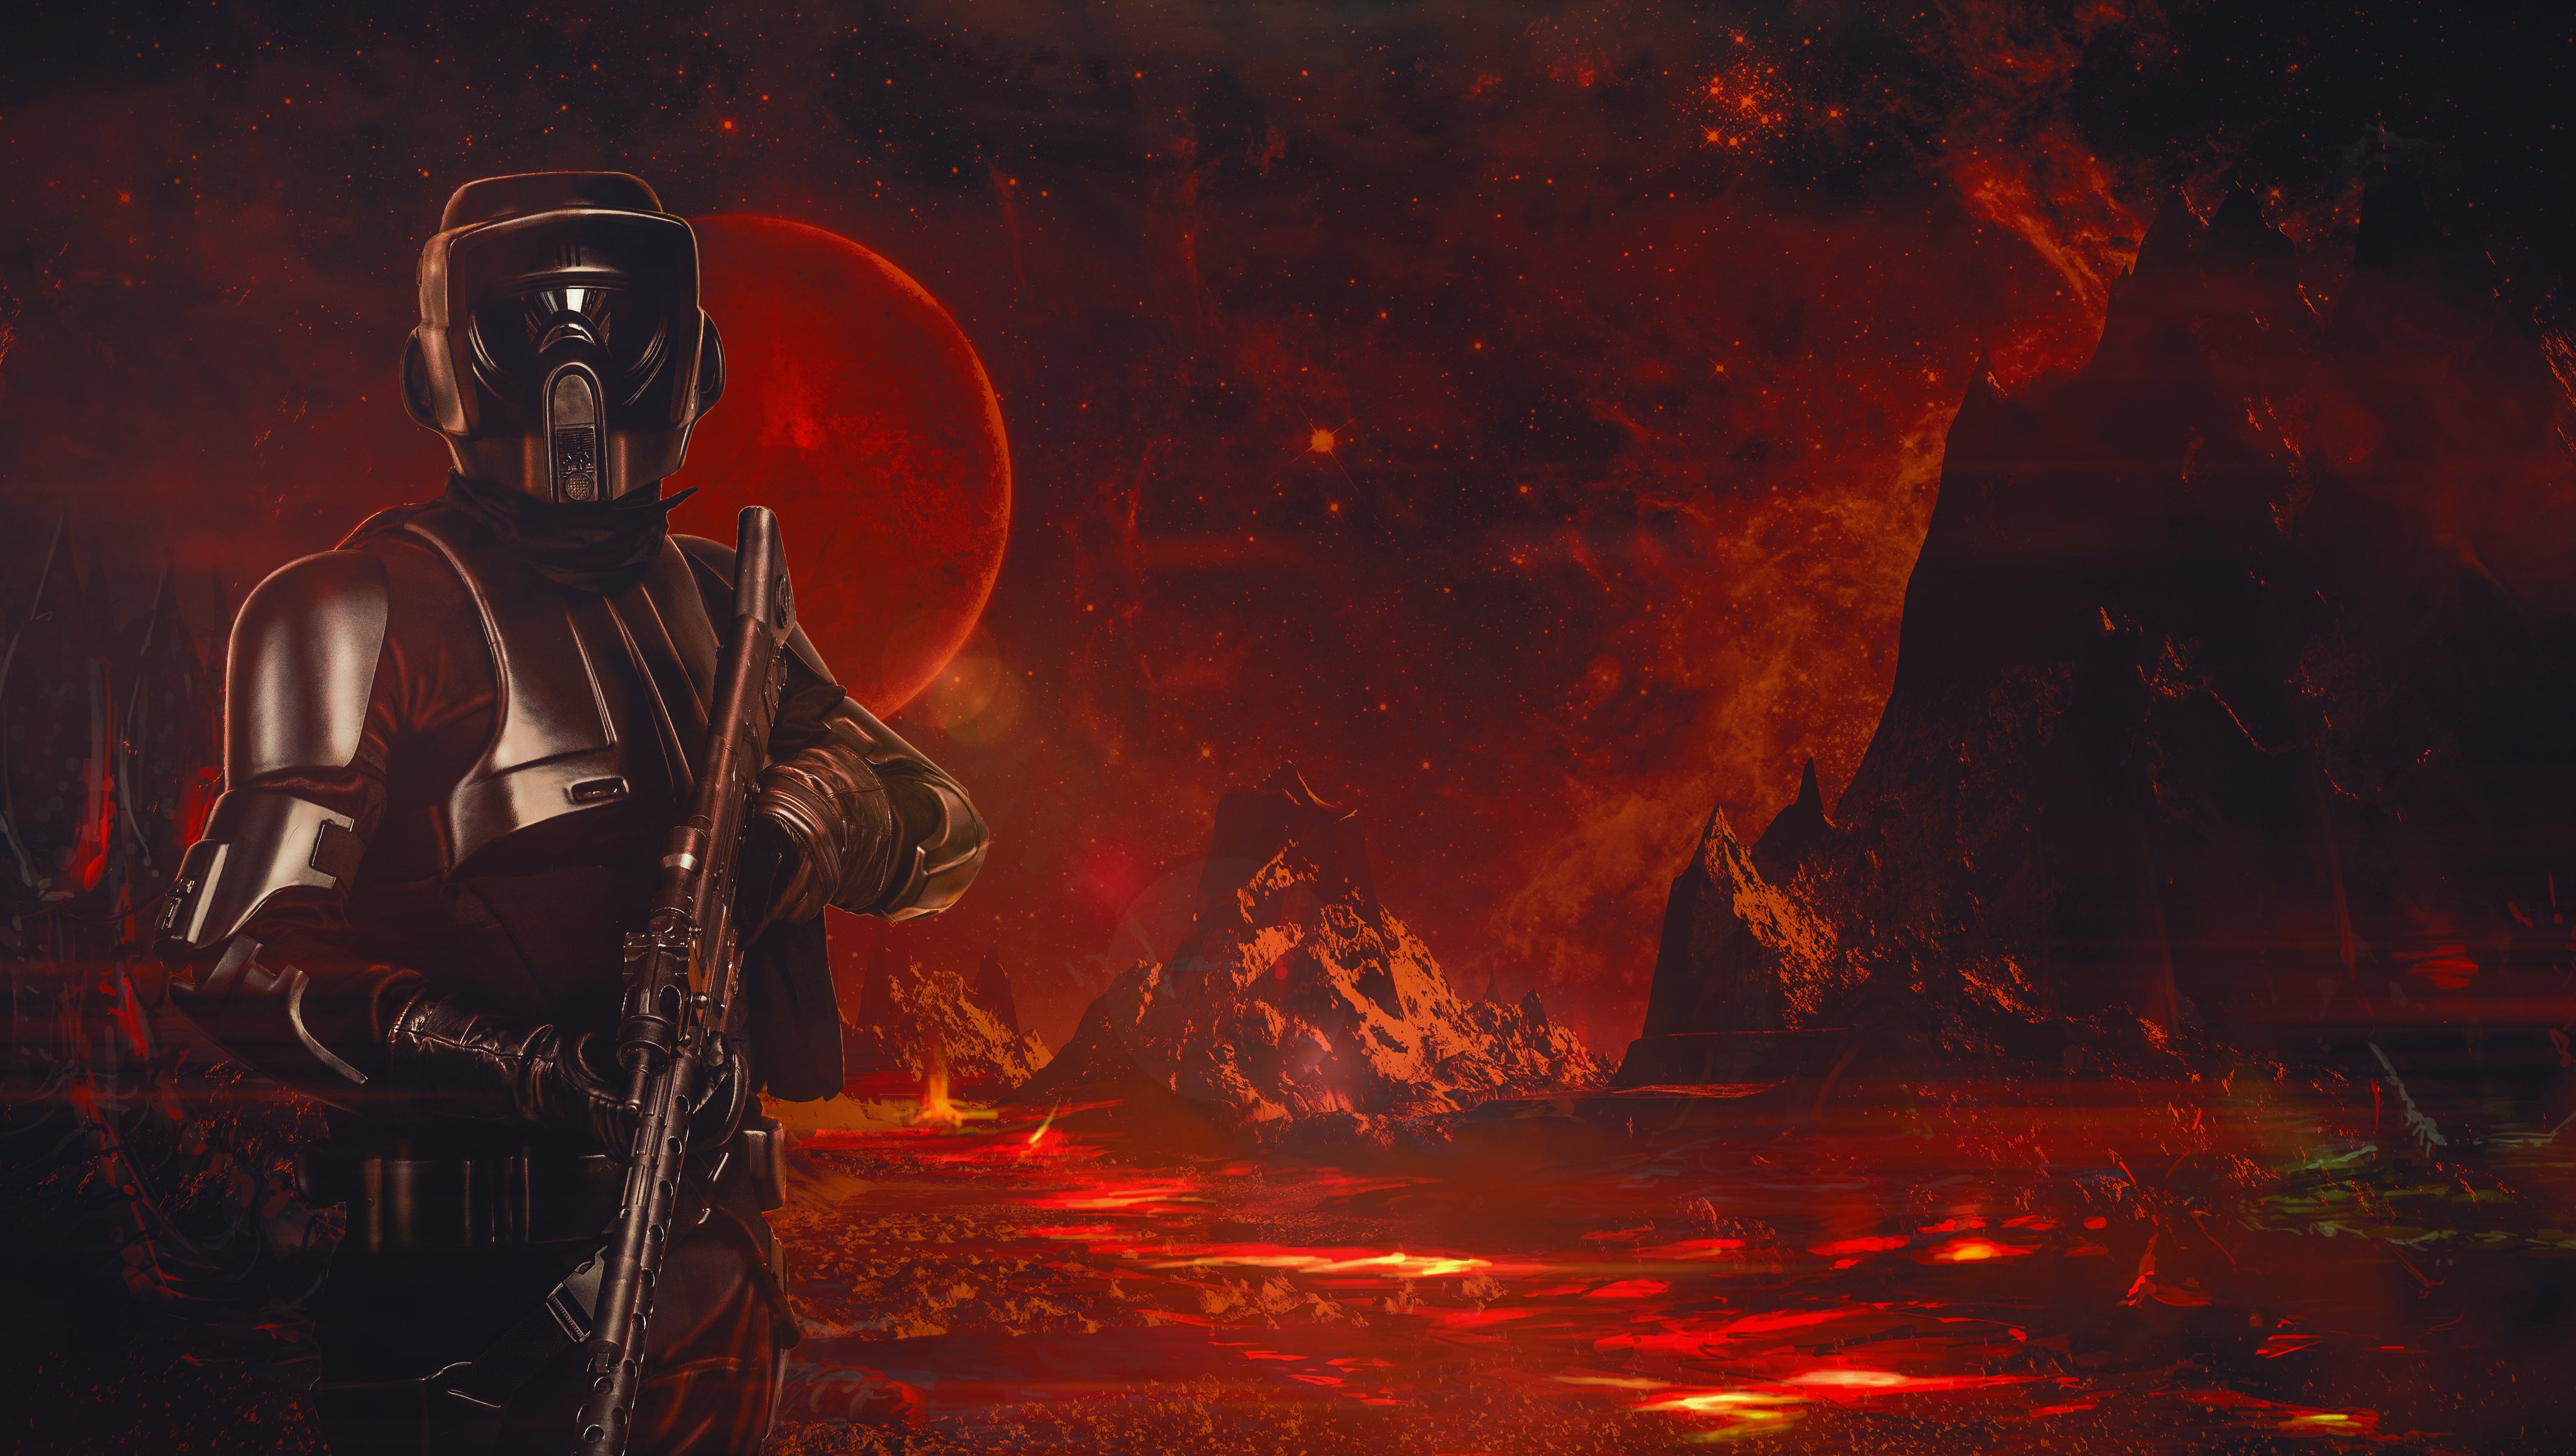
The final bits... Lightsaber...not sure exactly how we should rock this. Not a common thing I've ever dealt with...if I remember right, it was discussed earlier to put this in the mandatory reqs. I get it...but w/ the line about local laws...I think it just sounds better to leave that out and move it to optional. Is there anything else we can type up about the lightsaber description? Again, I have no idea how typical sabers from SLD or TFE are written. E-11...standard issue unless anything special was noticed in panels. For this (and any other weapon)...being optional...I'm ok including whatever weapons any version uses like most of our other CRLs. Lightsaber The lightsaber is accurate to what is shown in the illustrations within "Star Wars by Marvel Comics (2018) - Issue #59. The lightsaber is only included as long as it's in compliance with the applicant’s local laws. E-11 Blaster (Optional) Manufactured by BlasTech Industries, the E-11 is standard-issue for many Imperial troops. Light, compact yet powerful, the E-11 blaster is always in high demand throughout the galaxy. Based on a real or replica Sterling sub-machine gun, scratch-built, or a modified commercial toy Stormtrooper blaster. OPTIONAL Level two certification (if applicable): Folding stock. Stock does not need to function. A real or replica ammo counter - based off of a Hengstler counter - should be present. D-ring mounted on the rear. Correct style scope. Two power cylinders on the magazine. Scratch-built, resin cast, Hyperfirm rubber cast blasters should have a total of 6 t-racks on blaster (leaving the lowest row on the Hengstler side un-covered). If using the Hasbro E11 toy blaster, it is modified to have the correct number of T-tracks (6 total), with a lower row of open vent holes on the magazine housing side. This is accomplished by covering the pre-existing rows of holes with T-tracks, then grinding off the lower integrated T-track on the magazine housing side, and drilling a new row of holes in its place.
-
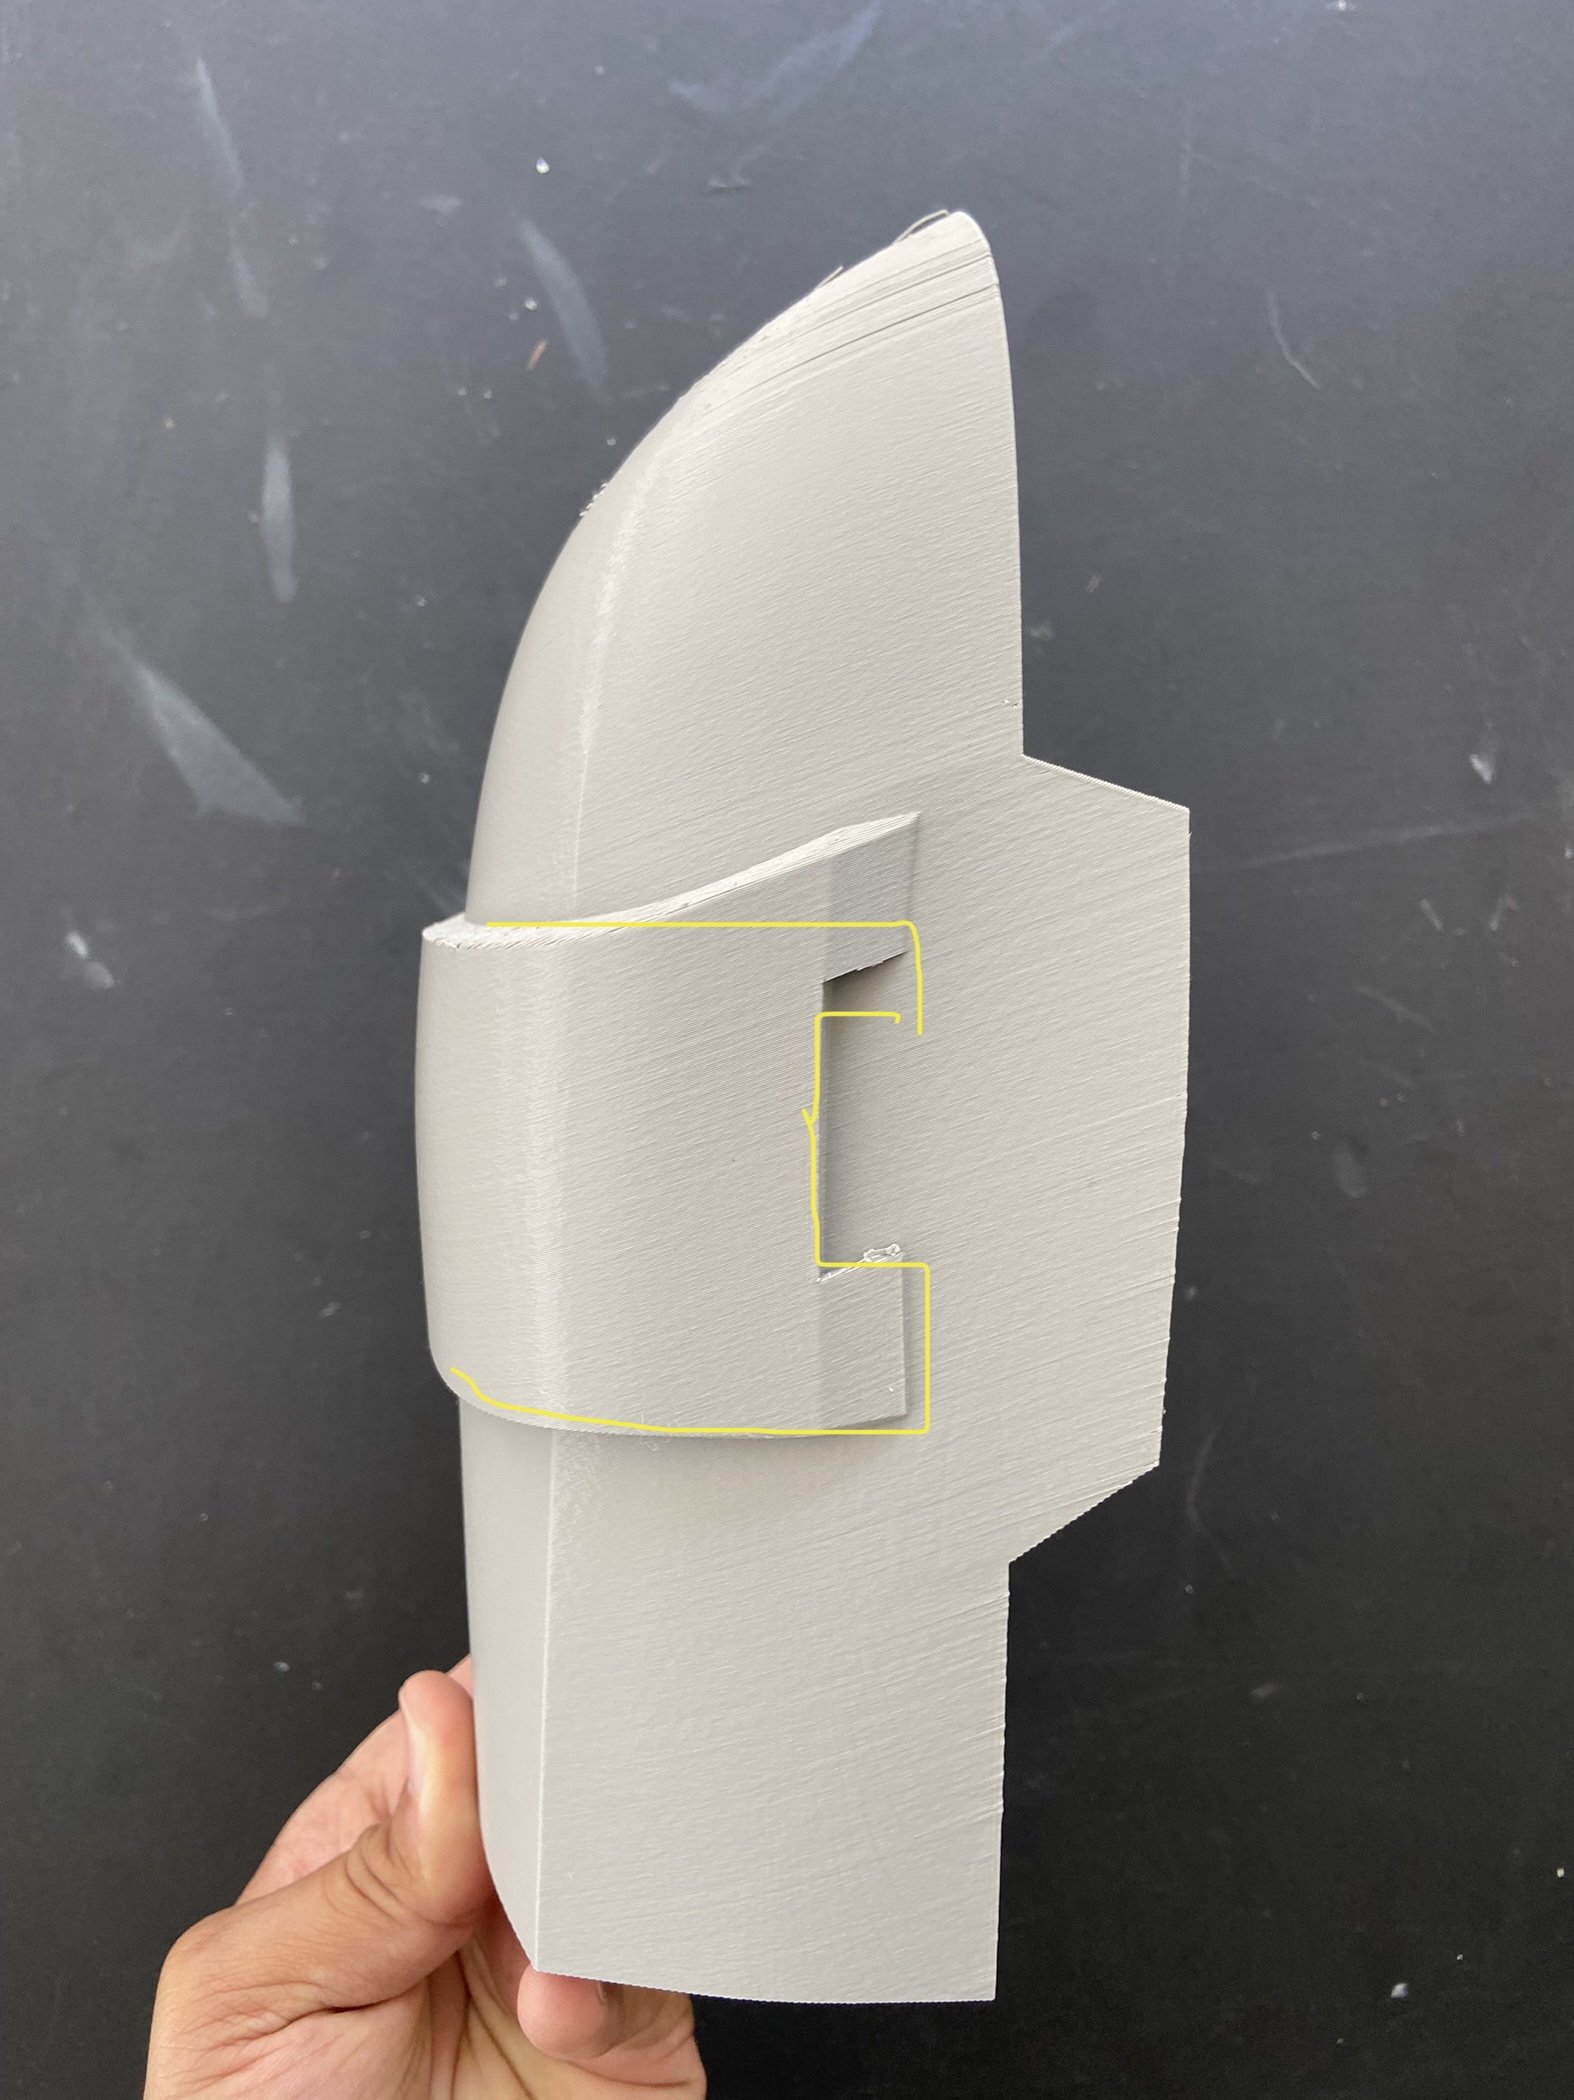
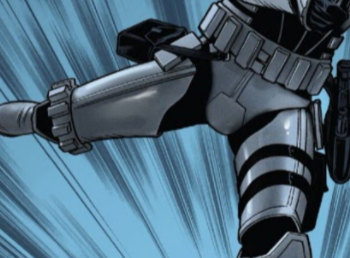
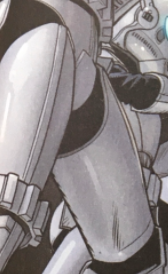
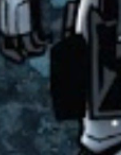
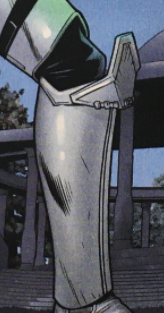
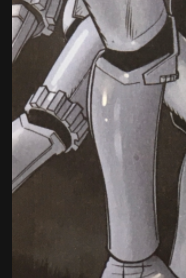
the first fitting! exciting a couple things id suggest as a gml would probably mention it (i know mine here in florida would)…tried marking spots in yellow for ya… -rotate the shoulder bells forward -see if theres a way to minimize that gap between belt and pouches -bund should not creep out below the belt in either front or back -crotch bunching (see the crl model…this would be probably ur most pressing fix) hope that helps! feel free to post more pics if u need more feedback. looking fwd to seeing a sharp approval from ya soon!!!!
-
sounds good to me! once thighs are posted i will get the lightsaber and blaster prepped tomorrow and the text should be wrapped up then we will need model pictures of everything to make sure the build matches the standards (and determine if adjustments to the build are needed) @darthRivera i will let @IcyTrooper determine how he wants to coordinate that with you
-
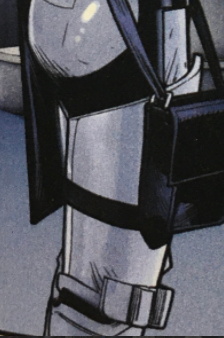
To muddy the waters further lol... Higher up…rivet, squared bottom corners. Here looks lower…no rivet. And here it's hard to tell, but I'd say high again. So all that to say…it looks like 50/50 on it being higher or lower…50/50 on the rivet…and 50/50 on the bottom corners of the ammo pouch. Not sure if there's a way to ok both or if that makes it too confusing.
-
The beauty of comics lol.
-
Just pinging a follow up @darthRivera on pouches and @IcyTrooper on those thigh/ammo observations. holler!
-
Im not familiar w the TK Commander thigh…but would these indicate ANH? visible top ridge Though of course theres this shot showing it higher up tho the bottom corner does look rounded…also no rivets.
-
Imperial Flametrooper (Jedi Fallen Order)
RAIDER replied to stevechewbacca's topic in Imperial Flametrooper (JFO)
Explain for me whats going on w that foam plz. Just curious. @Scubacat Ud be melting all the snow away in this puppy lol -
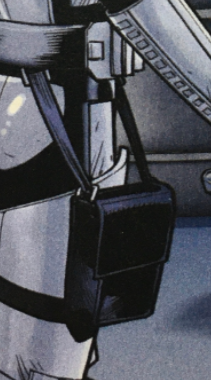
@darthRivera Alright So lets clarify this n give me your thoughts…the strap from what we can see loops behind the pouch. Yes? I dont see any visible loops on the side of the pouch. Pouches…Id like some approx measures so we dont get a crazy array of pouch sizes and stay in a certain “pocket”. Can you provide some as guidelines? Are these similar to pouches we see on Sandtroopers for example (like Cav has what looks to be a modified medium Spanish pouch)?
-
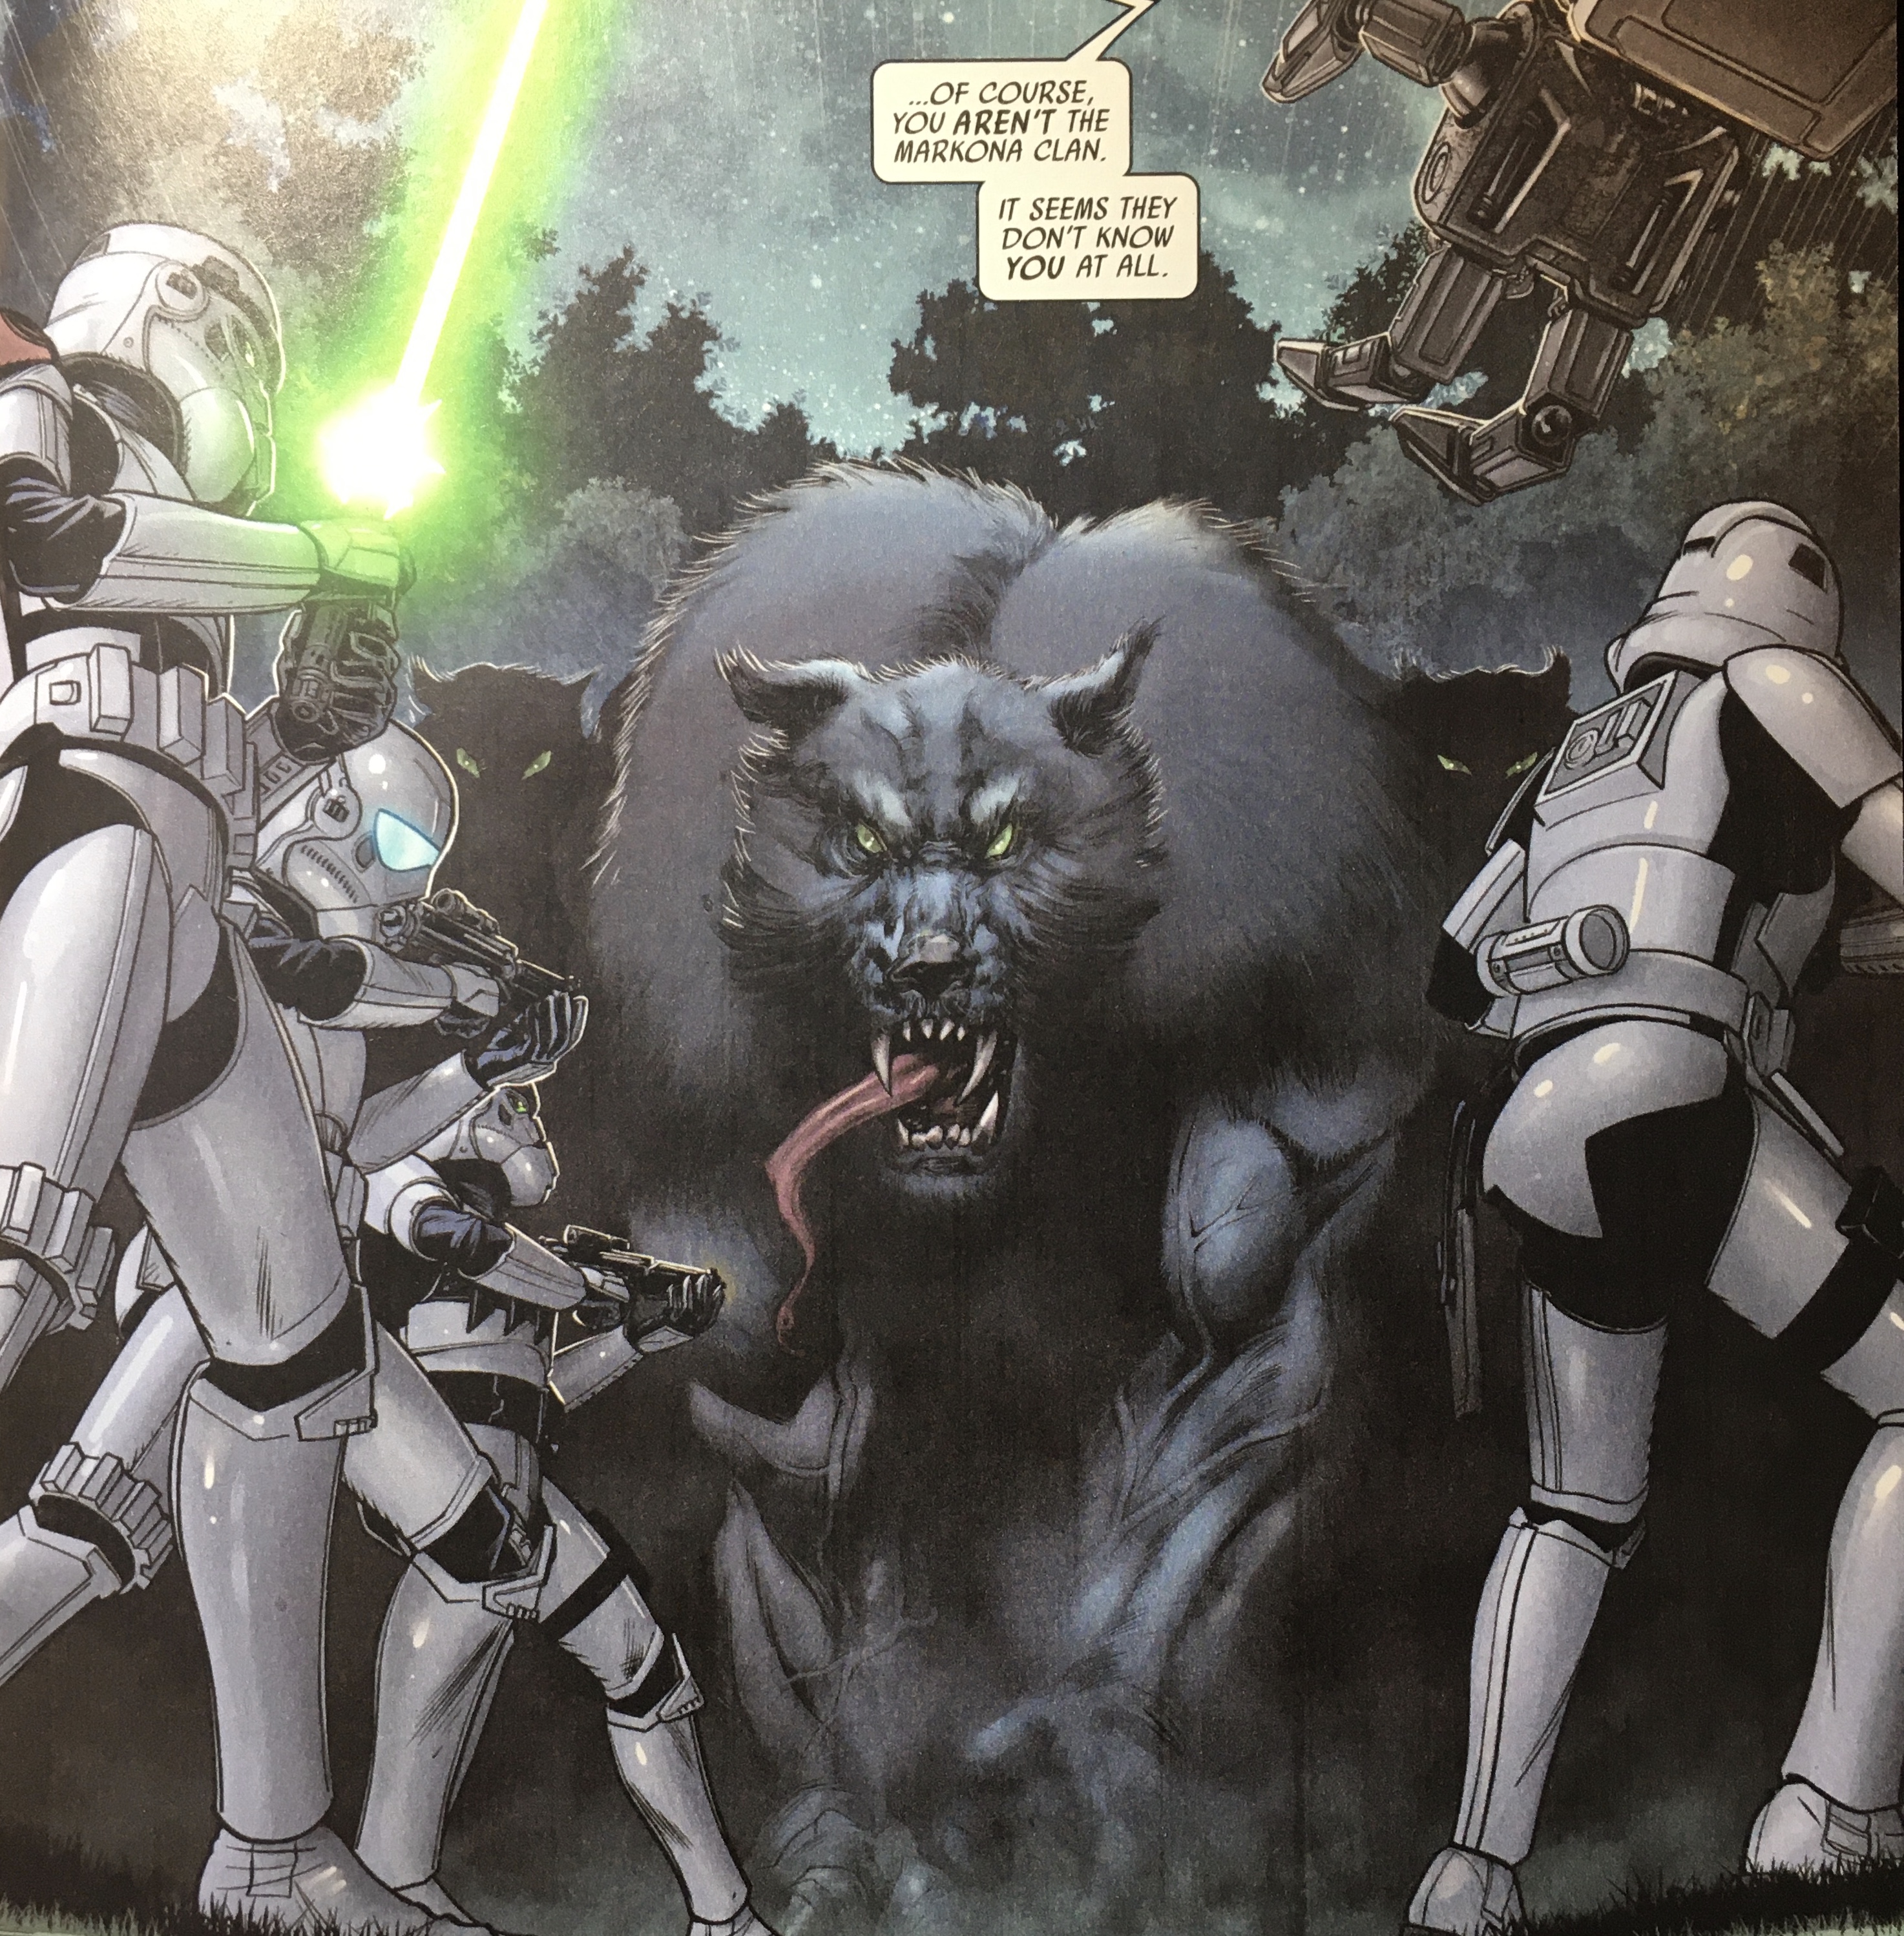
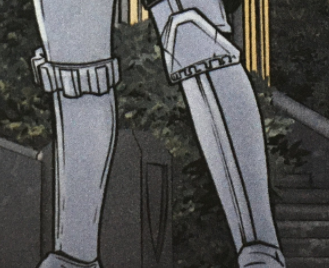
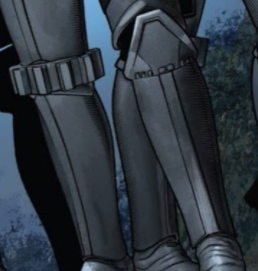
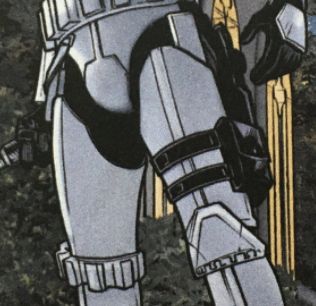
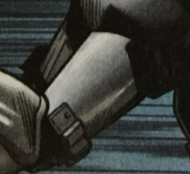
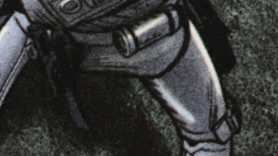
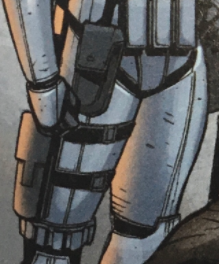
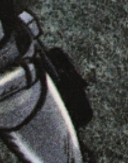
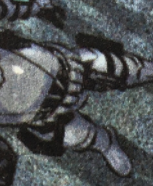
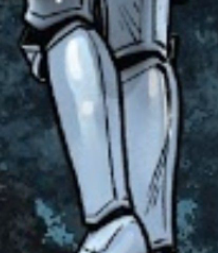
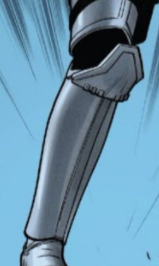
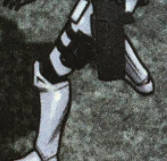
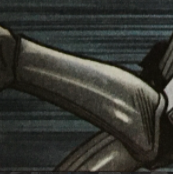
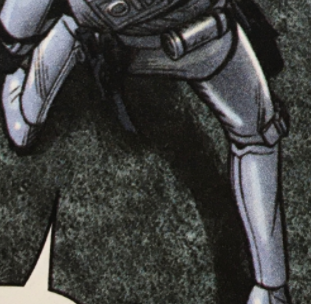
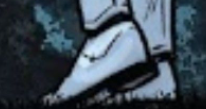
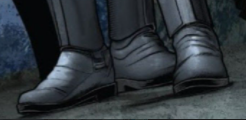
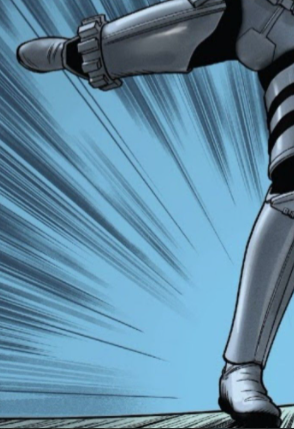
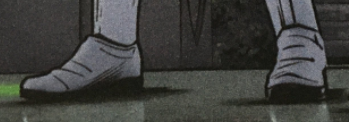
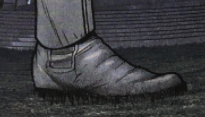
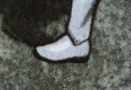
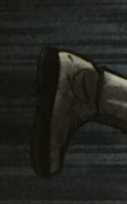
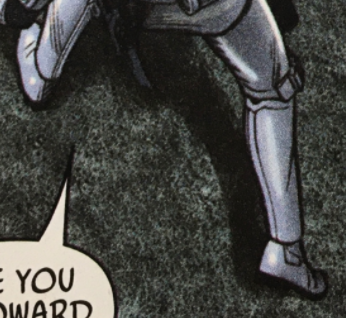
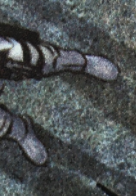
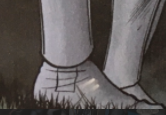
Now for the leg portions and we are close to finished! For thigh armor I highlighted a couple things to verify against references. Thigh pouches I have as one entry unless you think we should split into 2 separate. I highlighted where I added elastic as an option for the left thigh strap. For the right thigh, I highlighted one little word that I just need verified…there is just one strap looping behind the pouch and connecting to the belt metal rings @darthRivera? I'm also wondering if we need to be any bit more descriptive of the pouches shape, if they have flaps or not, approx. measures, etc.. What do you all think? I didn't notice anything of question on the shins or boots, but verify just to be sure we didn't miss anything from references. Thigh Armor The thigh armor may open and firmly close in the back allowing the two halves to appear sealed. The small ammo belt is installed on the bottom of the right thigh. The bottom corners of the thigh ammo belt shall be rounded off. Overlap construction is only allowable for kits that come with the cover strip molded into the part. Cover strips must end at the top of lower ridge in front and back. If the two parts of the thigh armor cannot fit the user, cover strip should not be too wide. Instead, shims can be used to close the back of the thigh armor. Shims shall have a similar material and color to the whole armor, should be flush without seams. OPTIONAL Level two certification (if applicable): The thigh ammo belt must be attached to the thigh armor with a solid head rivet or fastener, painted white in the upper corner and fastened to the lower thigh ridge. Rivet diameter should be approximately 5/16” (8mm). The rivets used shall be single cap, double cap or split rivets. Standard pop rivets are not allowed. Must be constructed using the butt joint cover strip method. Overlap construction is not allowed. Thigh Pouches There is a medium pouch on the left thigh held by two straps. The pouch is black in color and made of leather or leather-like material. Pouch is proportional to the size of the wearer and must match dreferences. The strap is approximately 2" (50mm) wide. Black in color made of elastic, leather, or leather-like material. On the right thigh is a large pouch, held by a strap. The straps are fastened to the belt with square metal rings. The pouch is black in color and made of leather or leather-like material. Pouch is proportional to the size of the wearer and must match references. The strap is approximately 1.5" (40mm) wide. Black in color made of leather, or leather-like material. Lower Leg Armor The shin armor is able to open and firmly close in the back allowing the two halves to appear sealed. The trapezoid knee plate is affixed to the top of the left shin. Overlap construction is only allowable for kits that come with the cover strip molded into the part. OPTIONAL Level two certification (if applicable): Sniper knee plate must be aligned with the ridges on the shin. The sniper knee plate must not have visible rivets or fasteners attaching it to the shin. Shins are constructed using the butt joint cover strip method. Overlap construction is not allowed. Boots Boots are above ankle height and made of black leather or leather-like material. Small U-shaped elastic sections on both sides of the ankle. Flat sole with a short heel. No buckles or laces. Jodhpur/Chelsea-type boots or an equivalent style is acceptable. Elvis or Mariachi boots are not allowed. OPTIONAL Level two certification (if applicable): There is no seam present on the front of the boot.
-
I know we will check the text when it publishes but a couple things… hand plates are marked as black. should be white id say list the pauldron as simply that since the description lists the color