IcyTrooper
-
Posts
4,136 -
Joined
-
Last visited
-
Days Won
383
Content Type
Profiles
Forums
Events
Everything posted by IcyTrooper
-

ISB Tactical Agent - CRL Discussion
IcyTrooper replied to IcyTrooper's topic in Imperial Security Bureau
Now that I look further into it, I think the IST one is probably better. There is a lot of verbiage from the Meero on that references pants, etc. We'd have to cut that back anyways and it'd most likely end up close to the IST one. @Blackwatch if possible, can you add the bullets going forward? That will keep the stuff in the direction we want when we get down to some other items that have extra levels of detail. I think this text is good for going forward: Hat Fabric matches the tunic and pants. Base of the hat is conical, with a crown about 4" (101.6mm) tall. Front and rear “flaps” overlap on the sides and are about 4" (101.6mm) high. Front bill extends 3" (76.2mm) down, decorated with (5), (6), (7) or (8) concentric stitches. An Imperial Code Disk is positioned in the center of the front vertical “flap”. OPTIONAL Level two certification (if applicable): Disks do not feature a notch or groove details. -
Are there more pics? Does it say who the maker is?
-
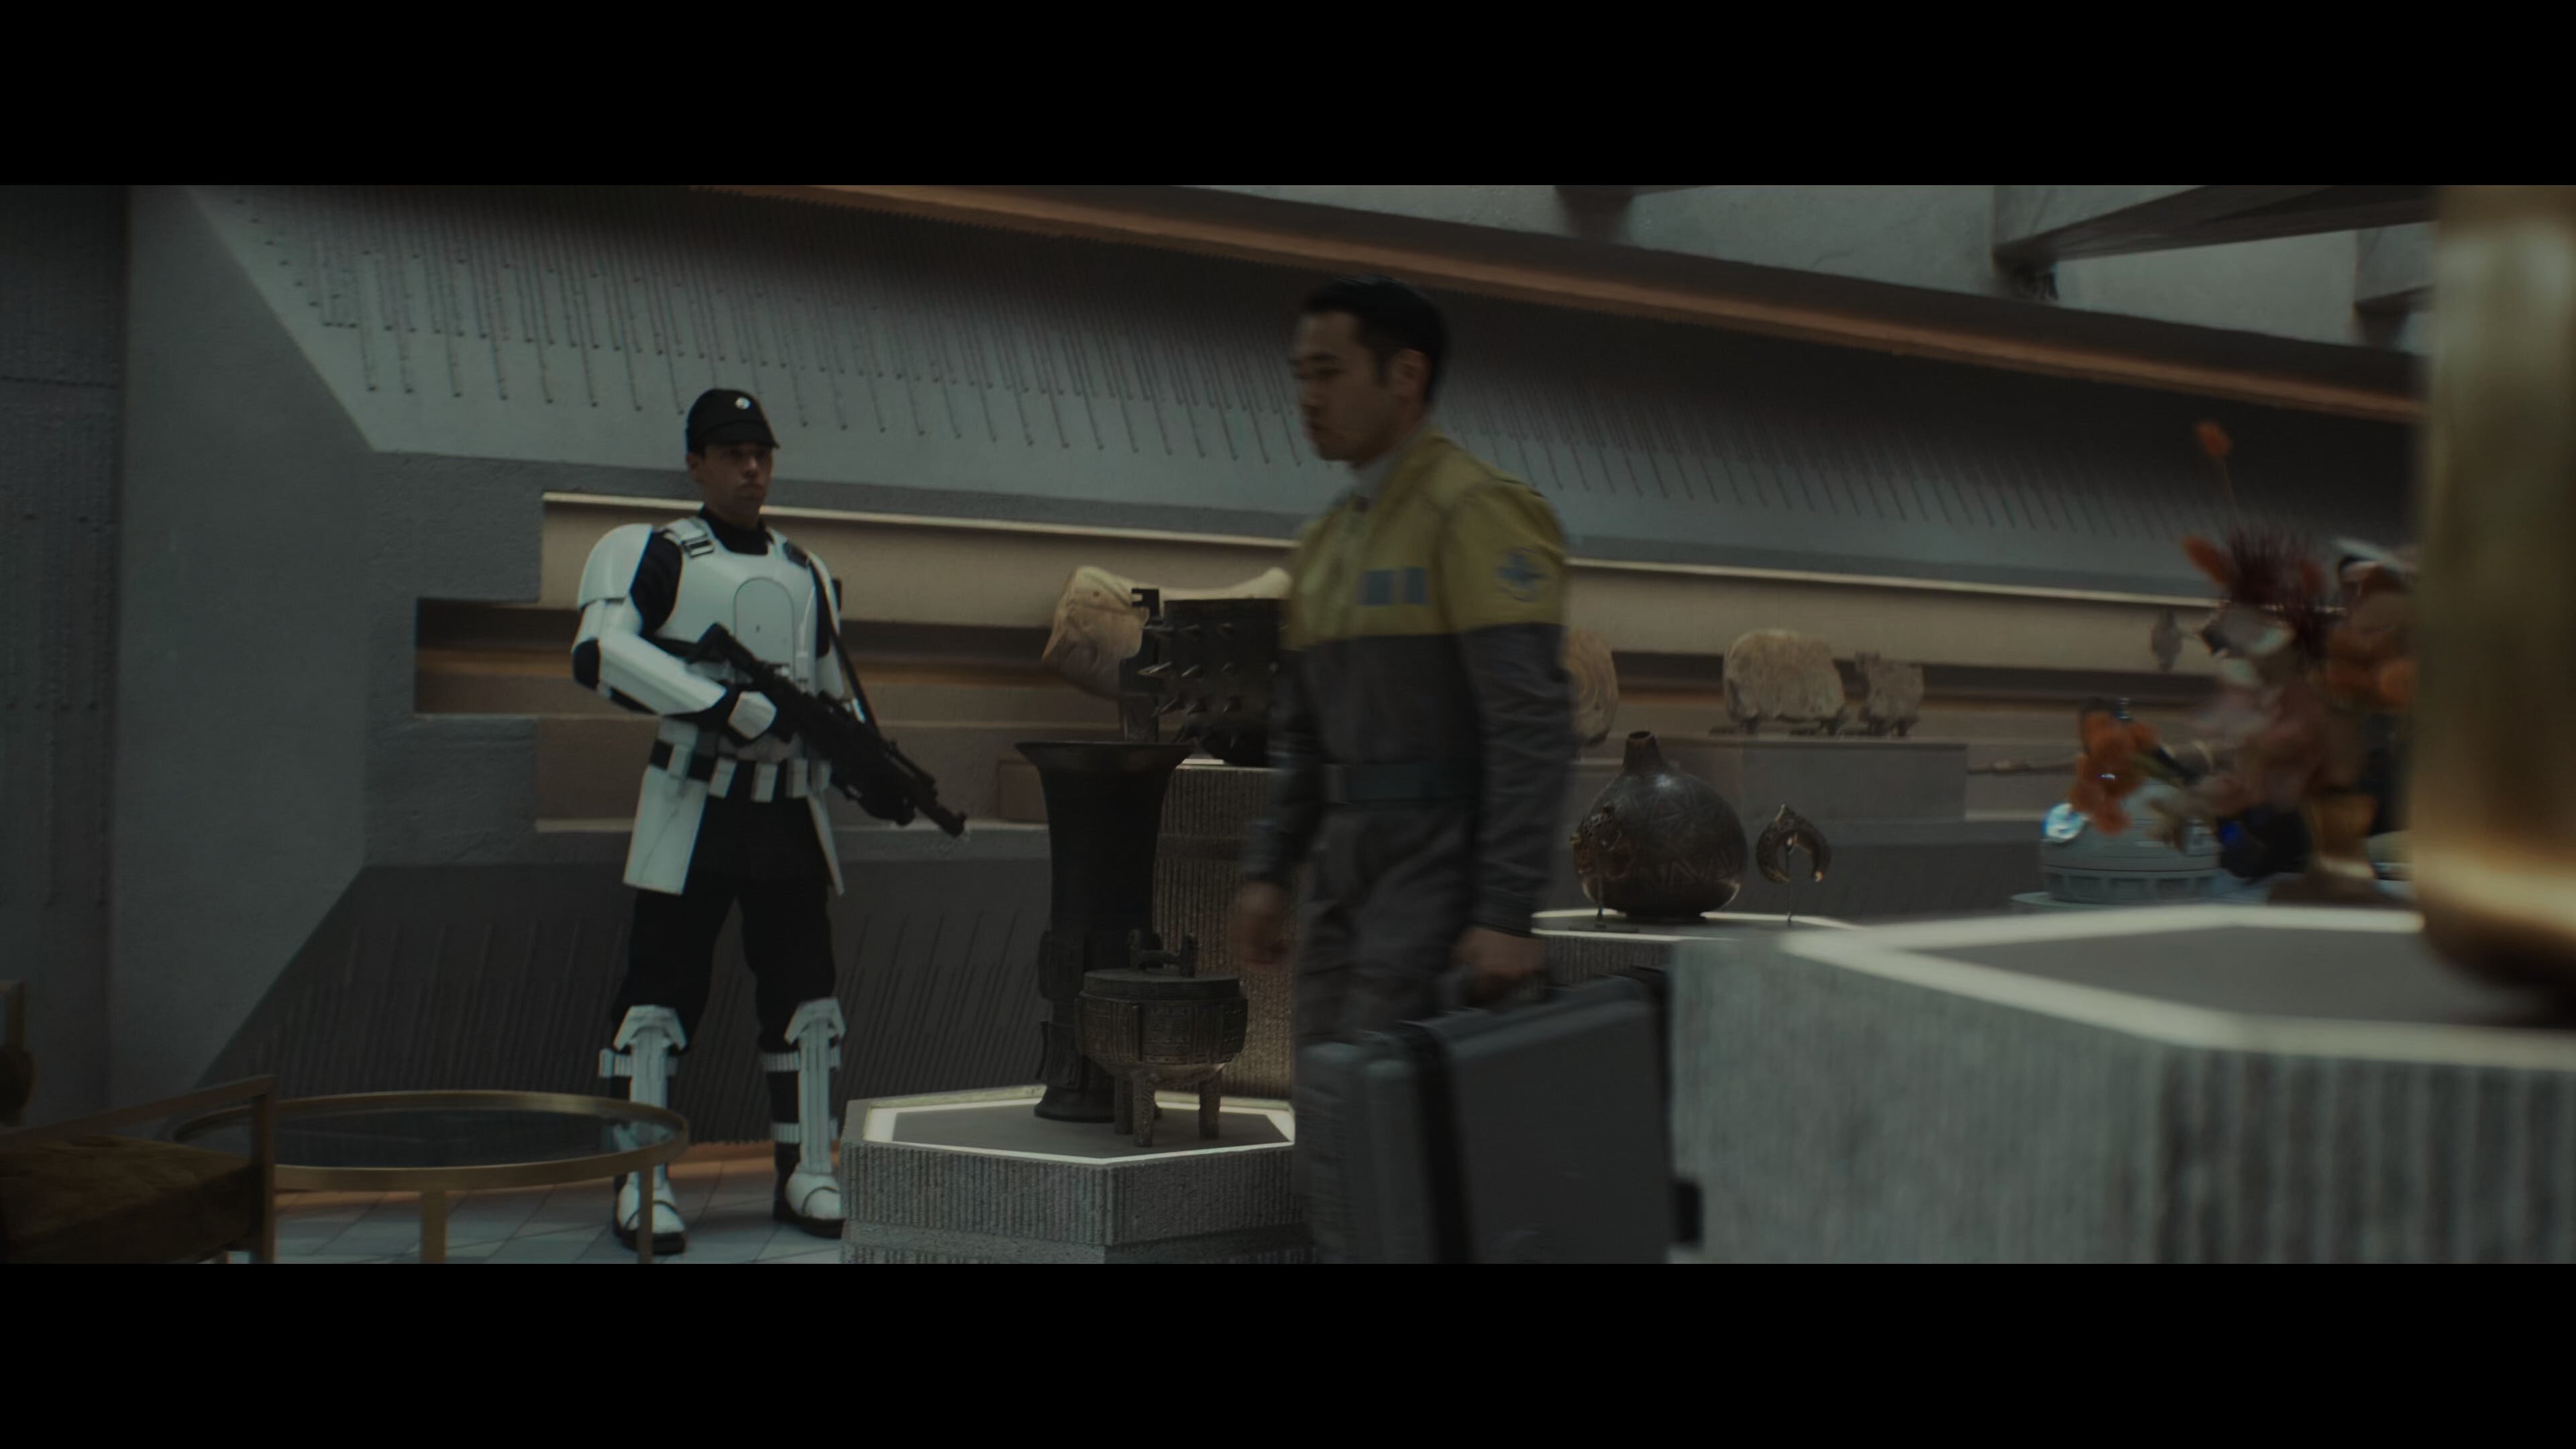
Imperial Flametrooper (Jedi Fallen Order)
IcyTrooper replied to stevechewbacca's topic in Imperial Flametrooper (JFO)
Great job on the Flamethrower! -
I looked through a bunch of this and we may not have enough to do another CRL for it. We just ran into an issue trying to add a generic Inferno Squad/Imperial Special Forces trooper to supplement Del Meeko which had a bit more than this. This is very interesting though, I wonder if they'll add special feature stuff including the rear of the costume?
-
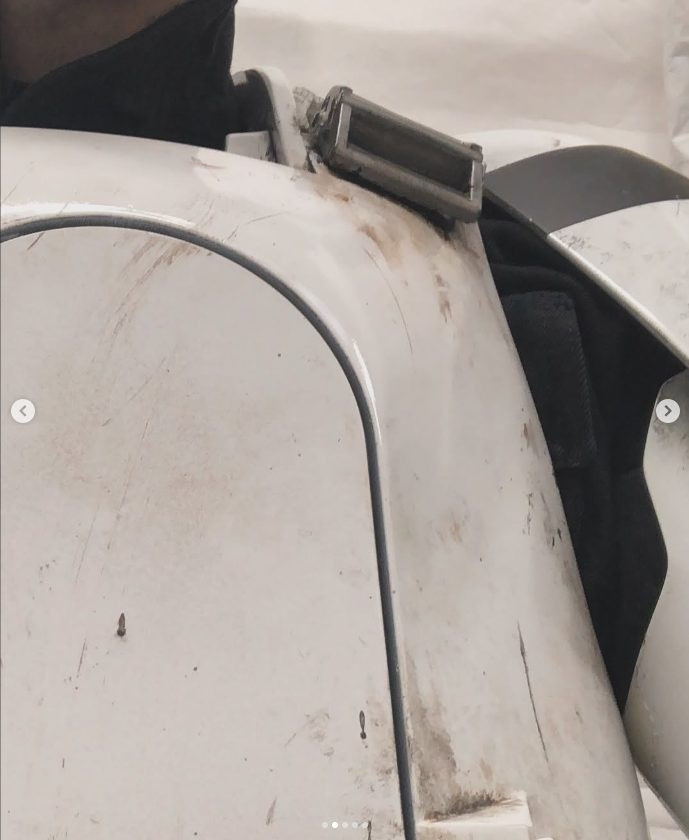
Posterior Armor Gloss black in color unless noted below. May be painted in accordance with the Color Scheme Guide. If used, all armor pieces must be painted using the Color Scheme Guide. Posterior armor may be slightly weathered but must be uniform with the rest of the costume. Is generally curved to follow and cover approximately ¾ of the wearer’s posterior area which extends up under the belt. There is a raised elongated rectangle located on the top center of the armor. A black elastic strap, approximately 1" to 1.25" (25mm to 32mm) wide, may be used to connect the cod and butt plates between the legs. That seems very simple and doesn't need a lot of crazy work to it. We don't need to worry about the channels at the top that are going to covered by the belt. I know you didn't put that in there but I see them on the photos that were provided and wanted to address it for others viewing this. I added that text in purple about the guide. I've been including it in every piece, but we may need to revisit at the end to see if it is necessary.
-
ISB Tactical Agent - CRL Discussion
IcyTrooper replied to IcyTrooper's topic in Imperial Security Bureau
We are probably going to have variants, so if we identify specific sections where there are variations we can address them there. It is probably going to be like the Mudtrooper and others, but I'll let @Dropkick and @BlacXabbath answer that as DL/XO. @Blackwatch With that hat having a higher crown, you think that is something we can address in by adding more L2 items? We may want to pull from the Dedra Meero text for the hat so that we aren't reinventing the wheel? https://databank.501st.com/databank/Costuming:Dedra_Meero
-
I'll have to look at the Facebook portion of the log-in, but it could be disabled on a security update. If you haven't logged in in awhile you'll have to use your email address and not your username. That was updated a few years ago as part of another security update.
-
Ahhh the joys of "red' when trying to photograph it 😅
-
ISB Tactical Agent - CRL Discussion
IcyTrooper replied to IcyTrooper's topic in Imperial Security Bureau
This thread has now been unlocked for DCAs to facilitate discussions on CRL development. Please keep in mind, as standard in CRL development processes at Spec Ops, we start from the top of the costume and work our way down going one item at a time until that text is finalized BEFORE moving to the next part. There may be some opportunities where we touch back on "finalized" items, but generally we try to avoid that until we get to the end and do any last minute touch ups. We will start with the Hat text first and go from there. There will be DCAs chiming into this thread with the rest of general membership. -
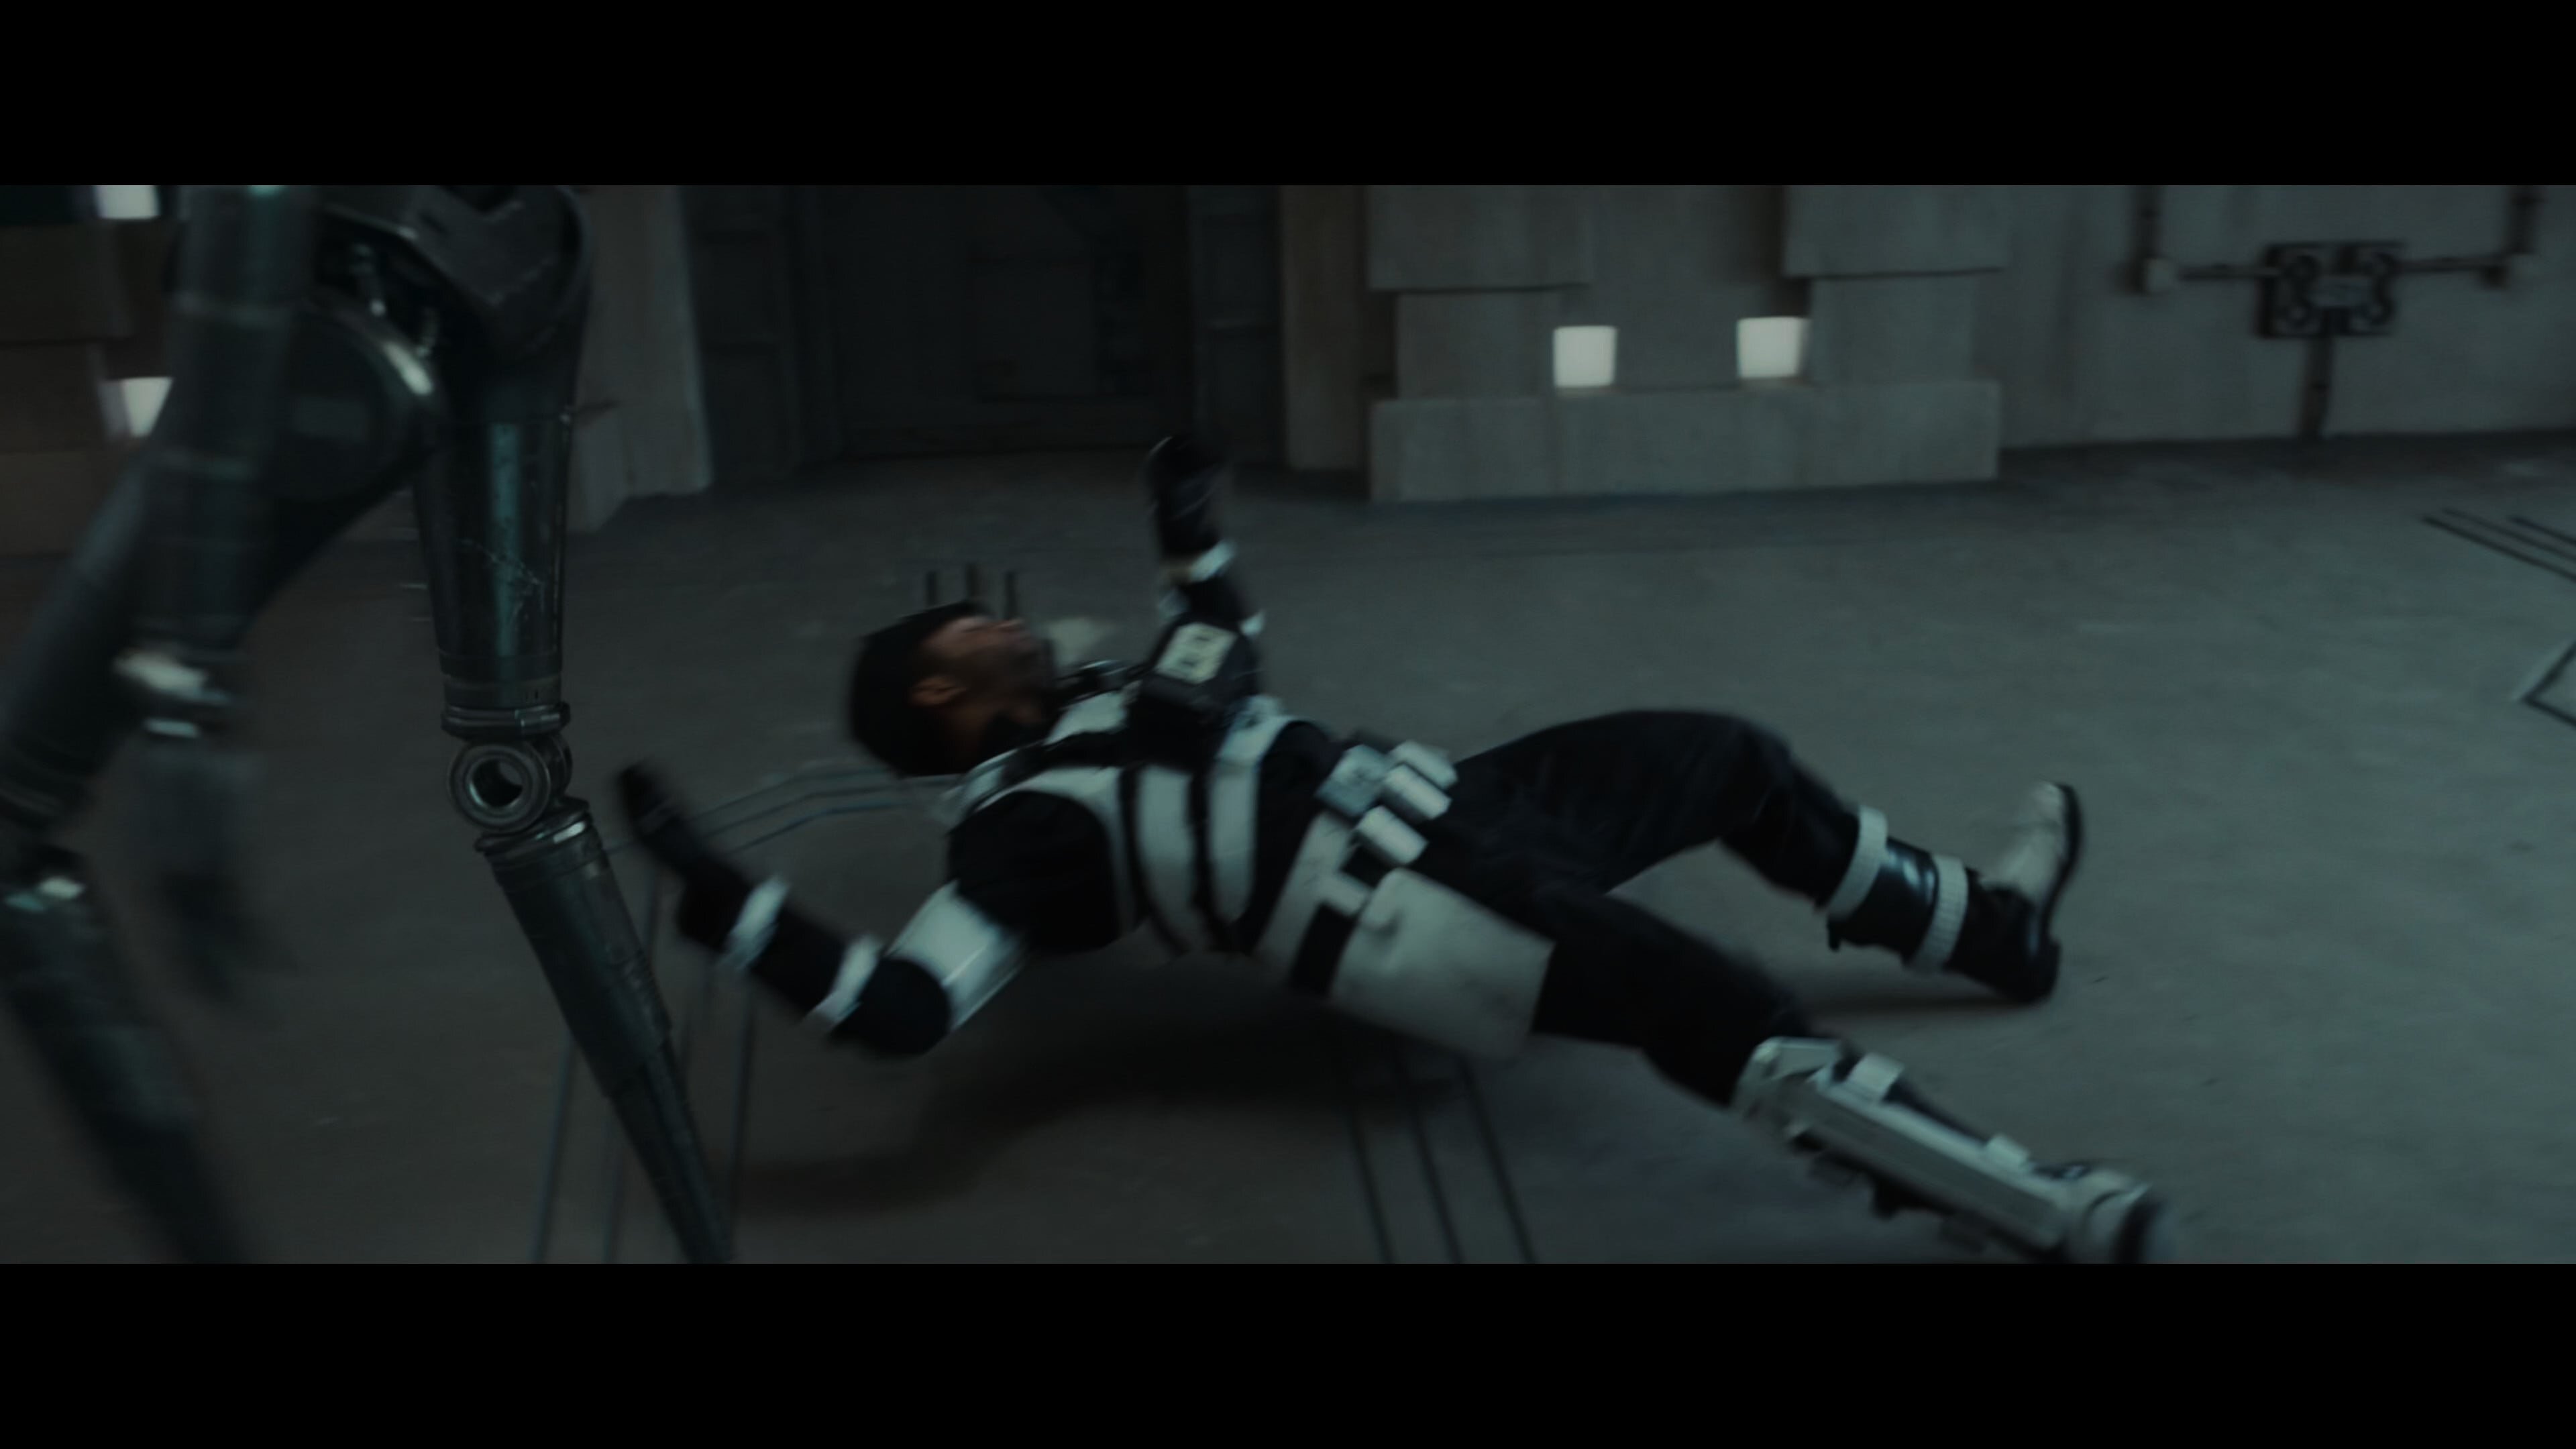
Our shoulder bells are so stealthy we don't need no stinkin' zip ties
-
Hello! MonCal has some from the US on Etsy, but you'd have to get some black mesh film to get the desired marking on it: https://www.etsy.com/listing/1076632639/star-wars-inferno-squad-del-meeko?ls=r&ref=internal_similar_listing_bot-2&content_source=f3cba037f9bd4eb4ae571f7e7280454d7c2854a0%3A1076632639&logging_key=f3cba037f9bd4eb4ae571f7e7280454d7c2854a0%3A1076632639&listing_id=1076632639&listing_slug=star-wars-inferno-squad-del-meeko Opleprops has some in Germany on Etsy too, I think they come with wire for the lense? May have to message them: https://www.etsy.com/listing/522742574/tie-fighter-pilot-inferno-sqadron-helmet?ga_search_query=inferno&ref=shop_items_search_1&logging_key=f34e0aabb6fed7e262c476d2cac6596b316945c4%3A522742574&variation0=3241853501 @Wingman and @tipperaryred may be able to give some assistance as well
-
Del Meeko CRL Change proposals FEBRUARY 2025
IcyTrooper replied to Blackwatch's topic in Inferno Squad Del Meeko
Just as a note, measurements are only for reference and proportion basing when they are in the L1 details of the text. Specific branded gear/items are usually relegated to the L2 details as a detachment detail and not a basis for basic approval. Checking into the "Flyye" text, the mention was for what NOT to use, rather than what to use. -
I feel like the gradients are A LOT smoother there!
-
Ahhh, I'm not sure the humidity has much to do with the orange peel at the moment other than it drying too quickly on the way to the helmet. Have you warmed up your cans before application? You can run the can under warm water in addition to shaking it. You'll want the surface wet with paint but not too wet so that it drips/runs. I think the warming of the can will help.
-
Juice Box's (APPROVED!) Del Meeko Build
IcyTrooper replied to TonyJuiceBox's topic in Inferno Squad Del Meeko
Very nice! I'm not seeing anything that stands out which would prevent approval @Blackwatch and @tipperaryred what say of you? -
I agree with this, we don't want to over engineer this. Since we use "can" (although "may" would probably be better here) we should keep it in there. Some users use straps to keep it from flaring out. Since it'll be a can/may statement, it'll have no impact.
-
Thanks for adding those references on it. The helmet shape and general features I agree look the same. That little outline around the triangle is peculiar to me in that it appears to be a satin gray, but I think that it is just the lighting. I'm good with the text remaining "white" for the outline.
-
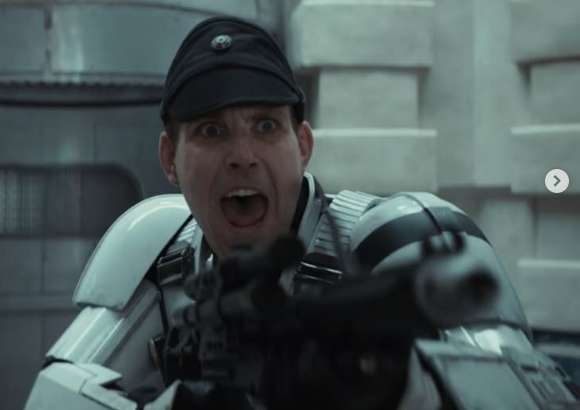
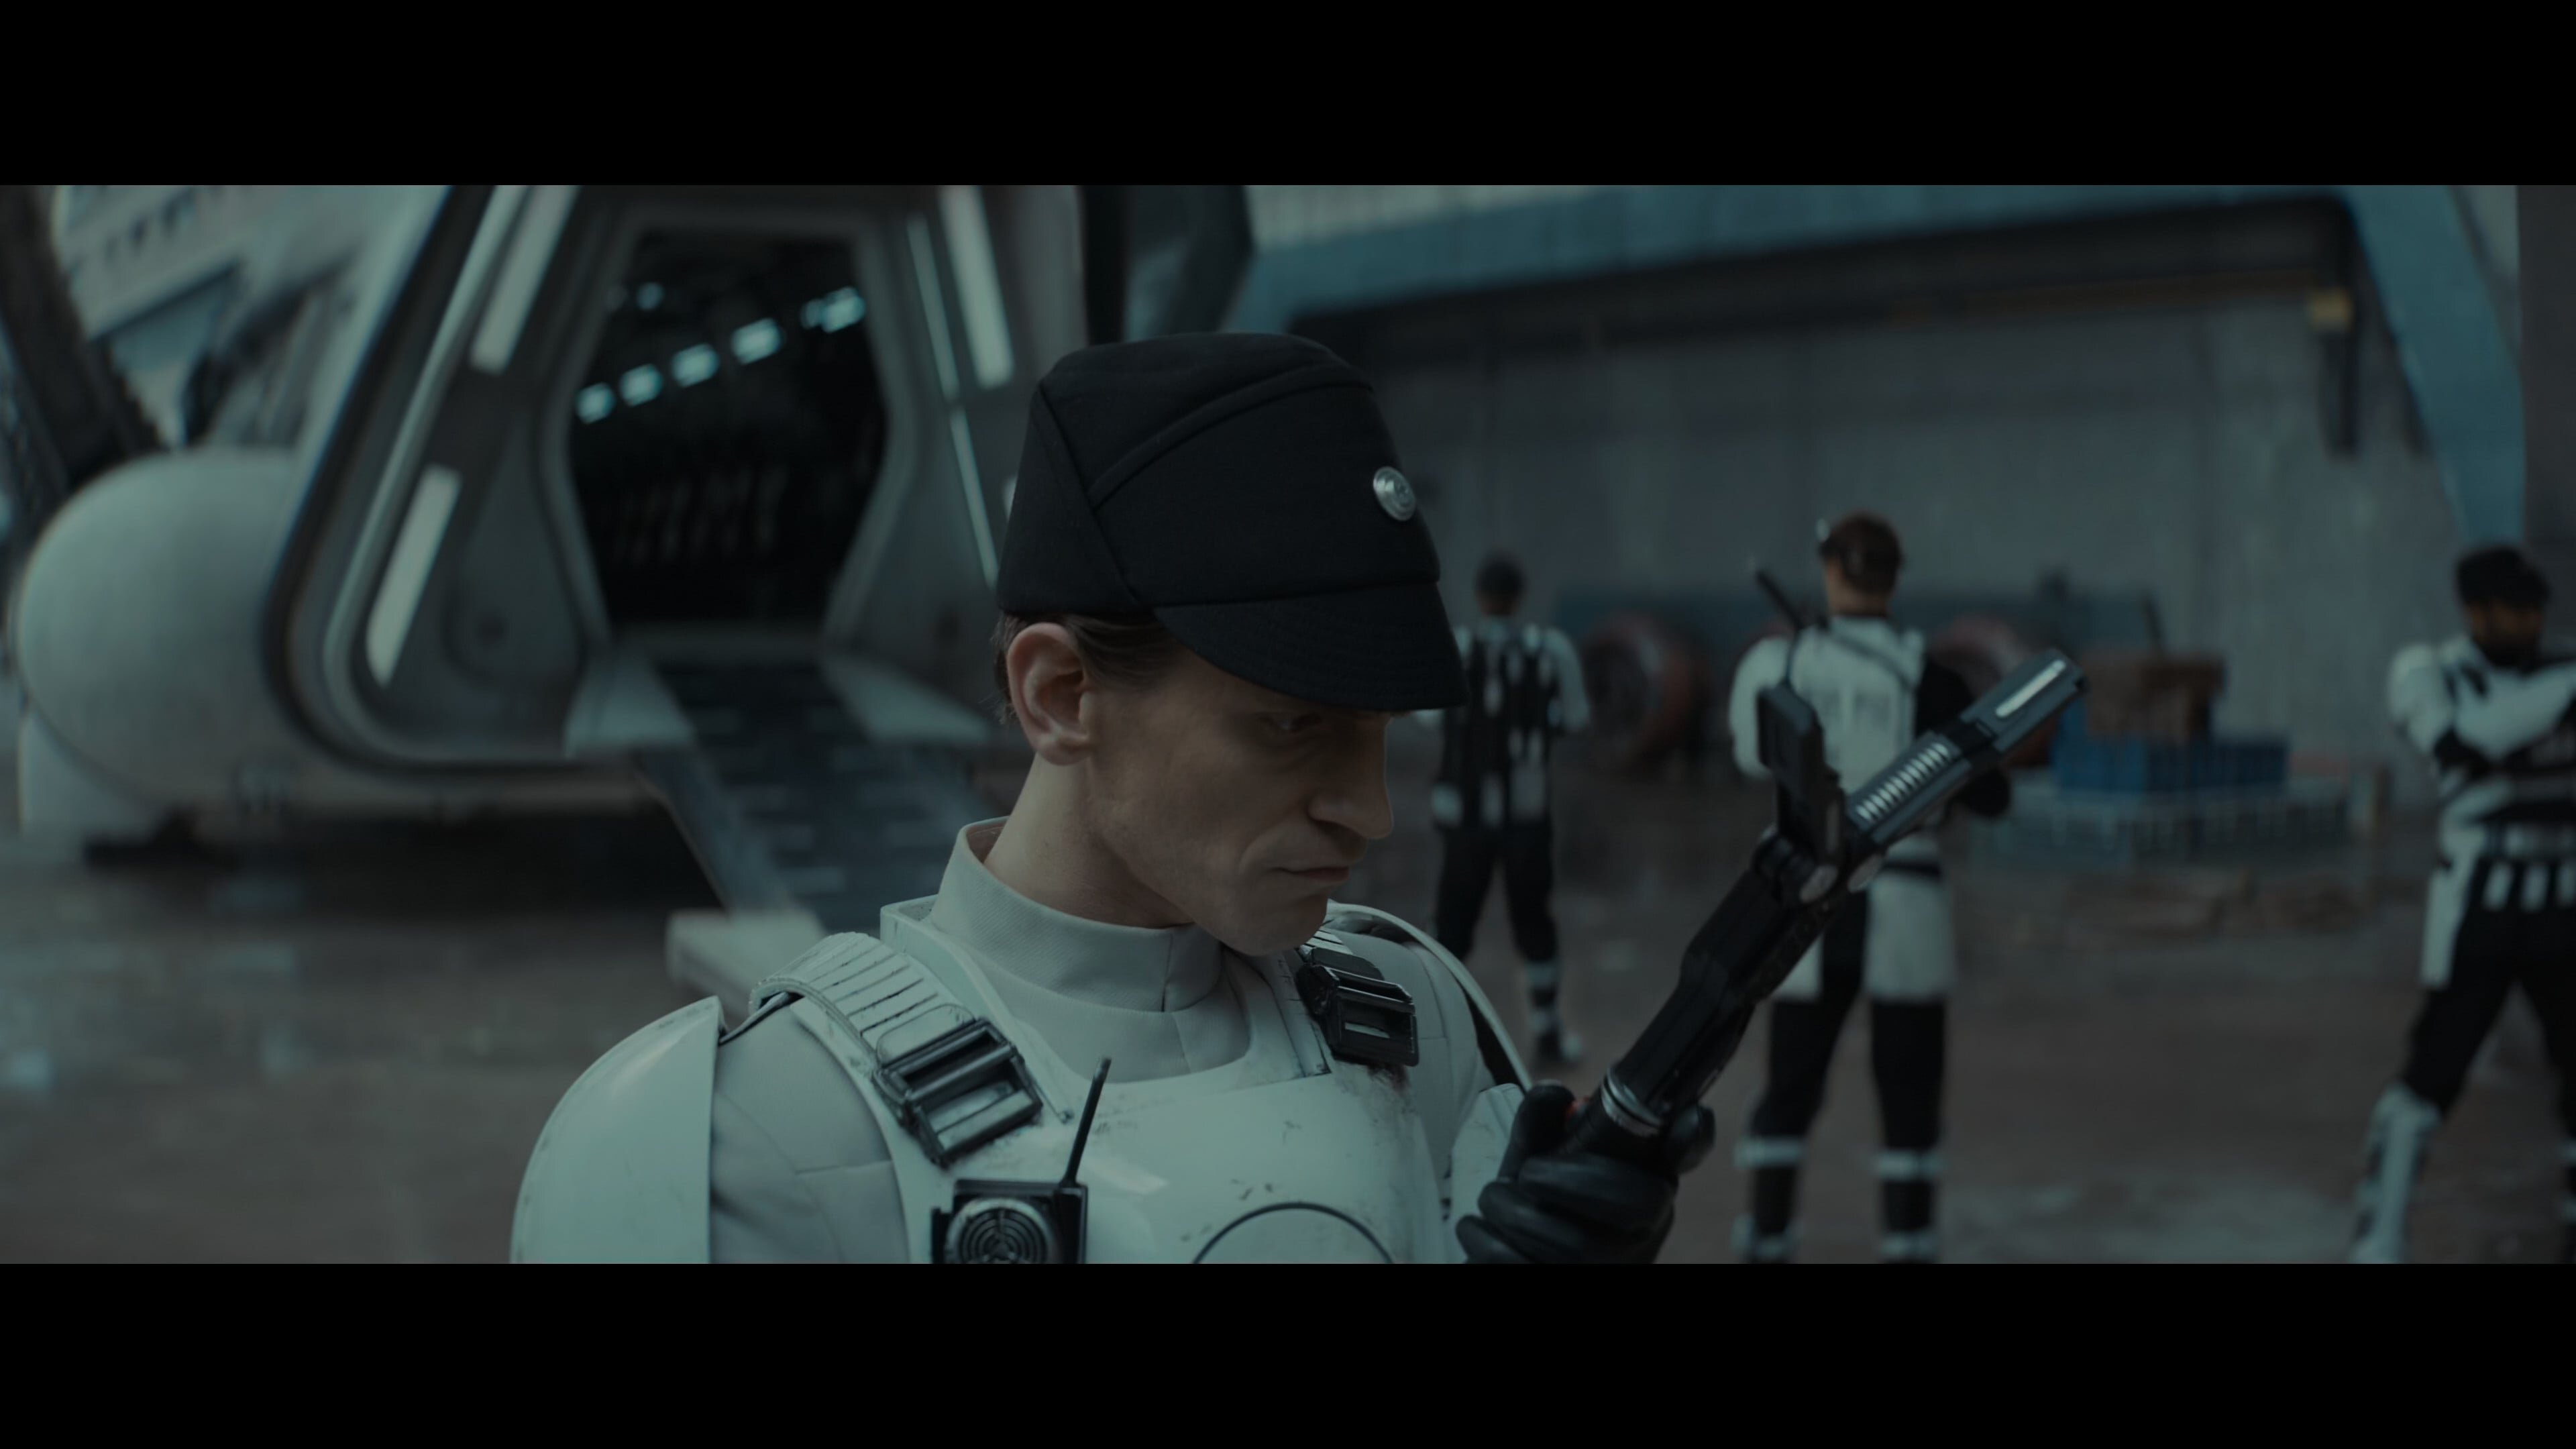
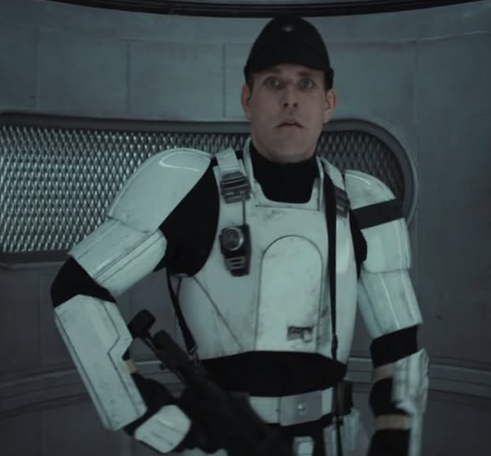
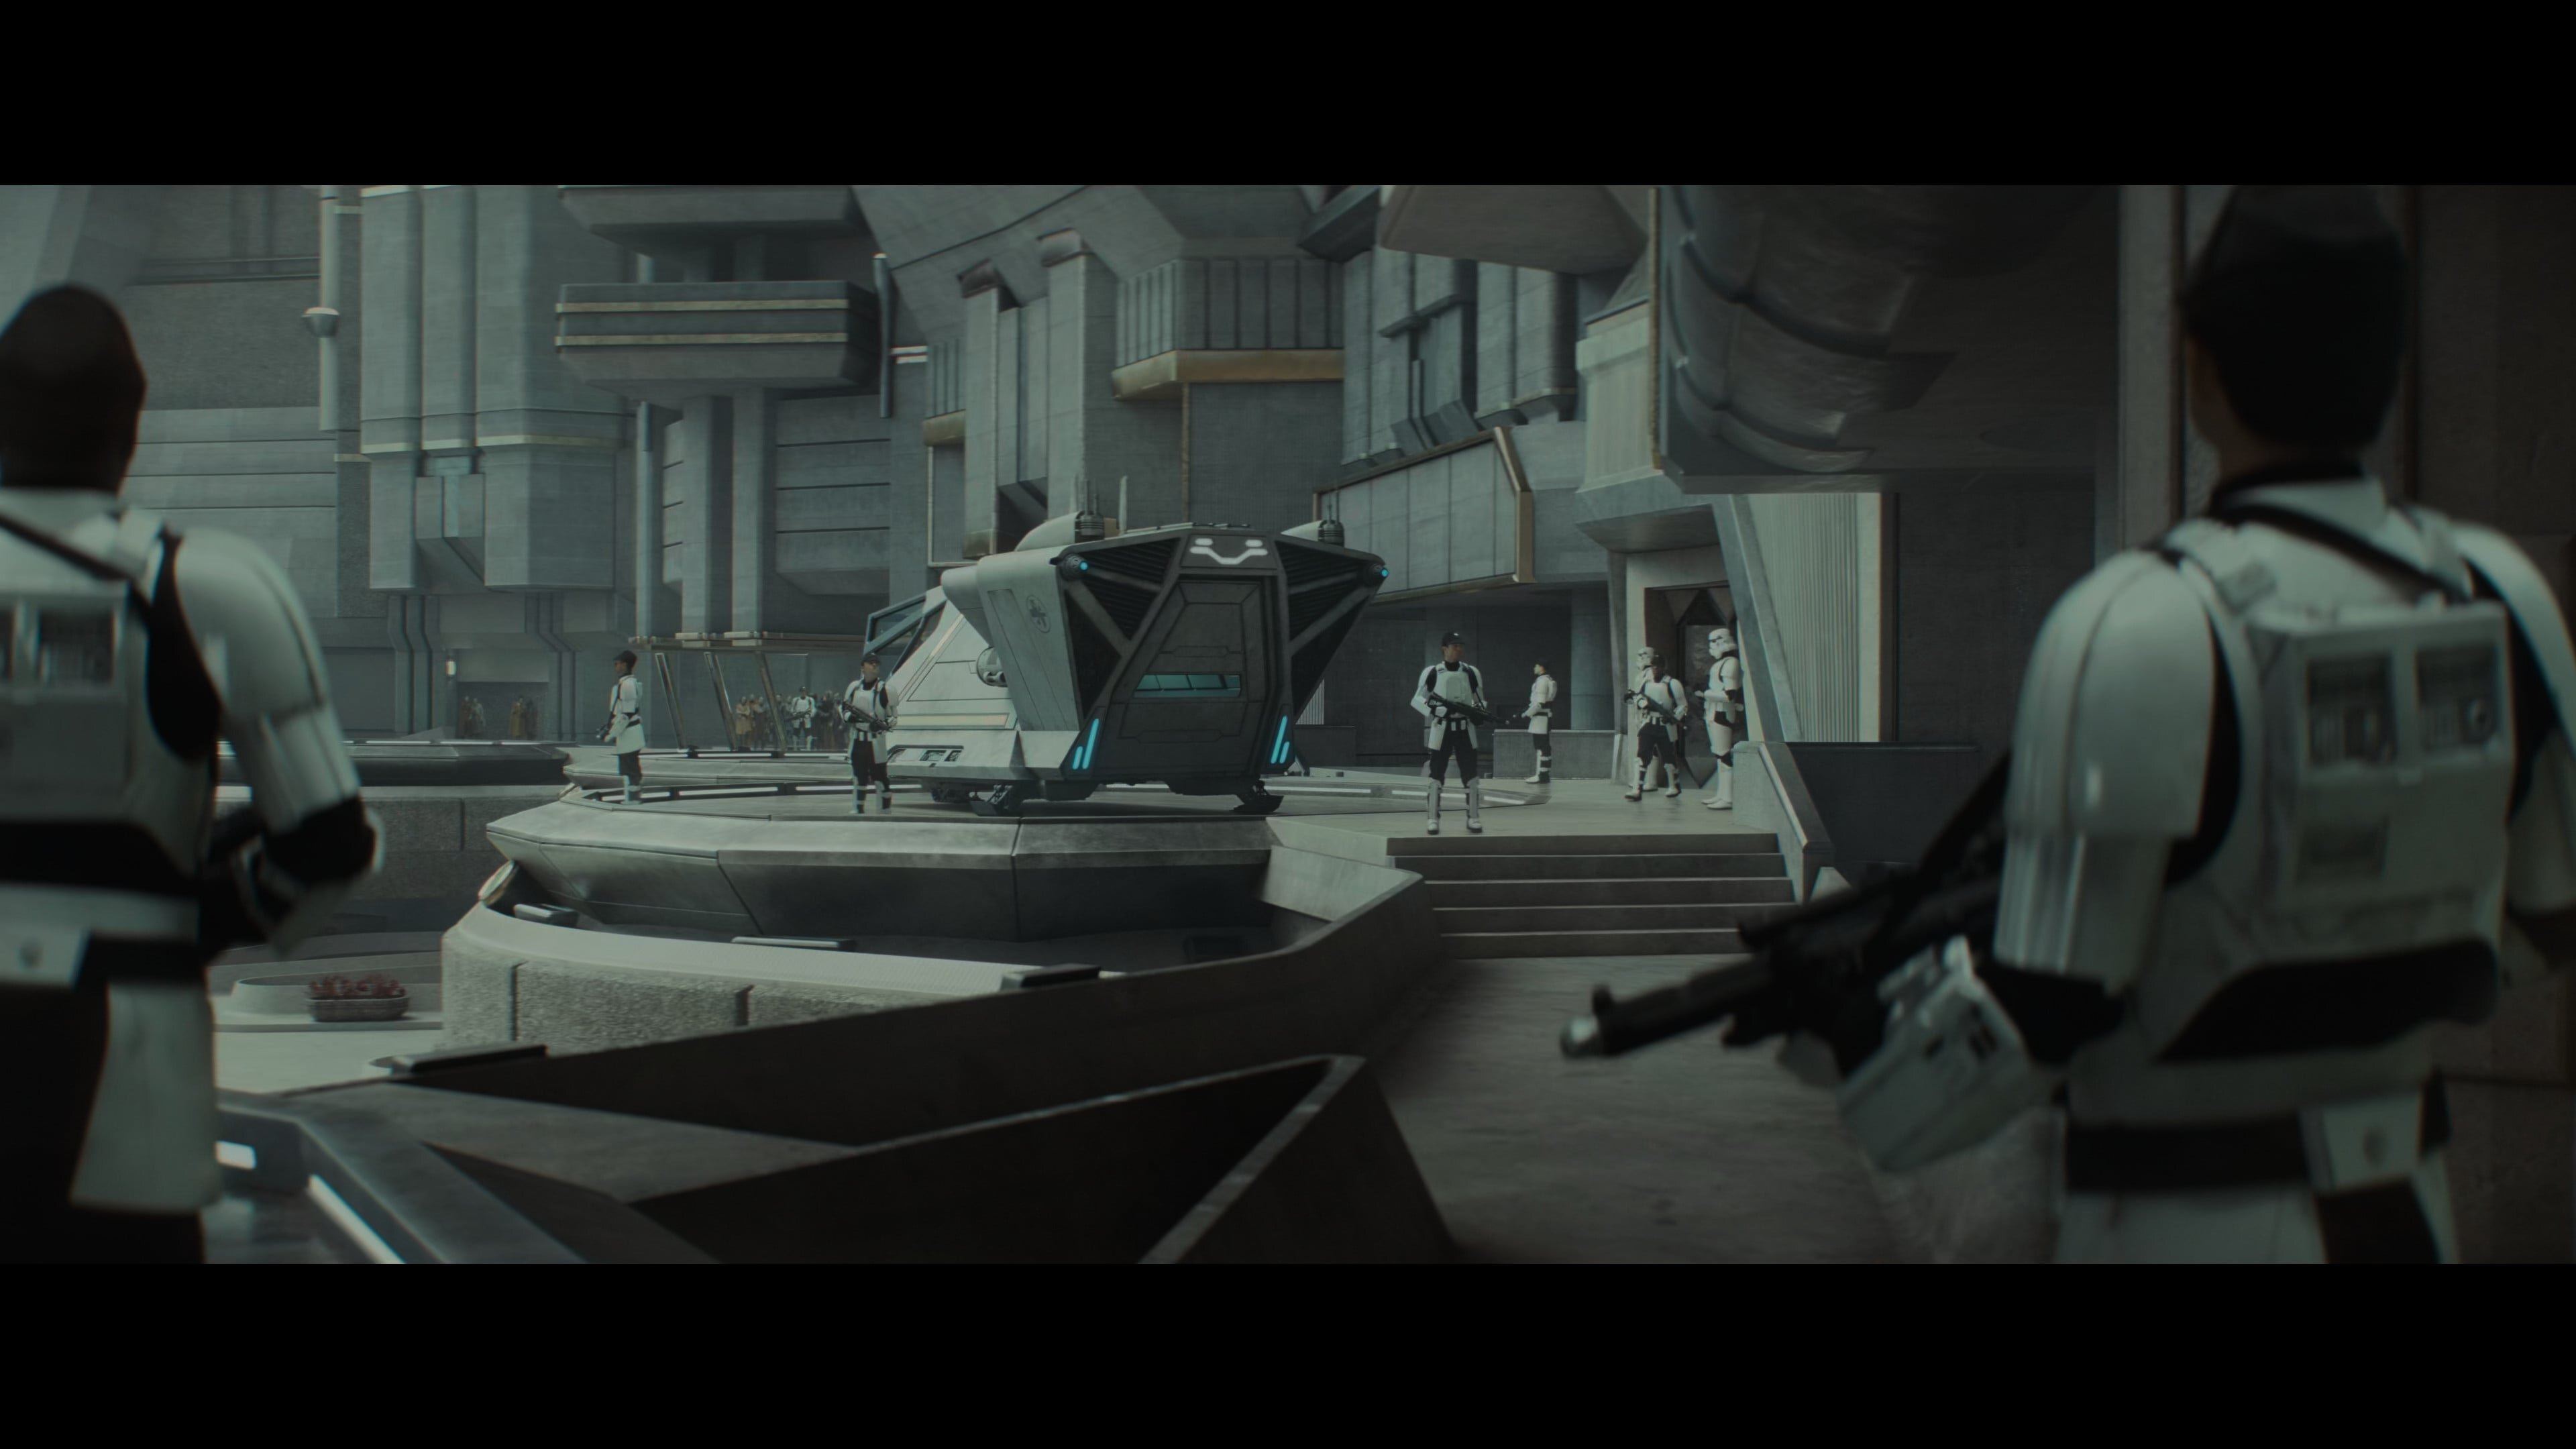
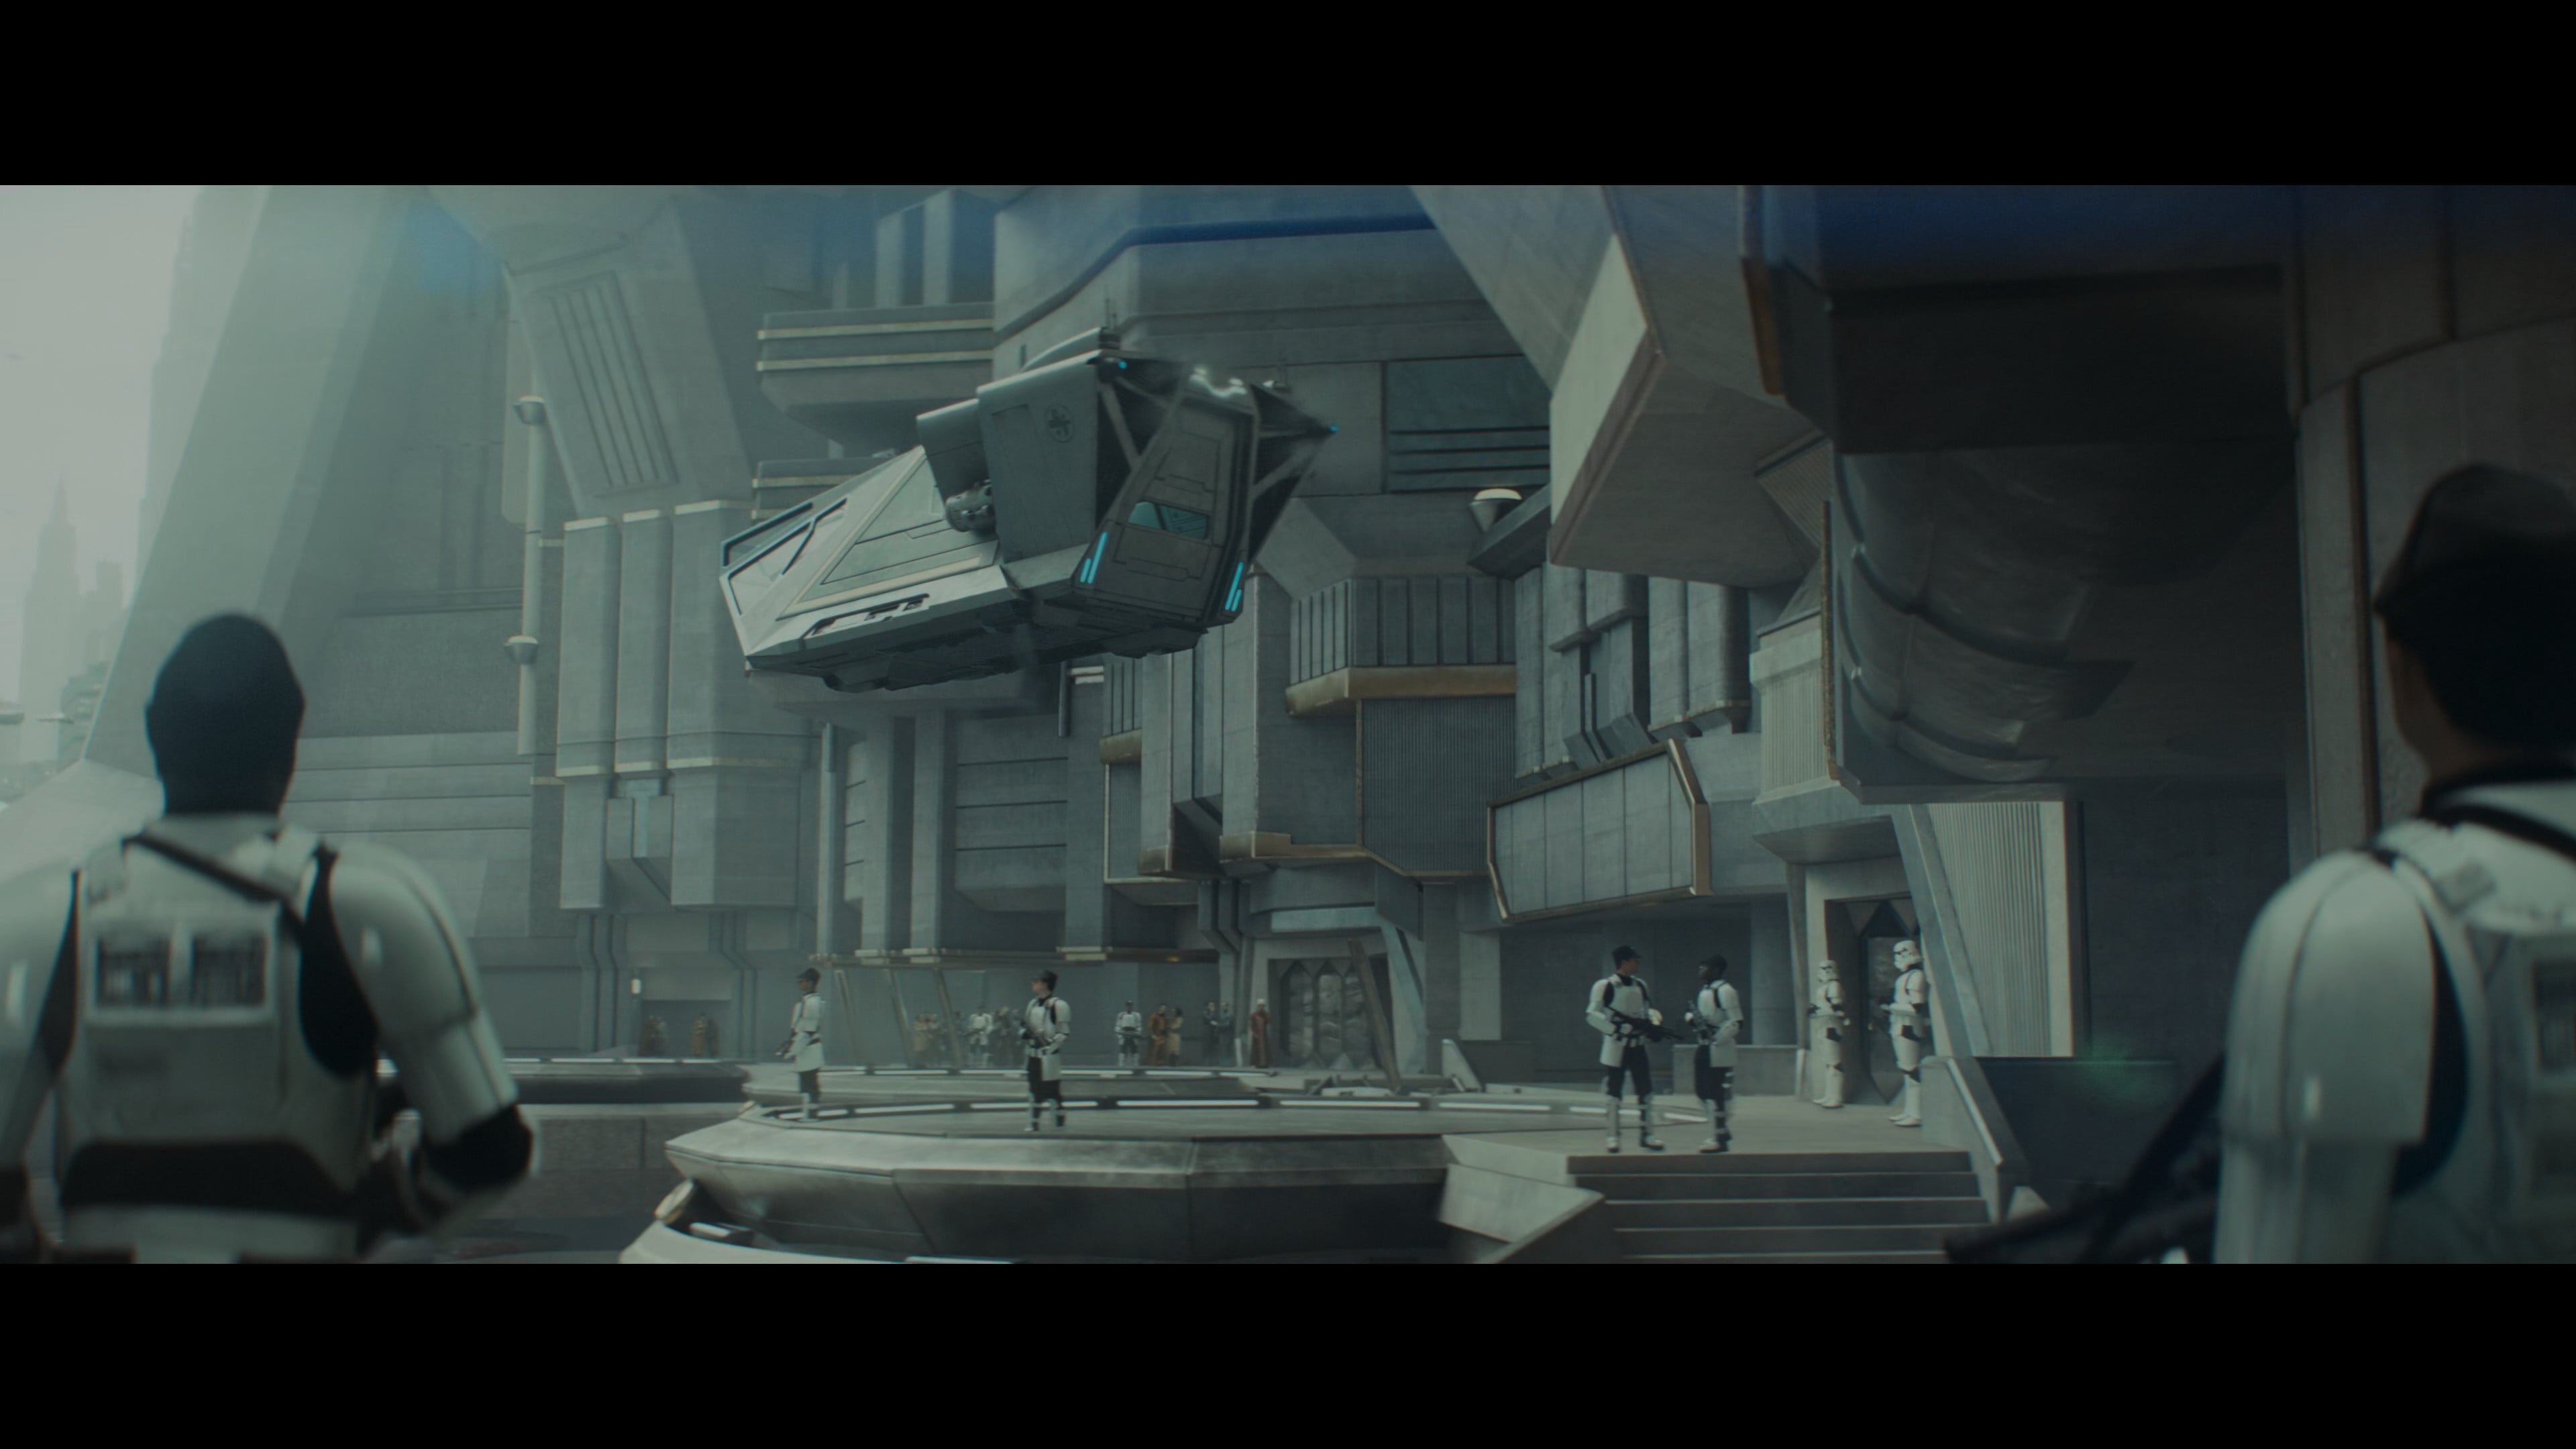
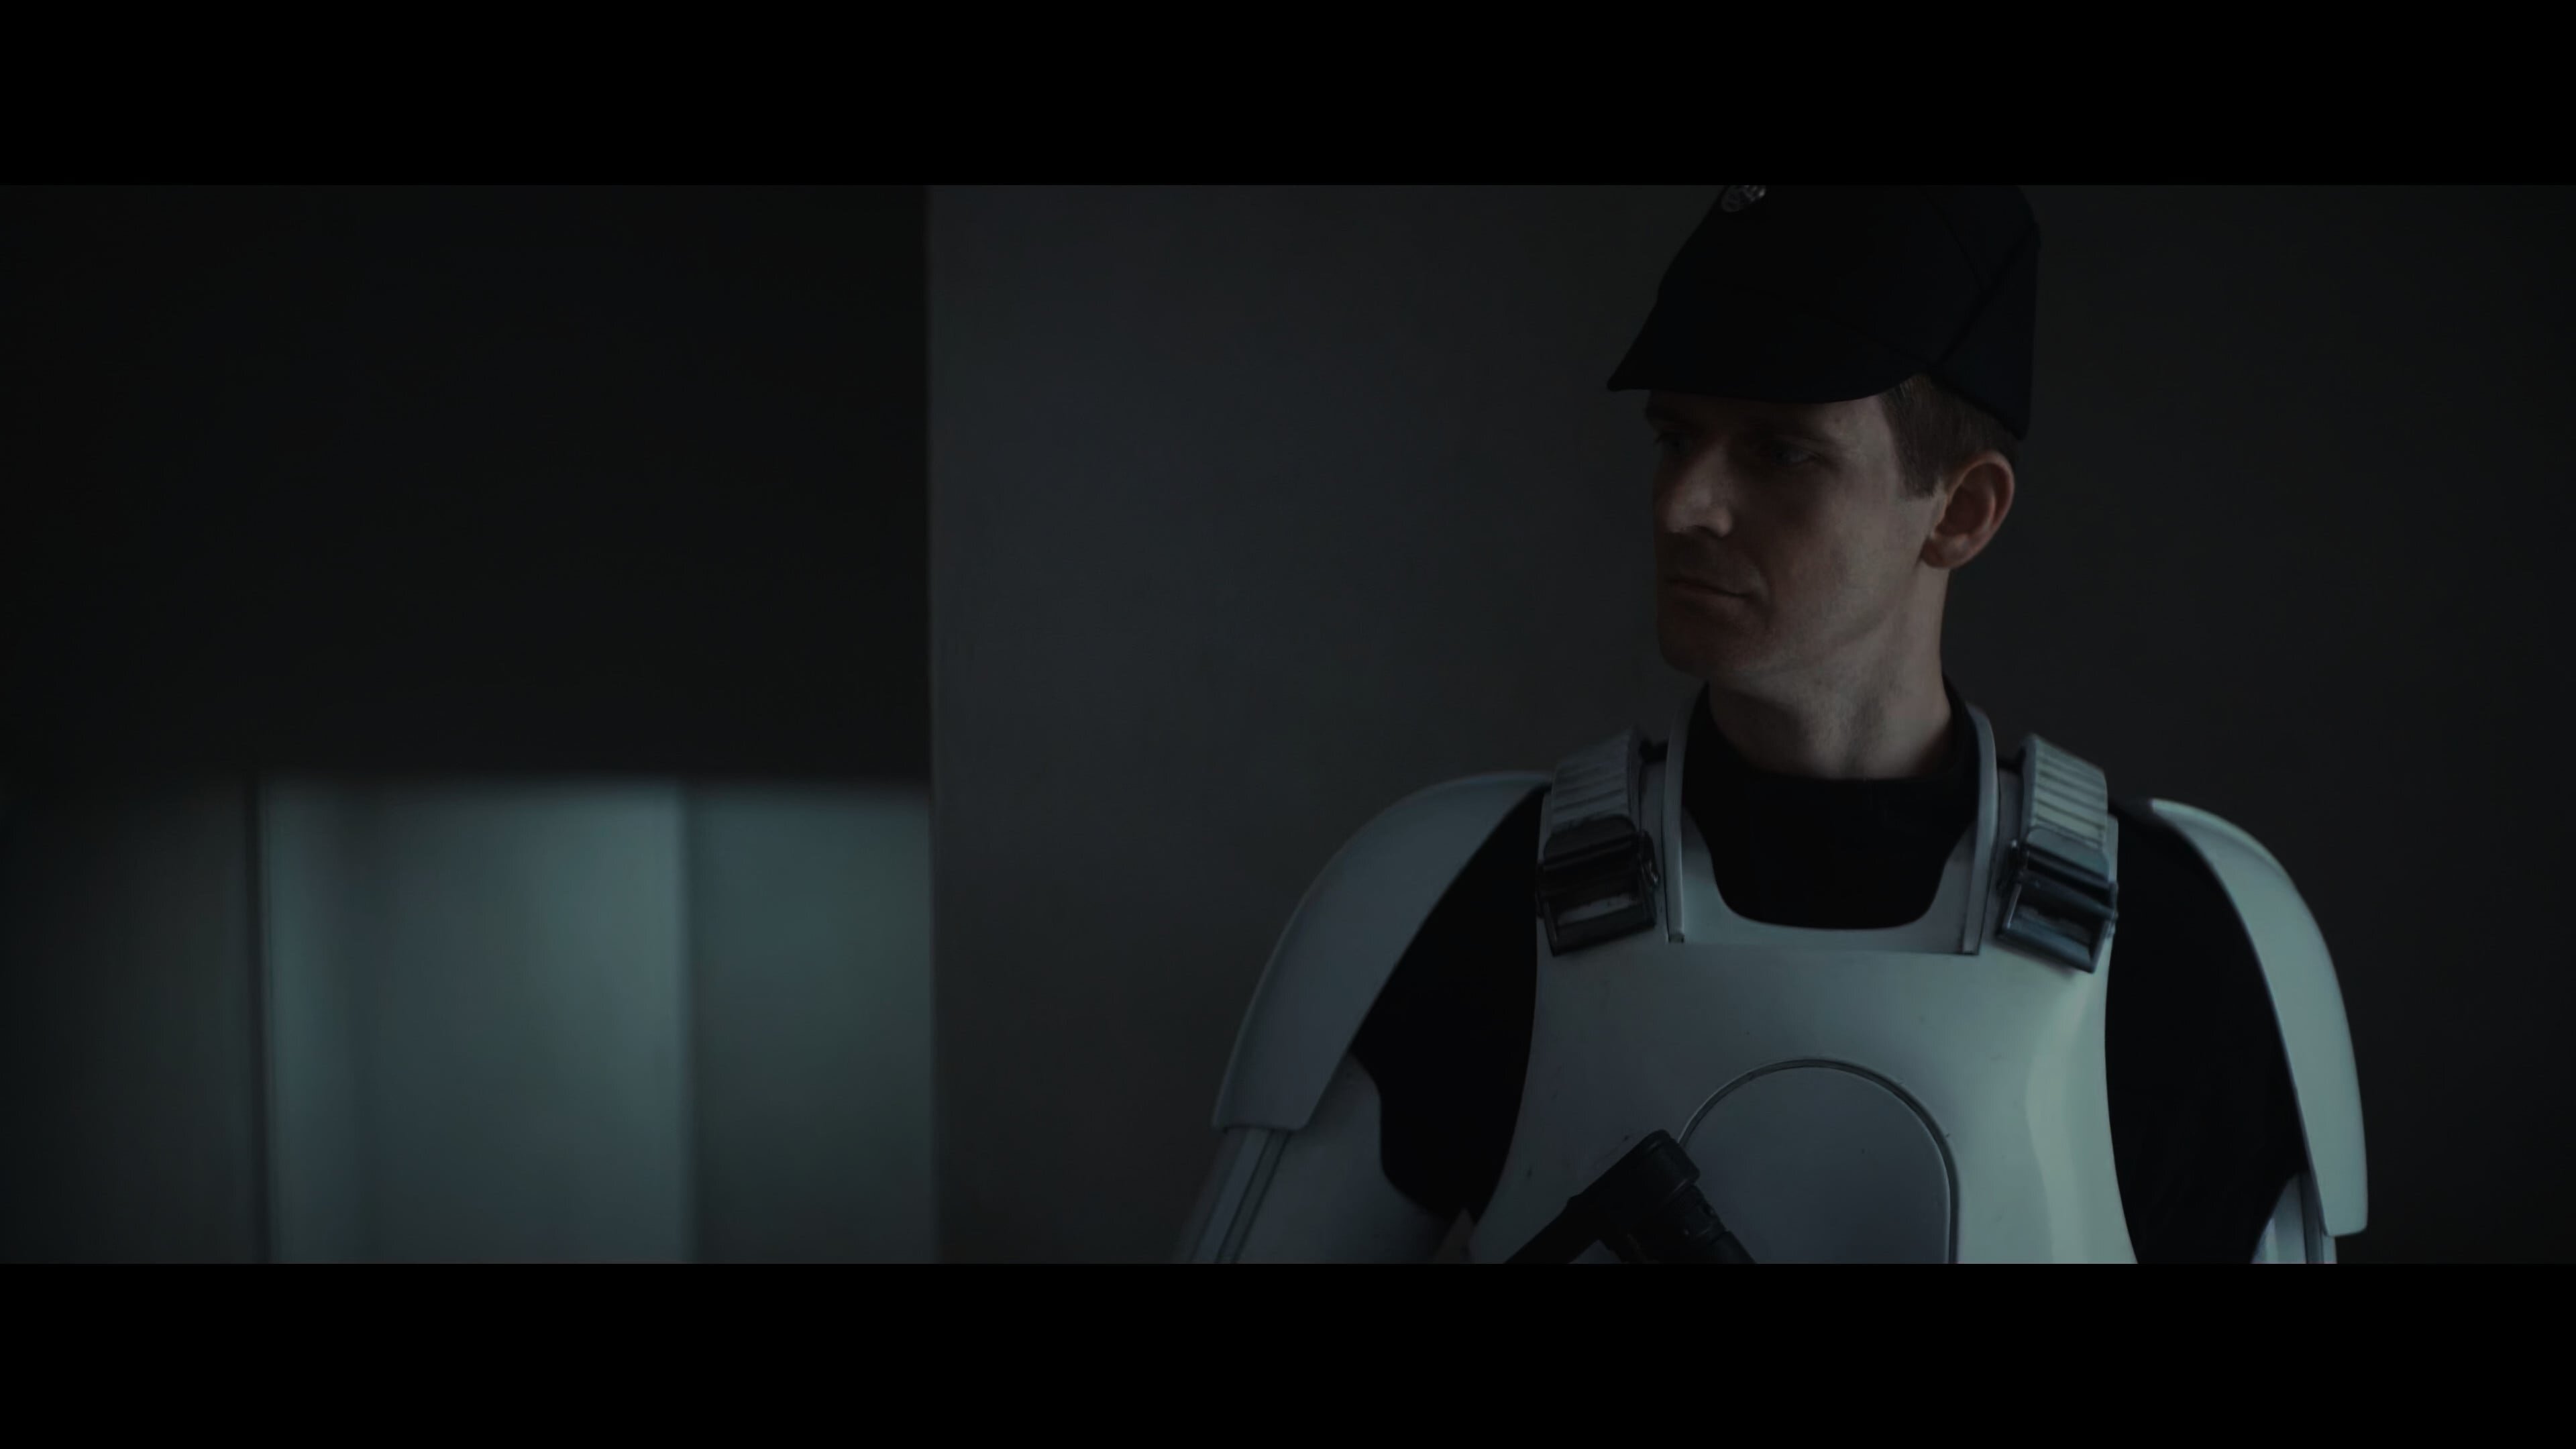
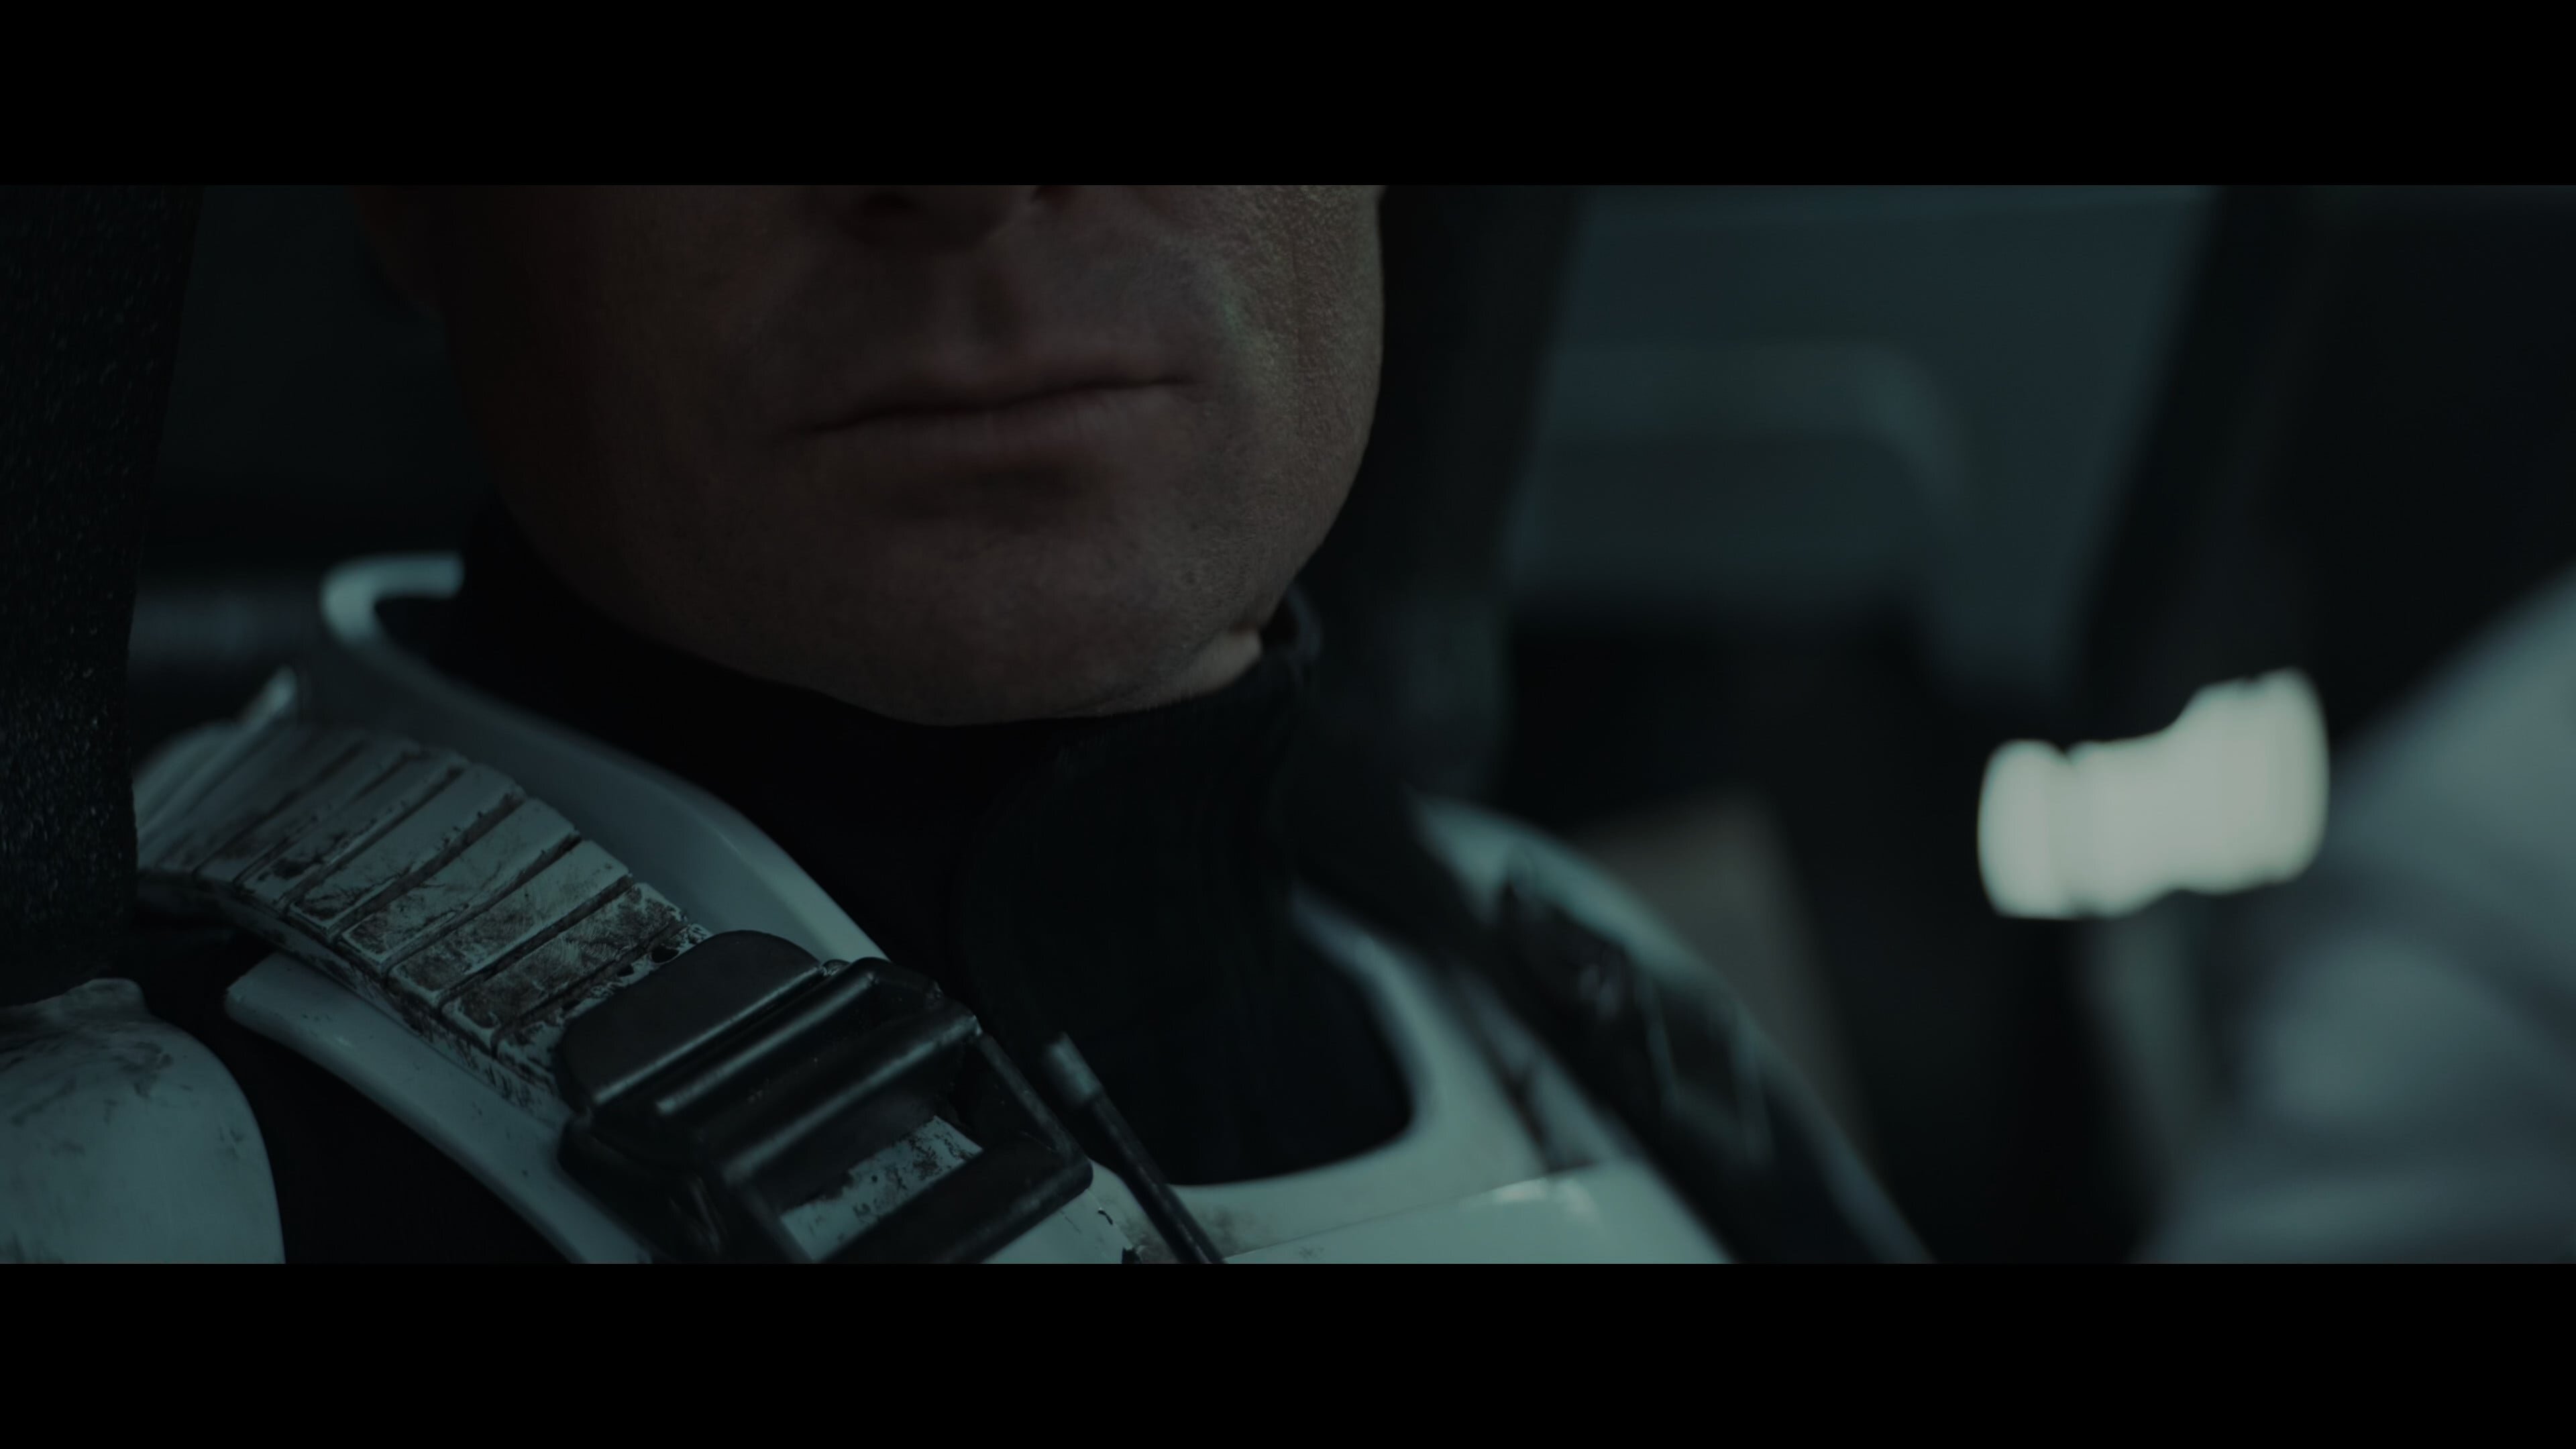
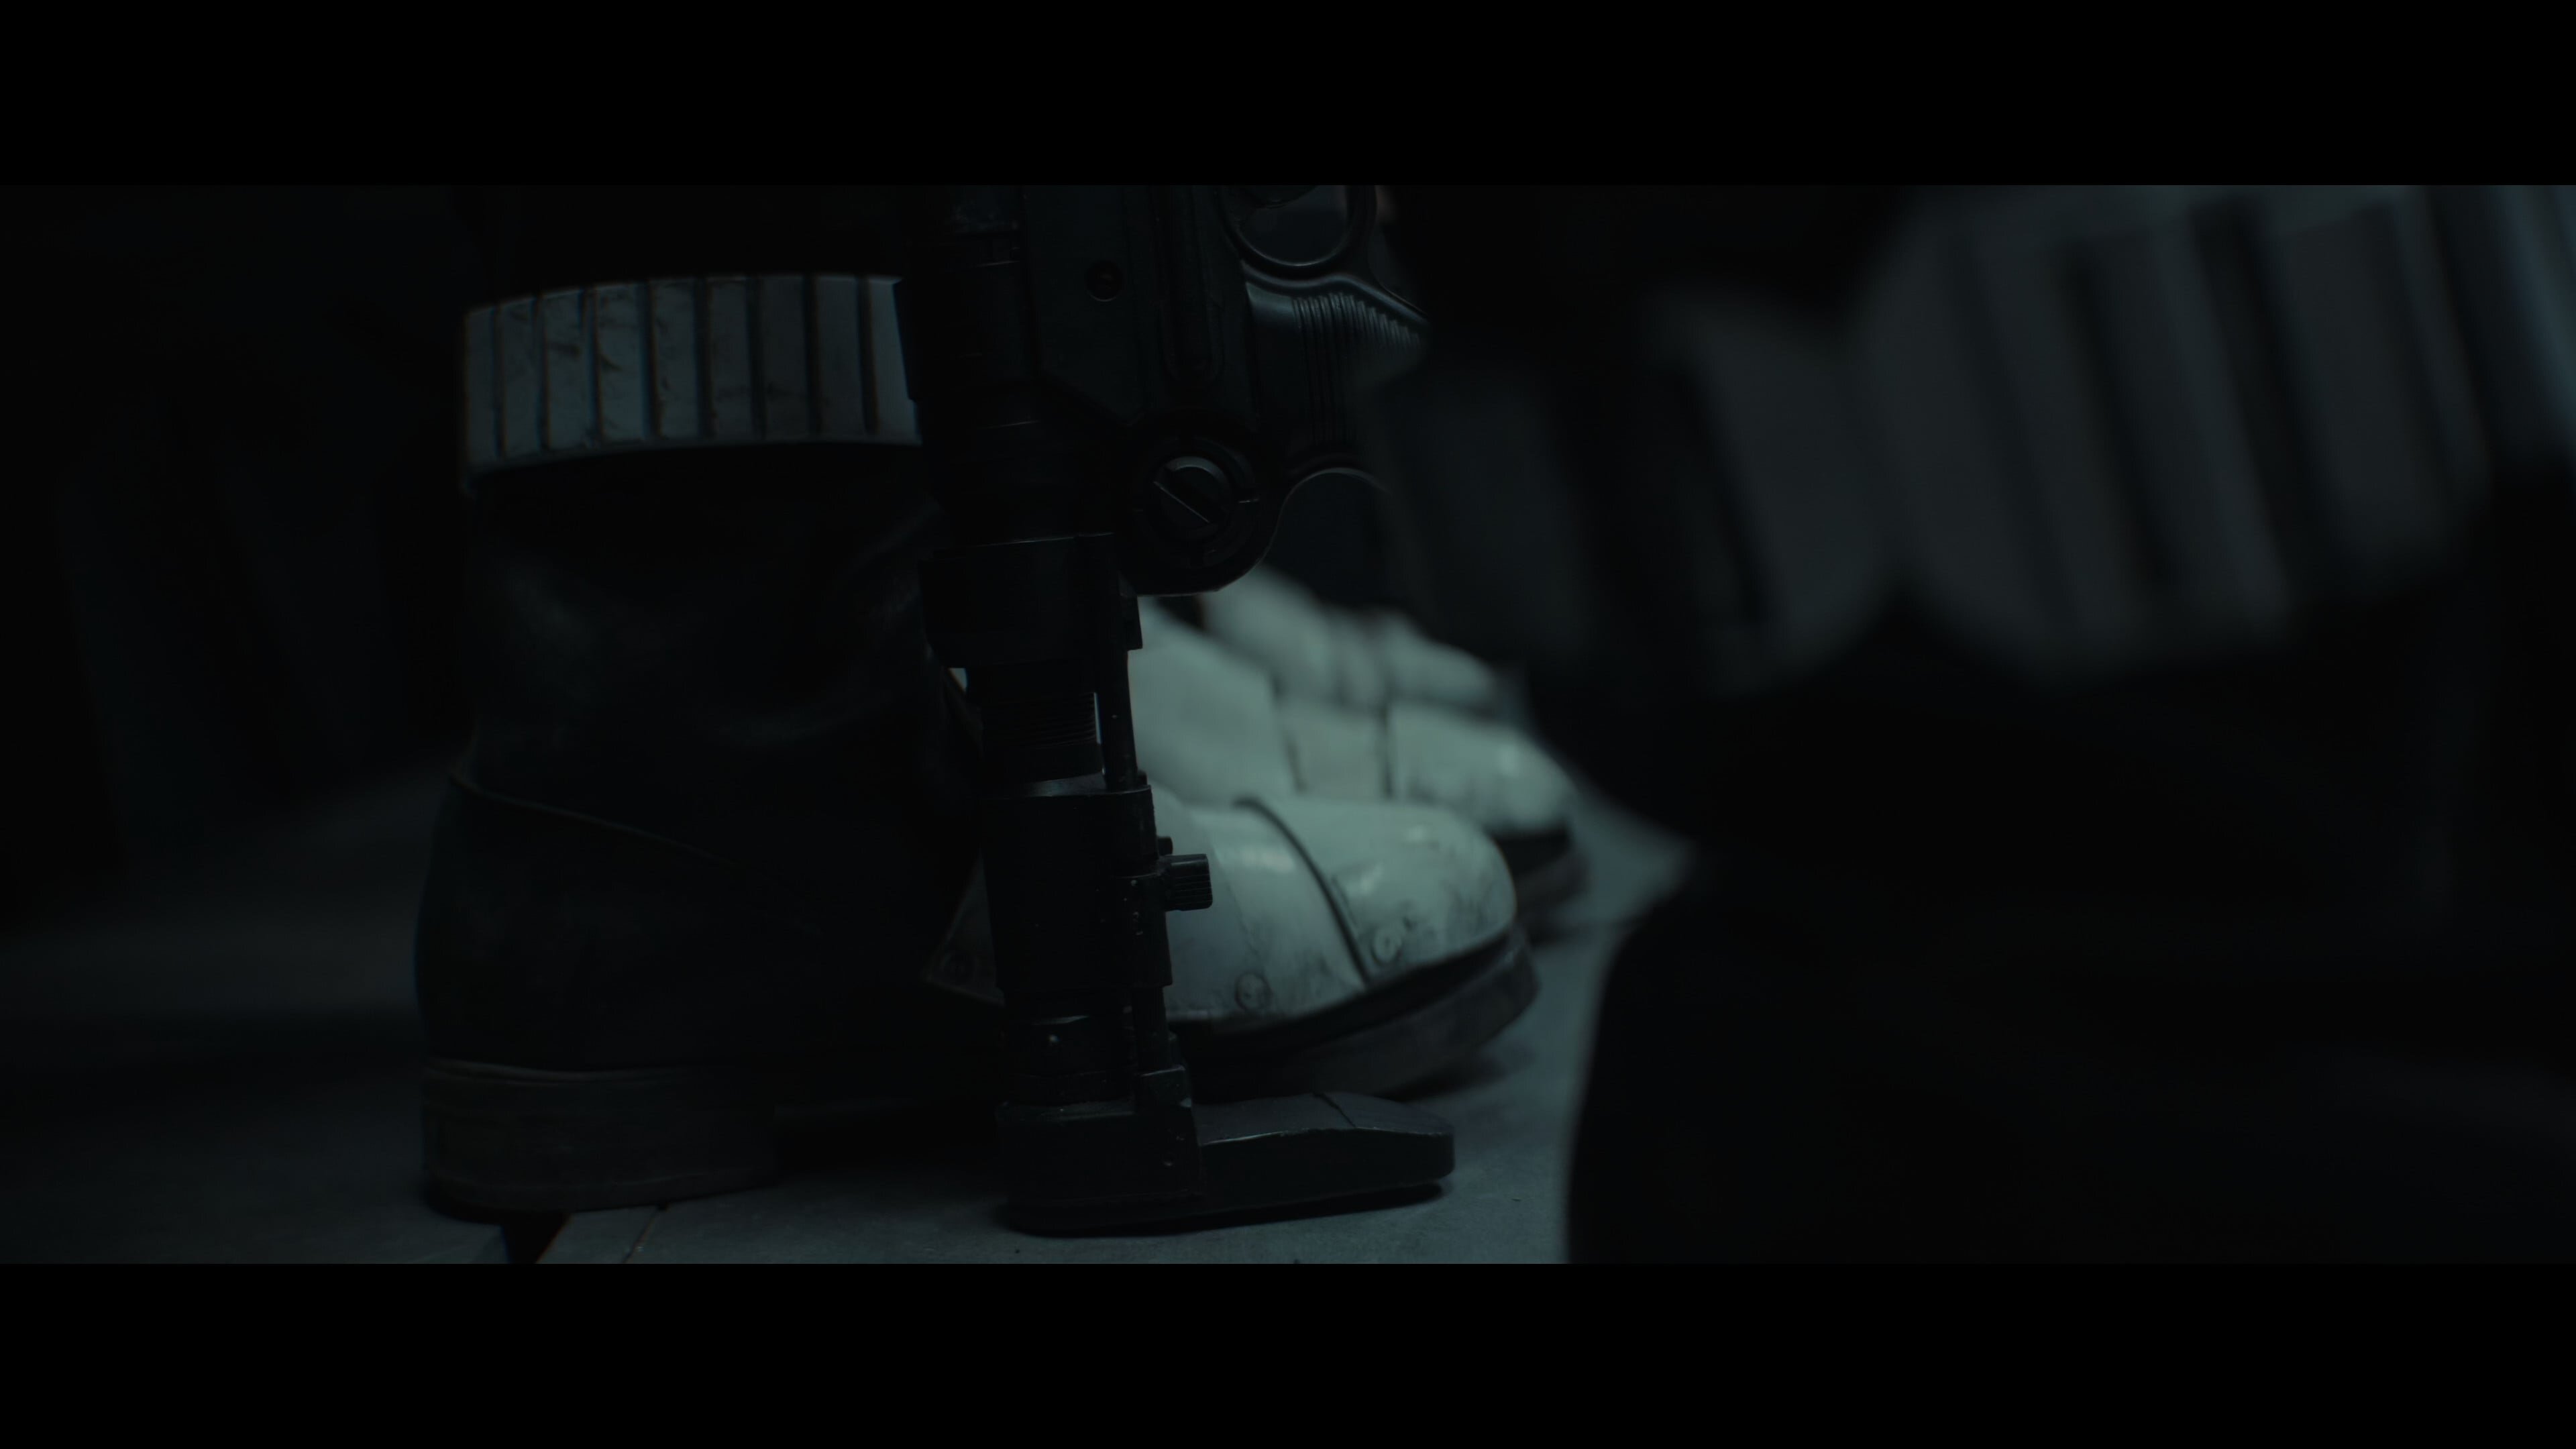
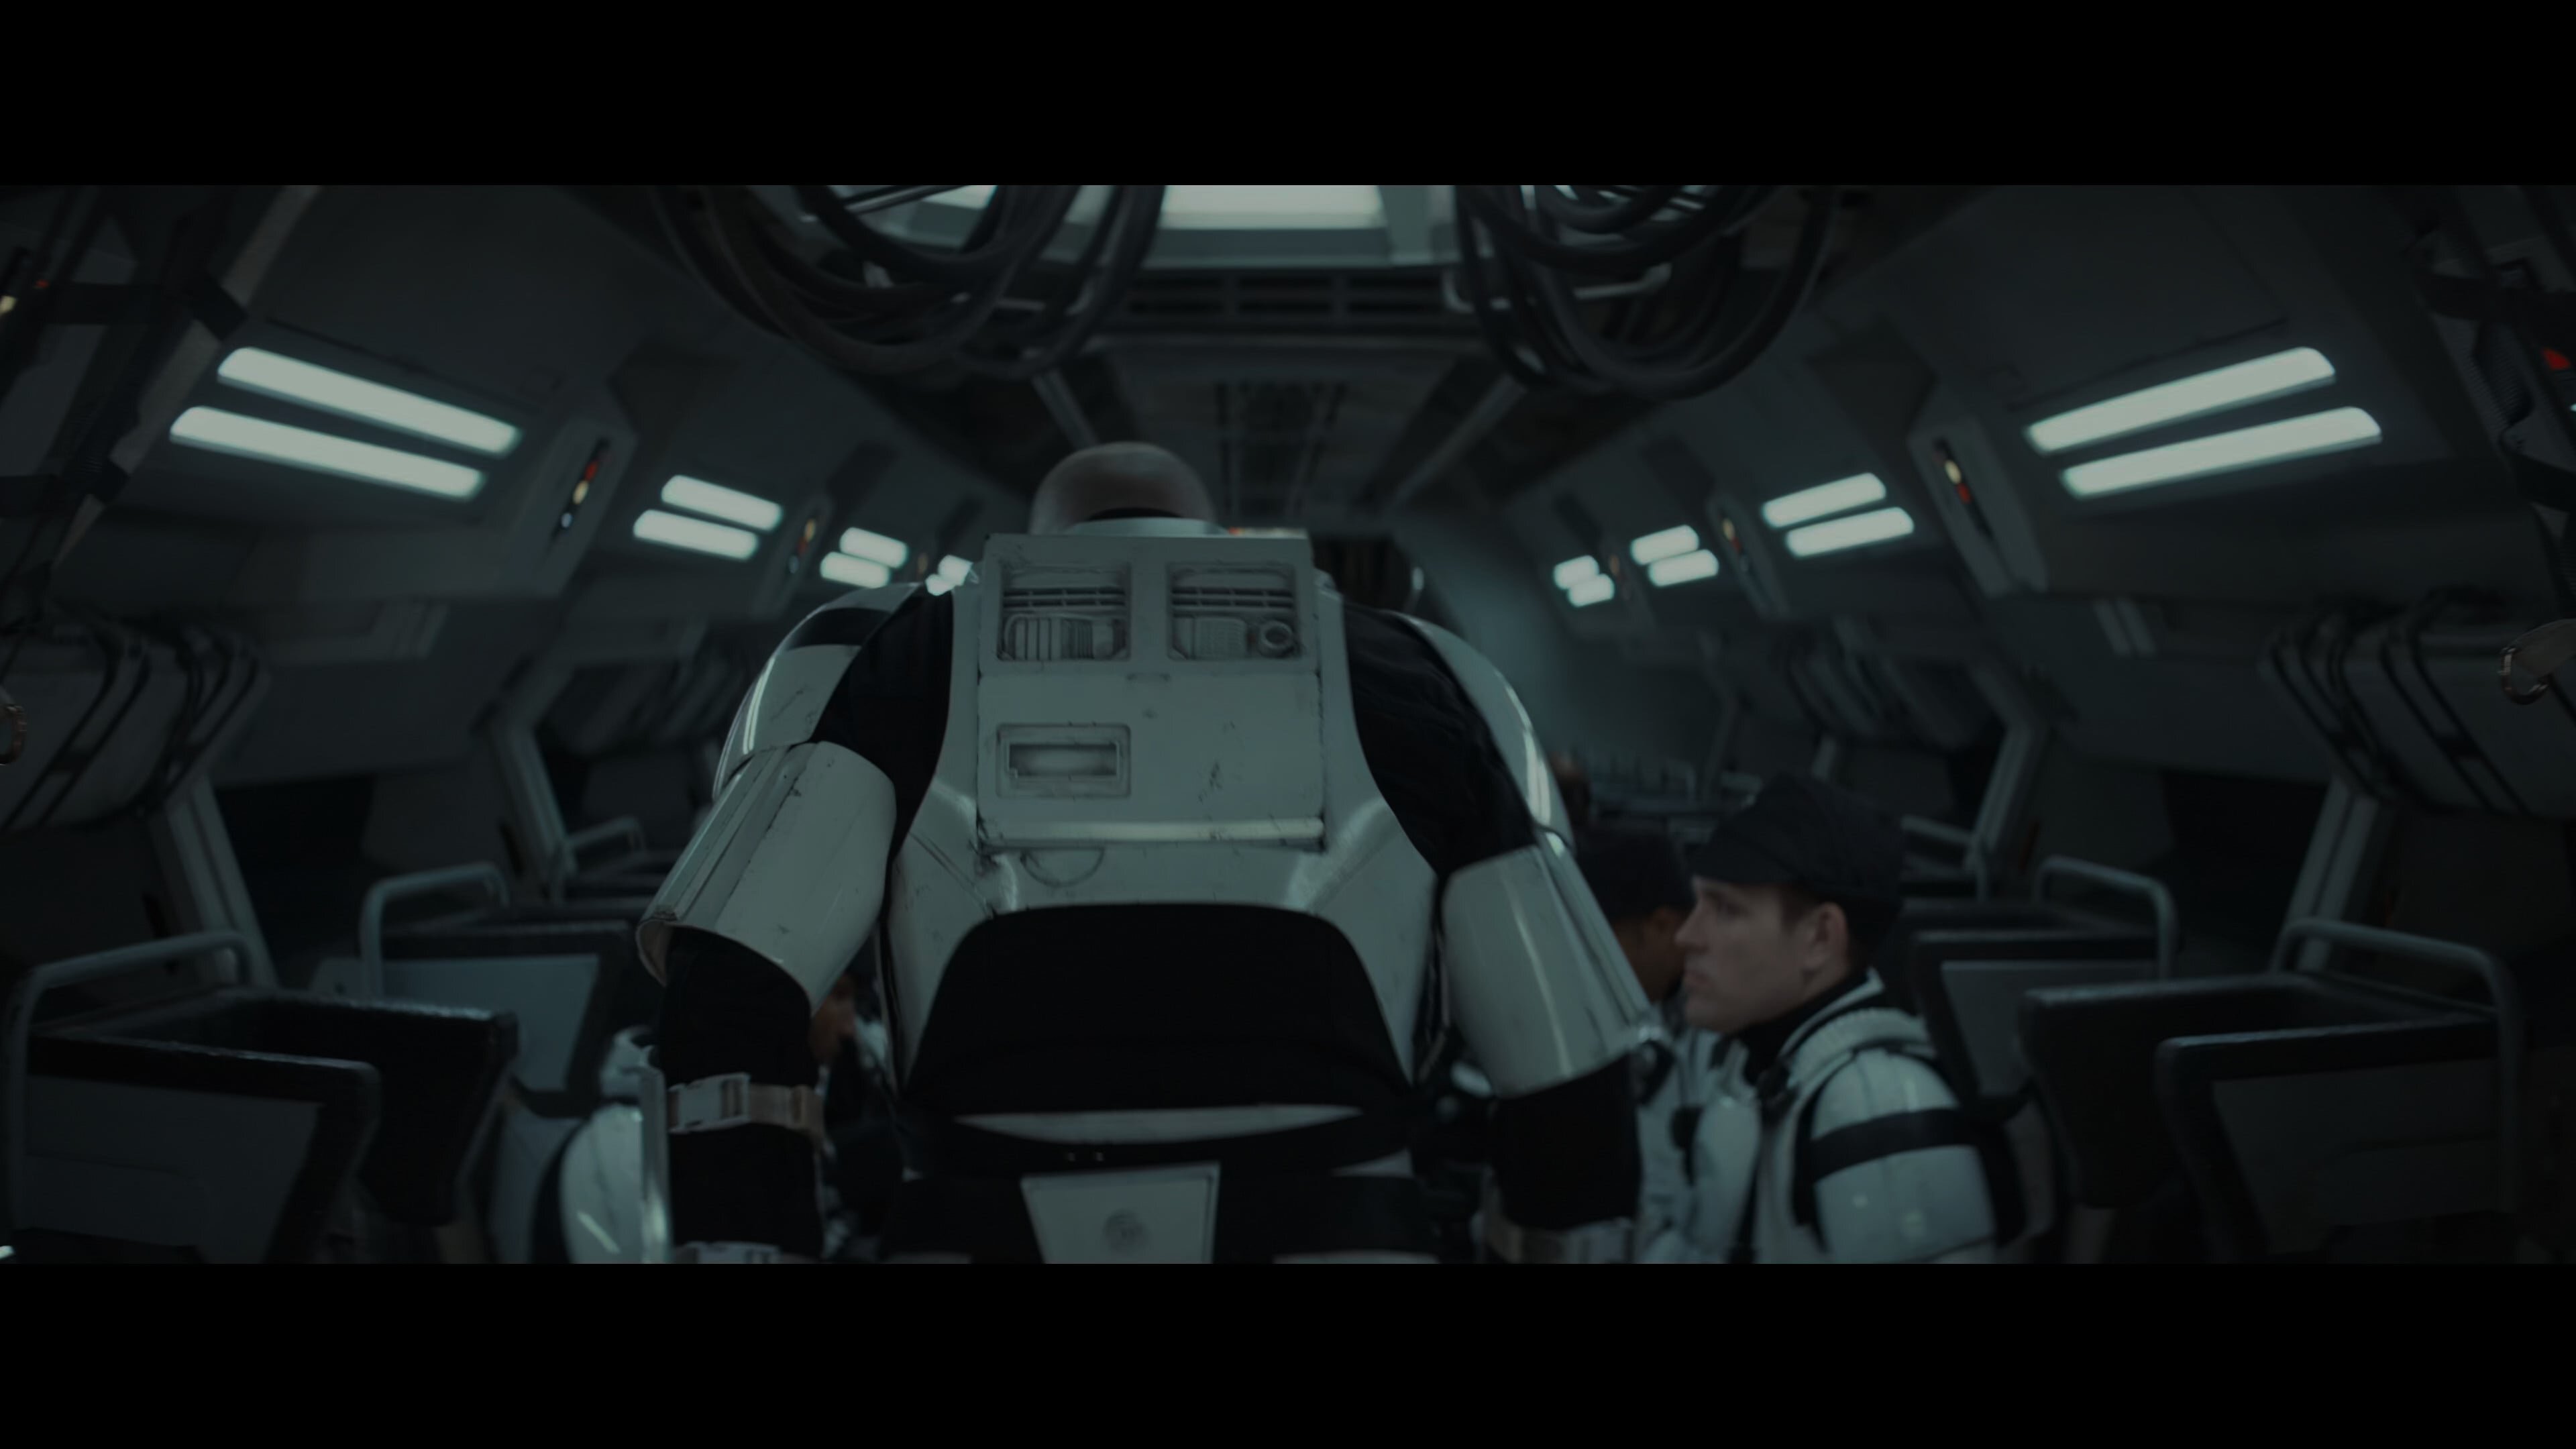
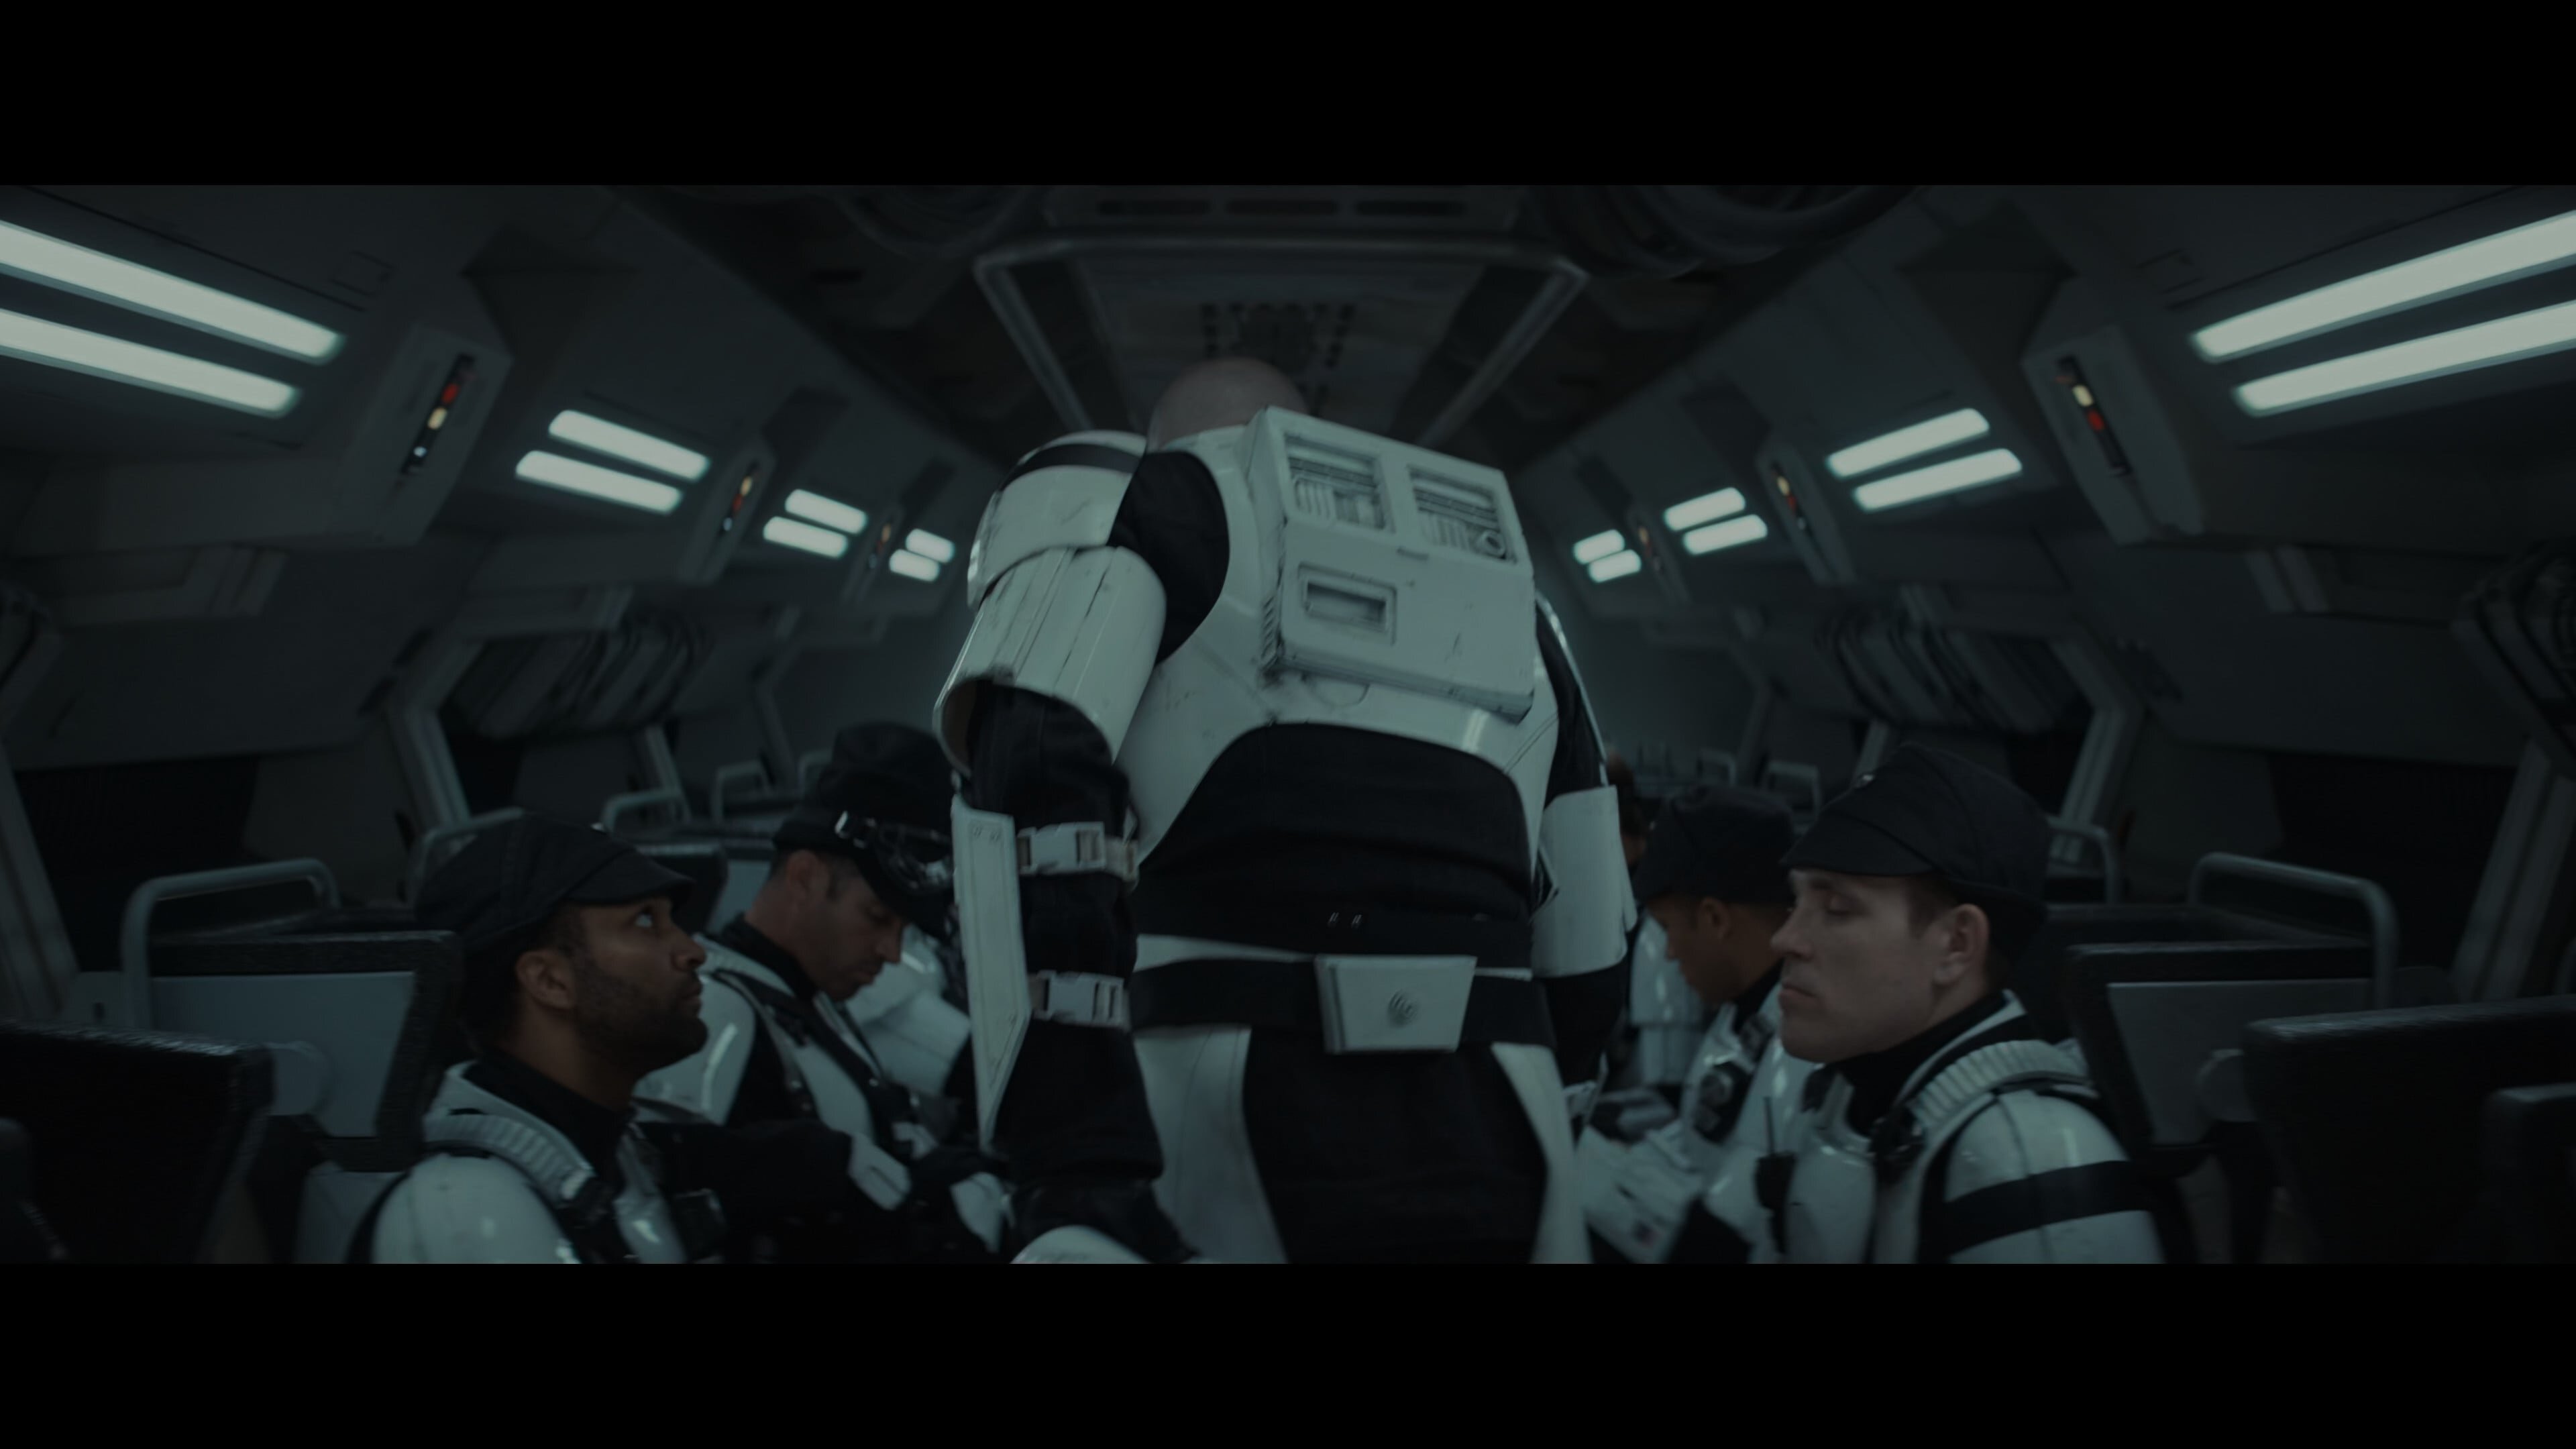
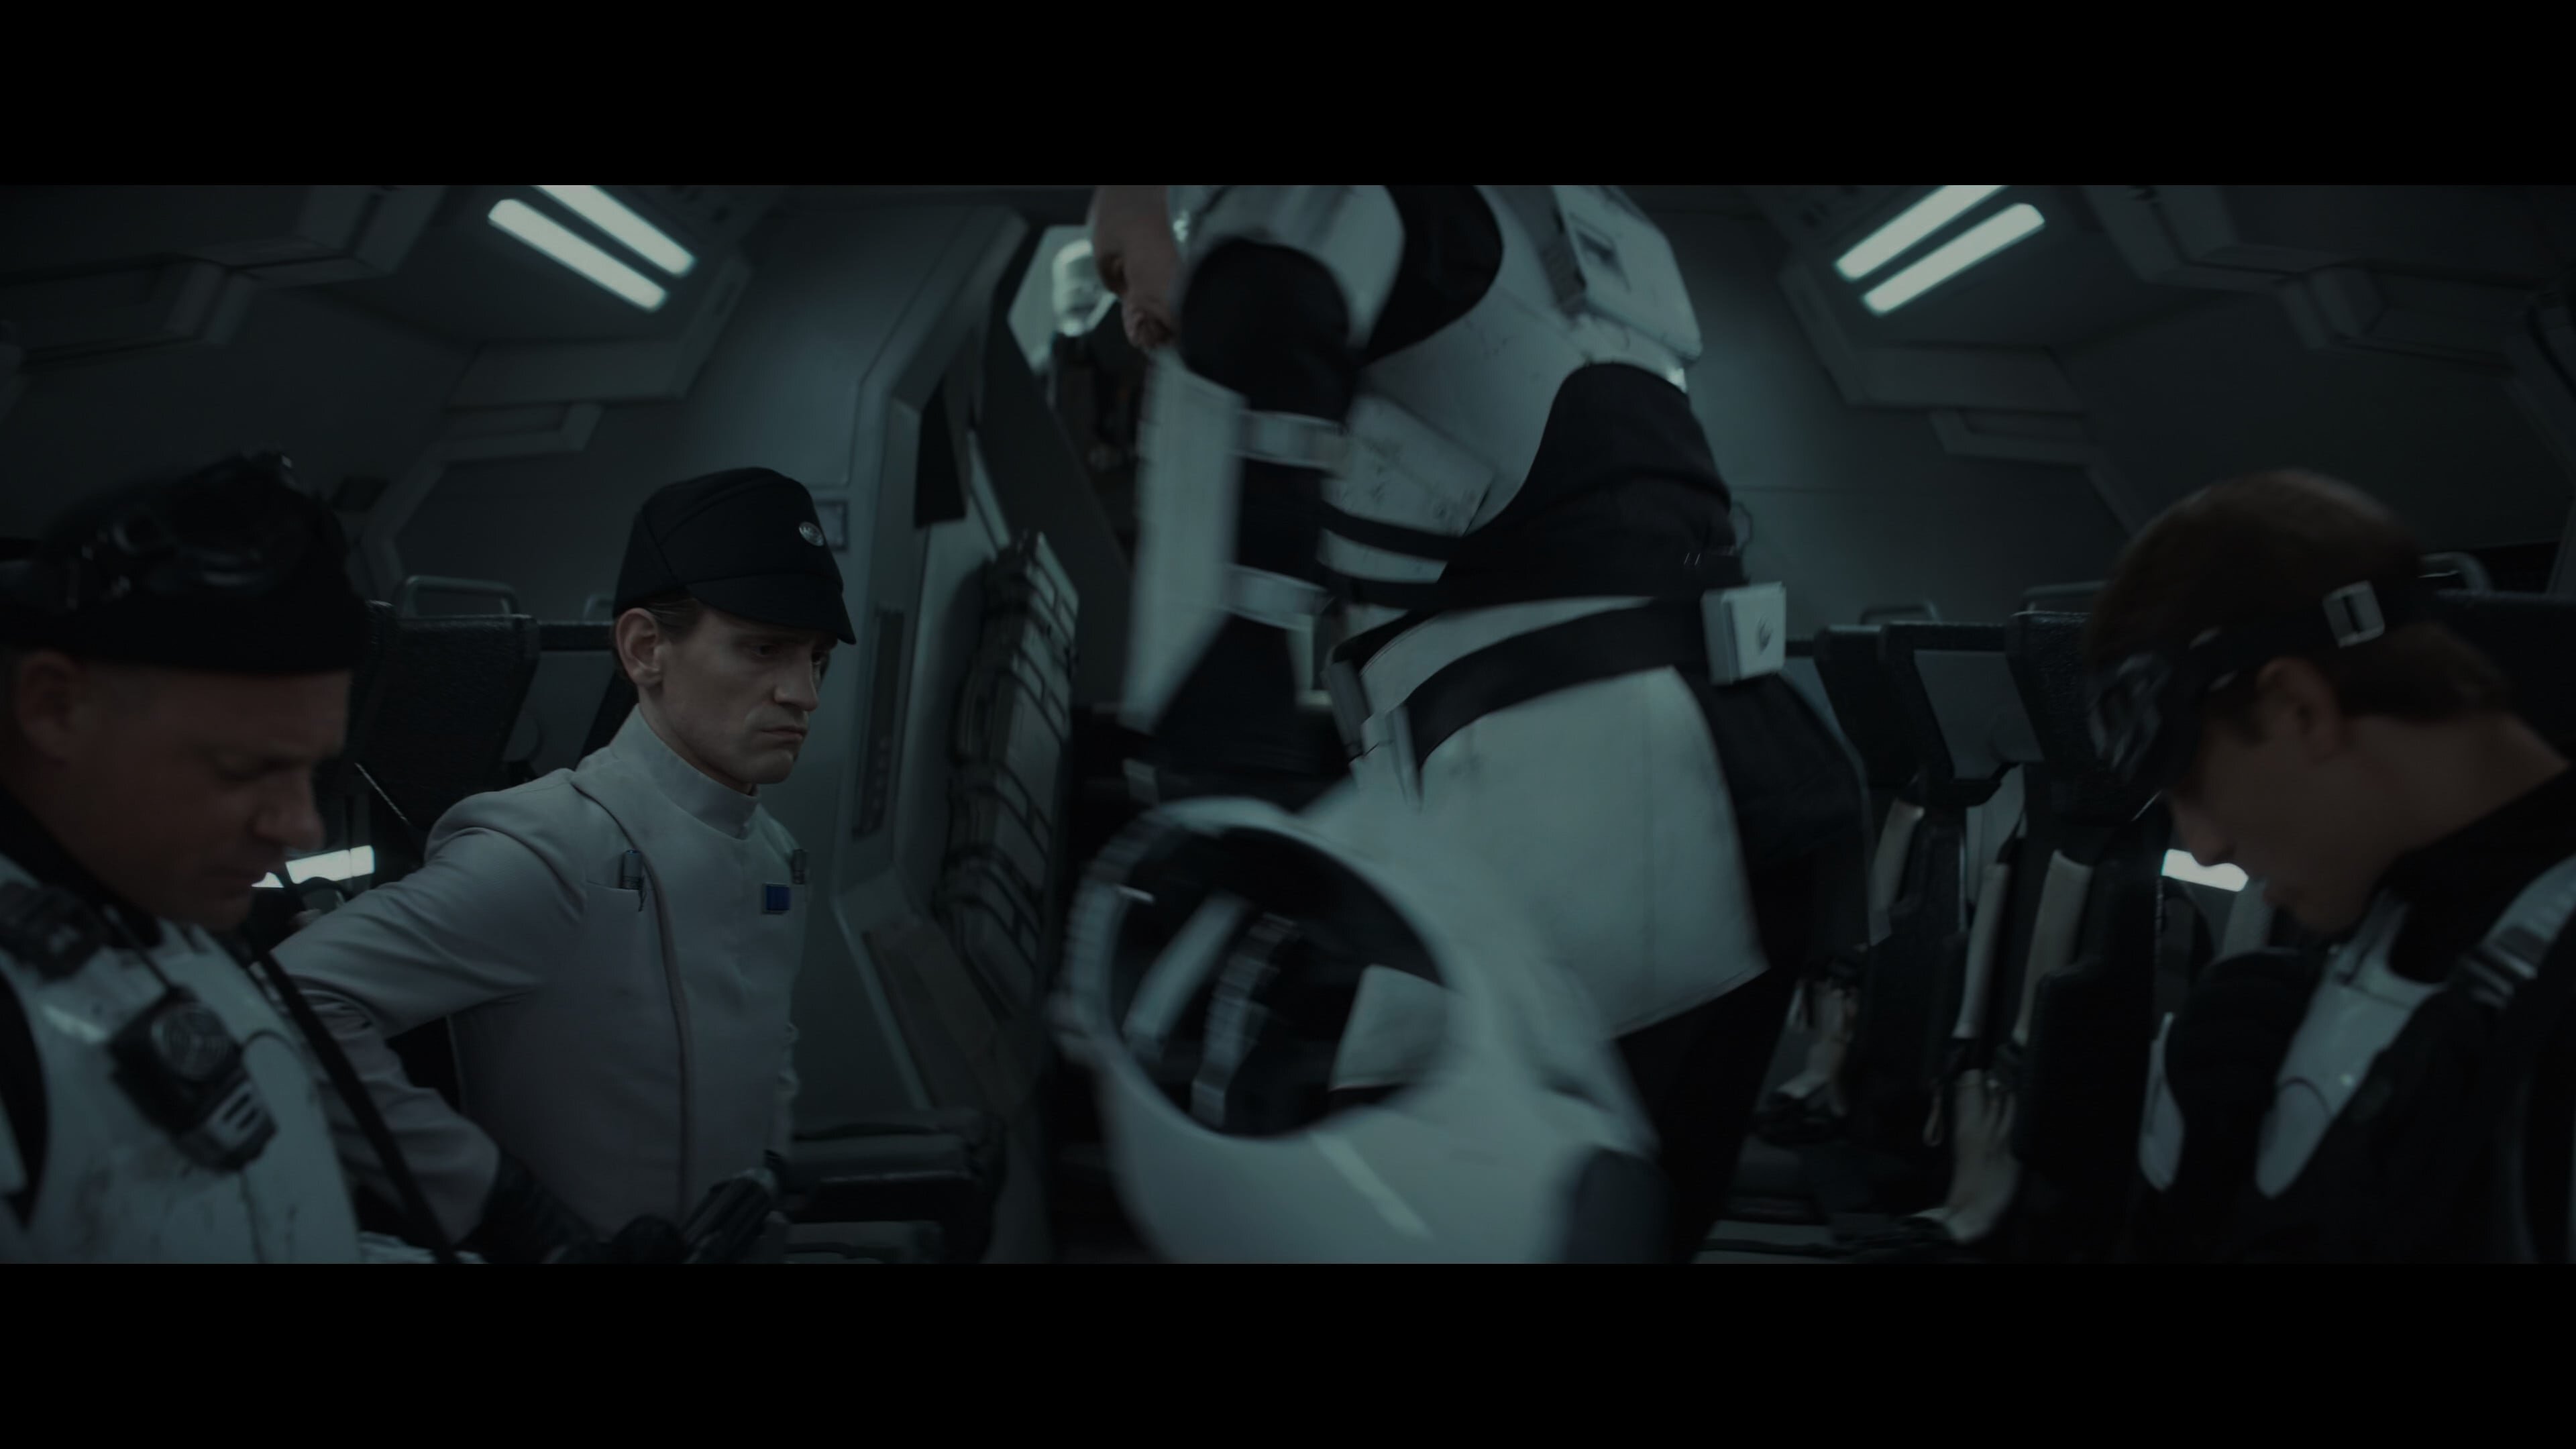
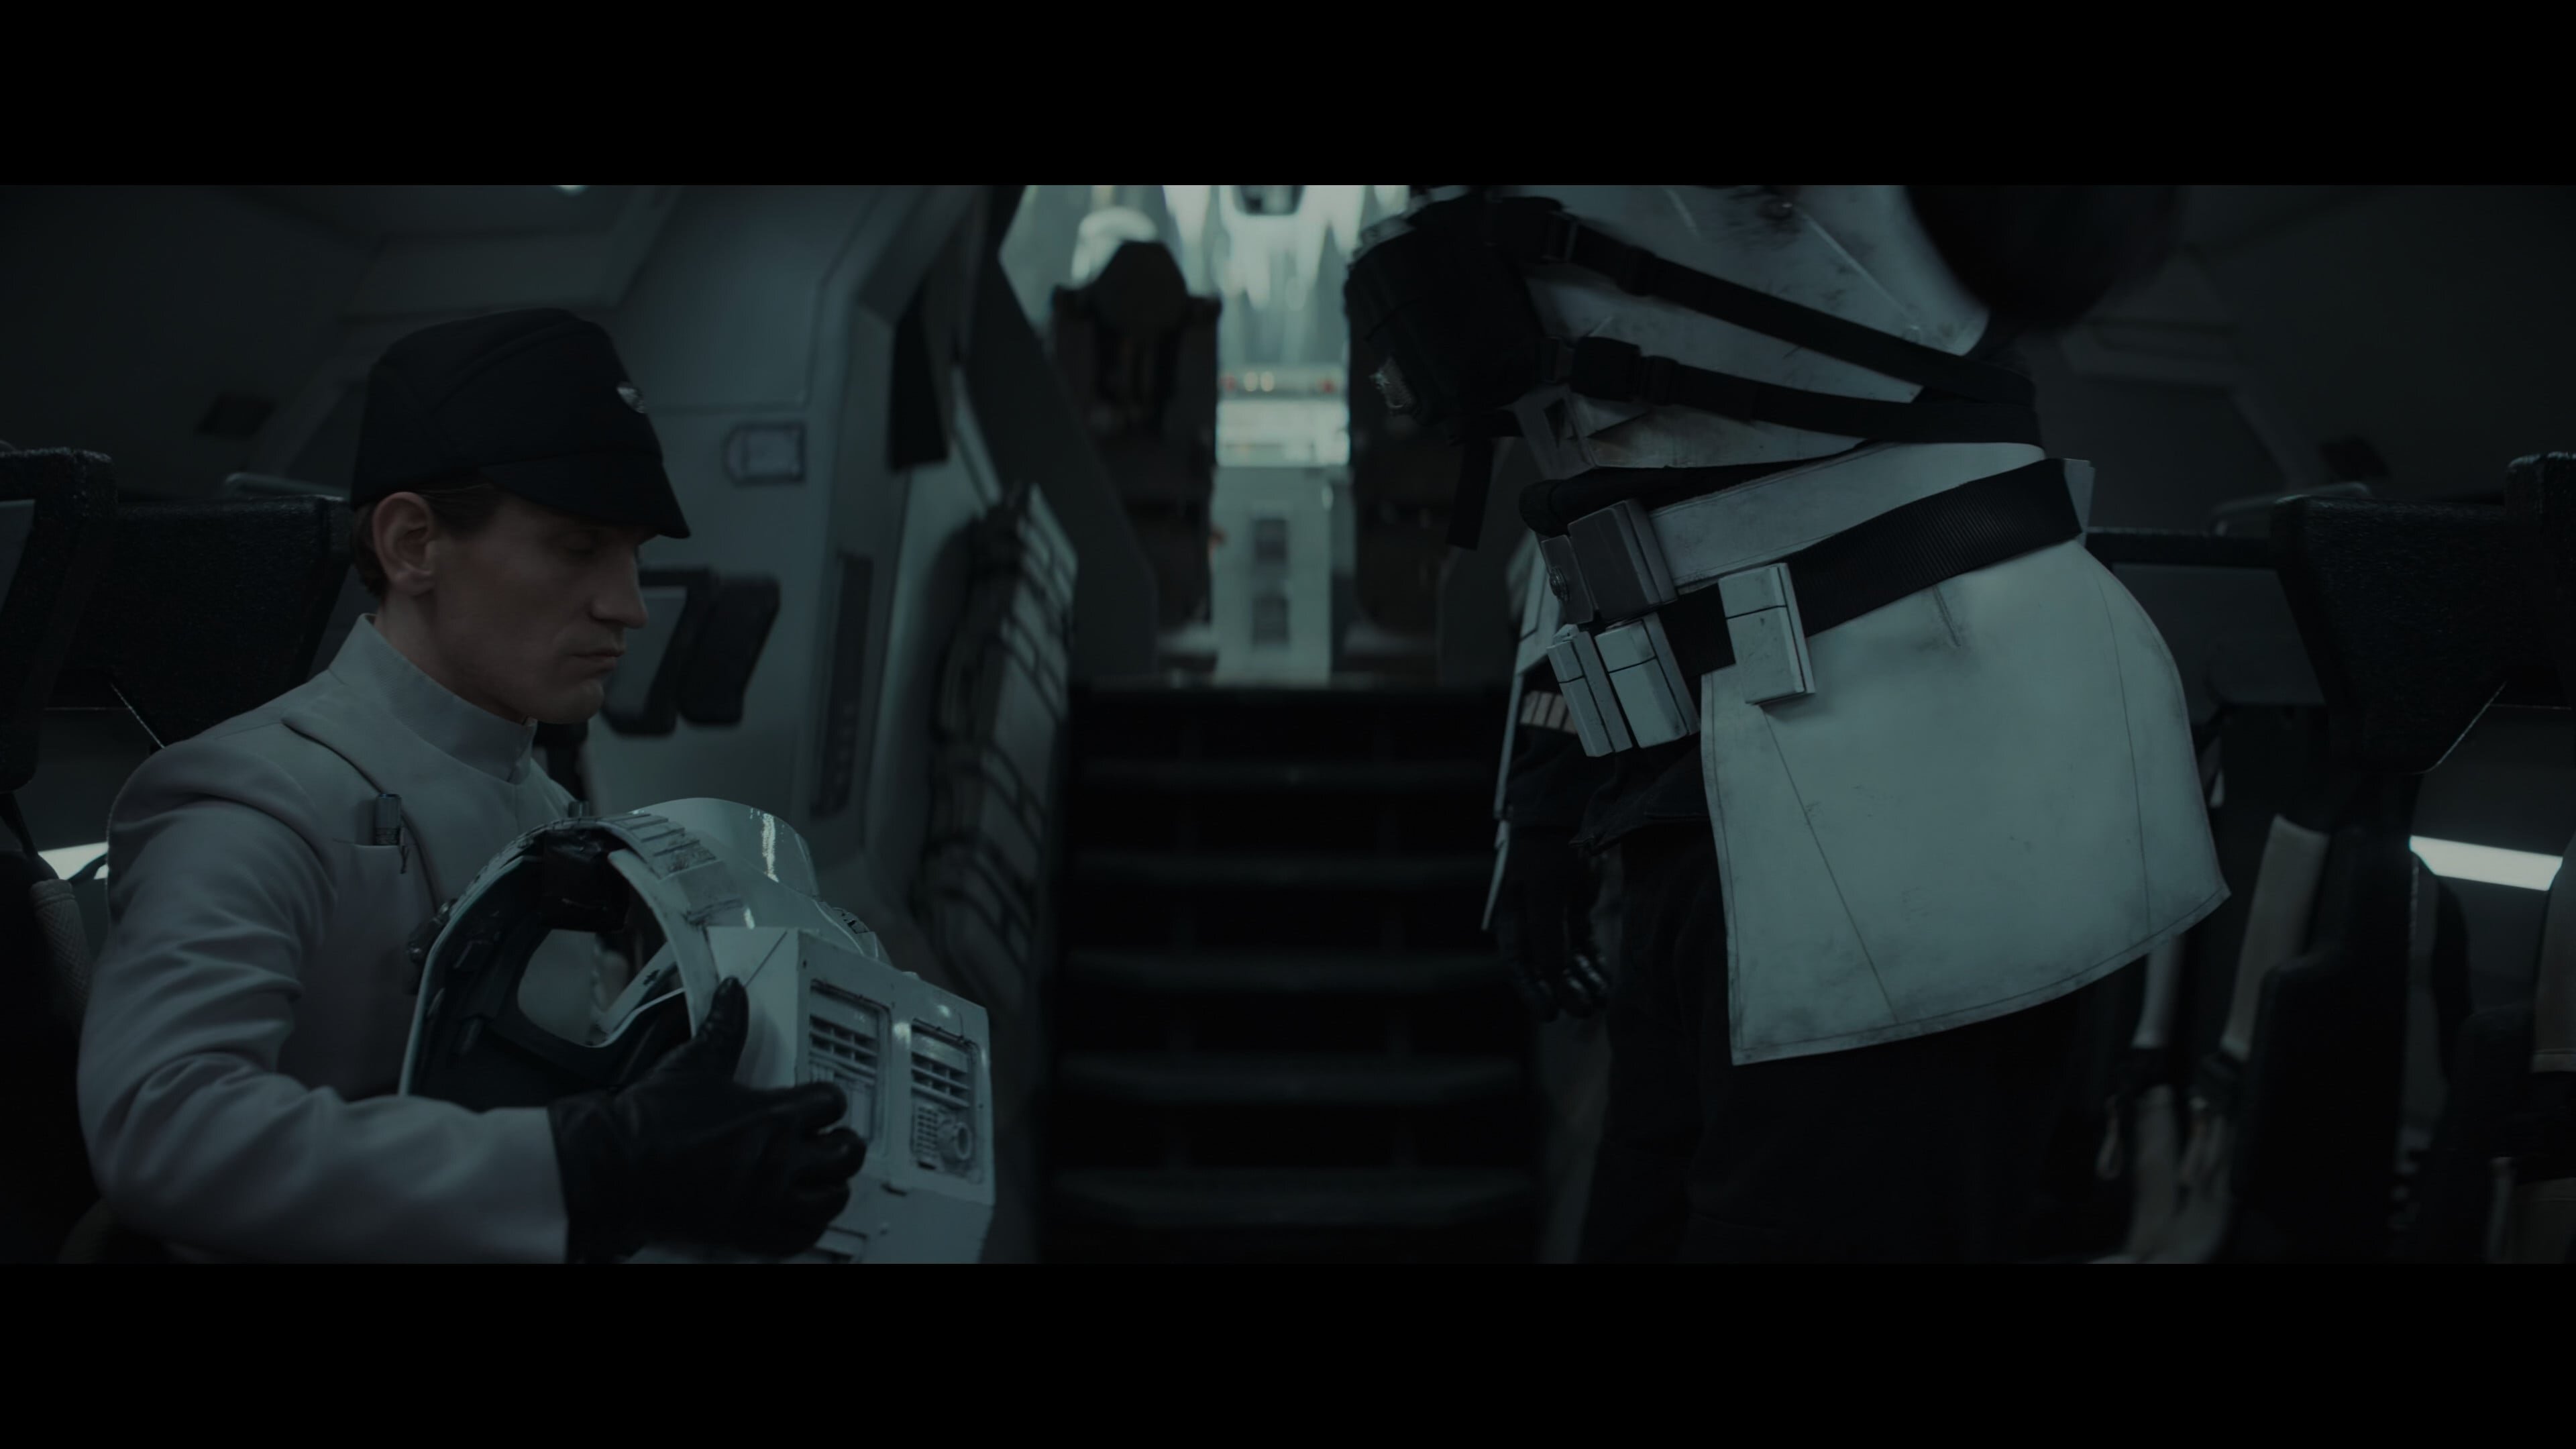
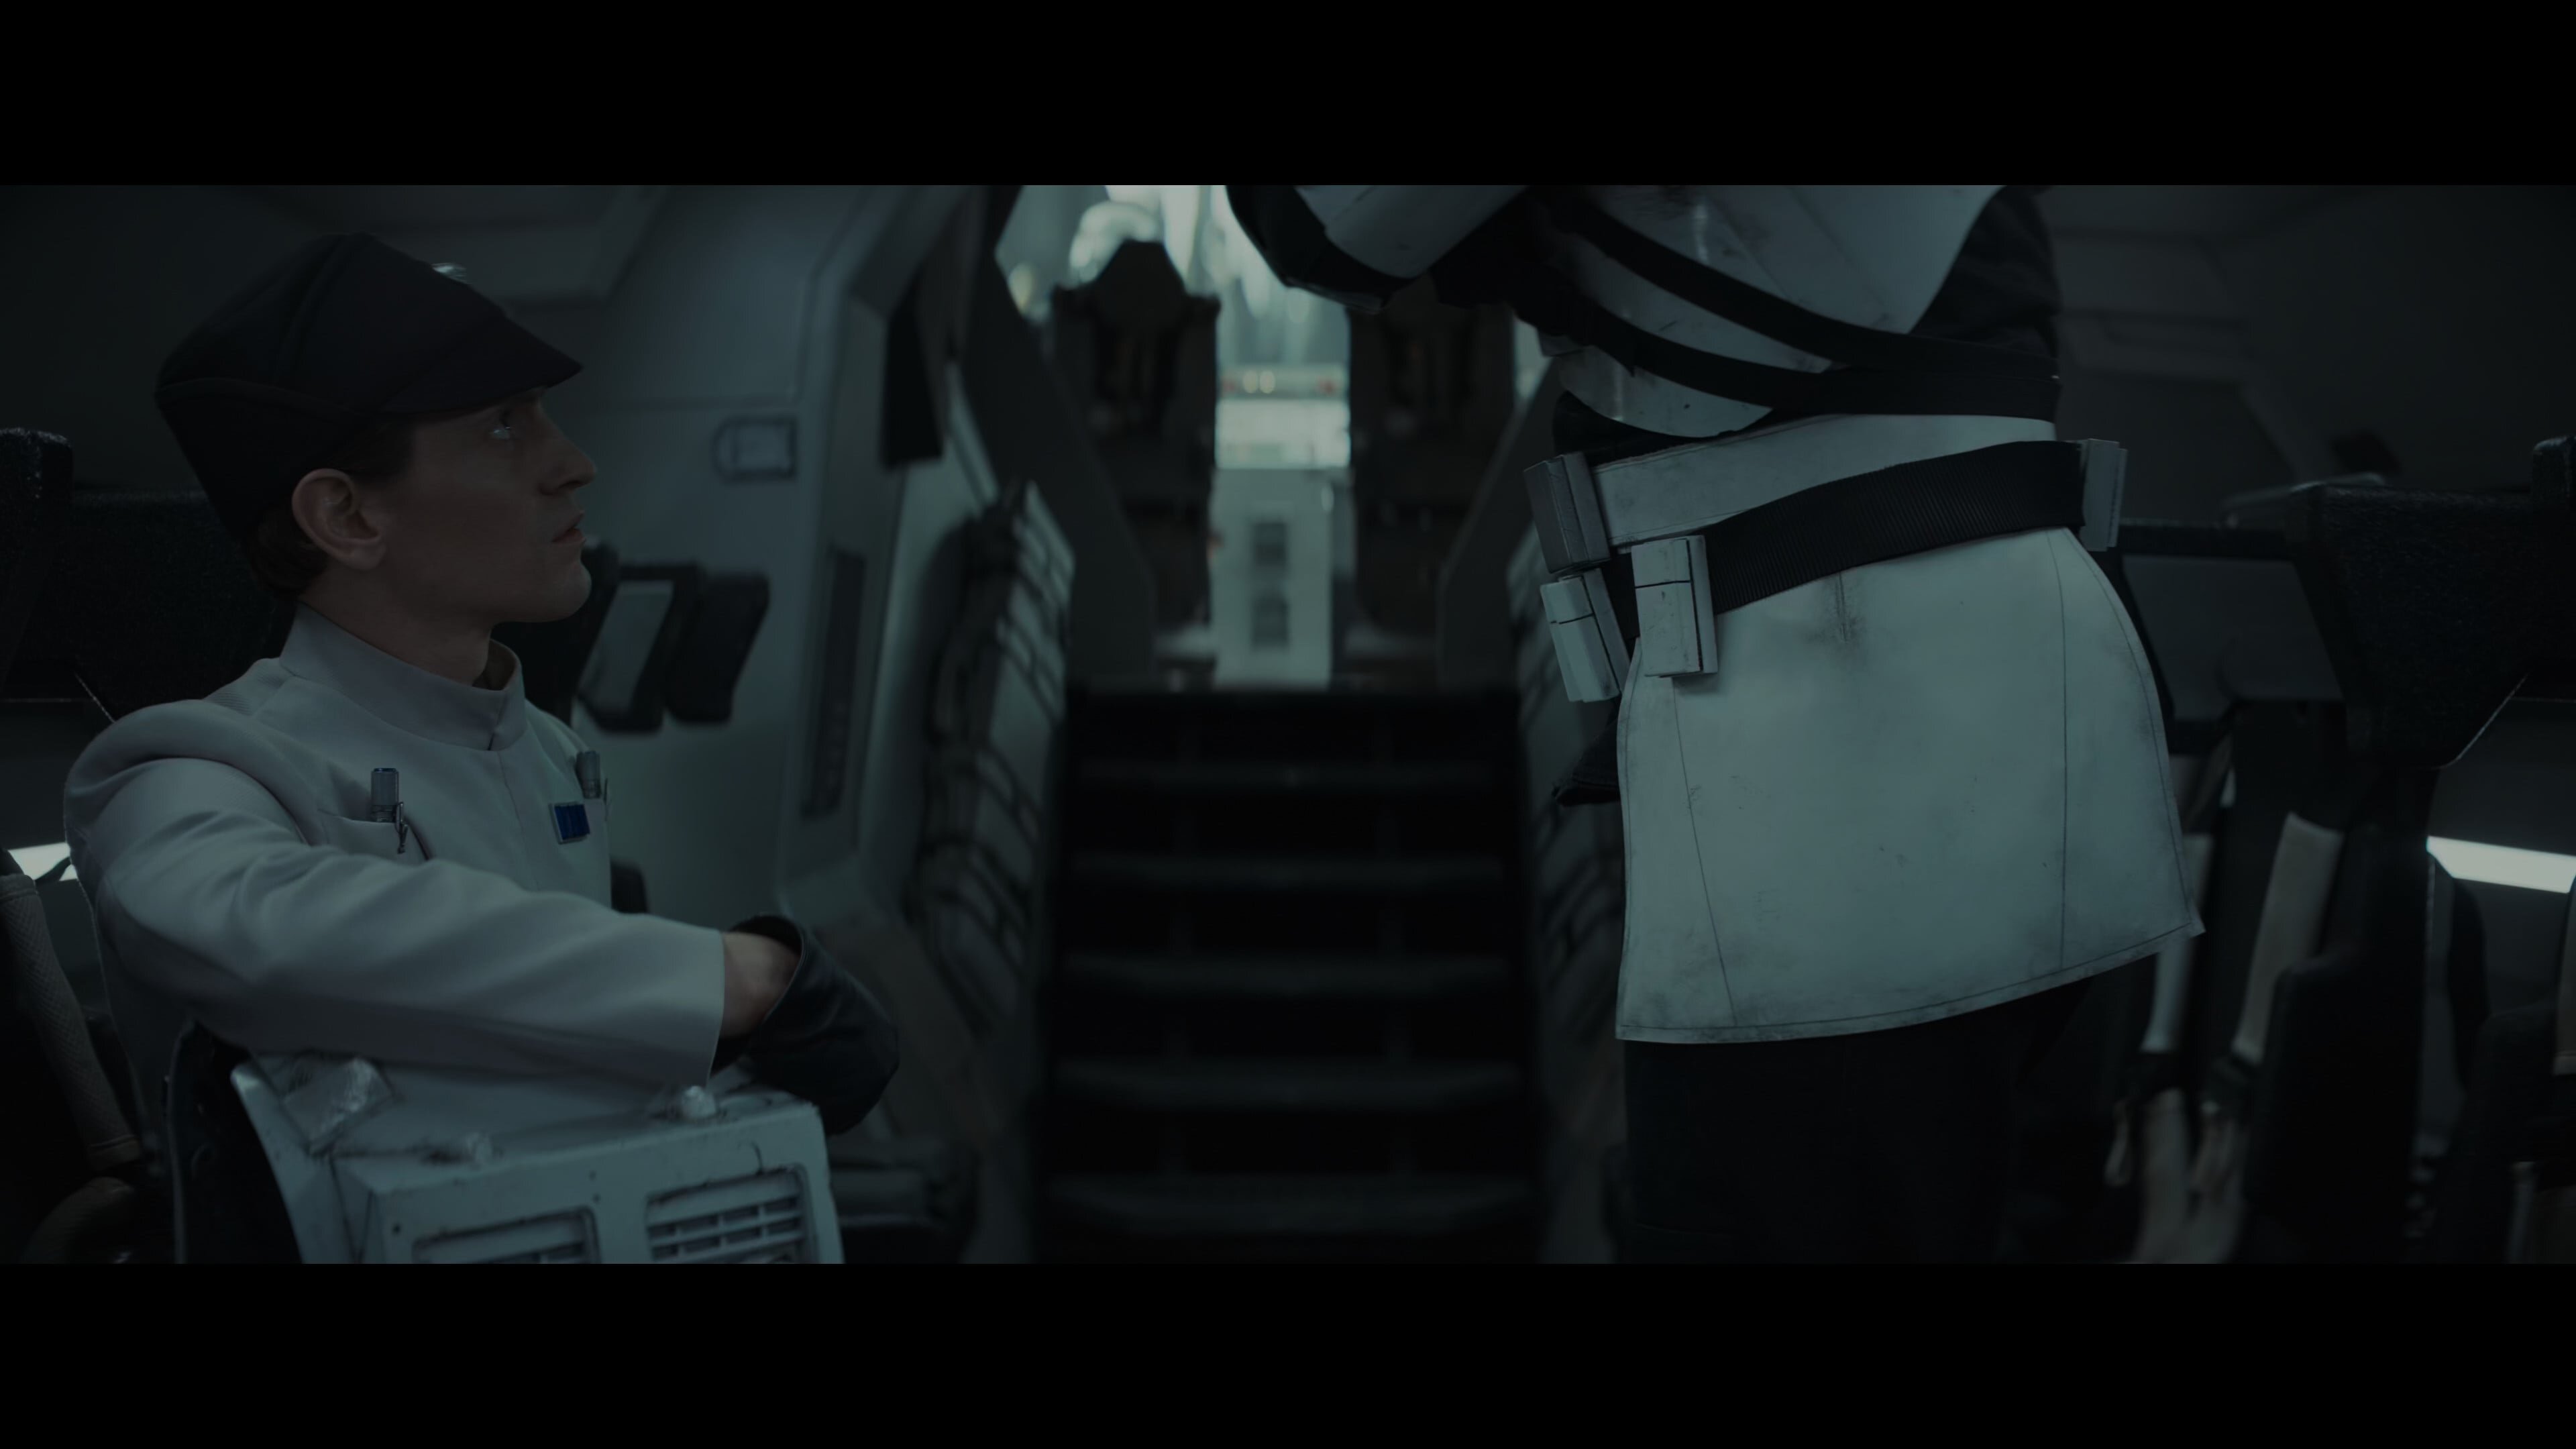
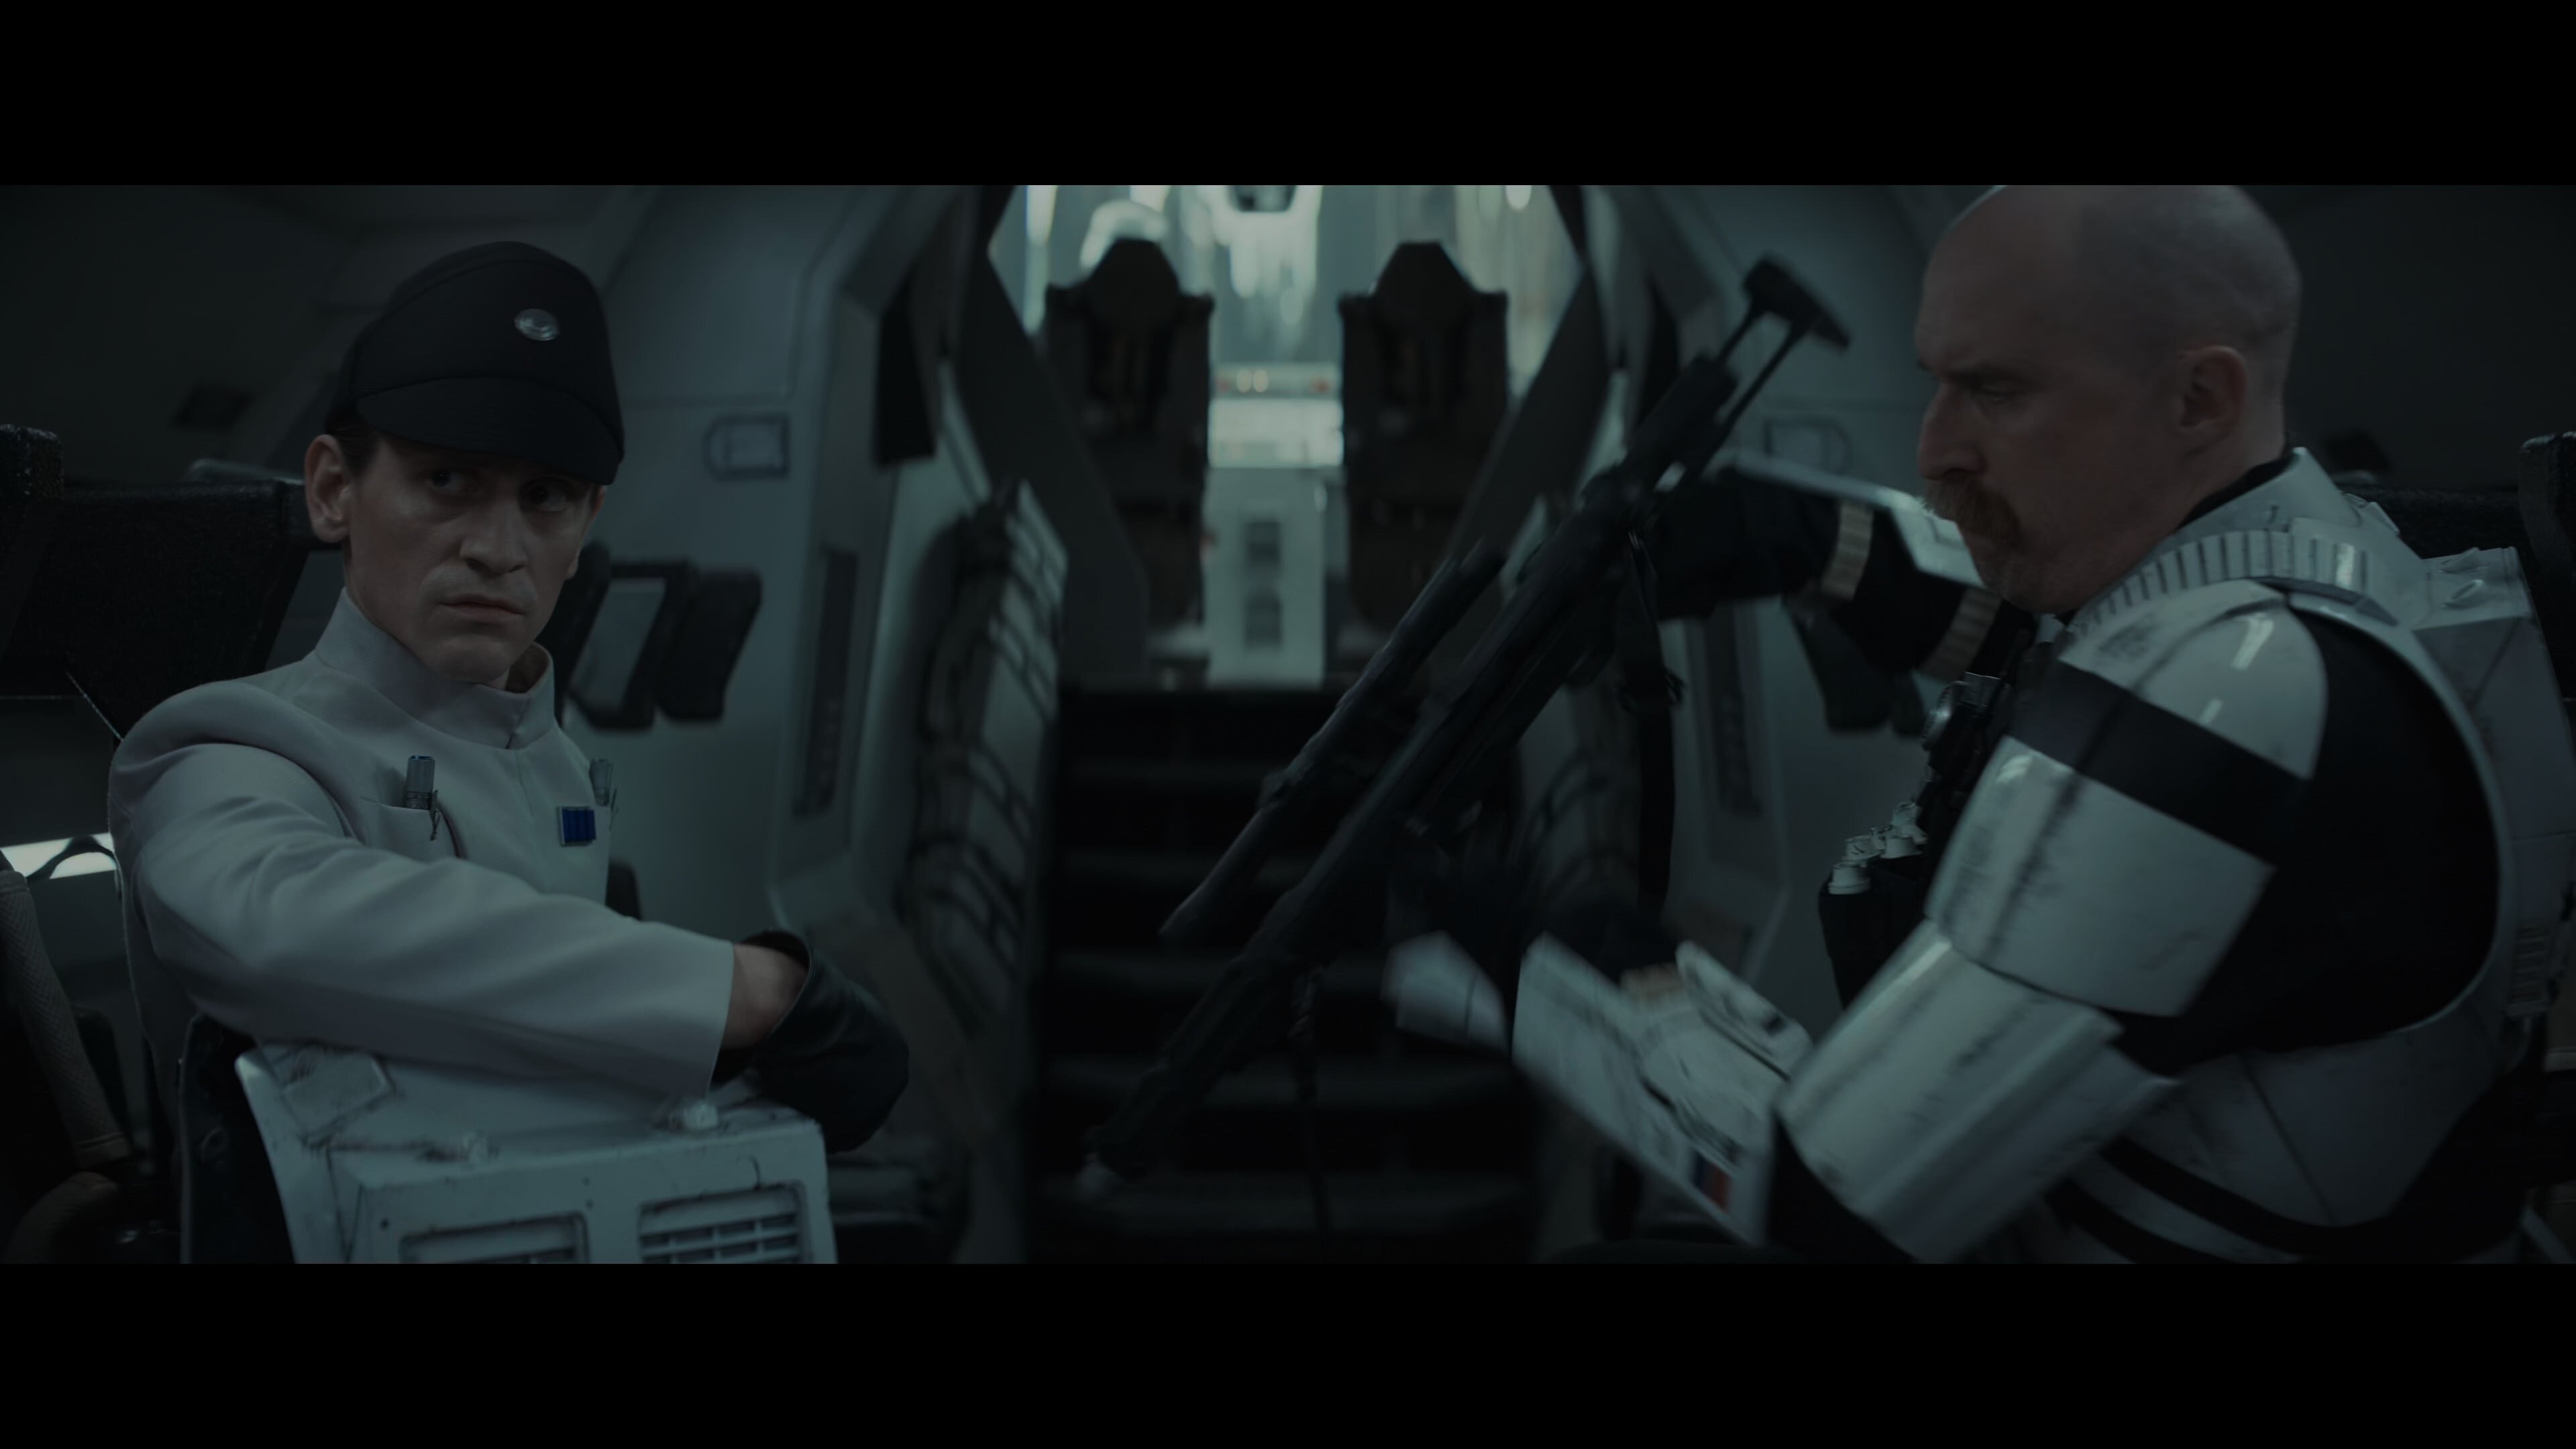
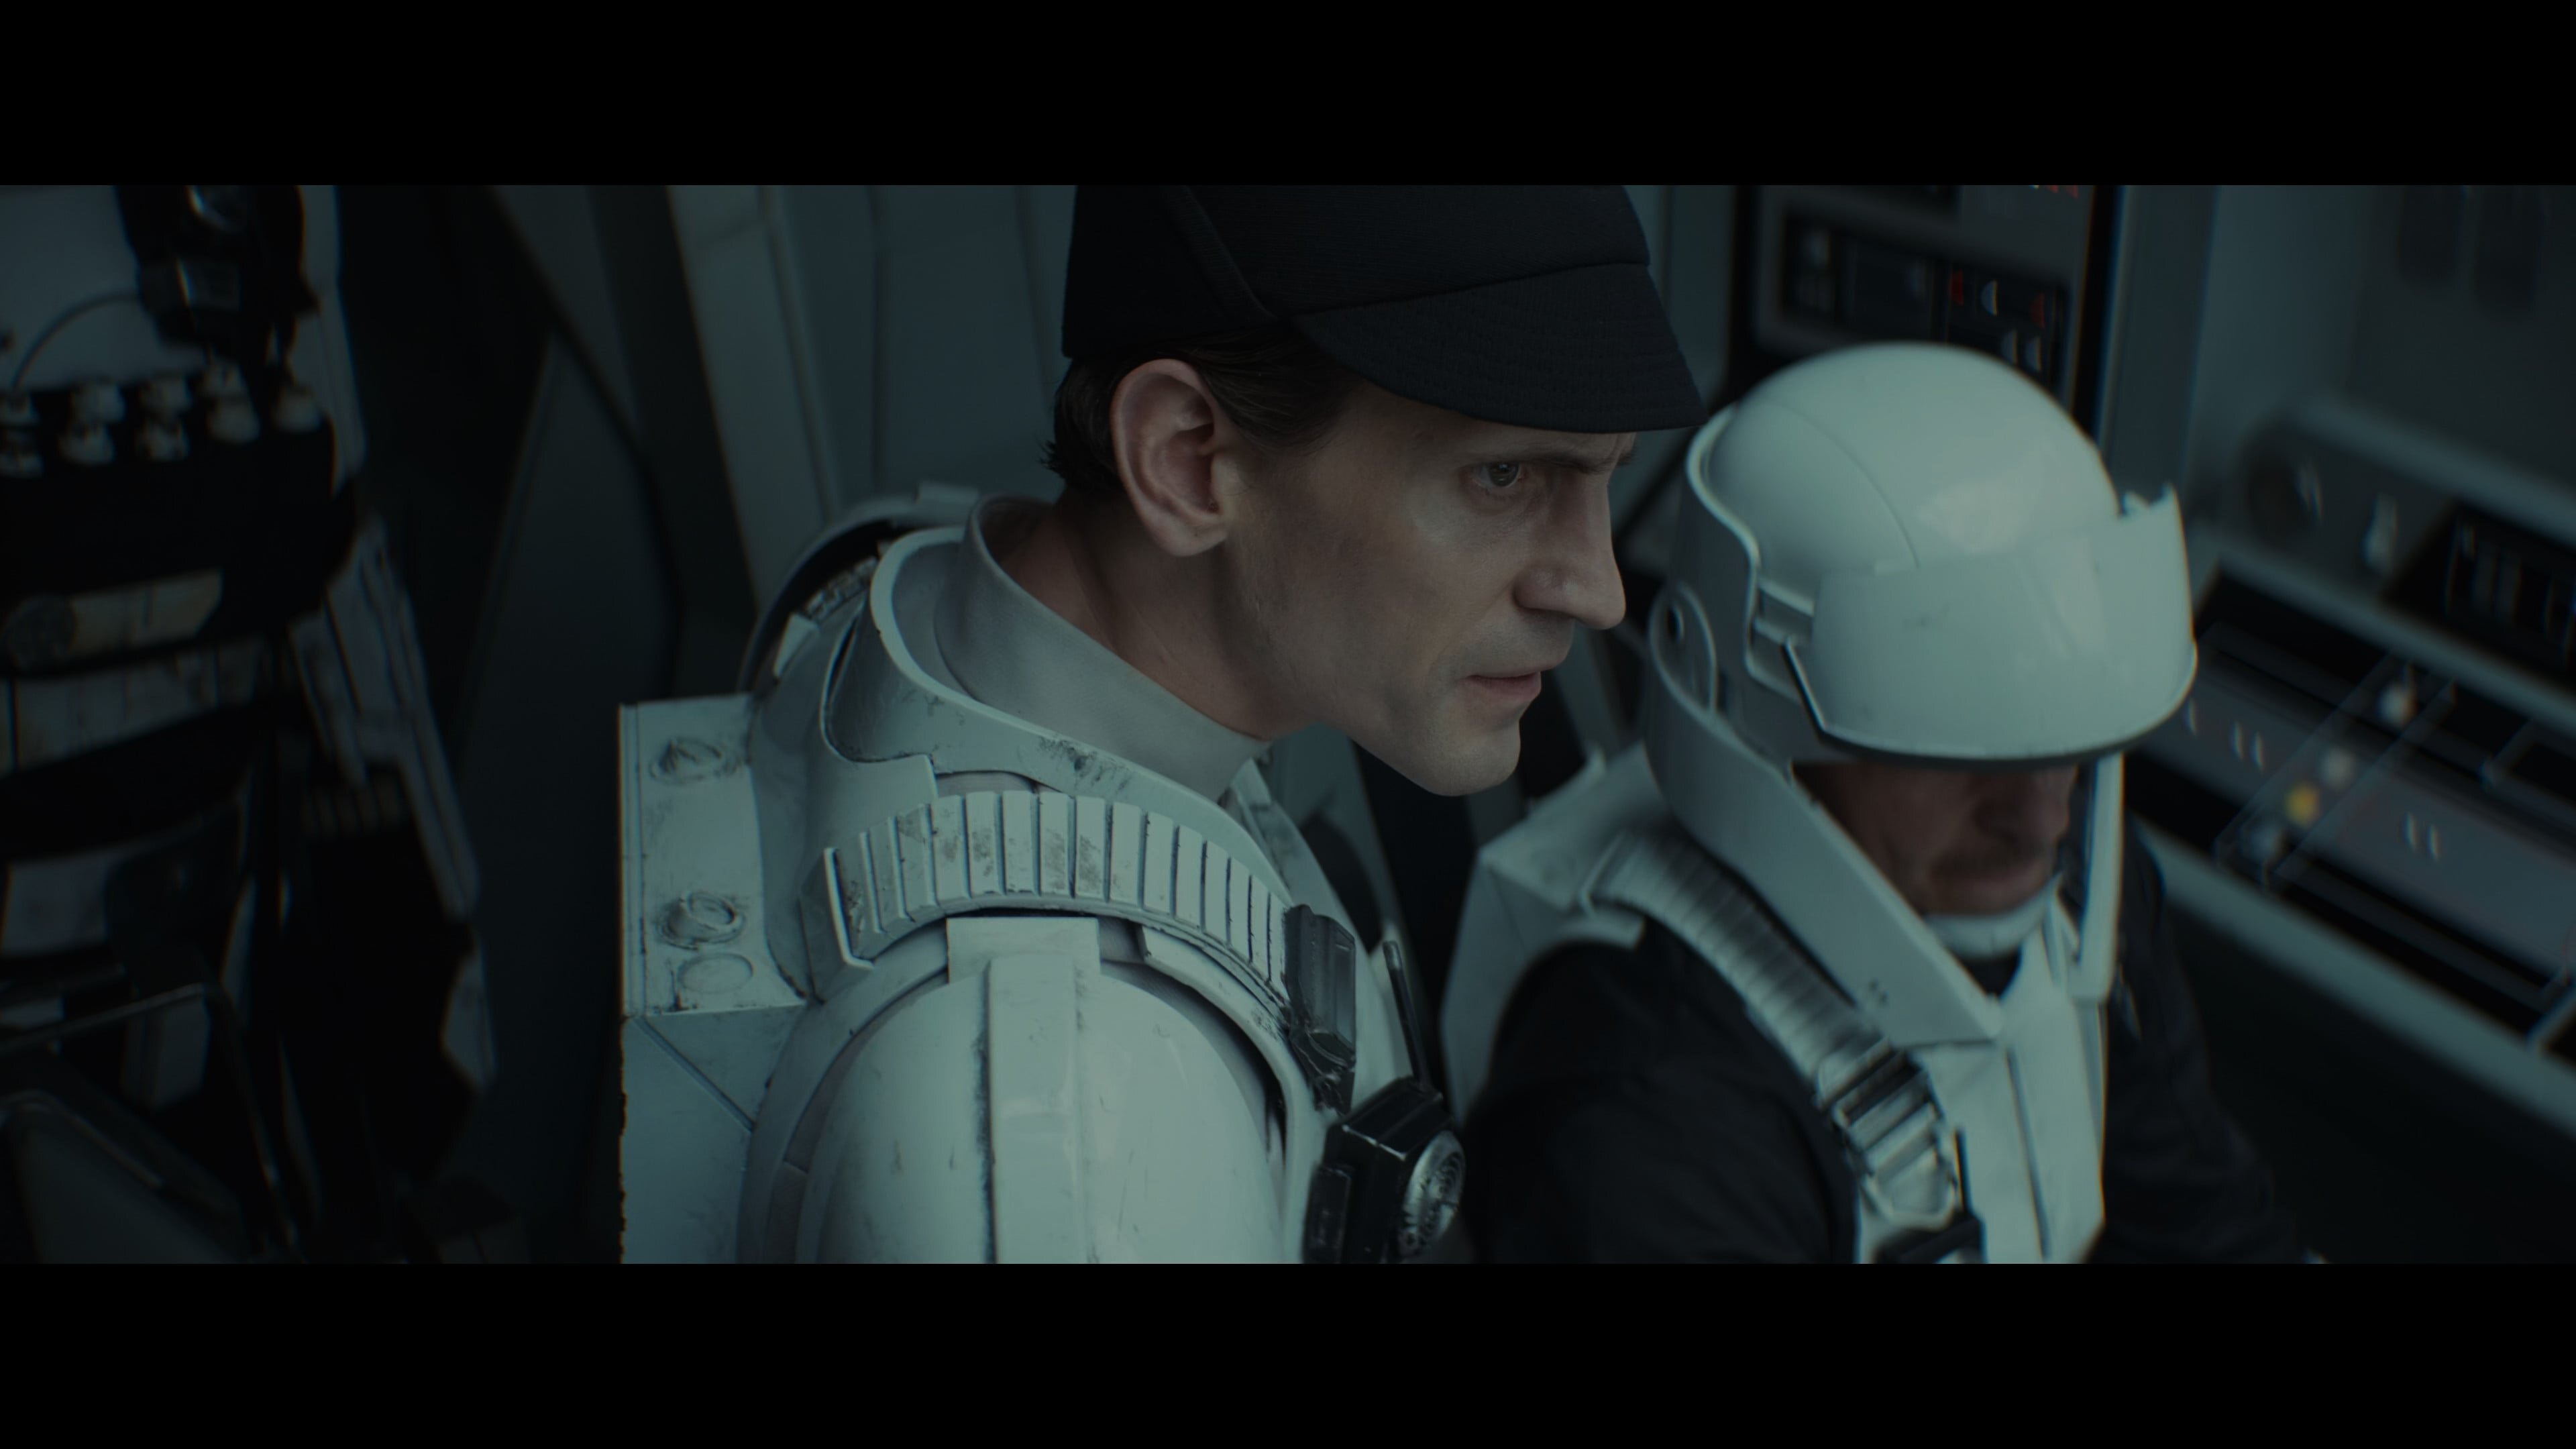
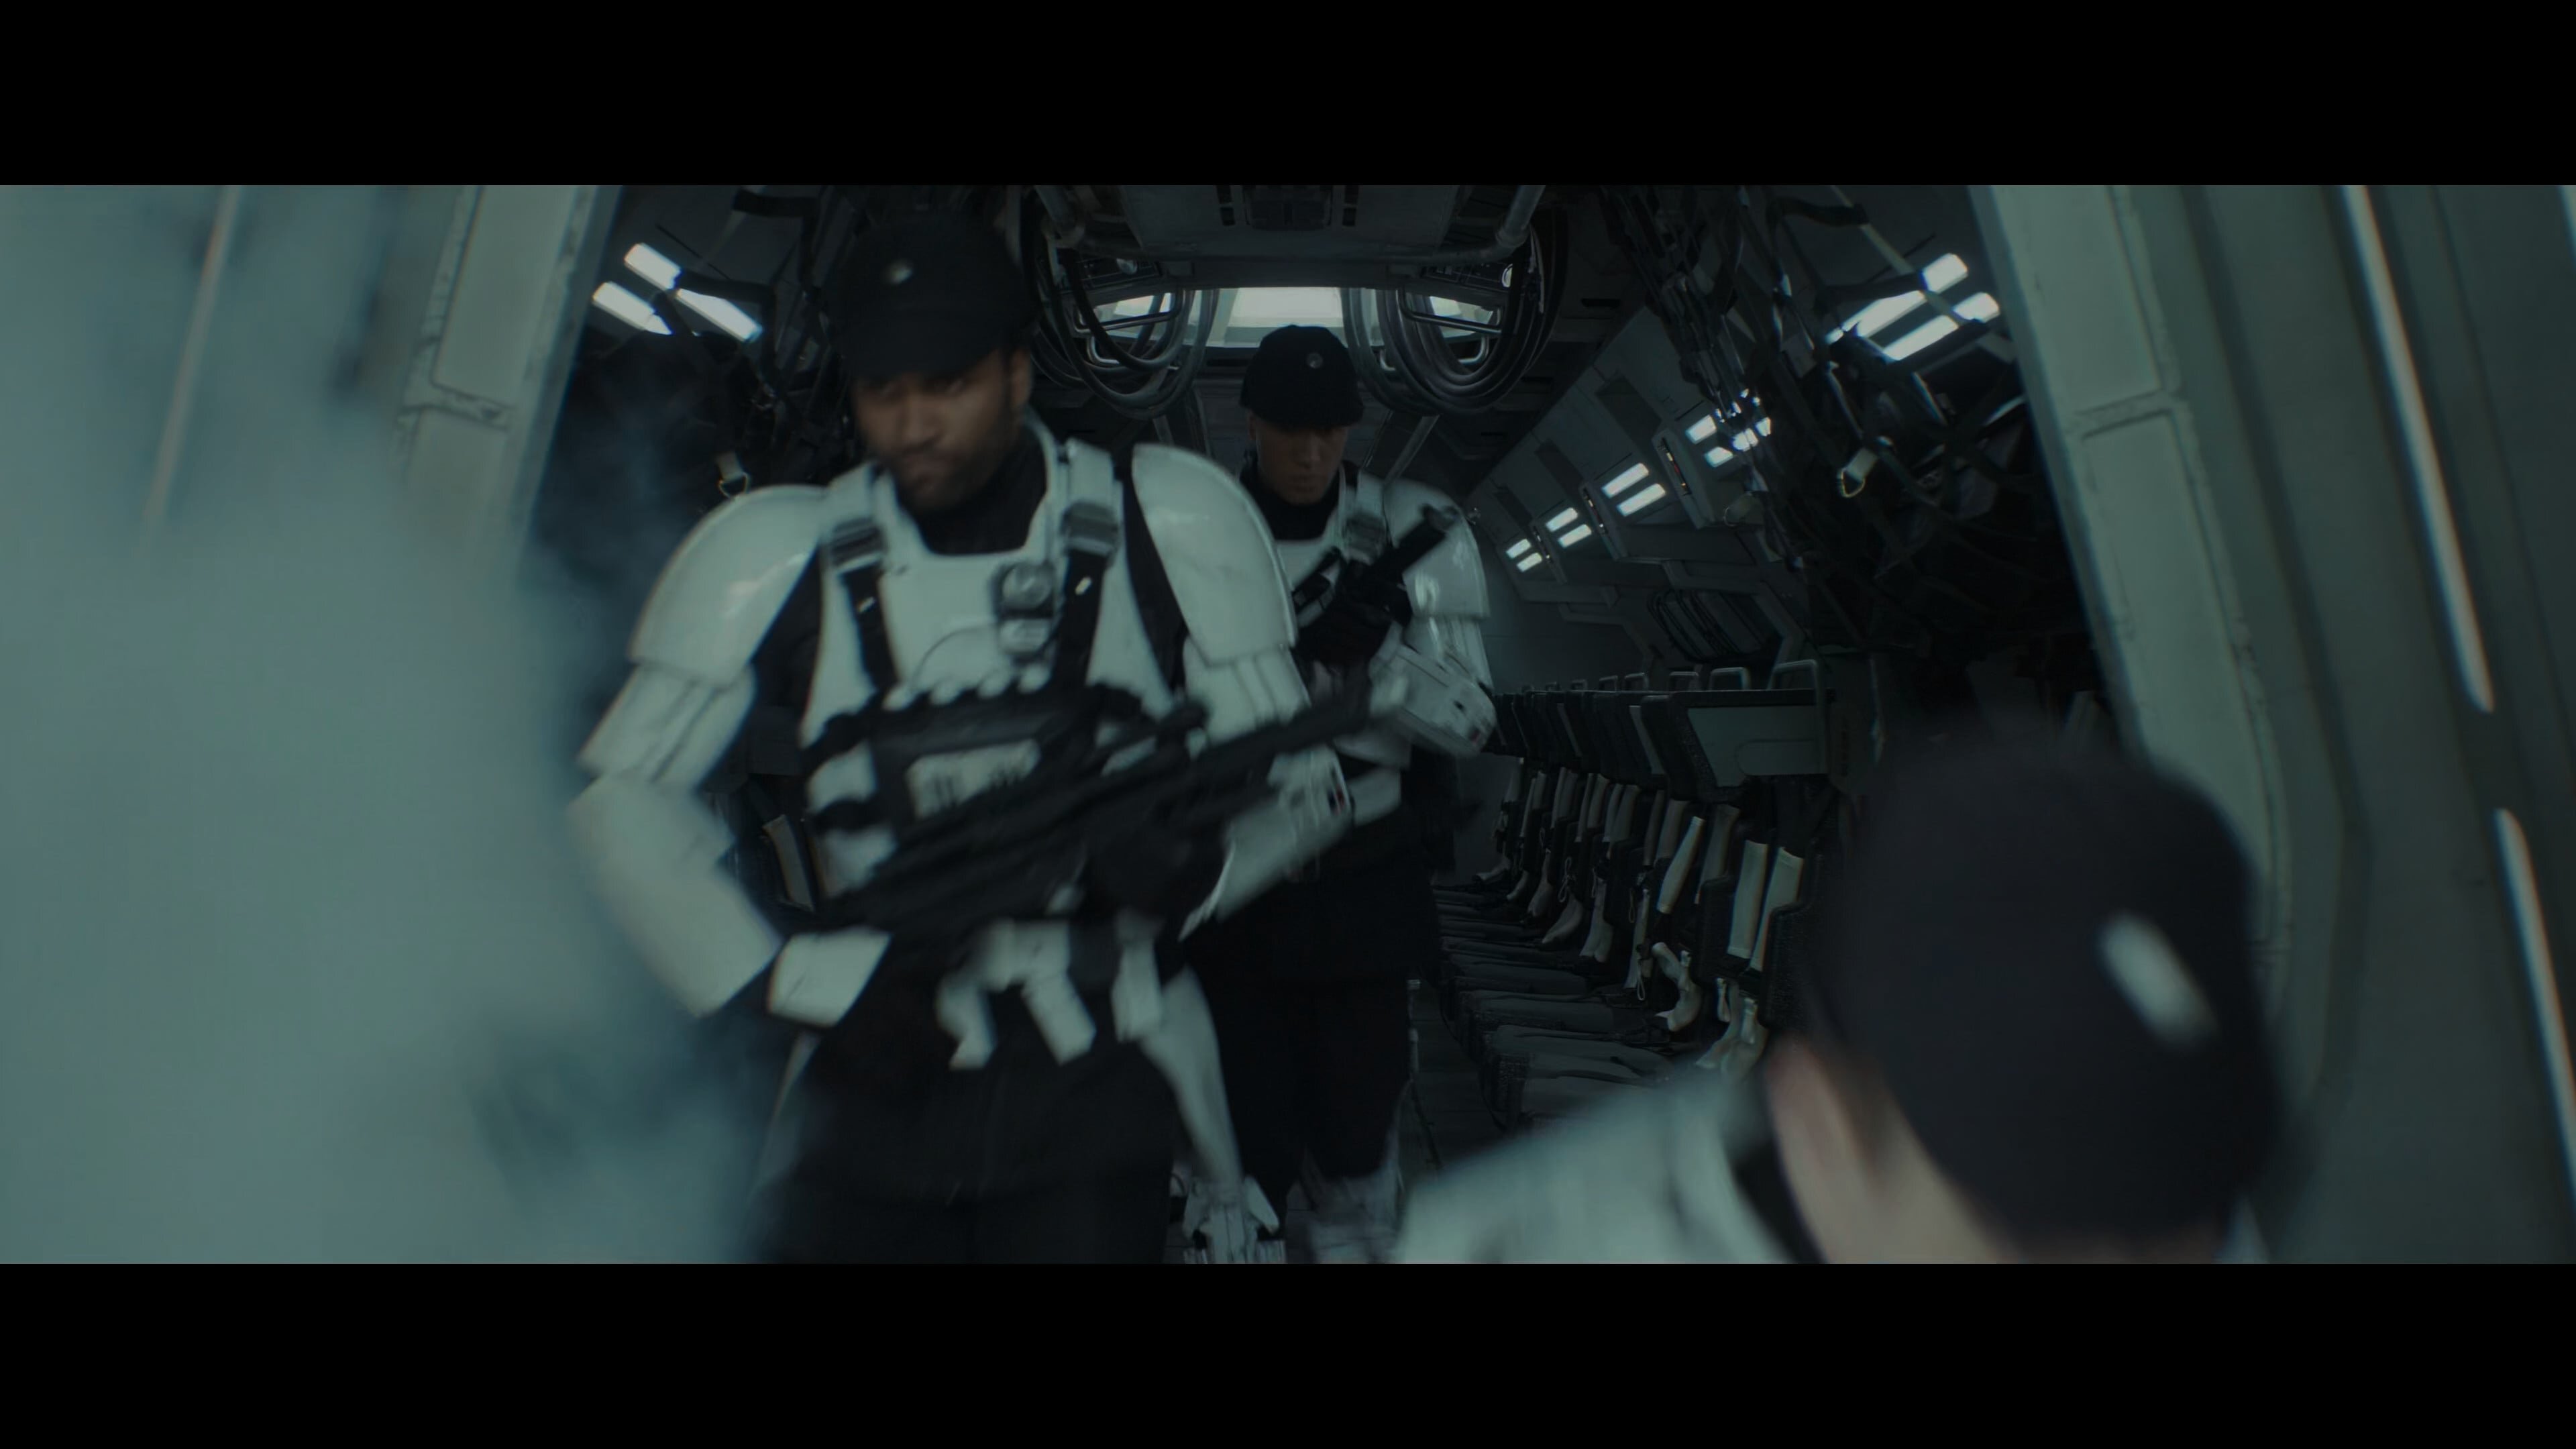
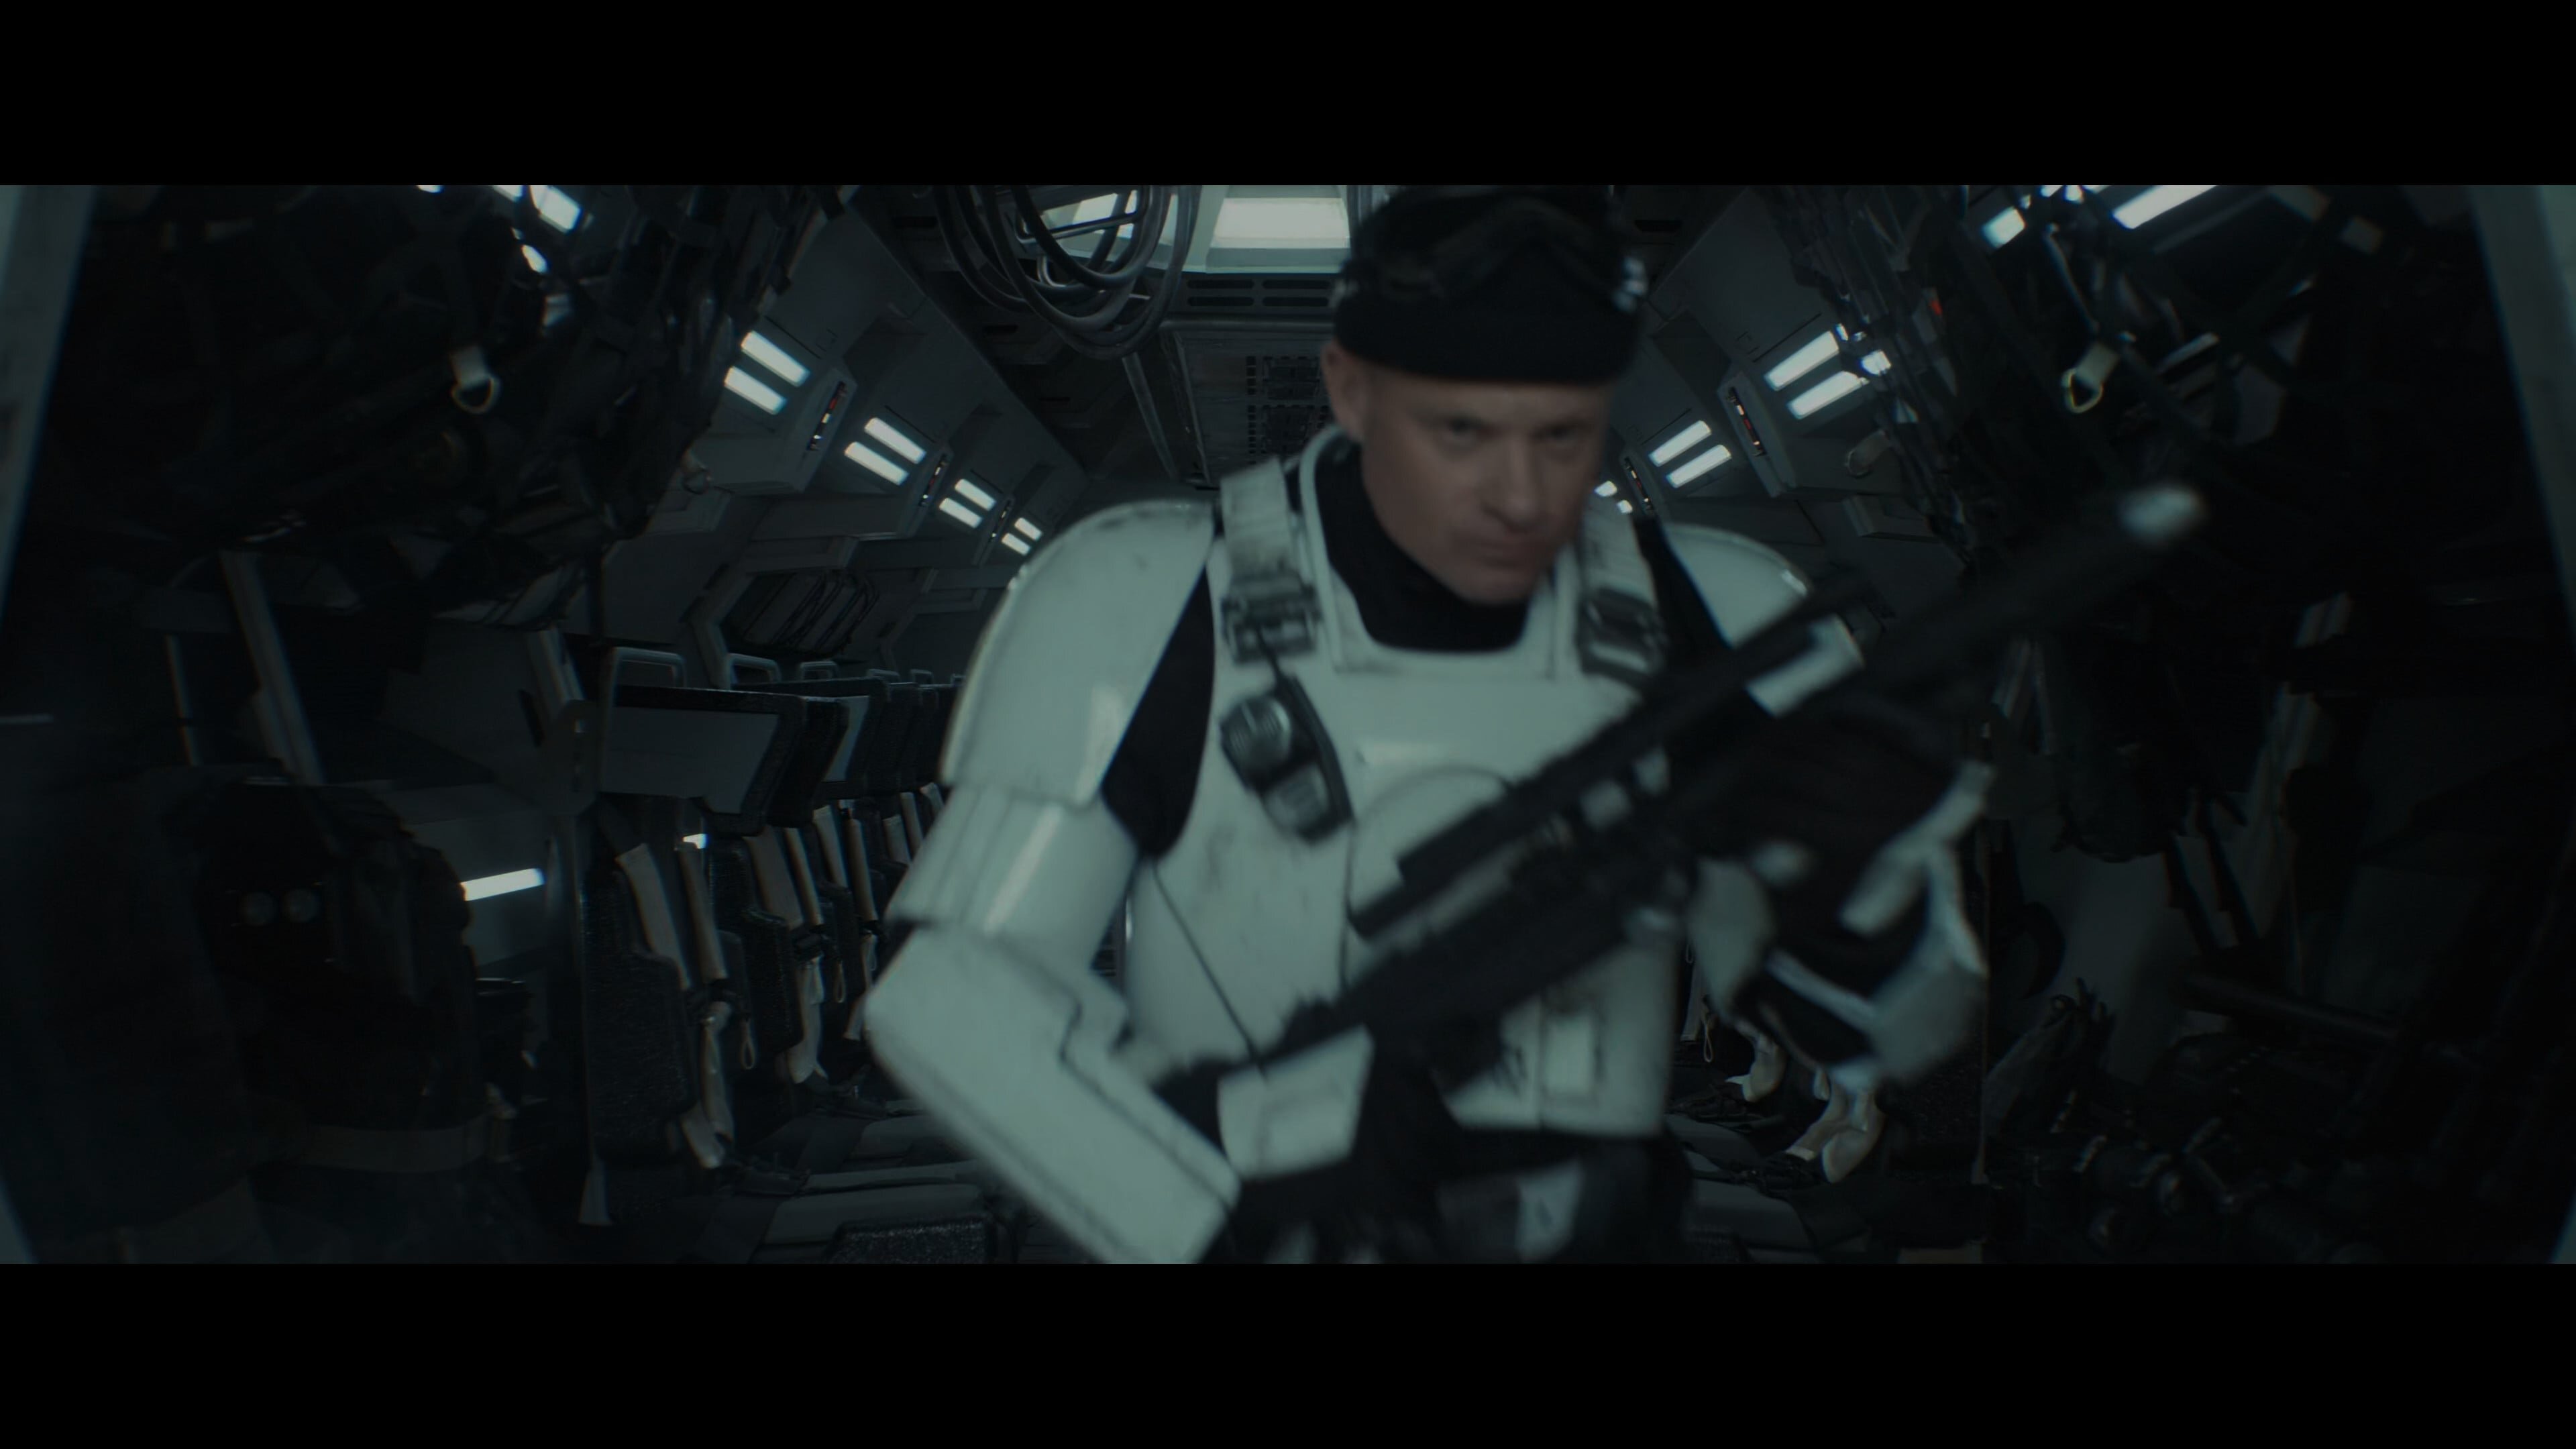
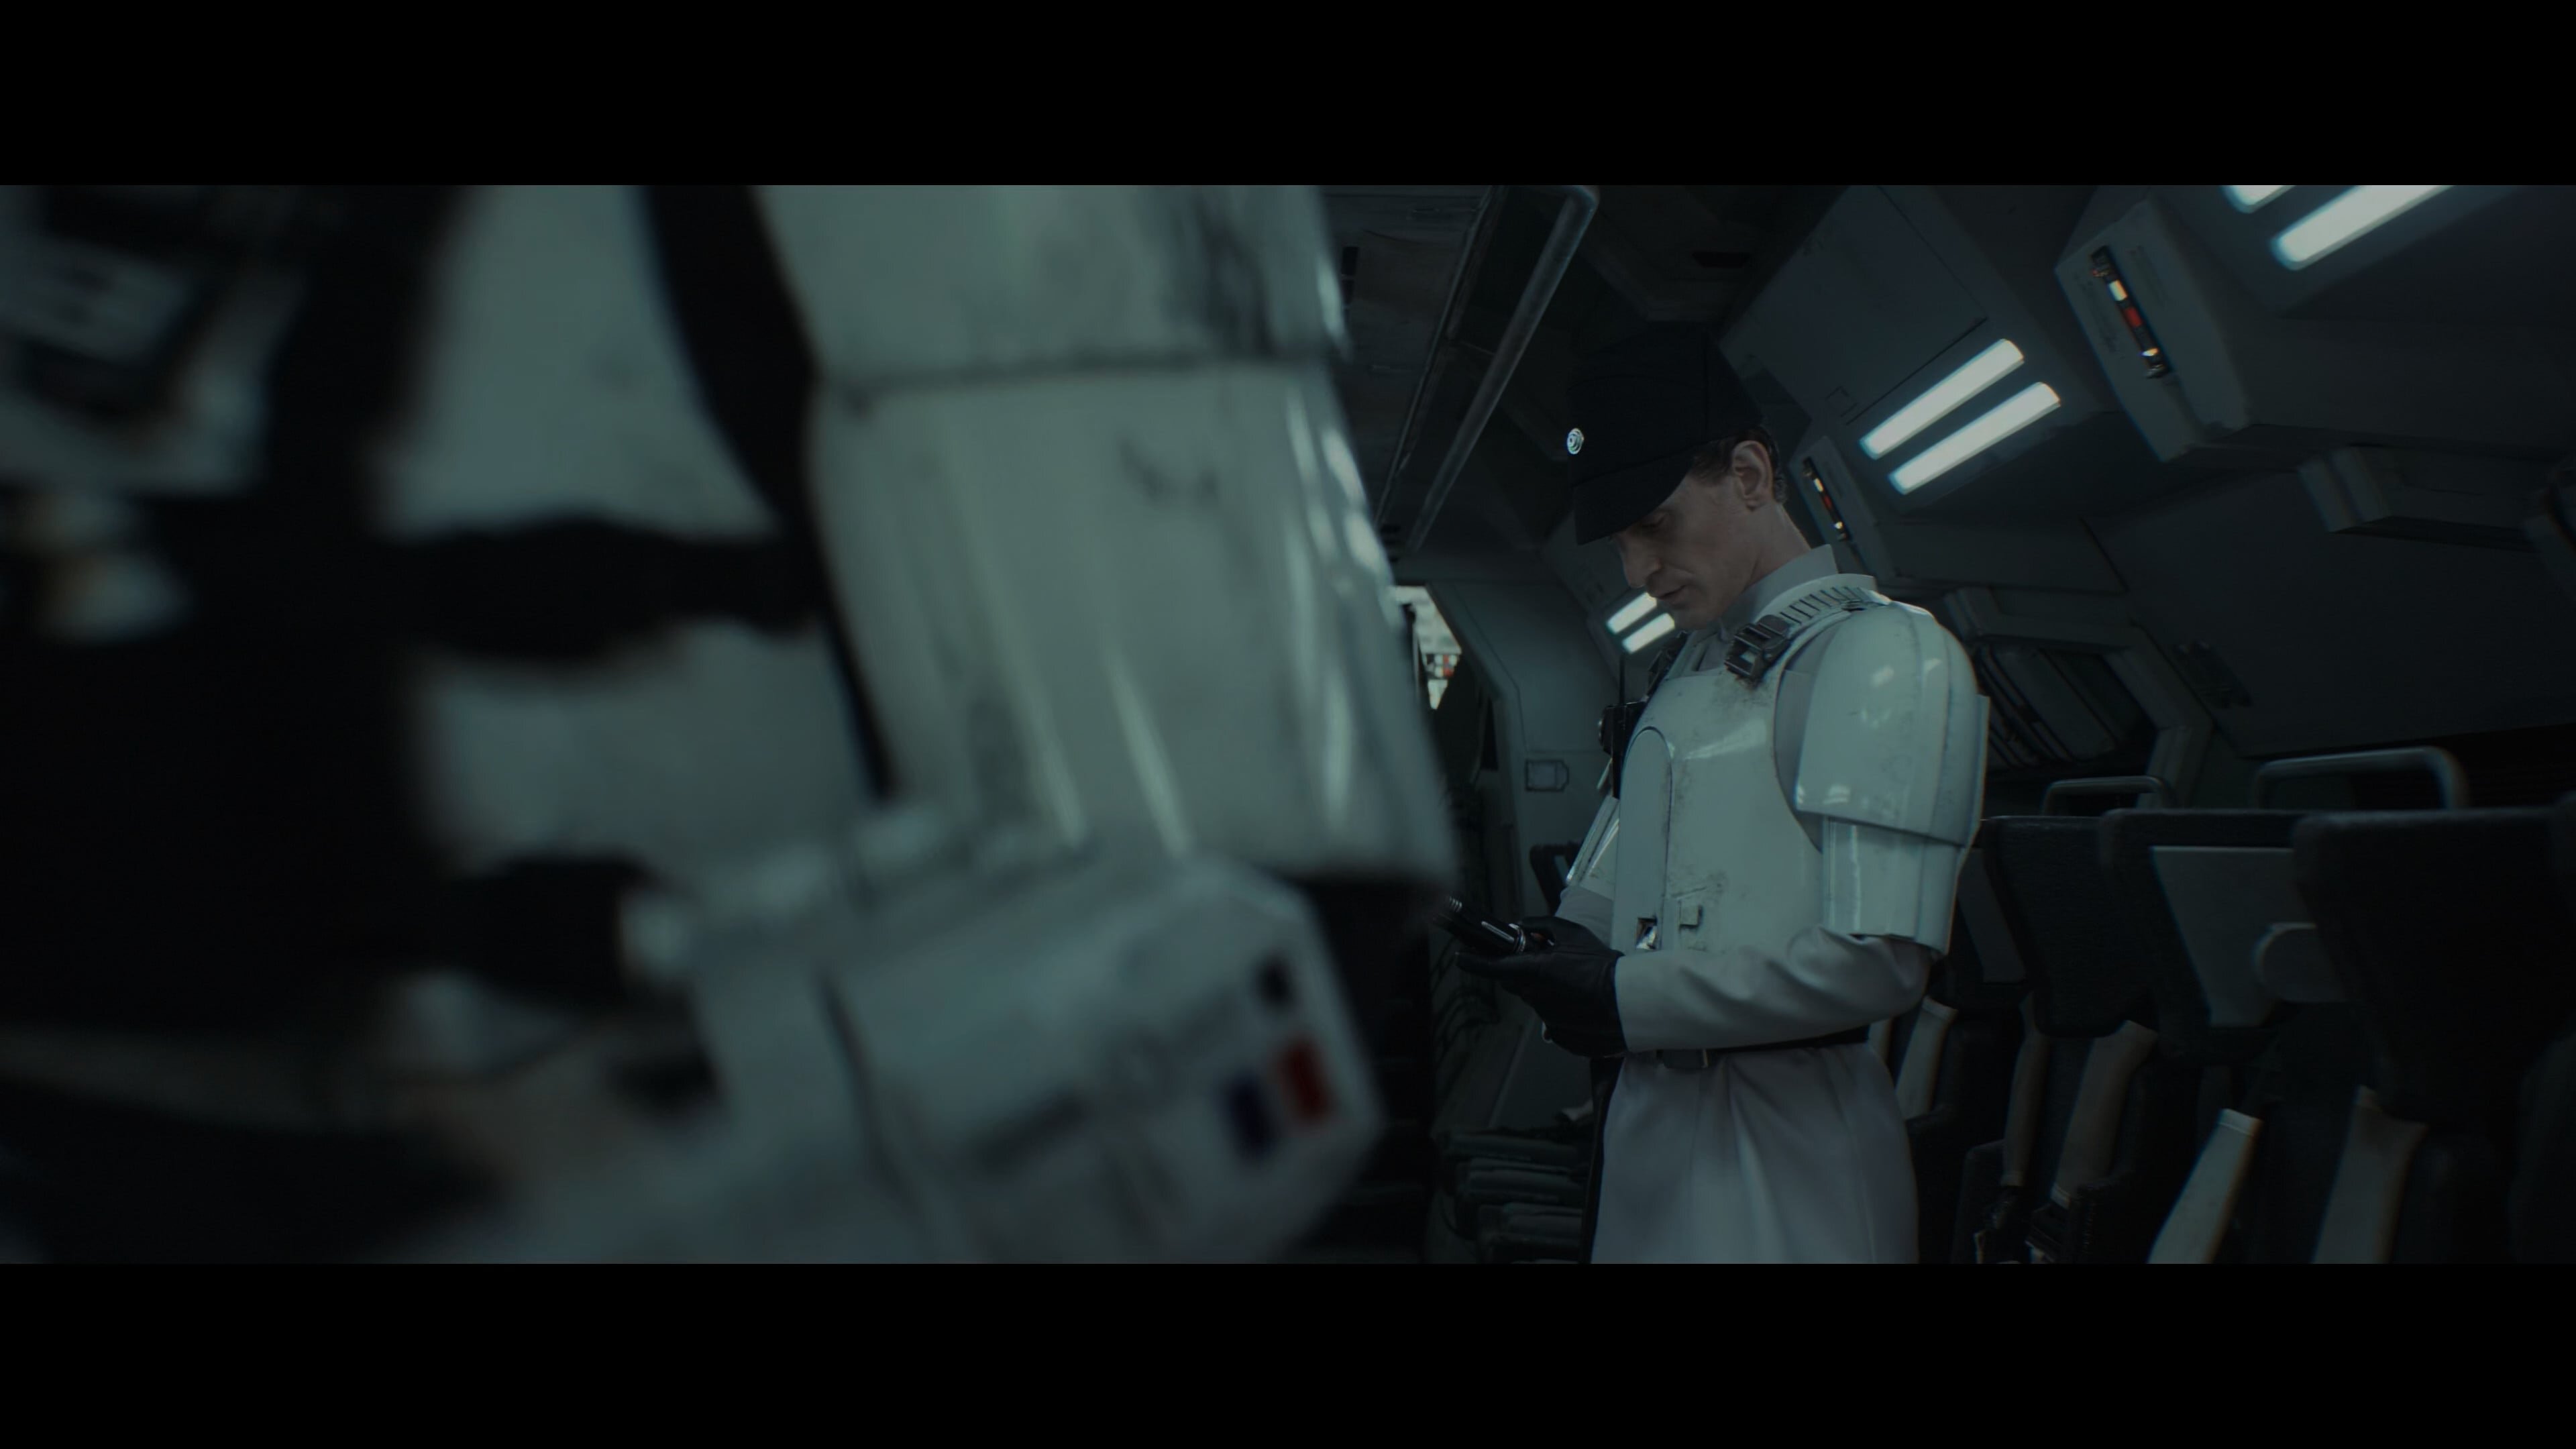
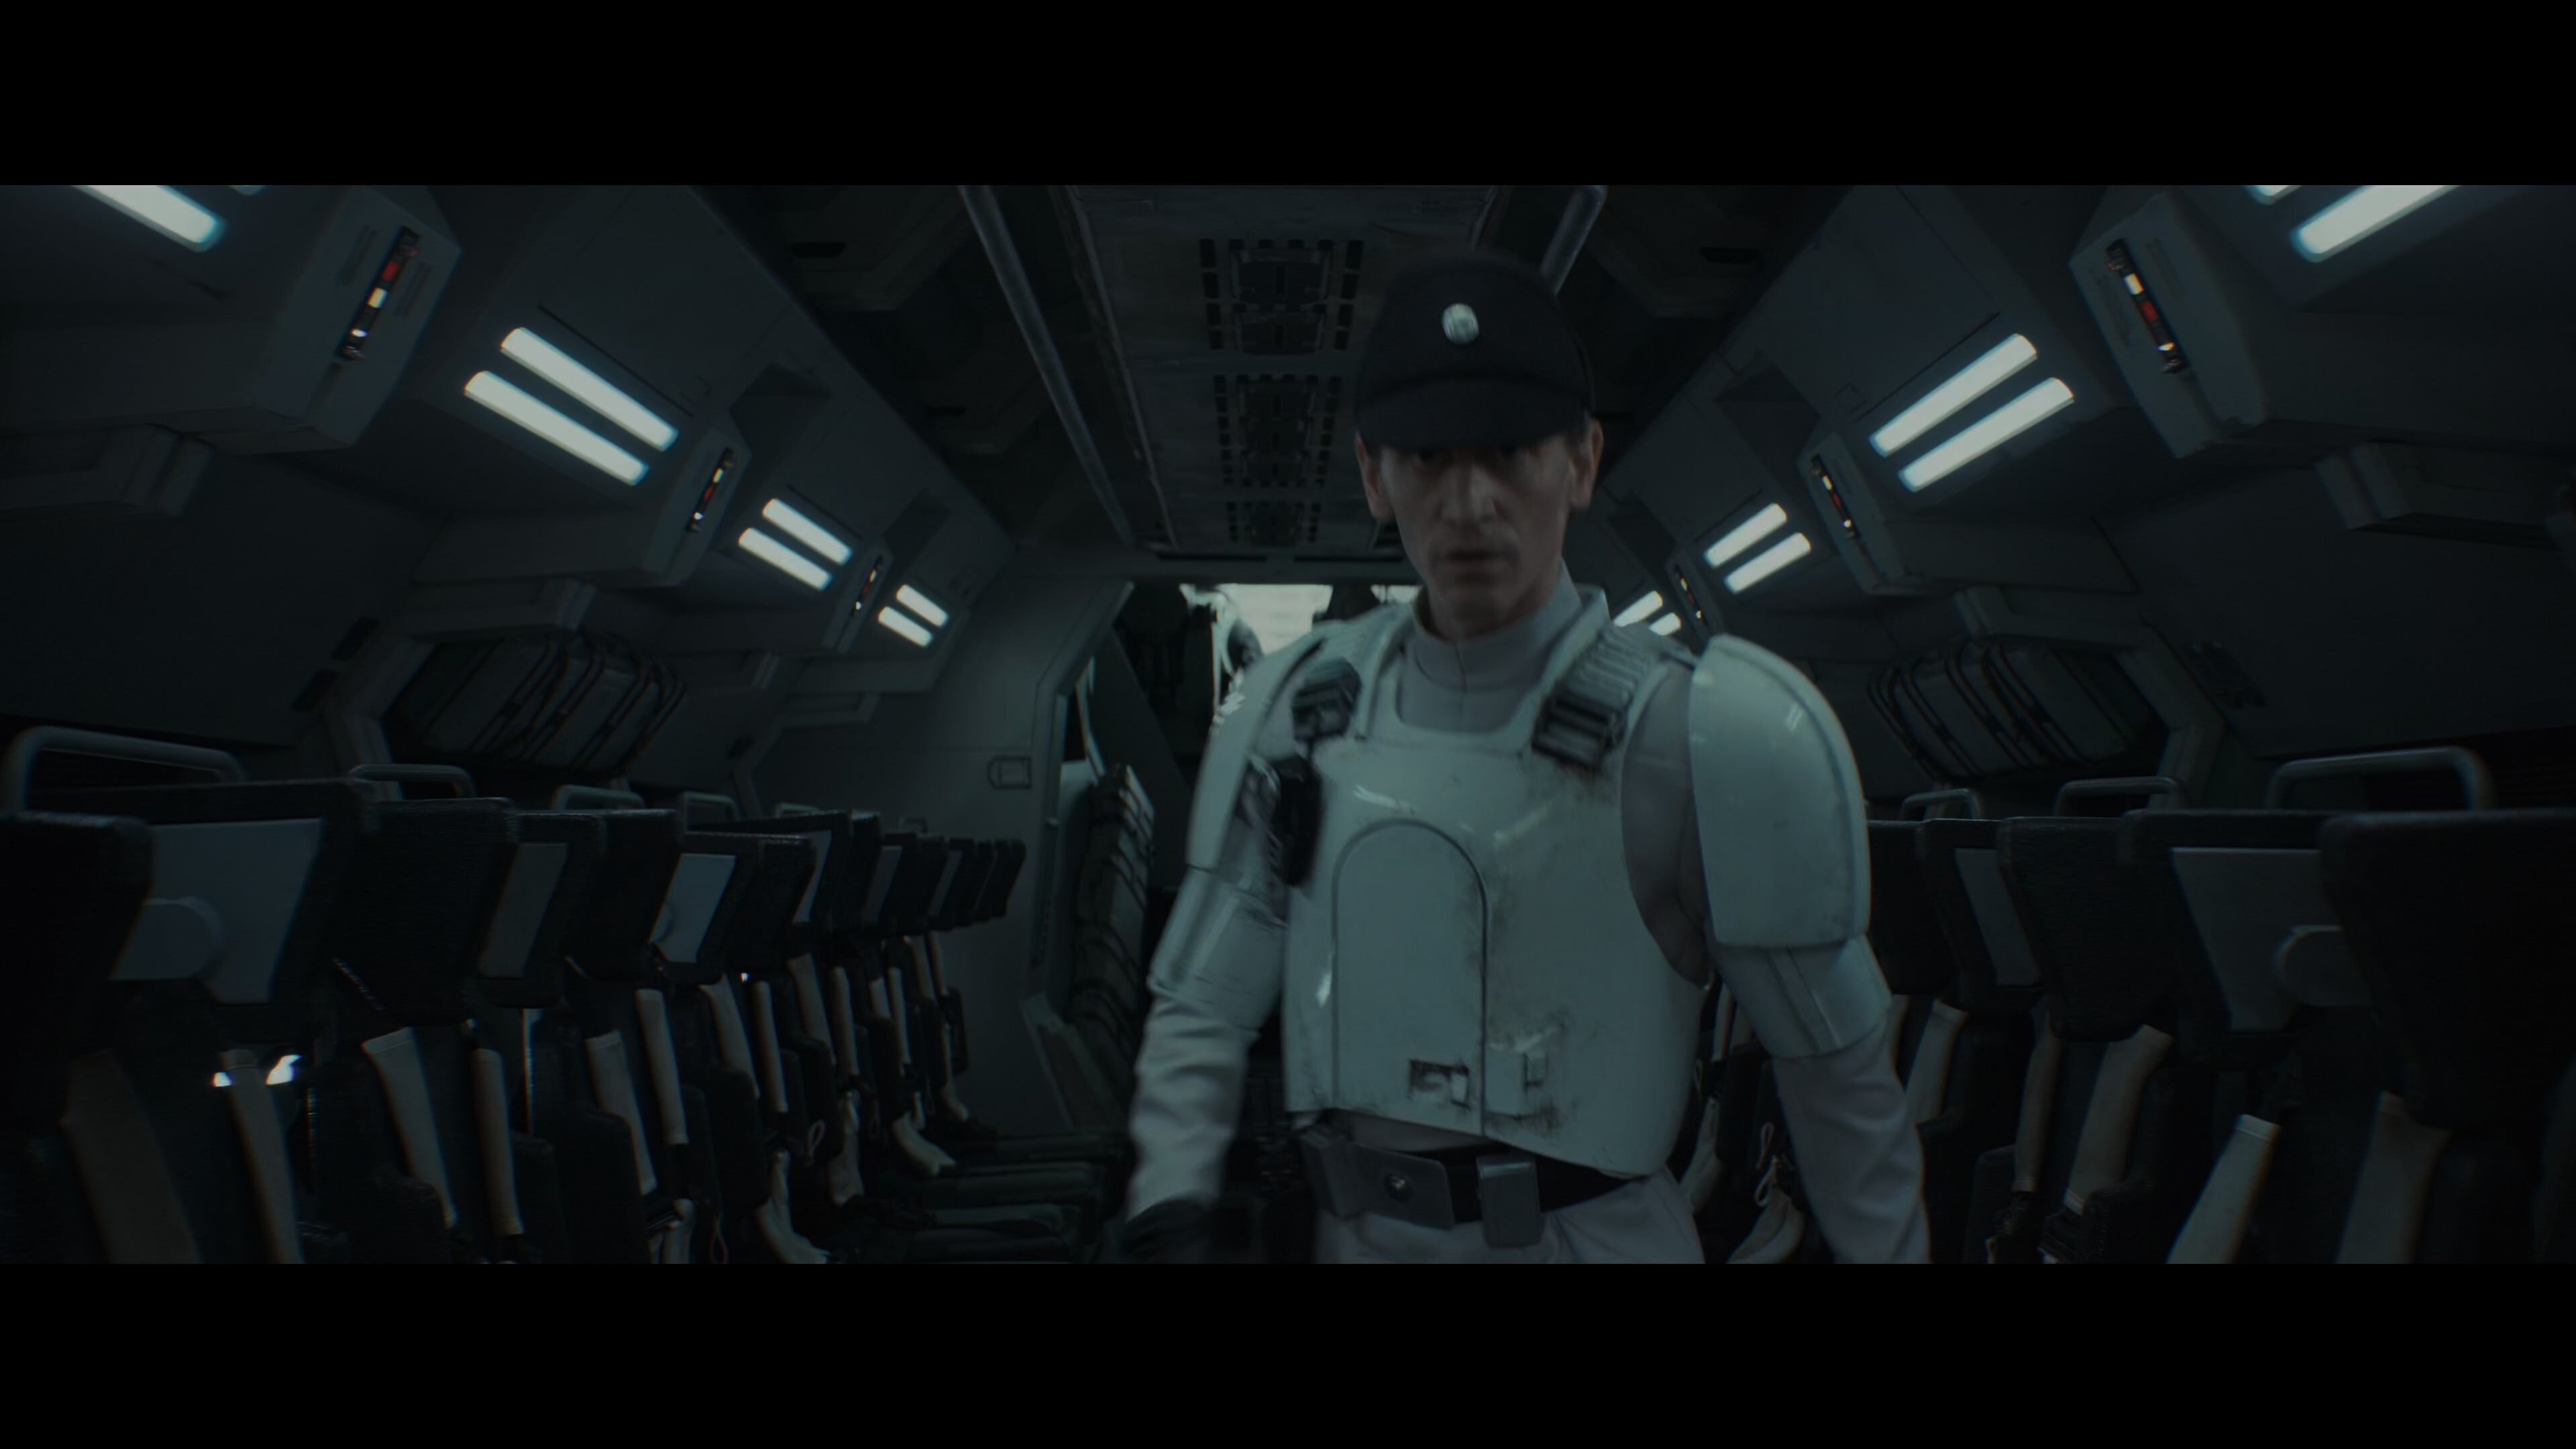
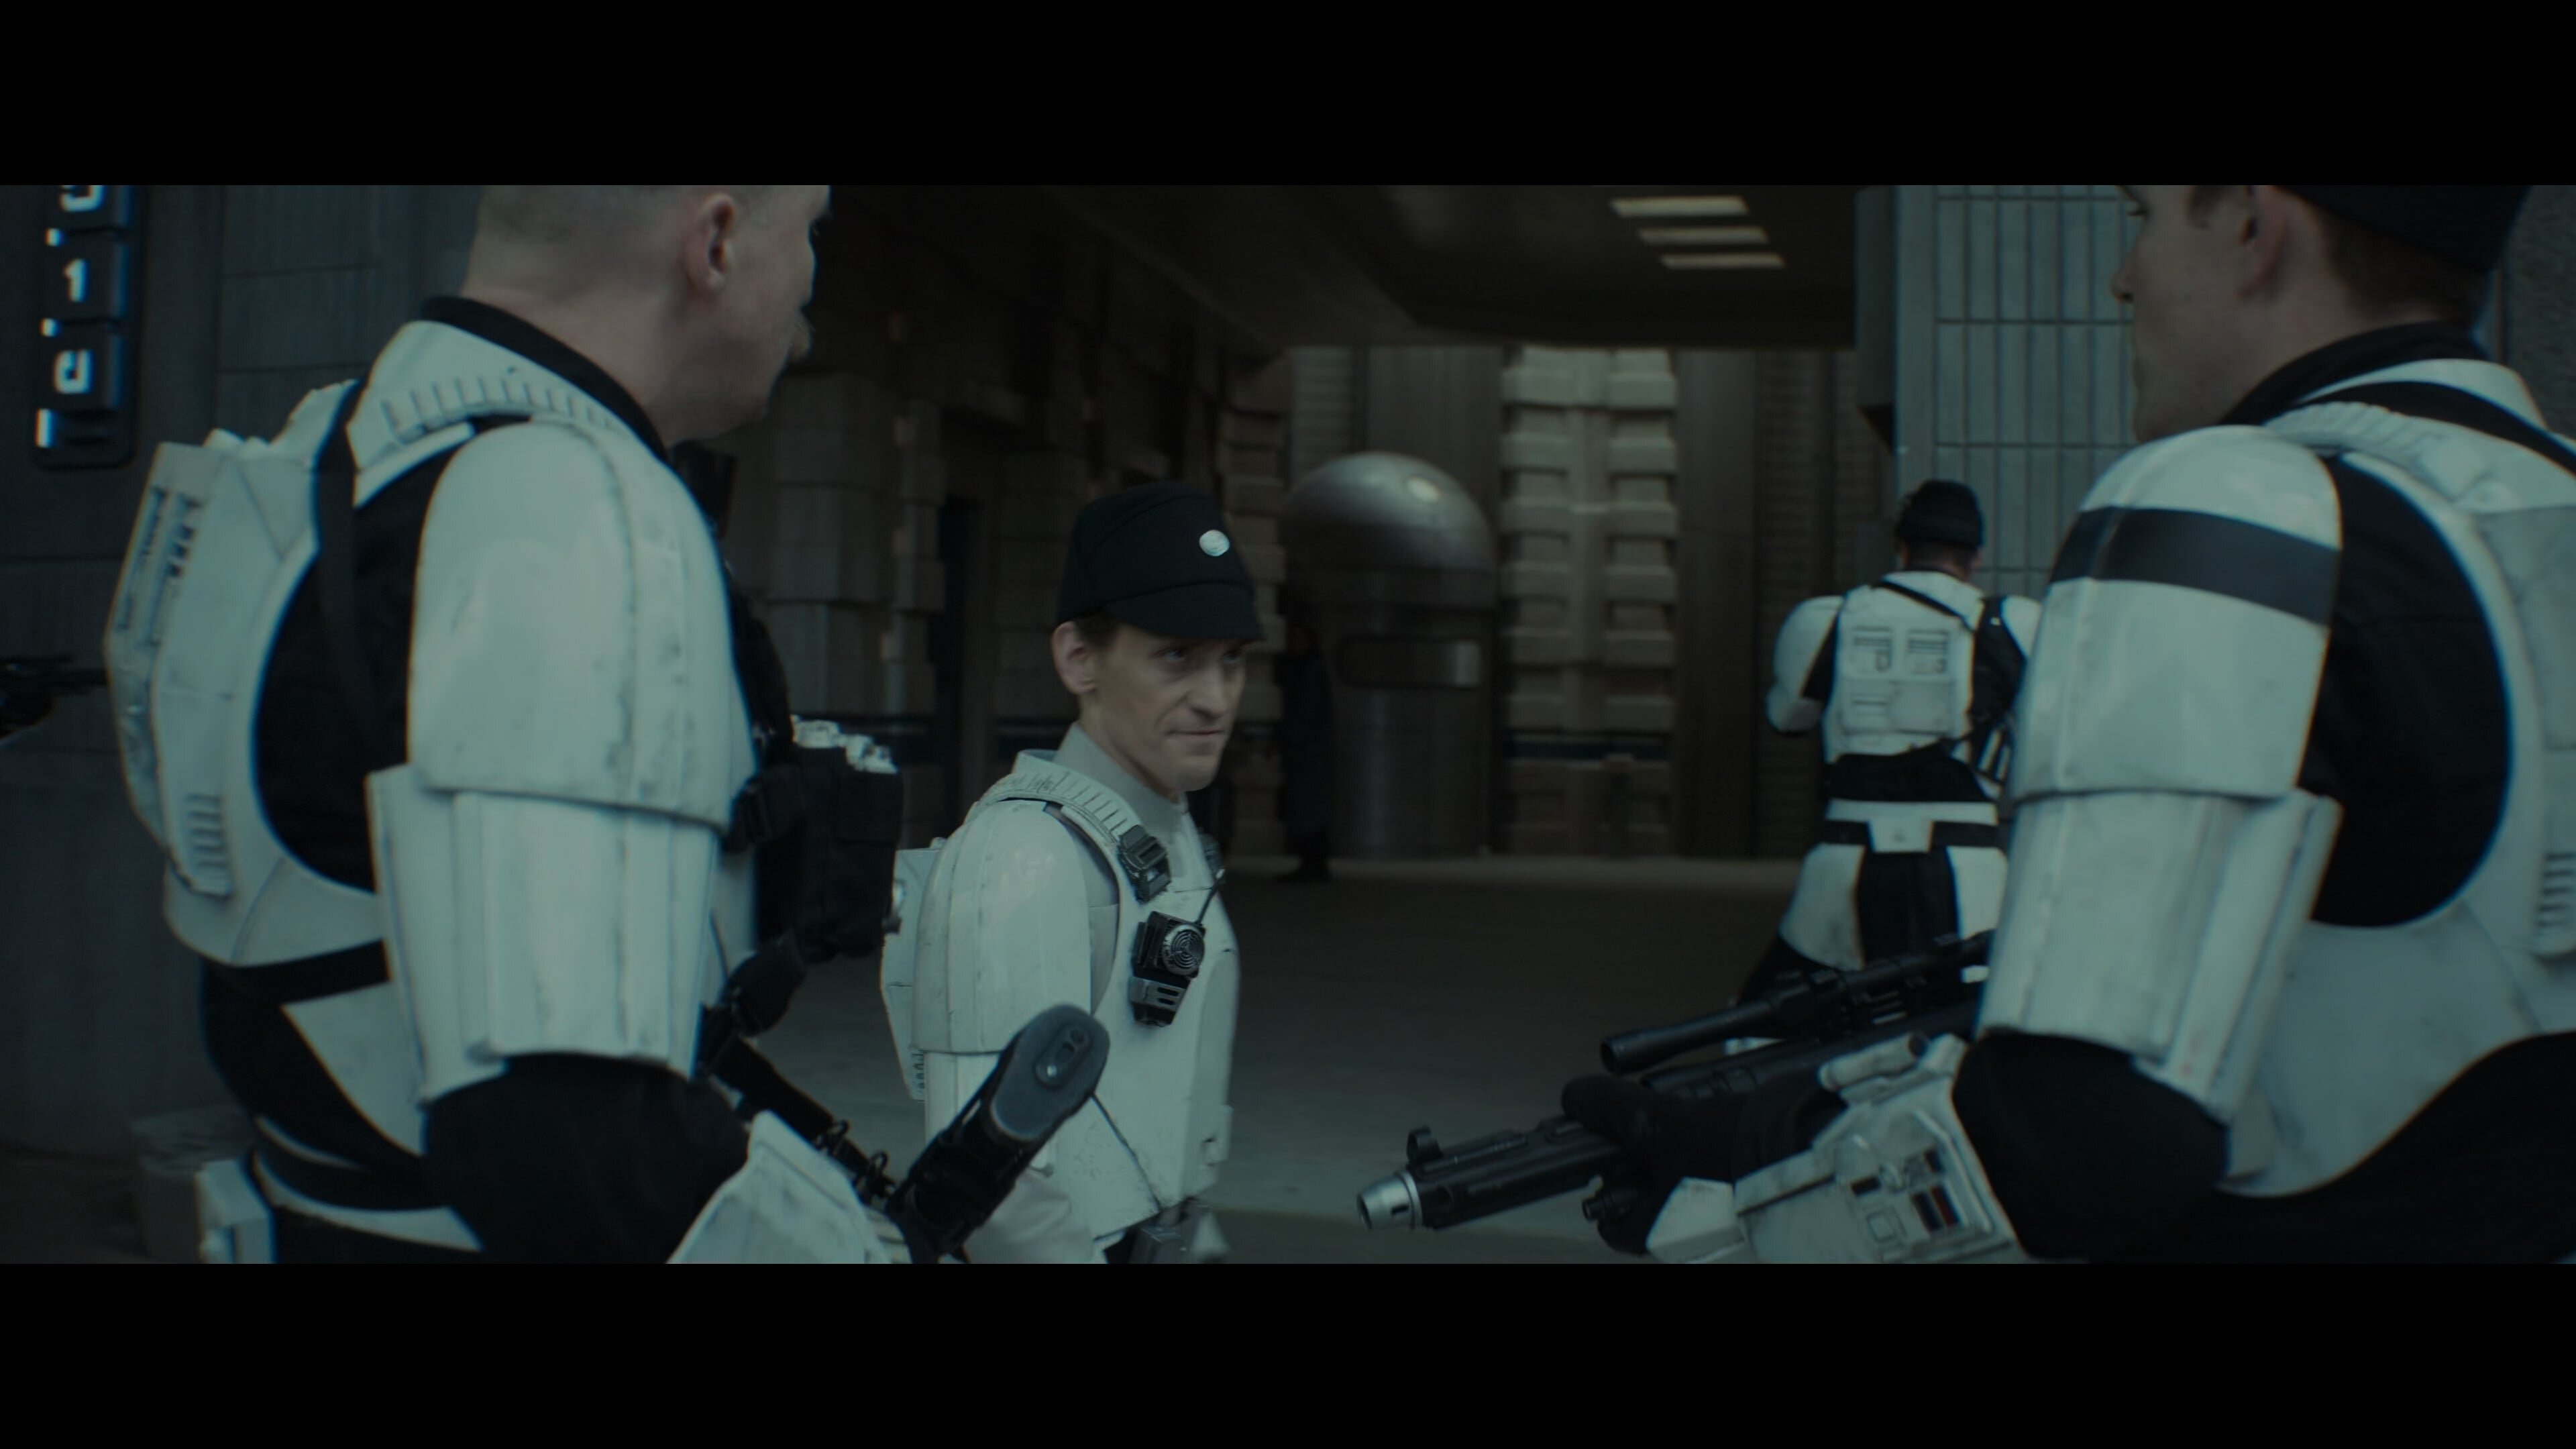
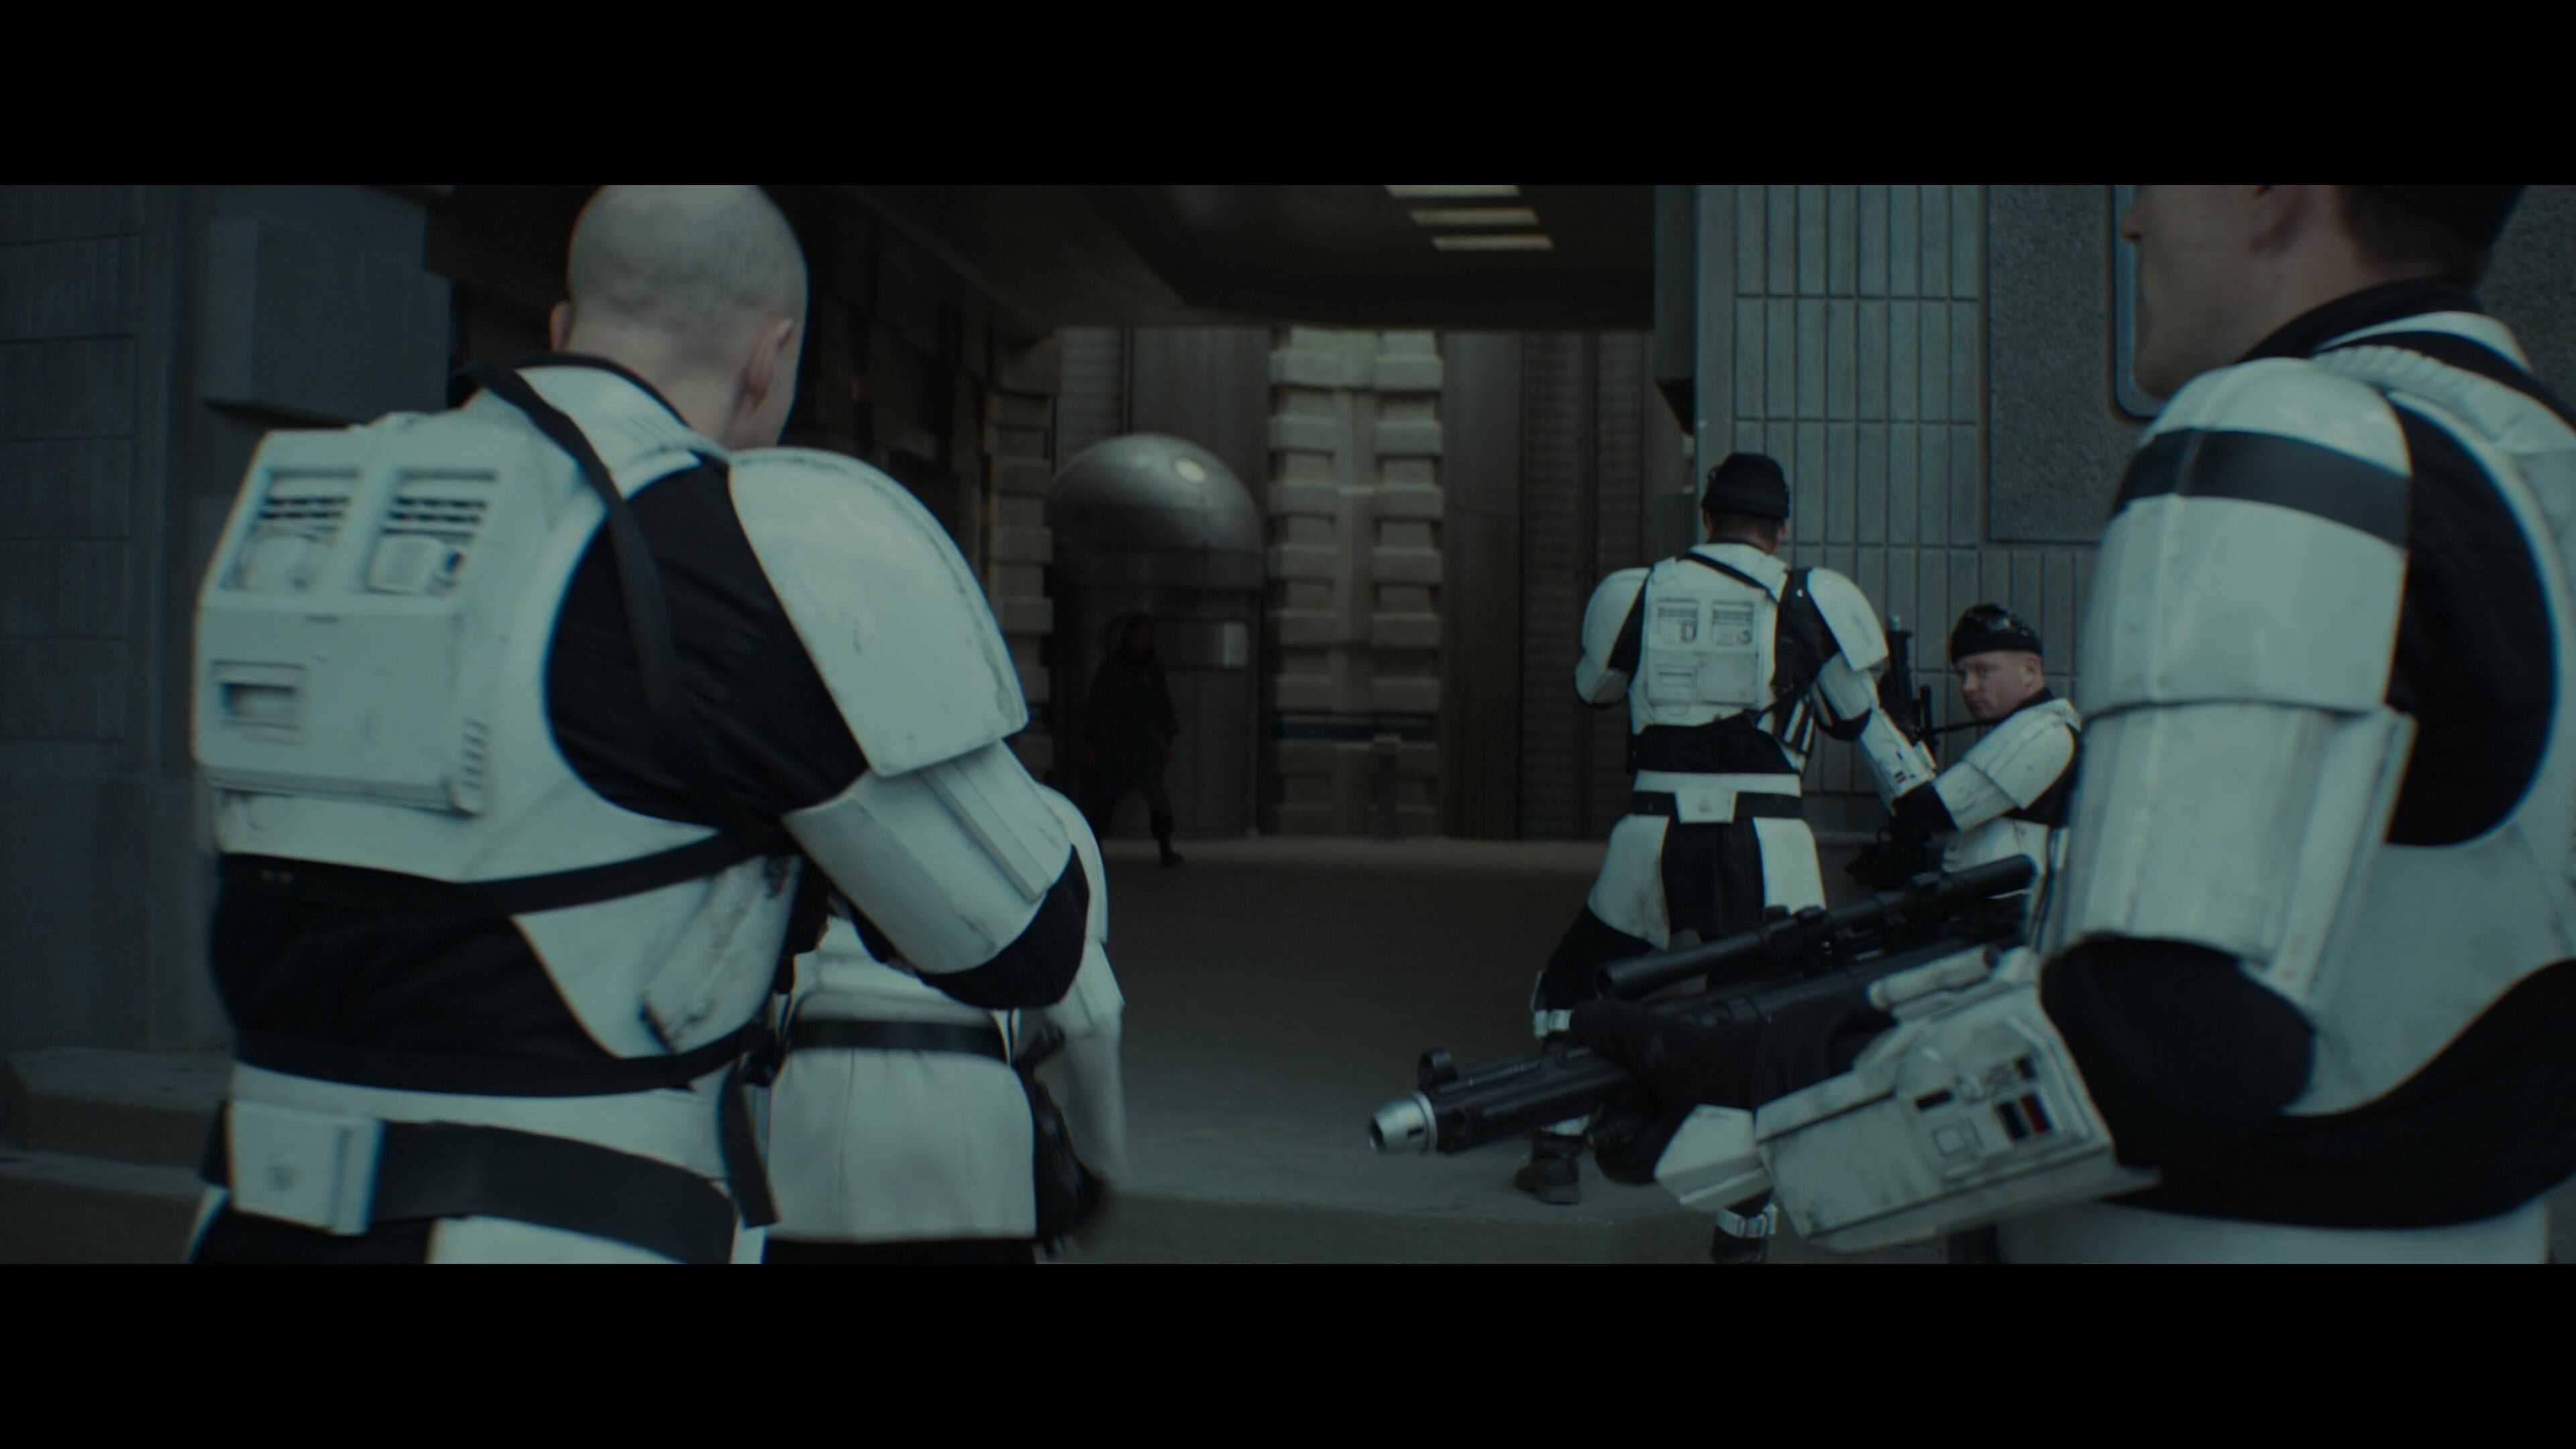
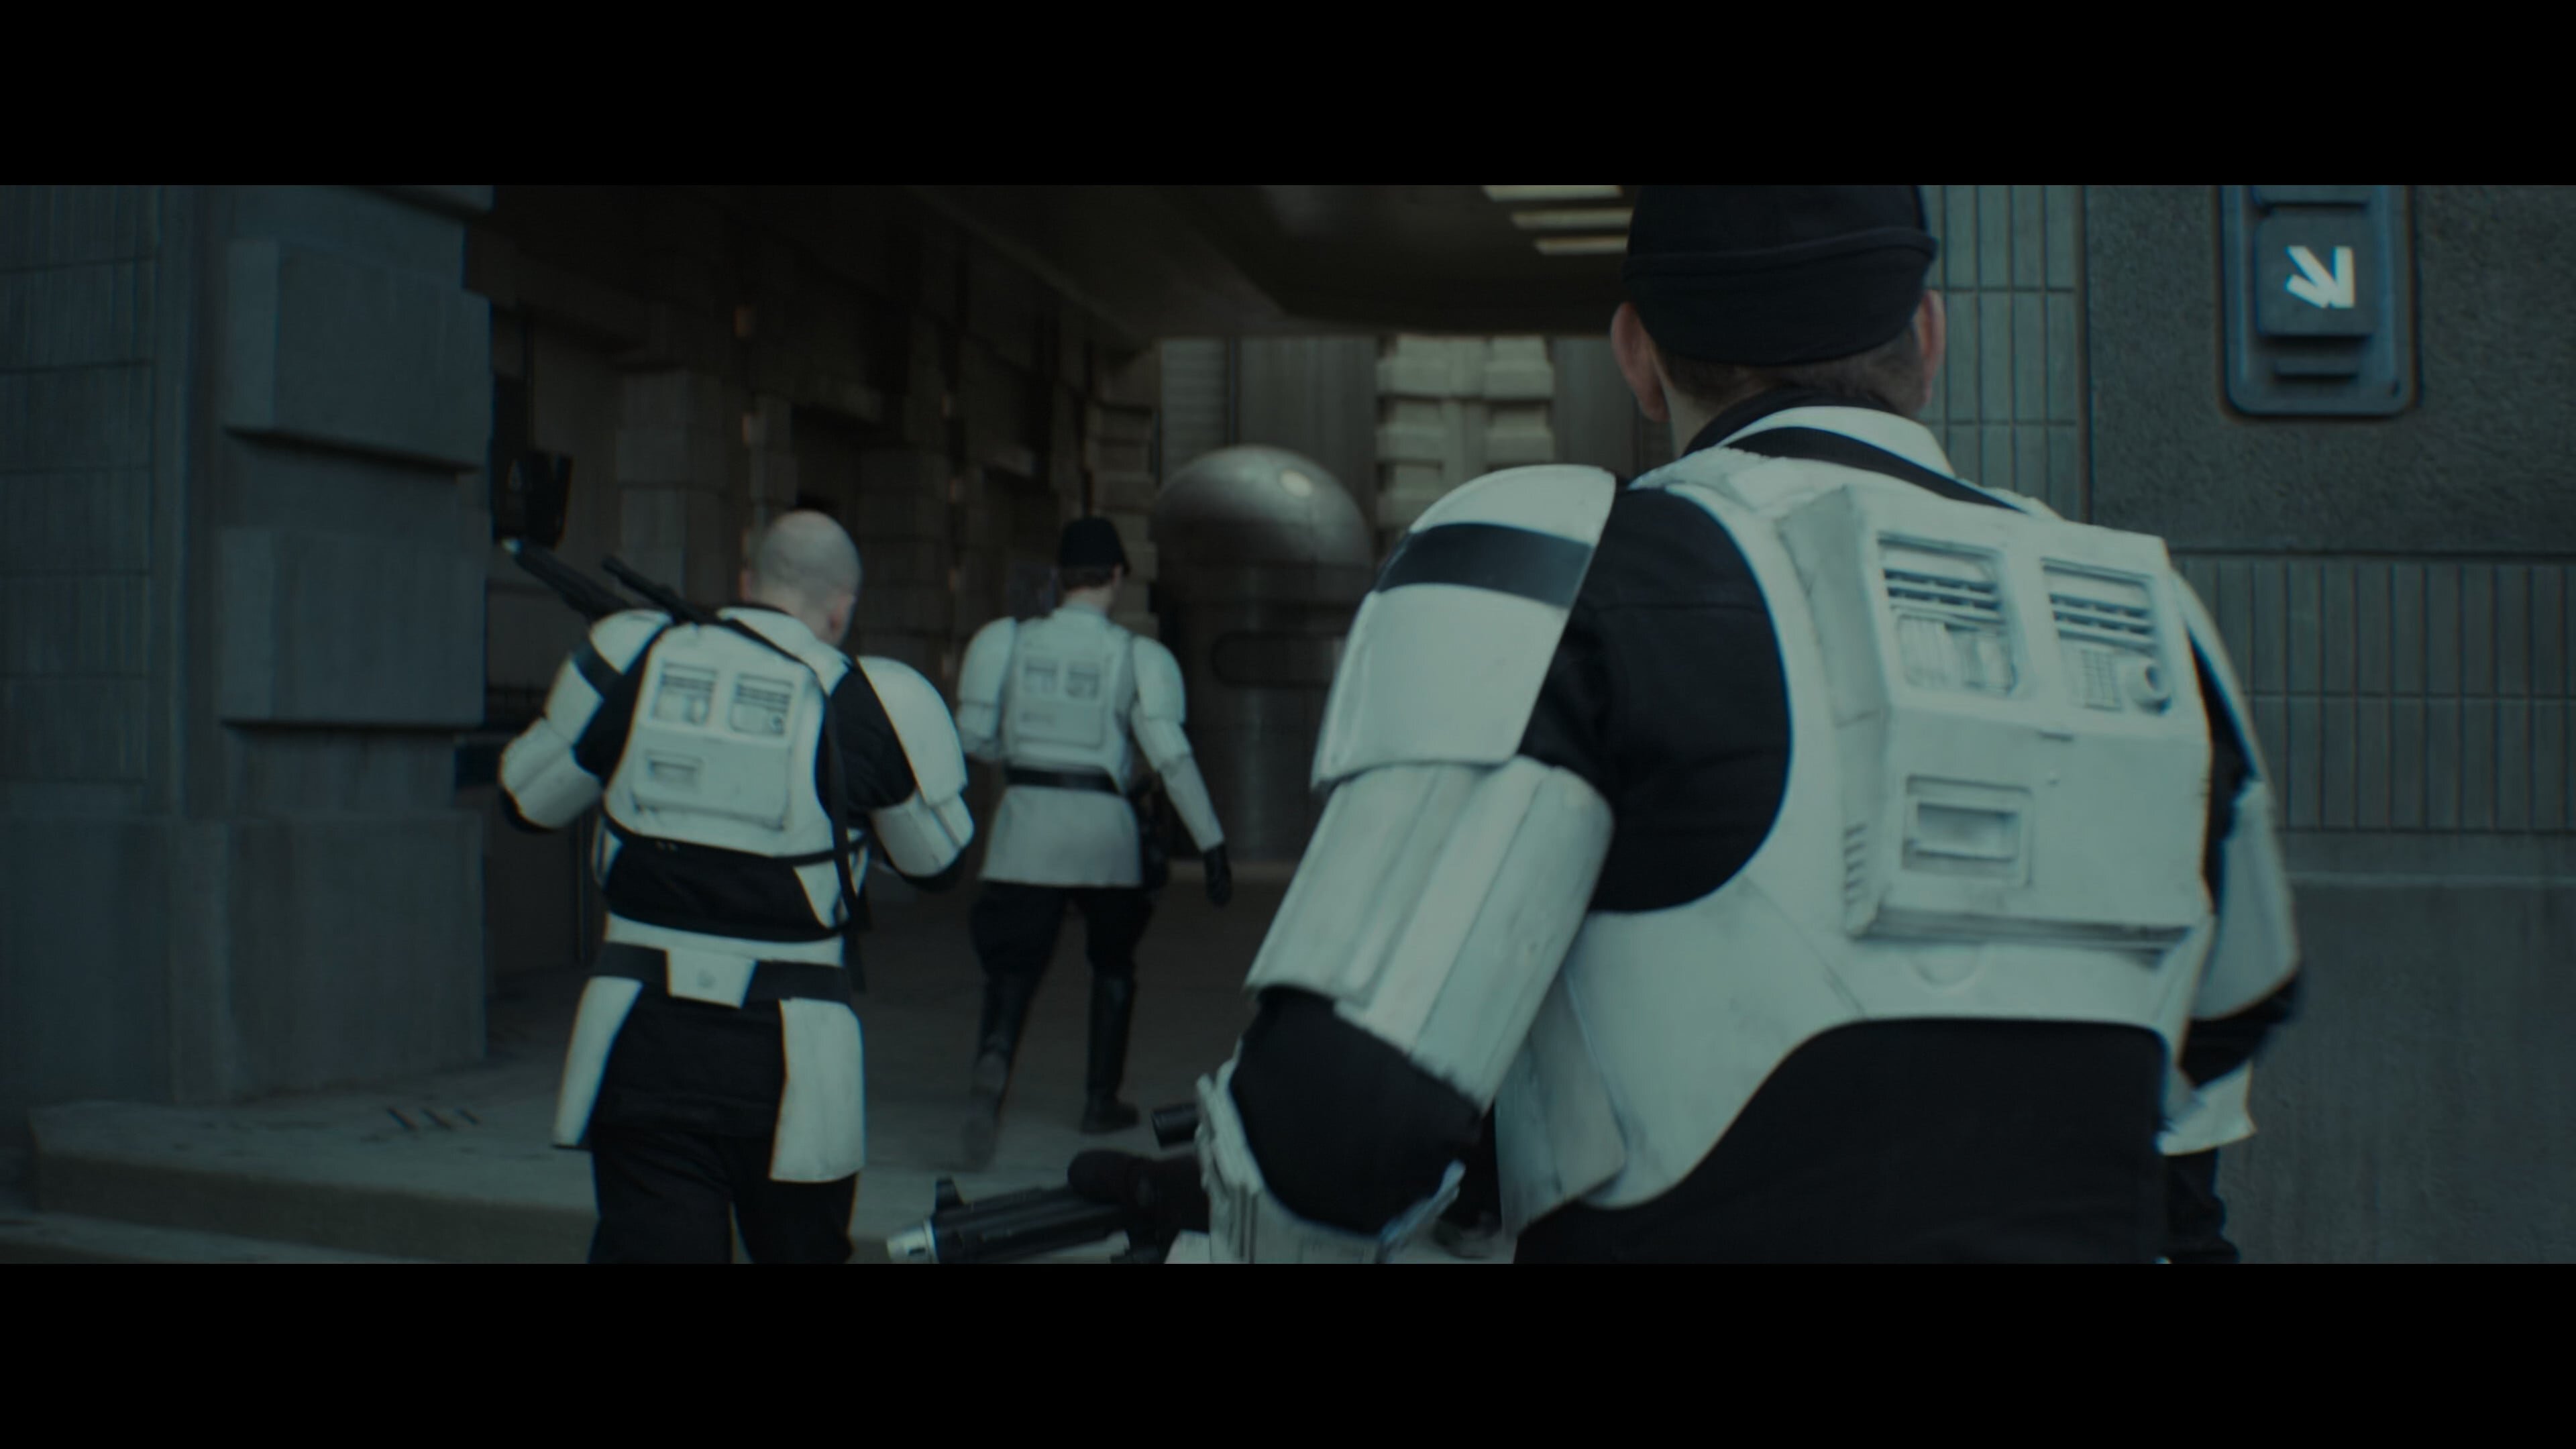
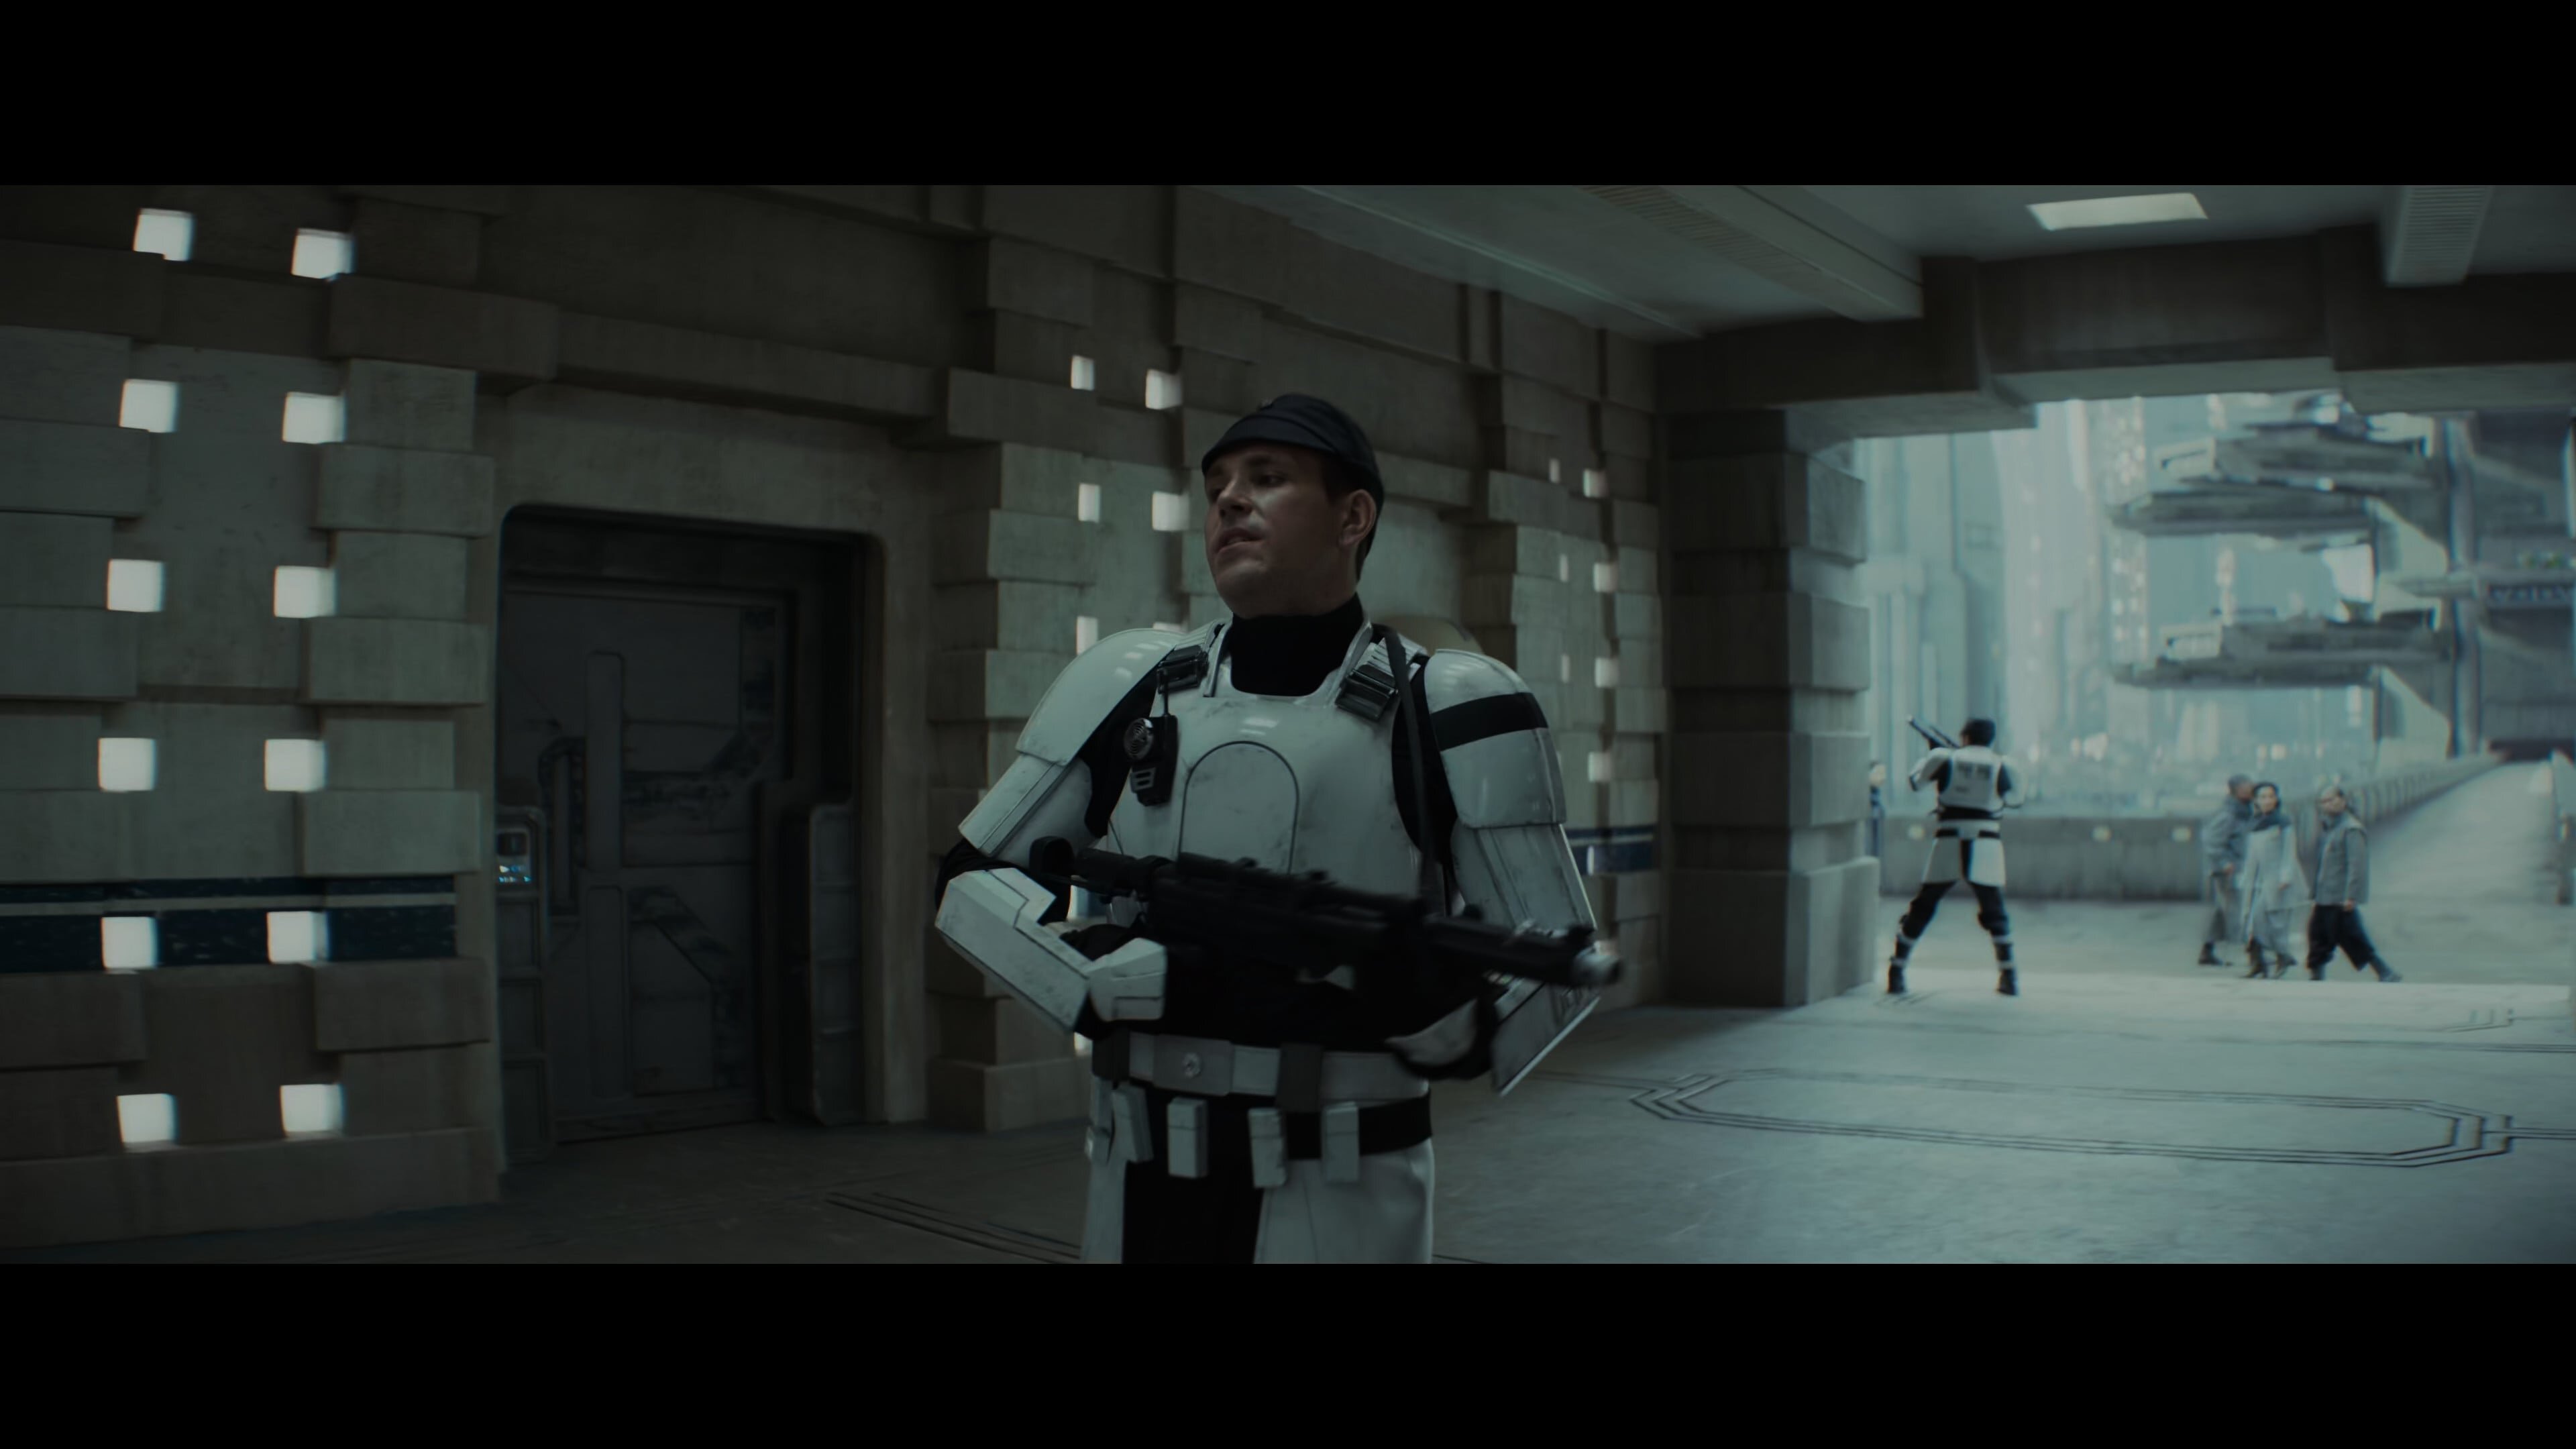
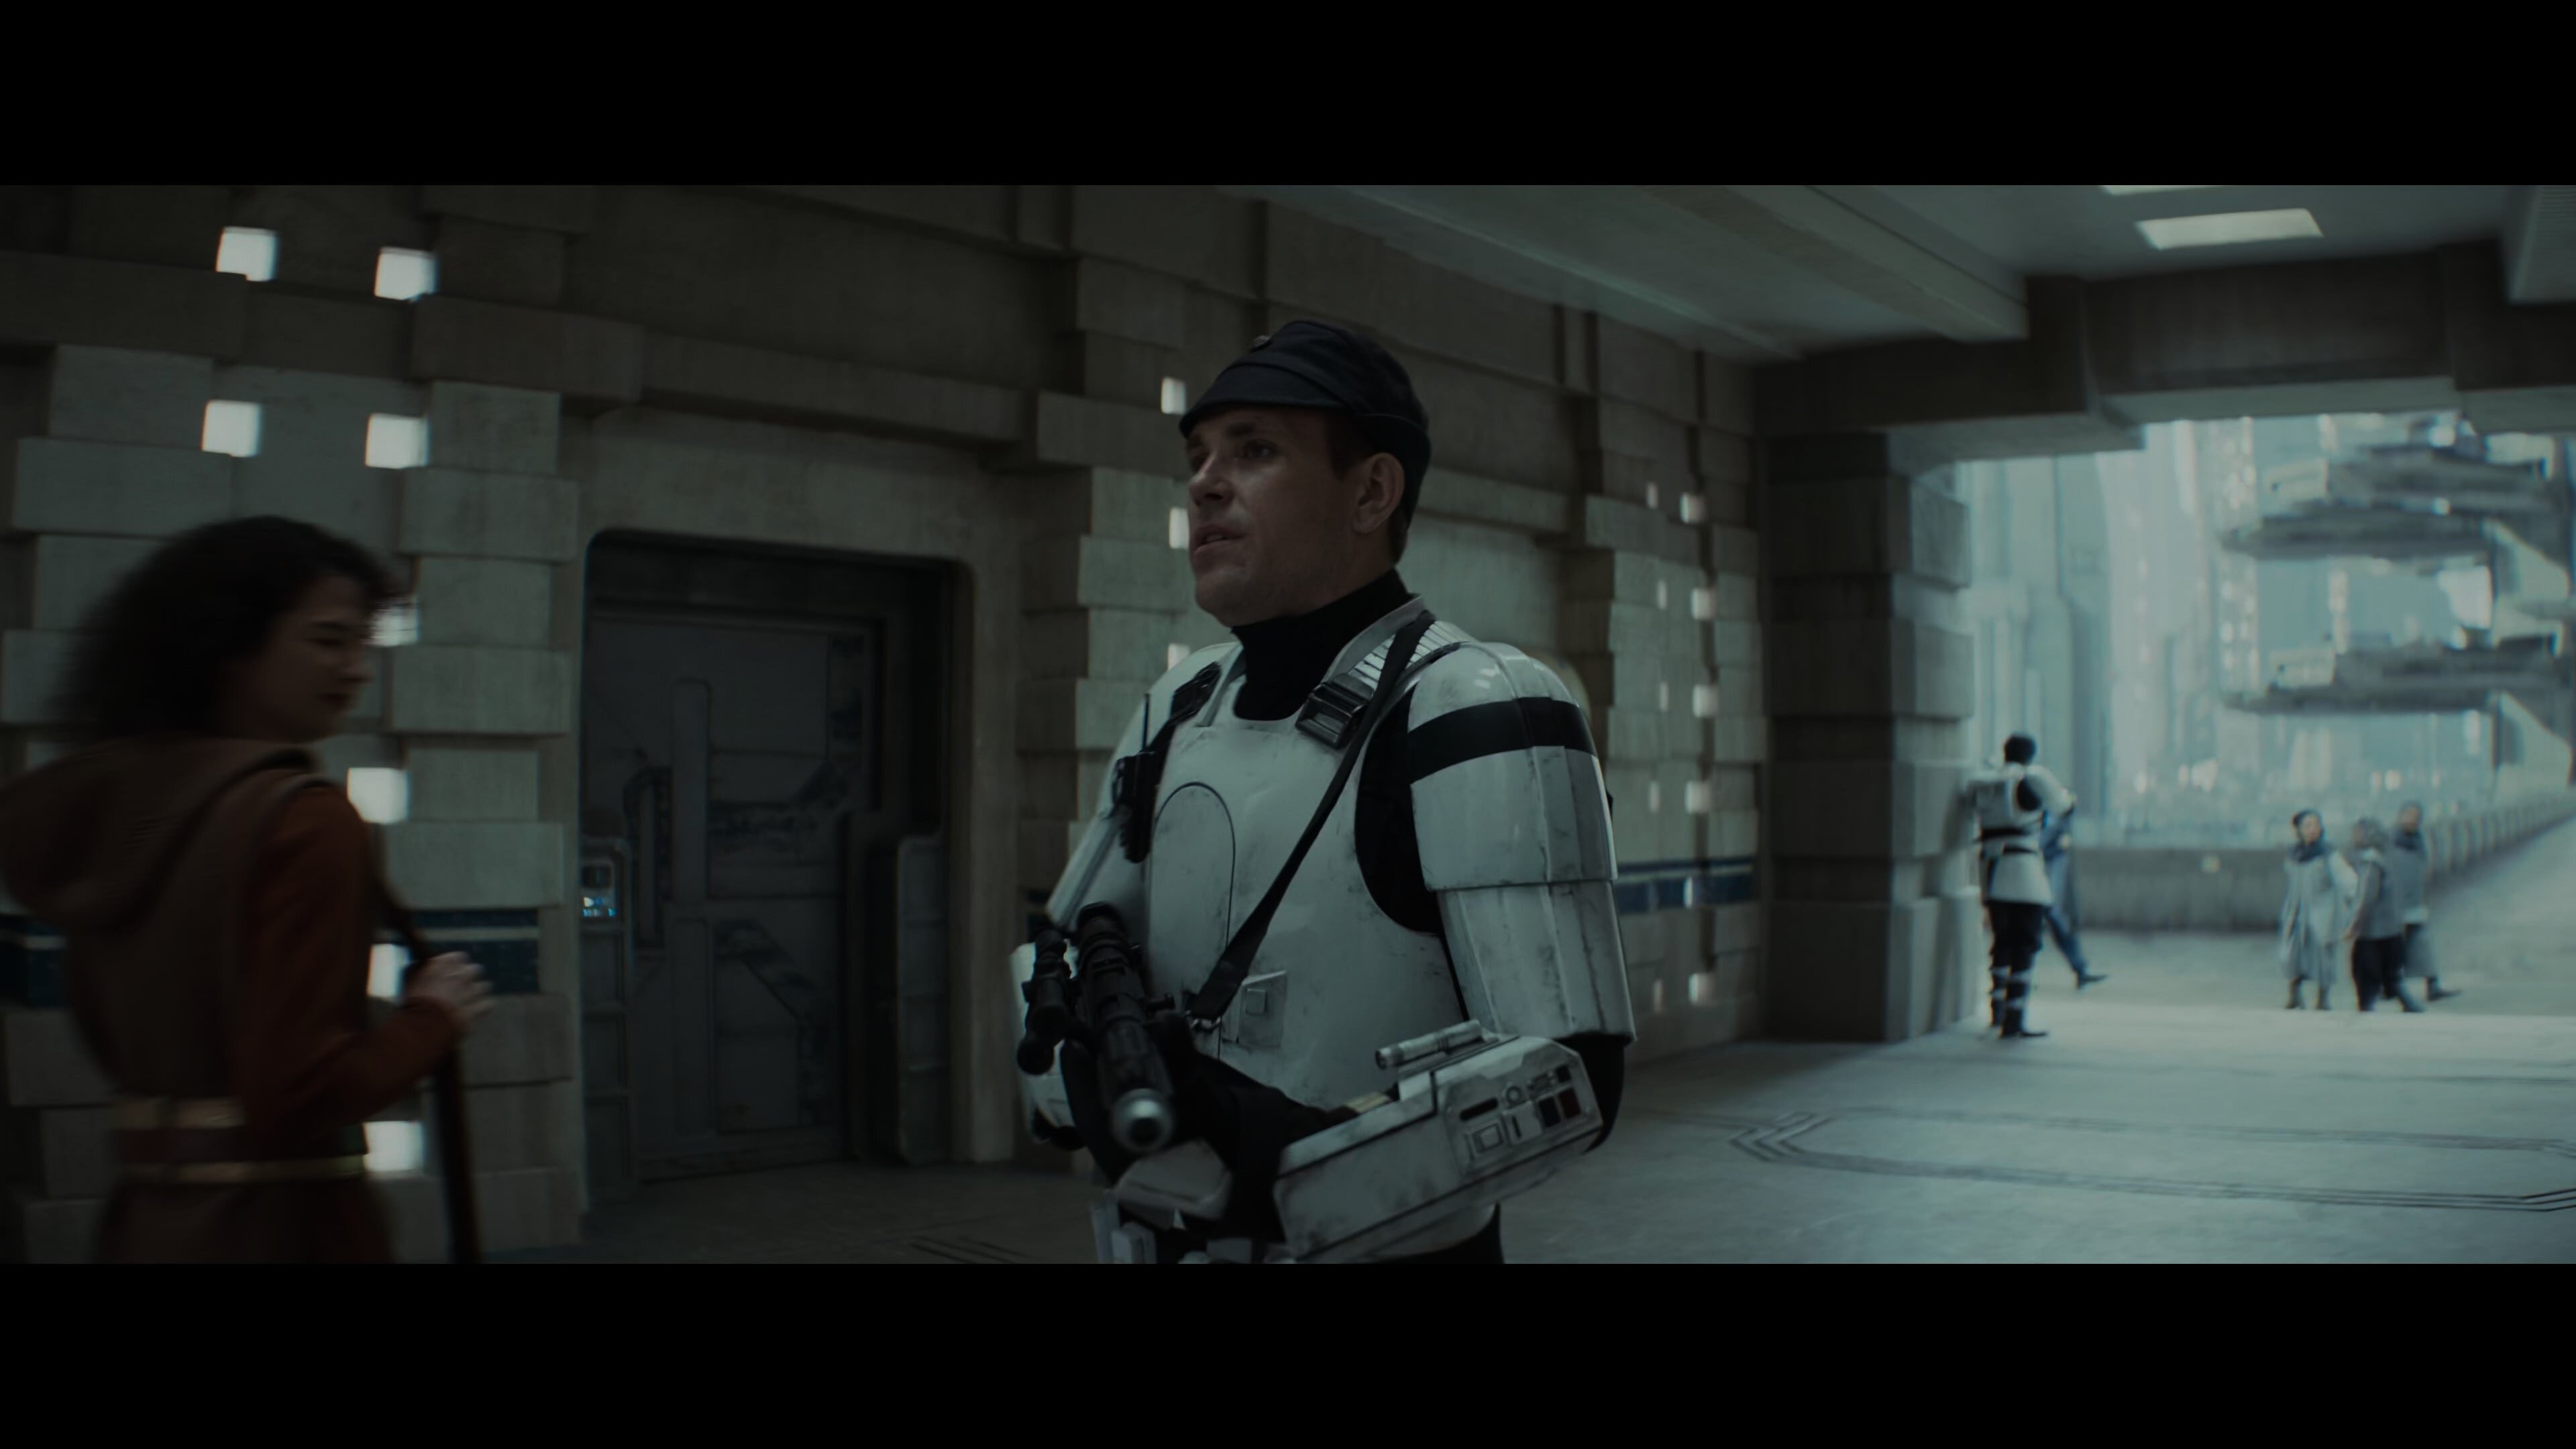
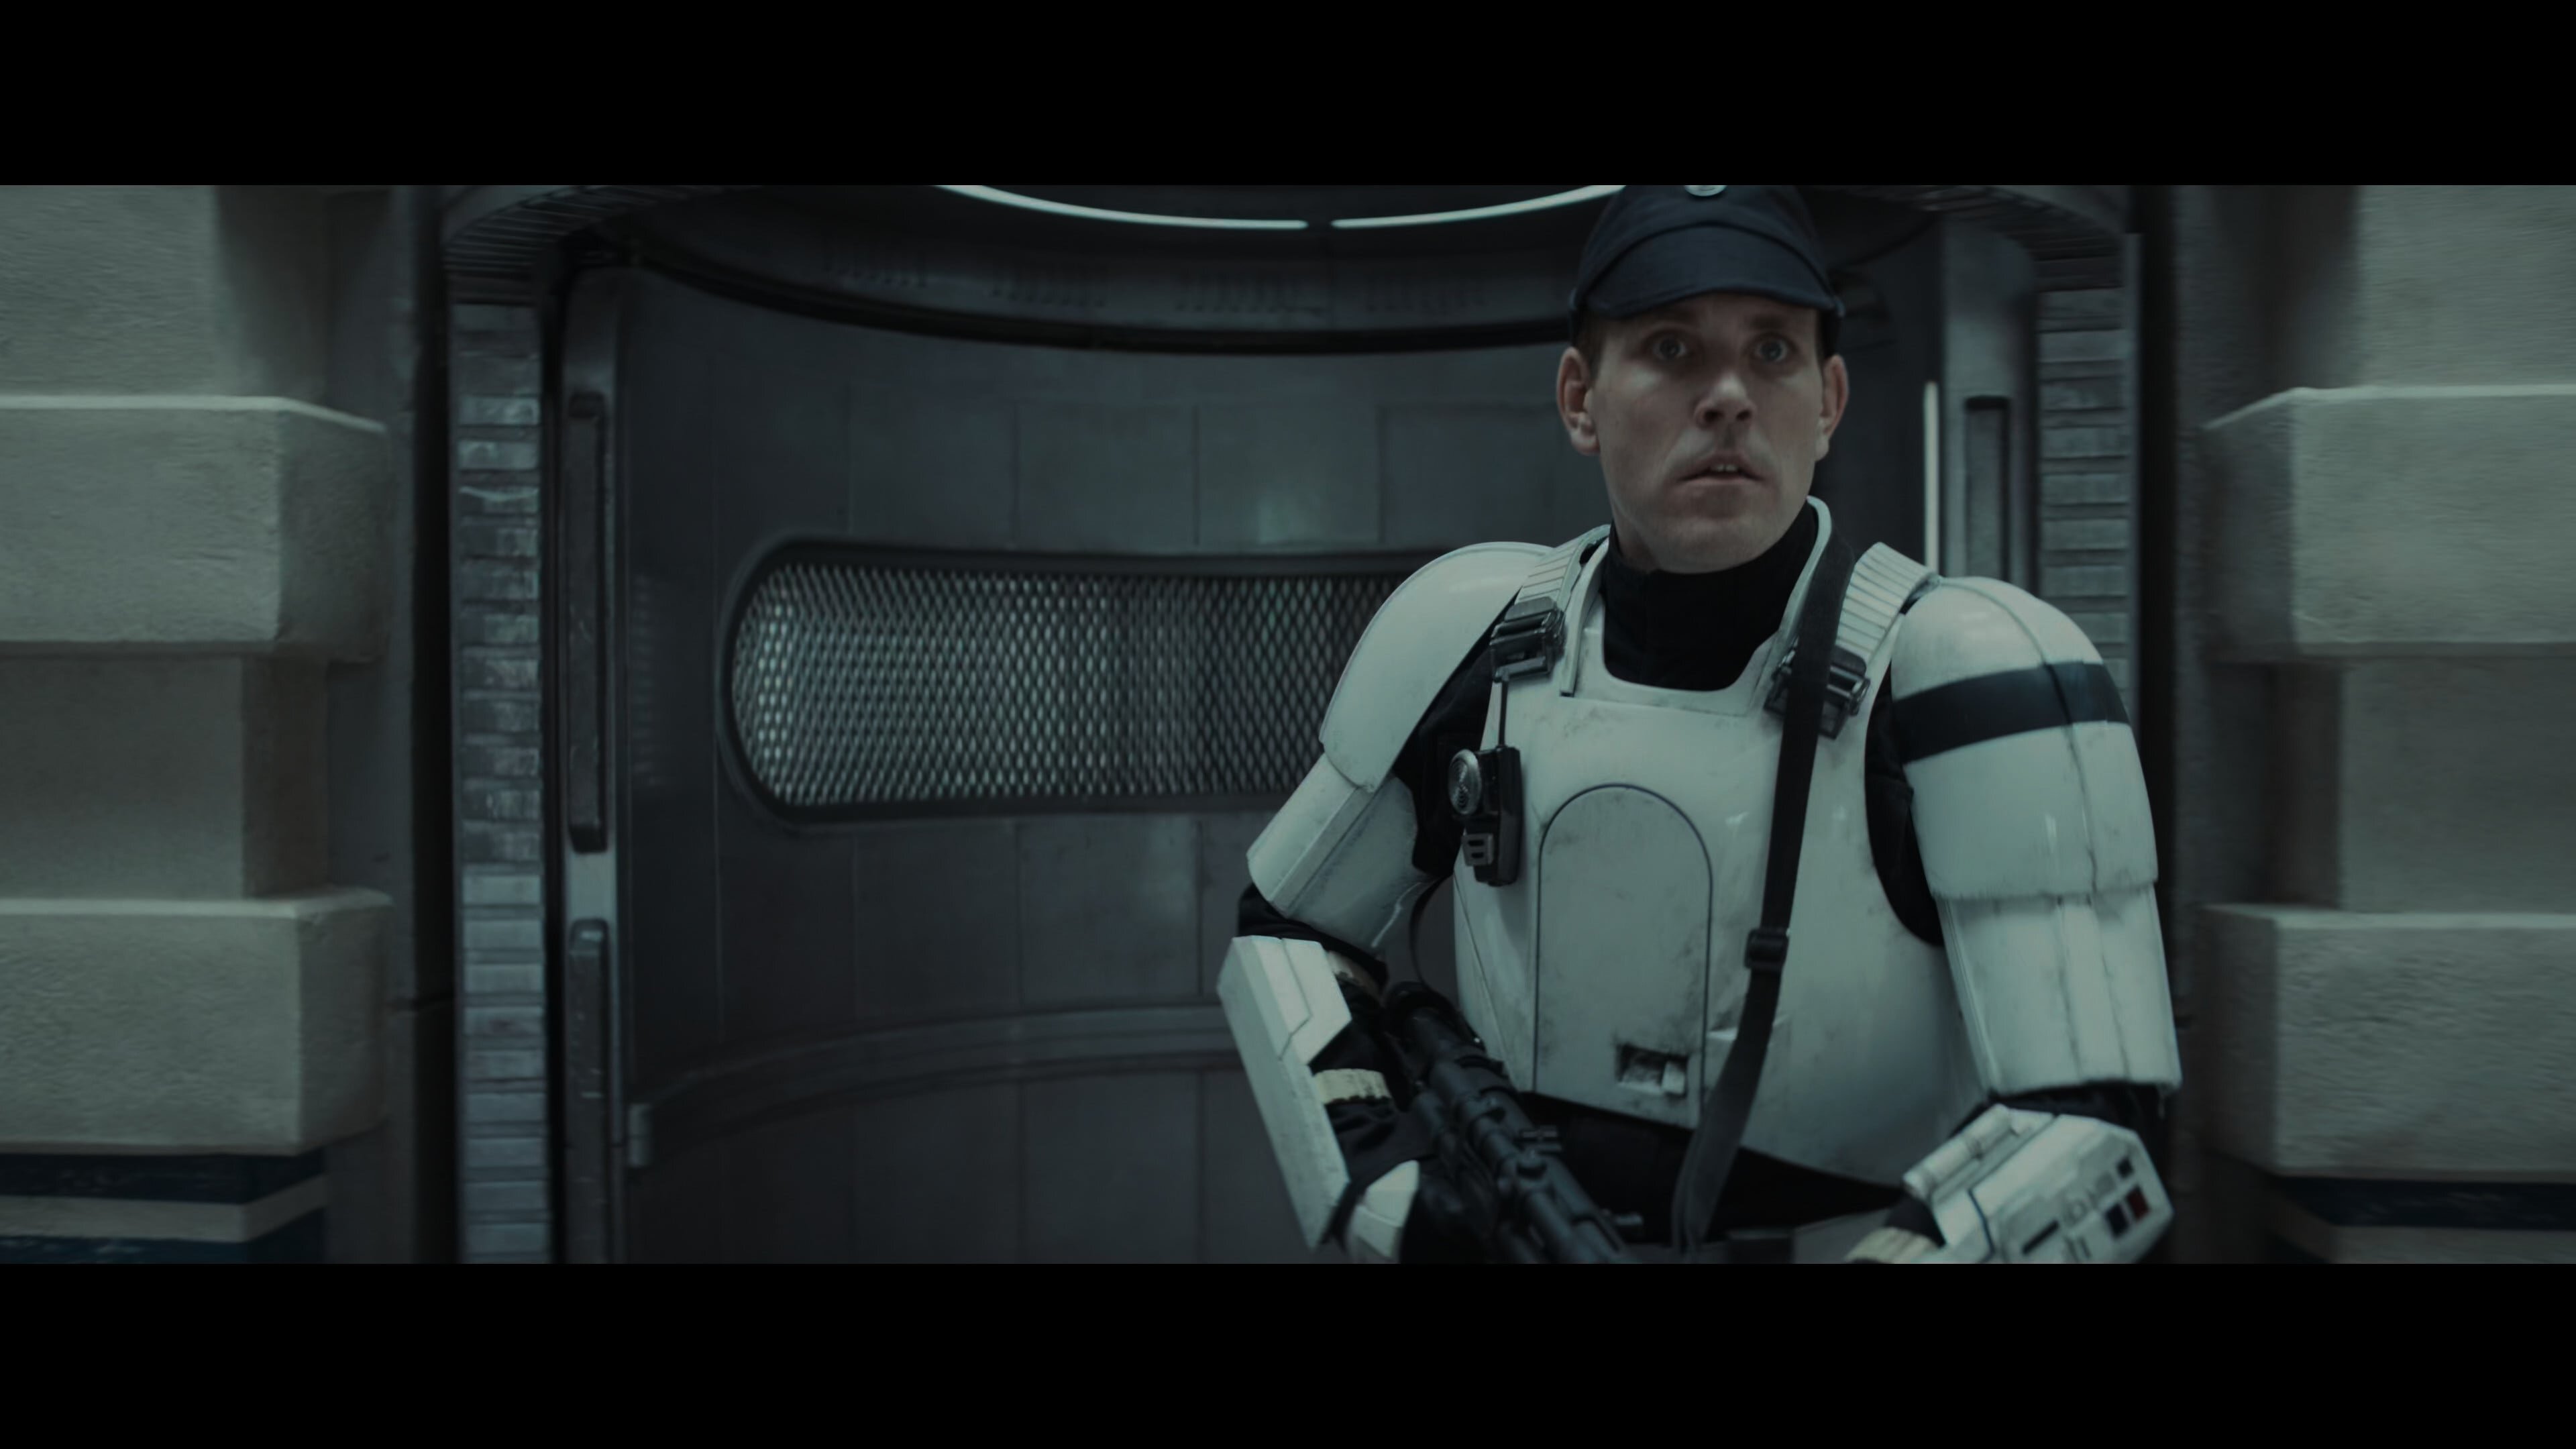
ISB Tactical Agent - Generic ISB Tactical Agent - Sergeant Benzi ISB Tactical Agent - Sergeant Gharial PICTURES HERE
-
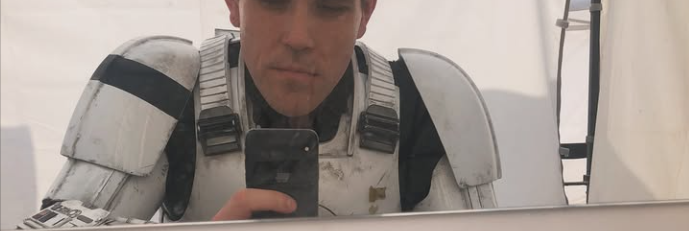
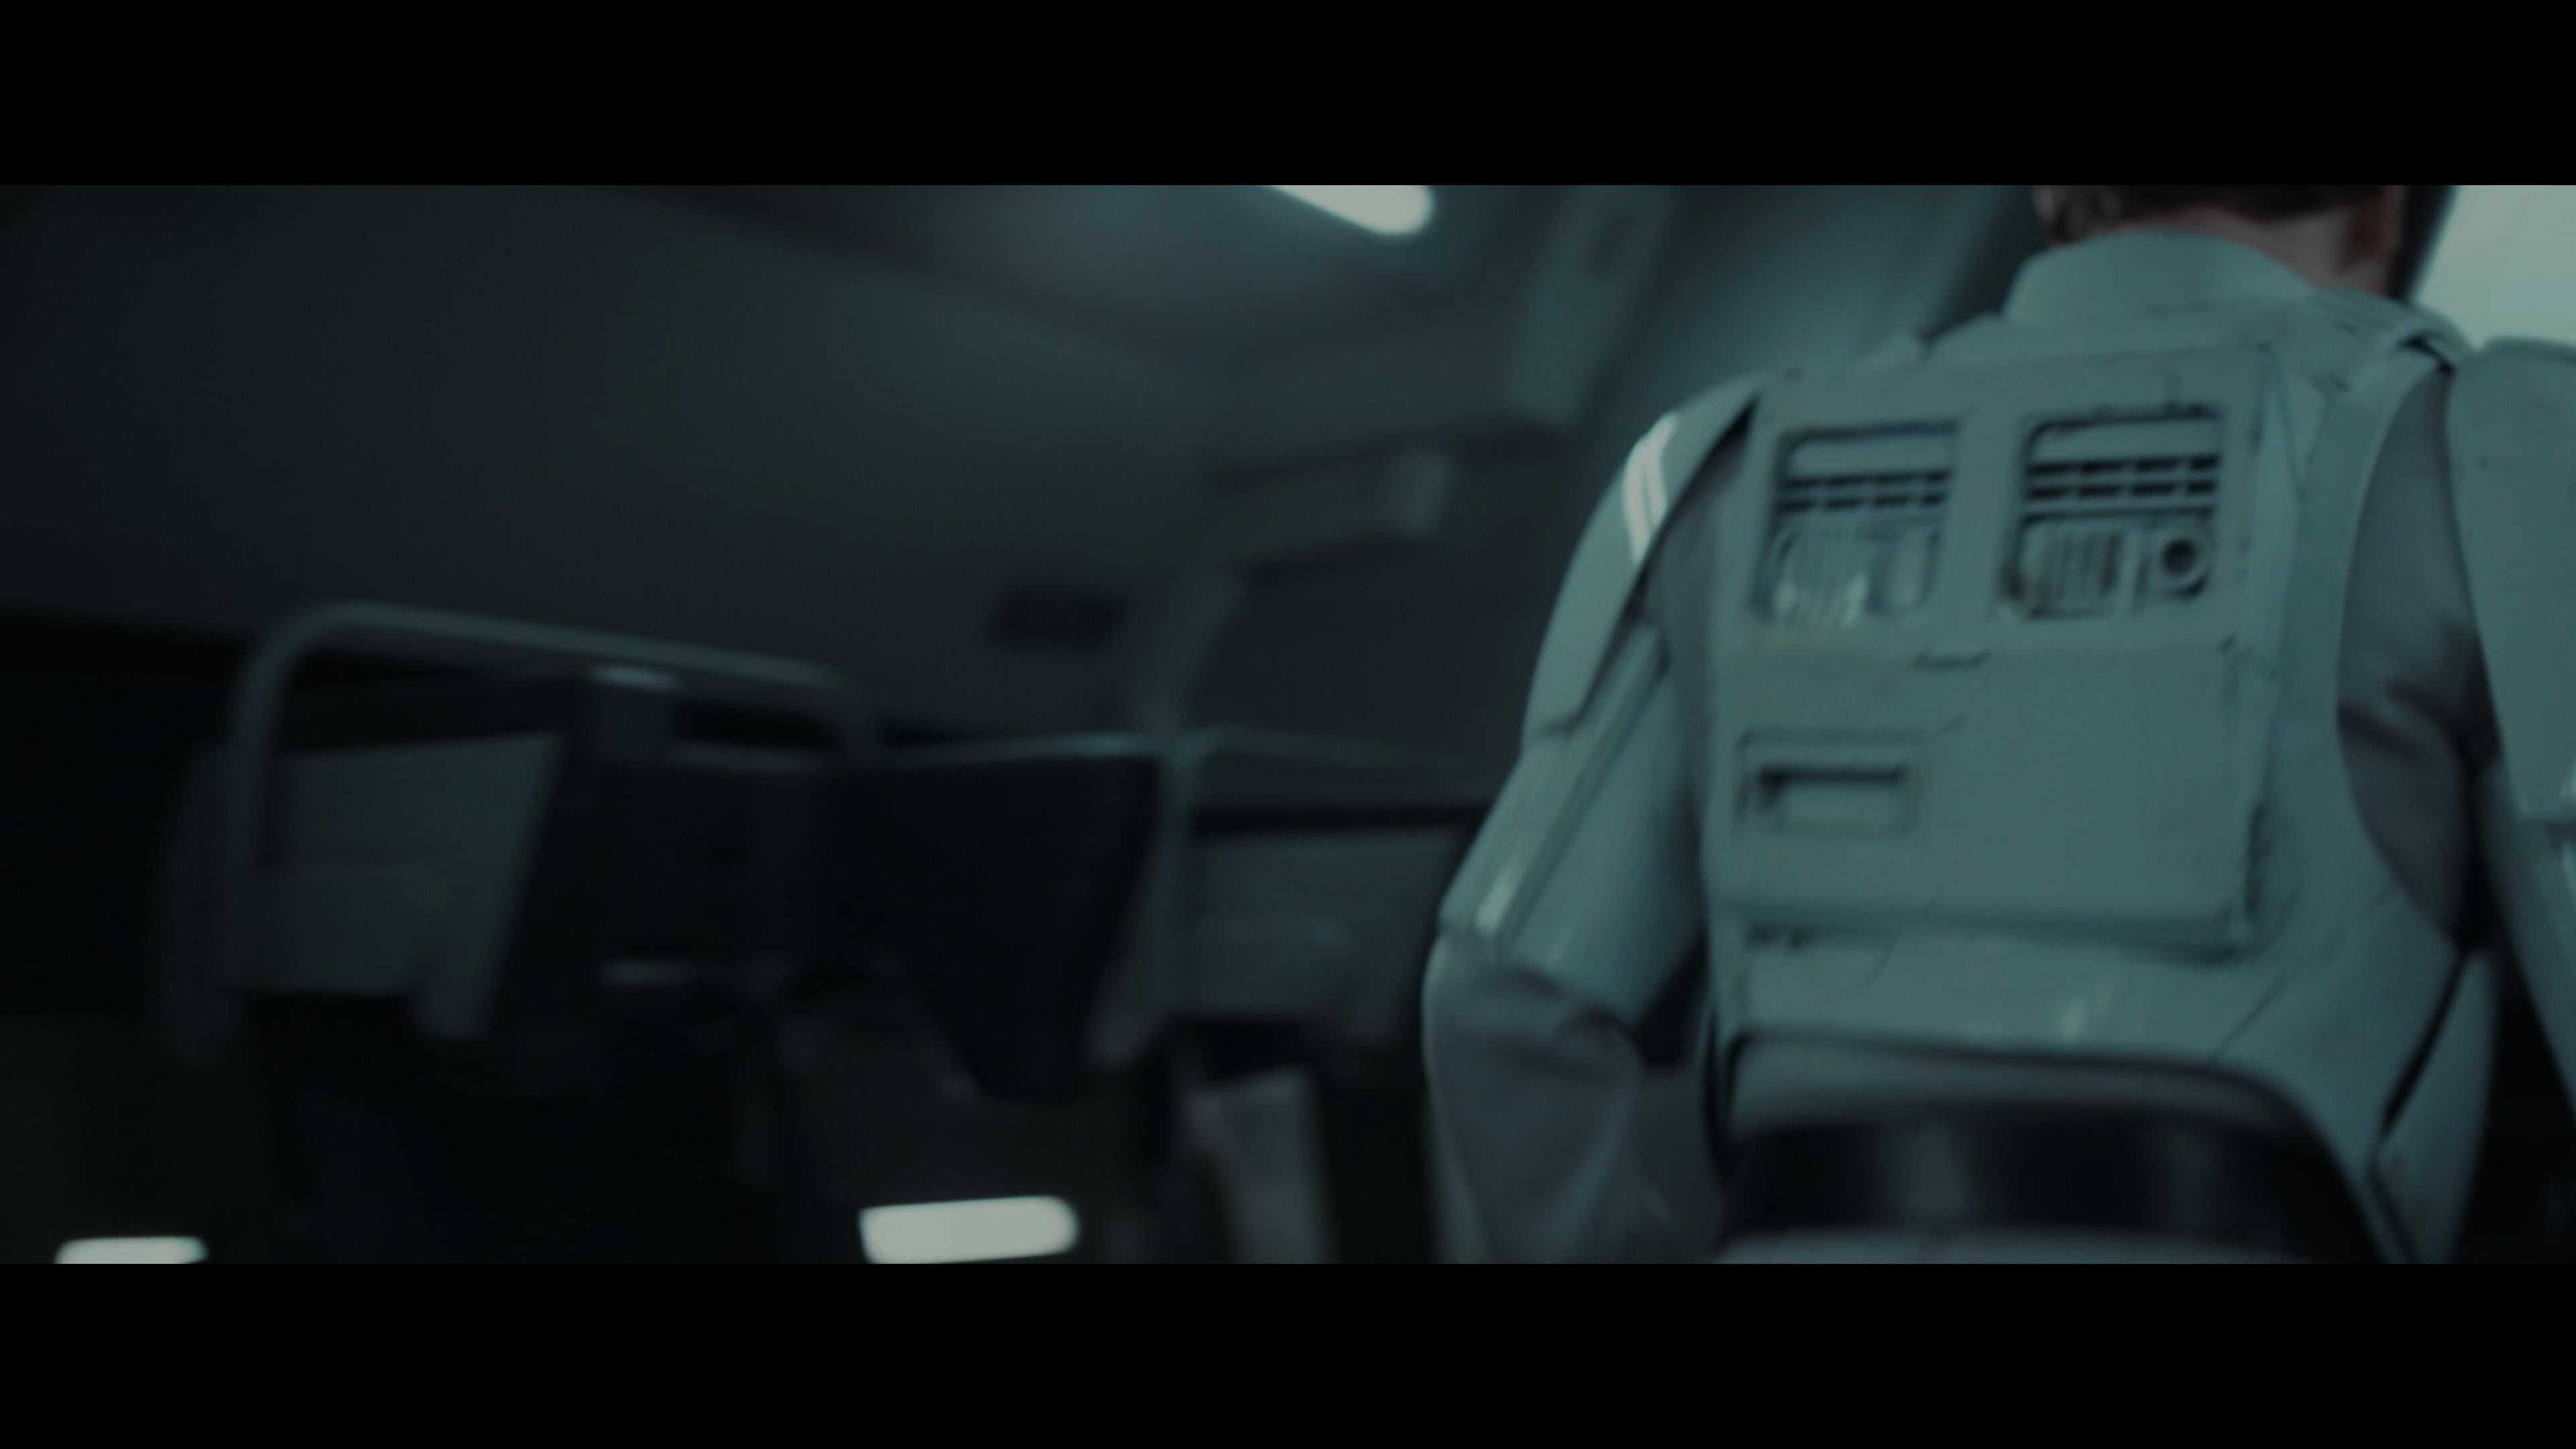
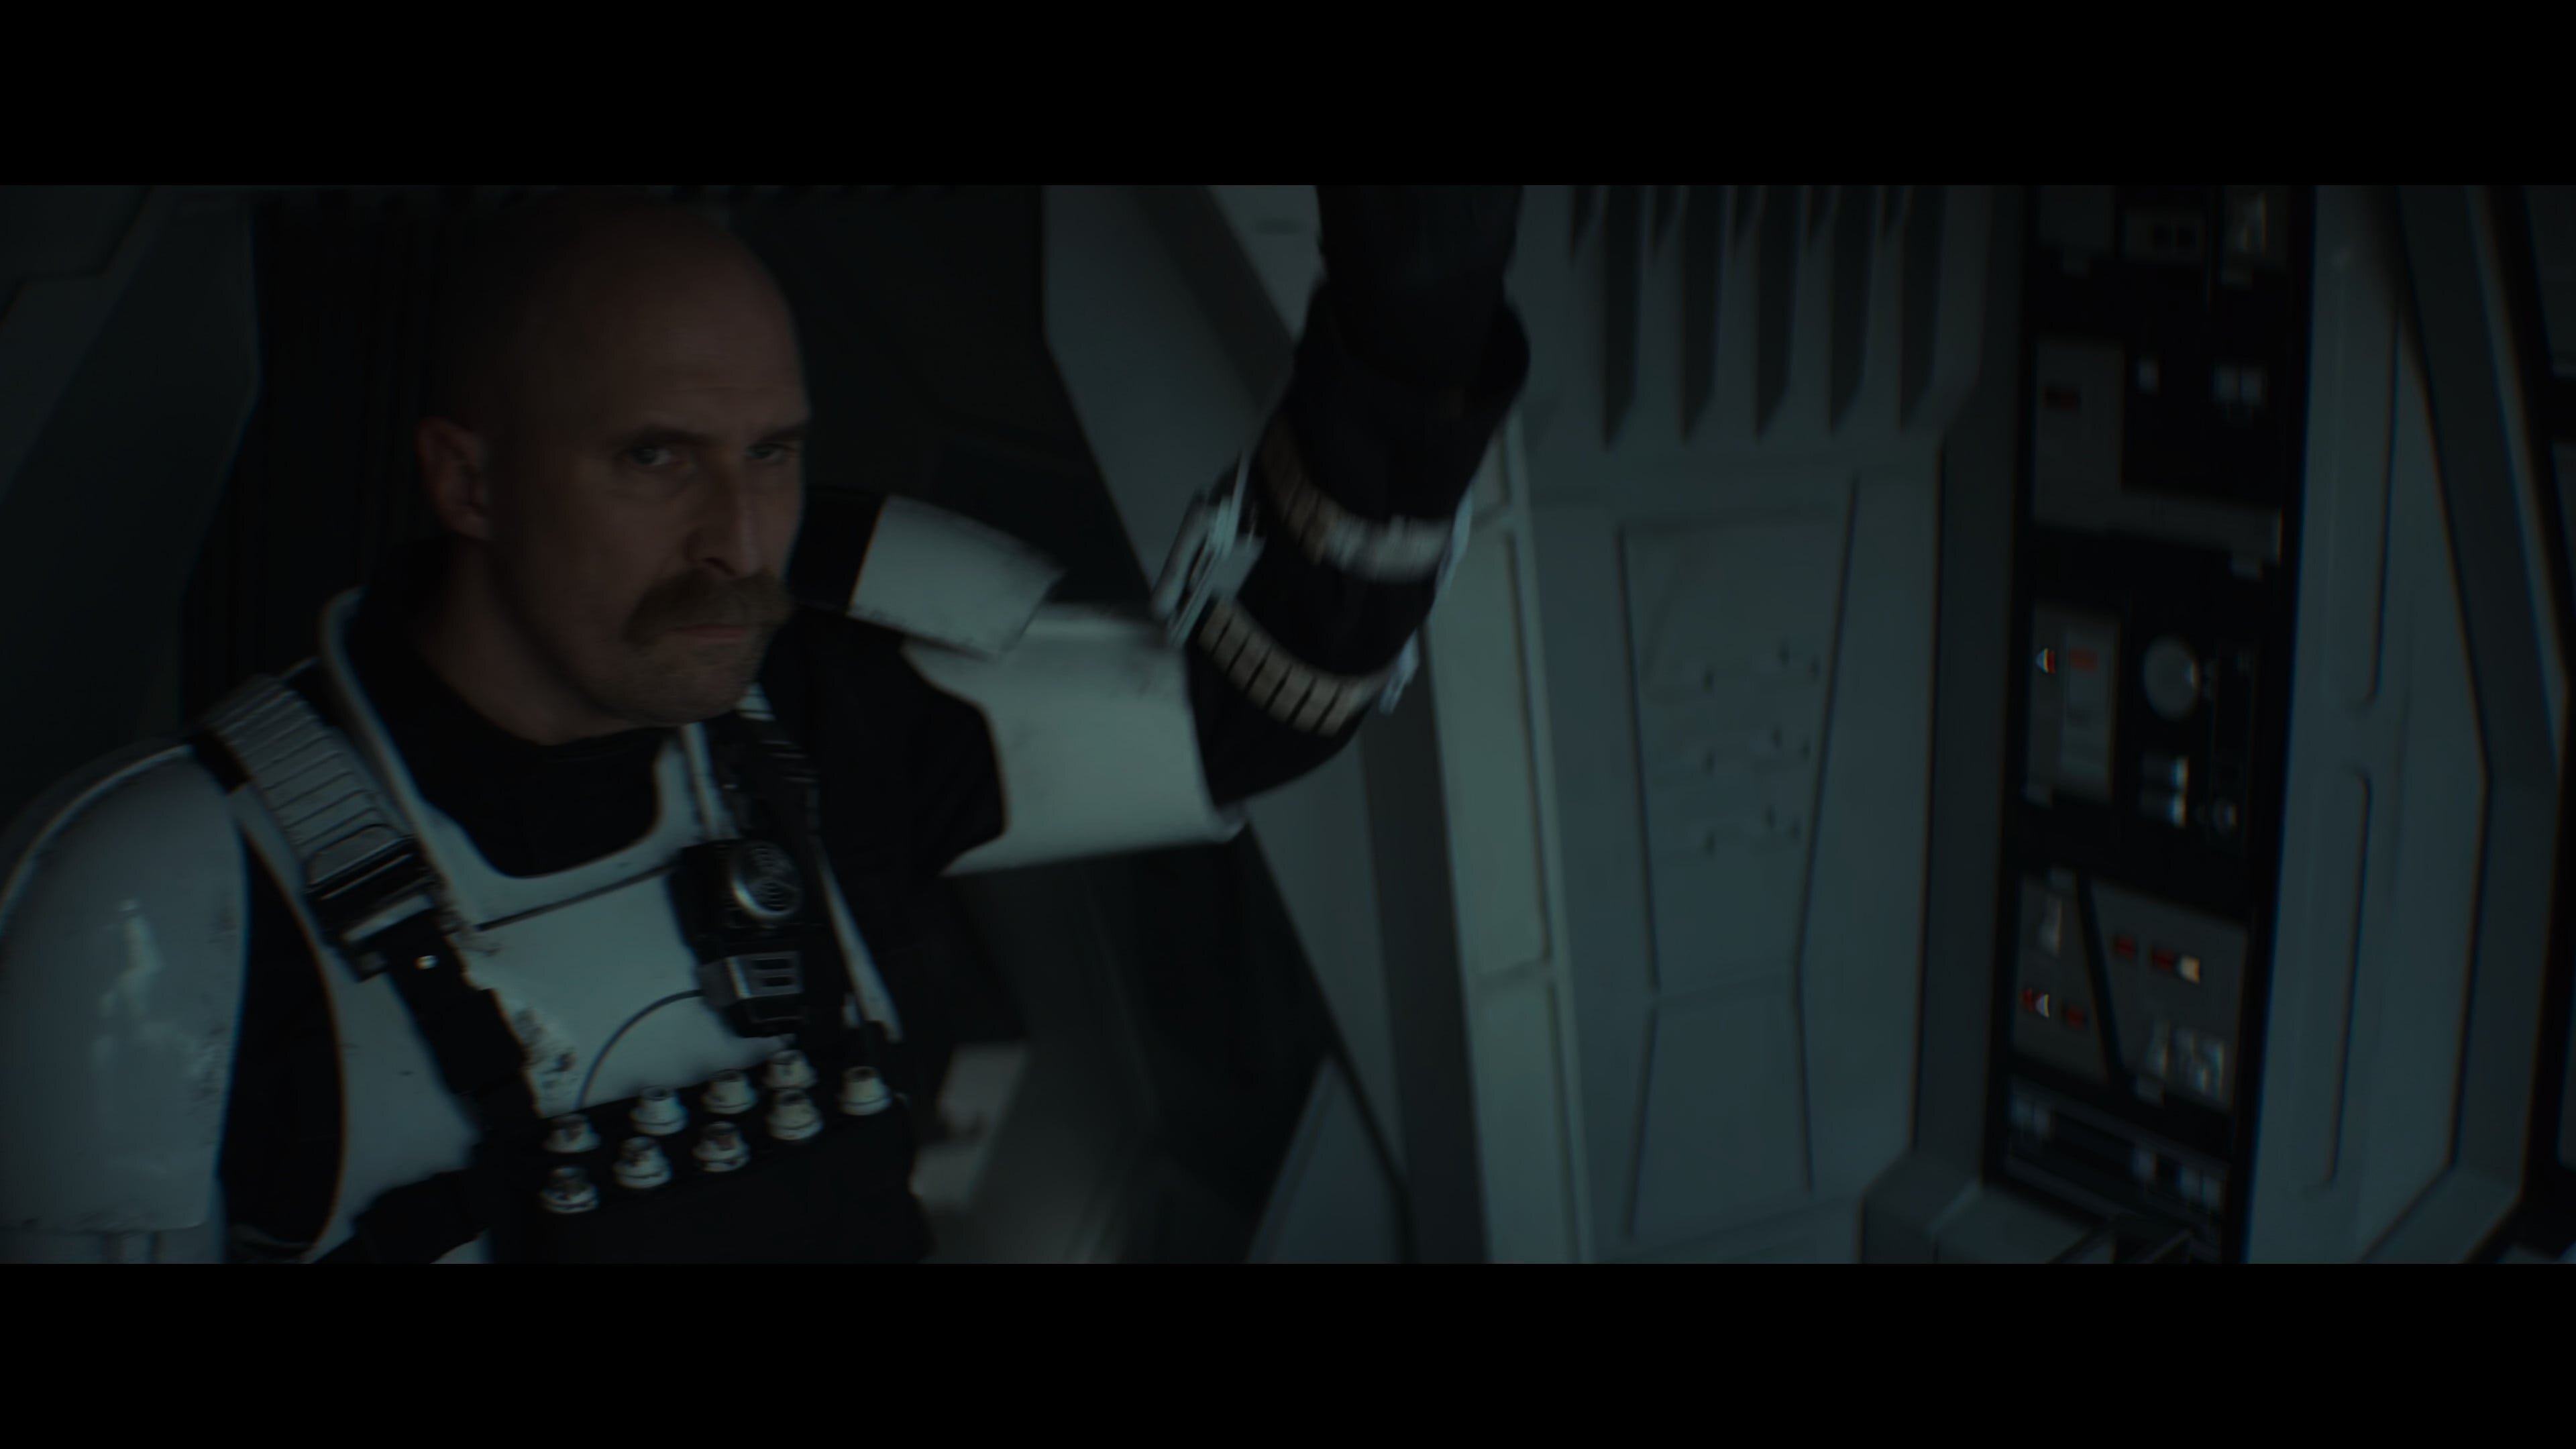
This will be a thread for discussion of the ISB Tactical Agents as seen in Andor on Coruscant. This will be the main listing and we'll tackle each part piece by piece (green is done, yellow is WIP, and red is not finalized): Hat Tunic Chest Armor Back Armor Shoulder Armor Bicep Armor Forearm Armor Hand Plates Gloves Upper Belt Lower Belt Hip-plates Trousers Shin Armor Boots Tactical Vest (optional) Radio Vest (optional) Radio (optional) UNNAMED weapon (optional) ----------FINALIZED TEXT GOES BELOW THIS LINE (THIS IS THE OFFICIAL TEXT FOR THE CRL DEVELOPMENT)------------ Description: Imperial Security Bureau Tactical Agent Prefix: TX Detachment: Spec Ops Detachment Context: Star Wars: Andor (TV Series) Costume description here Special Notes: The armor parts are gloss white, or as specified in each part description, and made from one of these (or similar) types of materials: Fiberglass ABS (Acrylonitrile Butadiene Styrene) HIPS (High Impact Polystyrene) PLA, ABS, PETG (3D Printing) Polyurethane Rubber 3D Printed parts are permitted but all print lines and other artifacts must be removed. Blasters are not required for legion membership per our weapons policy. Hat Fabric matches the tunic and pants. Base of the hat is conical, with a crown about 4" (101.6mm) tall. Front and rear “flaps” overlap on the sides and are about 4" (101.6mm) high. Front bill extends 3" (76.2mm) down, decorated with (5), (6), (7) or (8) concentric stitches. An Imperial Code Disk is positioned in the center of the front vertical “flap”. OPTIONAL Level two certification (if applicable): Disks do not feature a notch or groove details. Tunic A long-sleeved, black jacket that falls just to mid-thigh, with no visible zippers or buttons. Fabric is a plain weave cotton similar to duck canvas. Has a high mandarin style collar with a left-over-right closure that rises from the front of the tunic. The front closure overlaps left over right and rises from the hem at the bottom of the tunic to the top of the collar. Four rectangular pockets are present on the jacket front, covered by large flapped closures. Lower pockets are larger than the ones on the upper chest. Lower pocket seams rest on the same seam as the end of the tunic The rear of the jacket has a horizontal seam present near the upper back. Two vertical seams start below the horizontal upper back seam moving down the bottom of the jacket. Two black tunic hooks to hold the belt in place are permitted. If used, the hooks will pass from the inside of the tunic to the outside through holes on either side of the tunic at the hip. The belt covers the holes. One pocket is present on each arm of the jacket, each covered by large flapped closures. The top of the arm pocket flaps are in line with the top edge of the chest pockets. Cuffs on the sleeves are about mid-distance to the elbow. The material folds back on itself to form the cuff. OPTIONAL Level two certification (if applicable): The front jacket flap will have rectangular stitch marks with a stitched X inside where Velcro is attached to keep the flap closed. Fabric has the appearance of waxed canvas or oilskin fabric. If left arm rank bars are present, the black fabric should be similar to duvetyn type of fabric and will have 3 equidistant horizontal stitch lines through each rank bar. Chest Armor Chest armor matches visual references being accurate in shape and design. Light to moderate weathering consistent with reference images is permitted. The join between the chest and back armor are created by an angled sweep starting at the bottom of the chest armor and finishing at the bottom of the back armor. This may be held closed with magnets, Velcro, or another hidden fastener. There is an indented area around the outer edge of the center flat section. Buckles attach to upper chest plate and are painted gunmetal or dark silver. Shoulder straps are affixed to the chest plate at the buckle. The shoulder strap is white. It is permitted to be made of cast flexible urethane or other flexible material. To the lower left side of the center flat panel is a recessed area angled inward from bottom to top with a raised rectangle greeblie and a recessed horizontal elongated oval. Left of the recessed area is a raised square that extends from the center to the curved side of the armor. On the top left side of the raised area is a raised oblong detail that protrudes outwards. Chest shall be painted to match helmet and back armor. OPTIONAL Level two certification (if applicable): Buckles have black recess on upper narrow section and the lower recess shall expose the chest armor. Moderate weathering consistent with reference images is required. Back Armor Back plate is painted to match the chest armor and helmet. Back plate has a collar that extends upwards and tapers to the chest plate. Chest and back plate meet at the sides. There are 2 hose connectors located at the top of the back plate approximately centered above each rectangular cut out/greeblie. Hose connecters are painted to match the strap raised slot, strap buckle, and recessed box color. Back has two large cut out recesses with vent details and greeblies inside, all painted the same white as the armor. The vents at the top of the boxes may have the openings darkened with weathering. Four raised bars approximately .375" (10mm) long aligned to the top of the recessed box opening may be present. Each recess has different and specific set of boxes inside that are painted to match the recessed box color. Light weathering is preferred inside of the recesses. Bottom left features a smaller rectangle cut out with the left side stepped. Half circle indent detail beneath the backpack section must be present. There is a long thin raised greeblie positioned central and below the 2 large recesses. There is a small raised circle greeblie positioned central and below the above named greeblie. There is a raised slot on each shoulder for the straps to fit into. Shoulder straps are white and are affixed to the chest plate at the buckle. OPTIONAL Level two certification (if applicable): The hose fittings are angled forward. There is a recessed hole approximately .31" (7.8mm) above the top left corner of the left recessed box. There are two indented squares approximately 1⁄4" x 1⁄4" (5mm x 5mm) aligned vertically above the right upper corner of the left recessed box. There is a raised step on the bottom of the main back box.
-
For now, in this section of the forum. I will create a separate subforum section within the TX Research section later today.
-
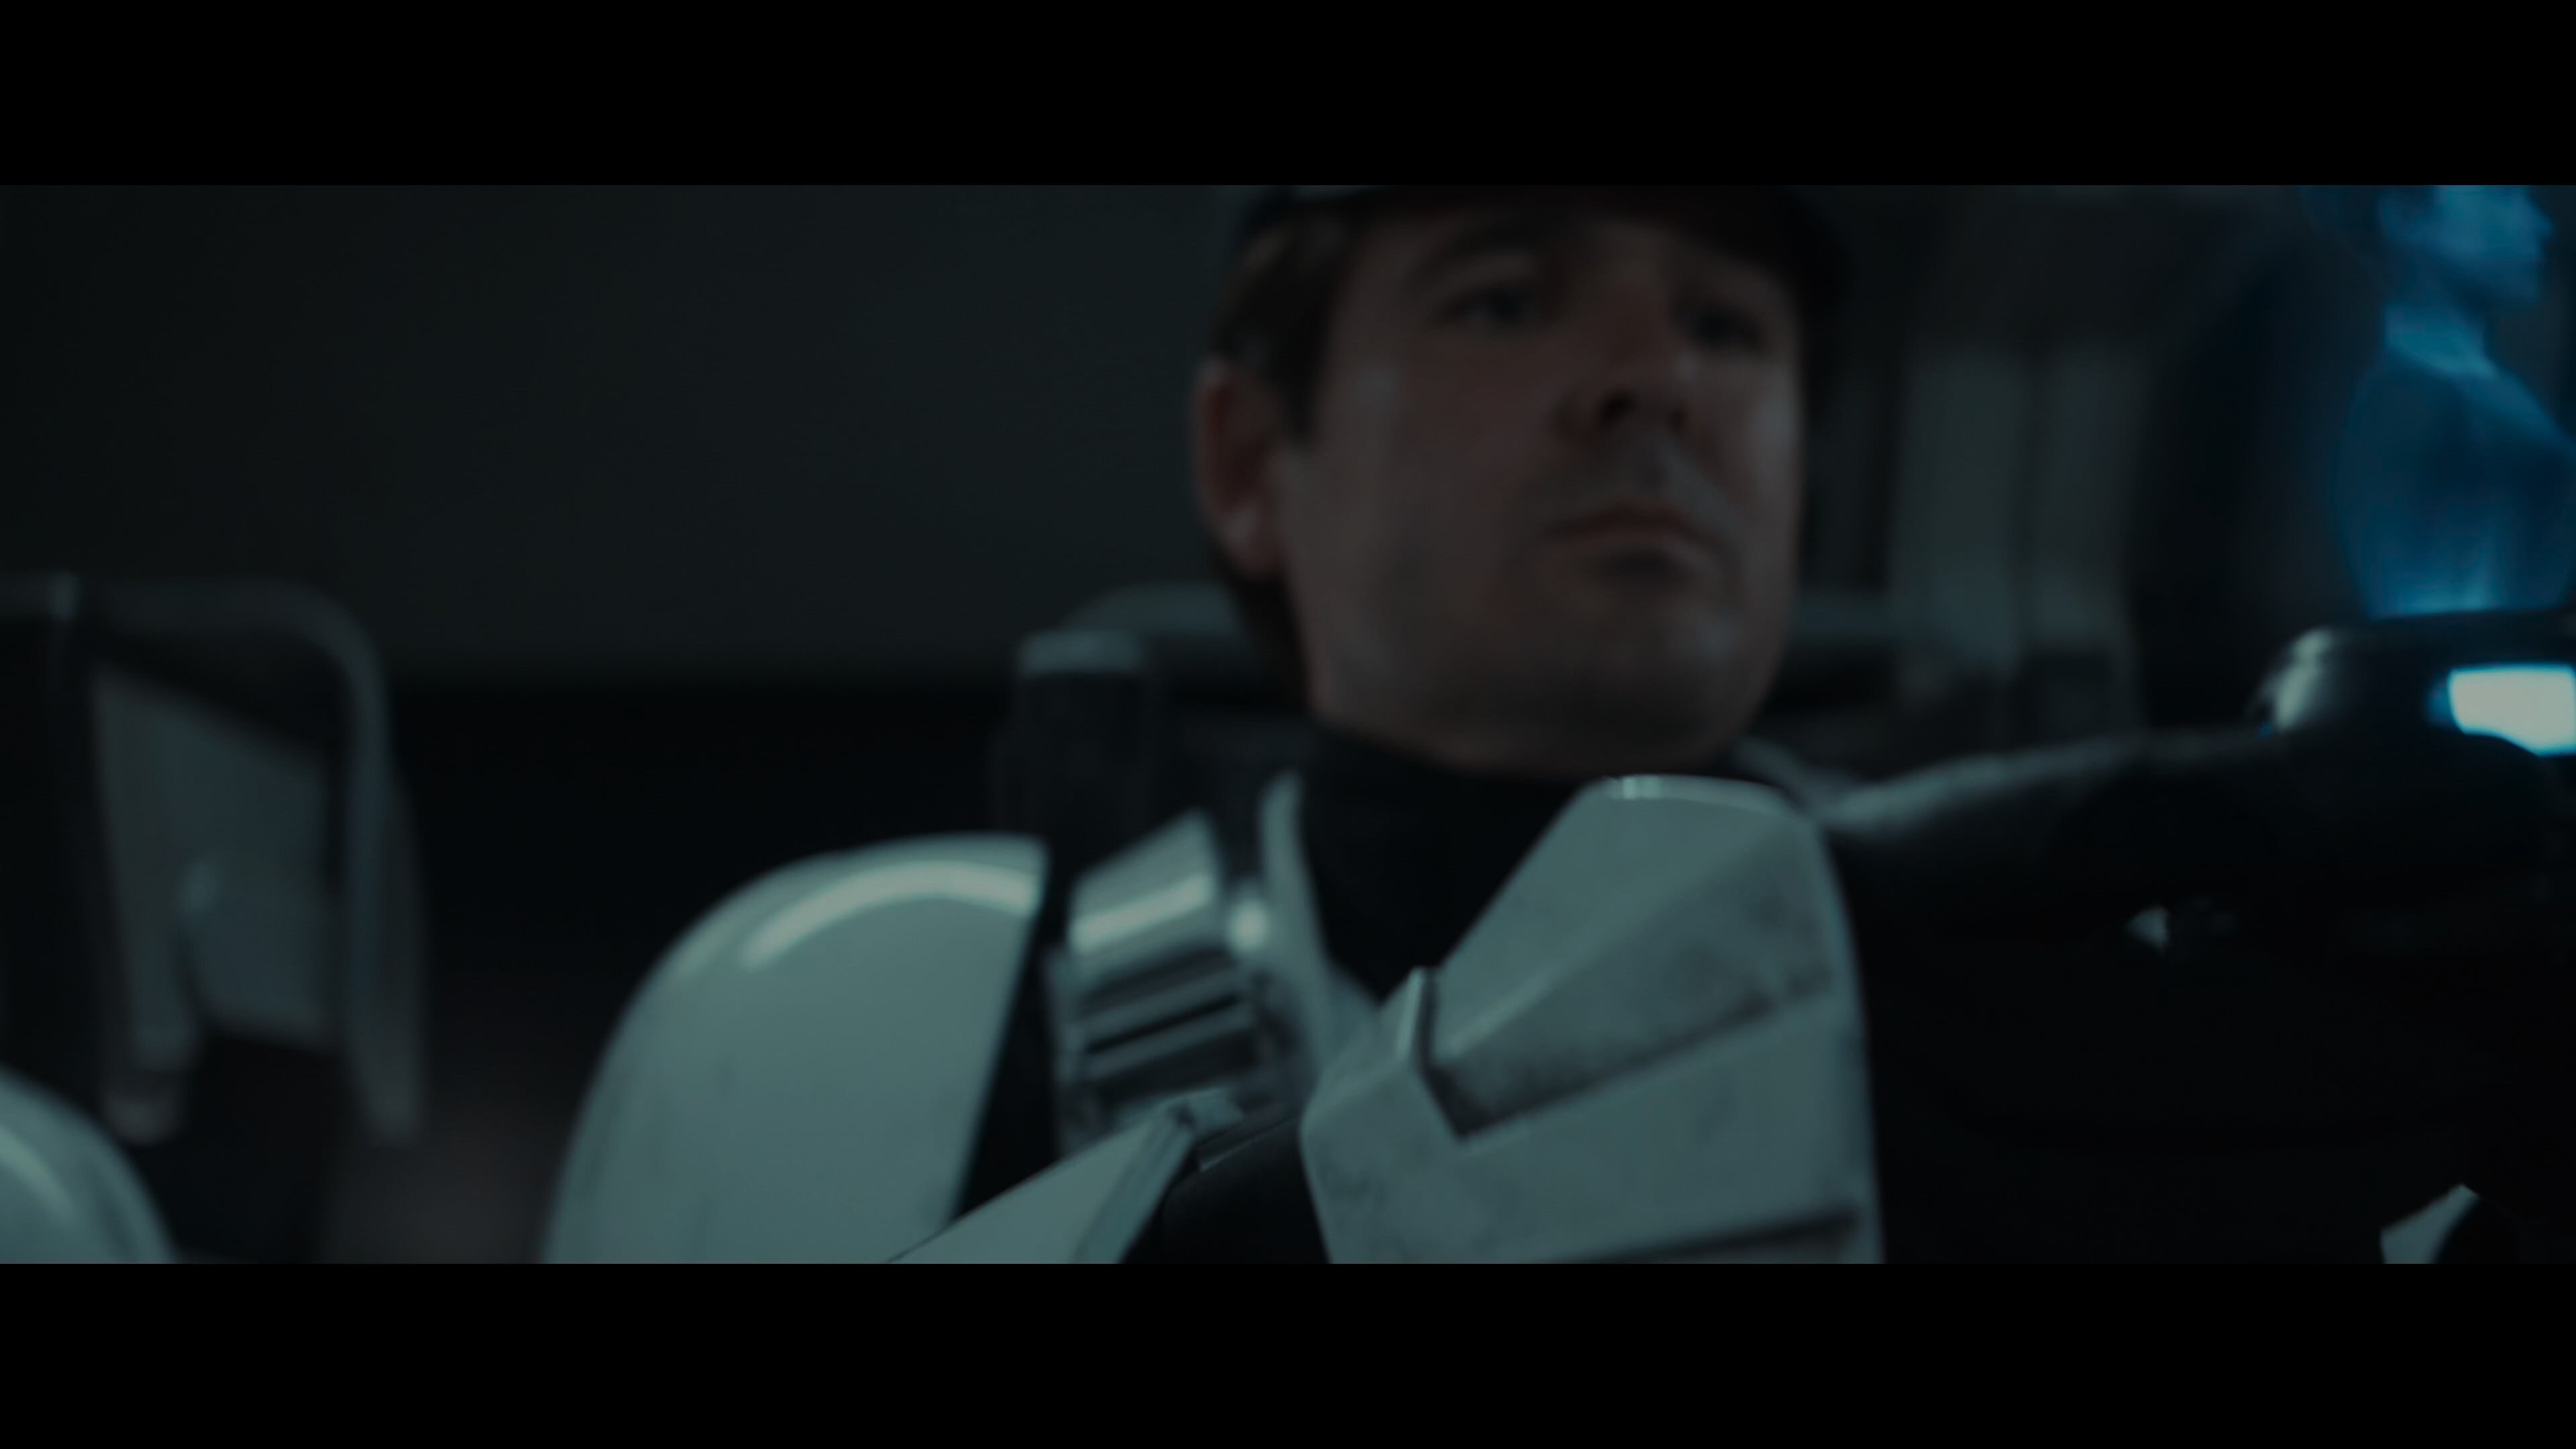
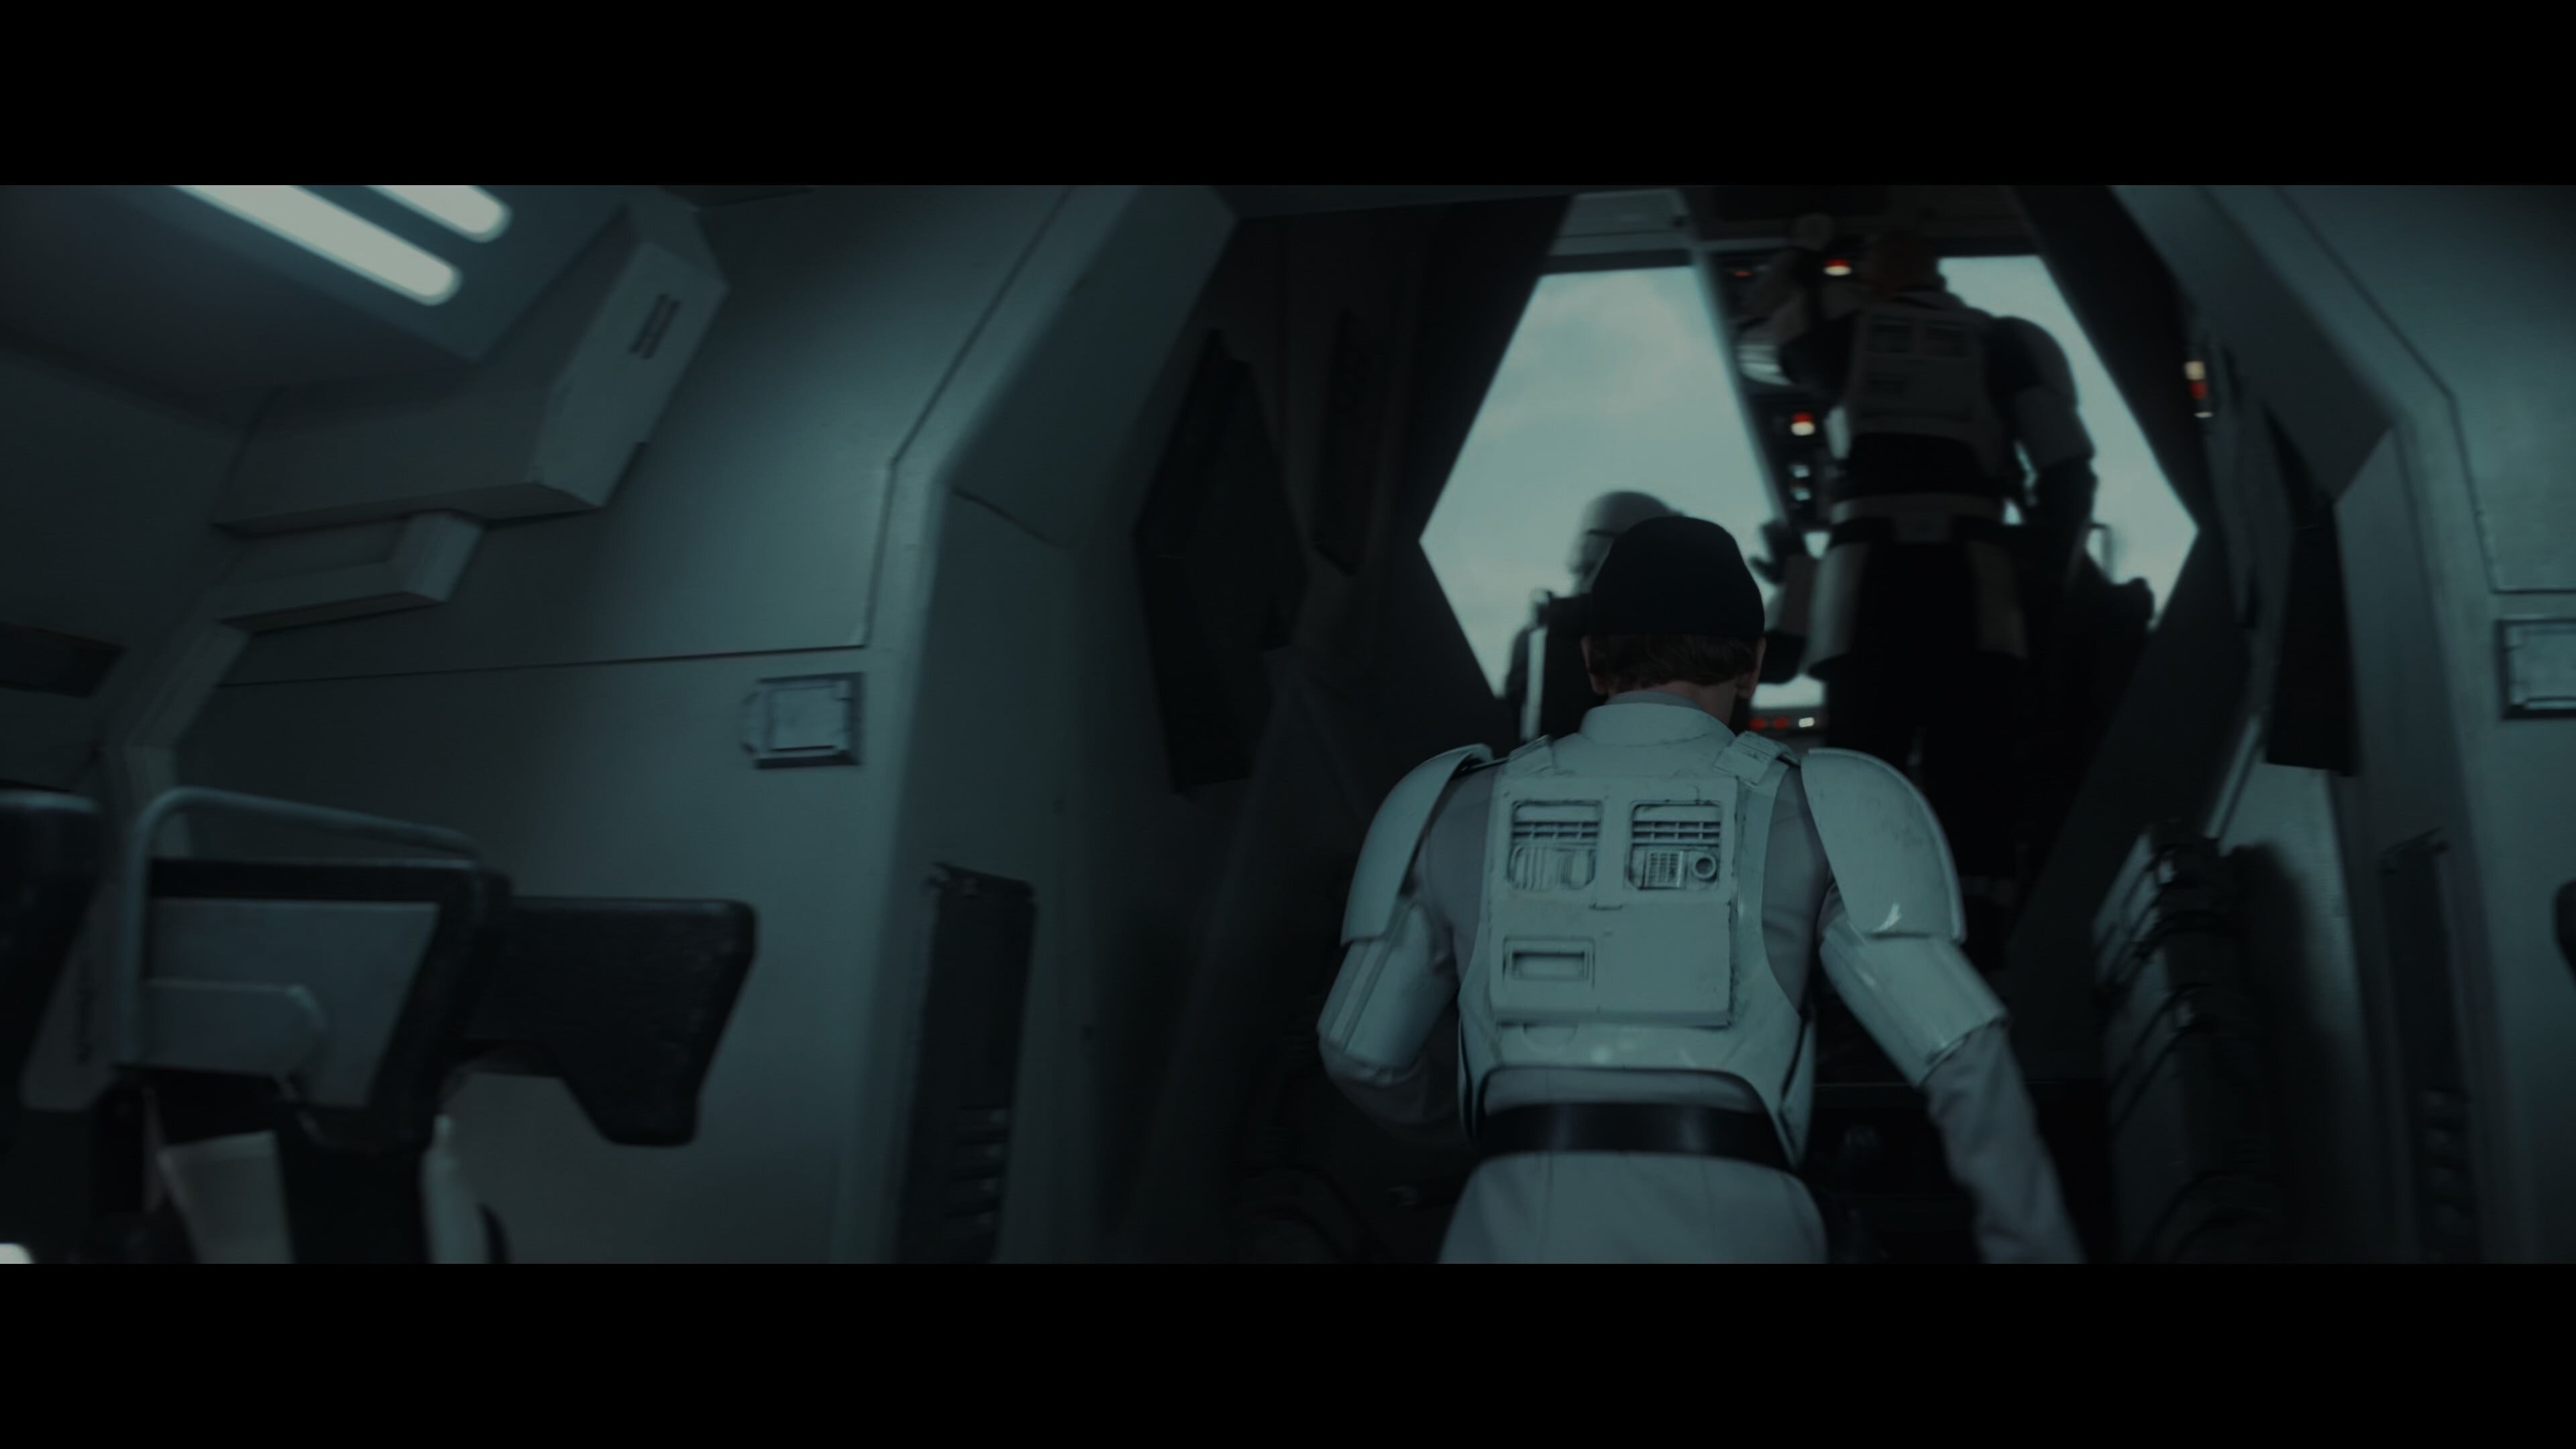
Andor S2 Trailer ISB fast response??
IcyTrooper replied to TreeHuggerMatt's topic in Imperial Security Bureau
We have created this thread for this costume now: -
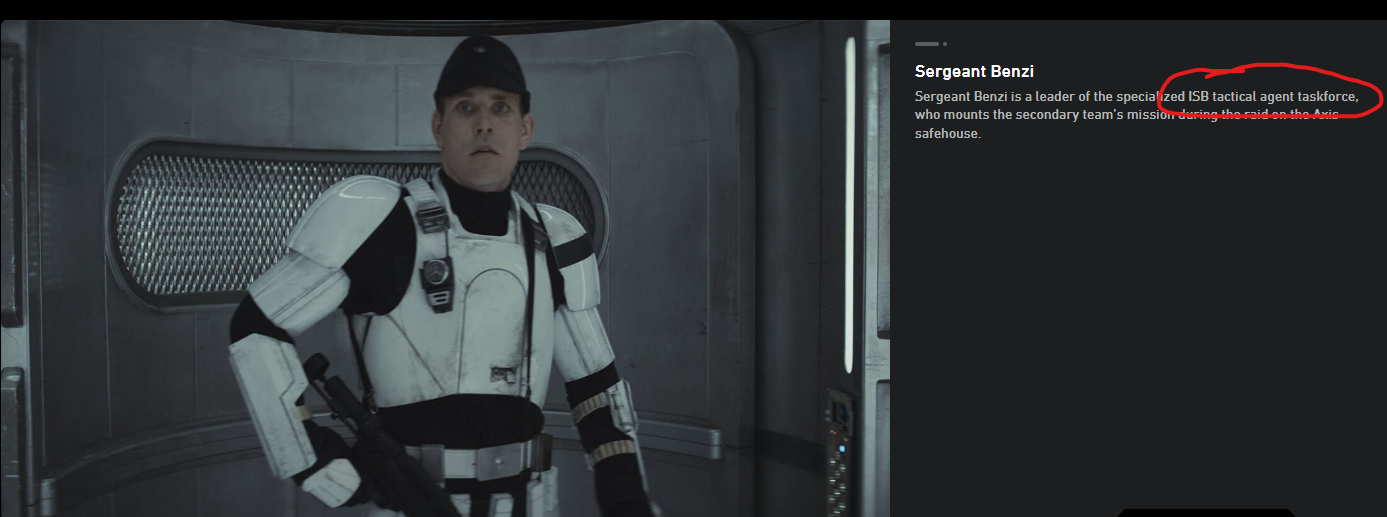
NOTE: This costume has NOT been placed by Legion Membership Officer (LMOs) at this point. It is not guaranteed to be placed within the Special Operations detachment. Use this thread for the ISB Tactical Agent (Andor S2). Now, that I got that out of the way the trooper type/name is confirmed from the official Star Wars Databank under Sergeant Benzi and Sergeant Gharial:
-
That is correct, please keep this to the IAT: Andor costume. The season literally just ended, proposals to LMOs are going to take a minute. Right now we are waiting for a CRL system backend update to be completed before any updates can be done to current costumes or add new ones. We certainly welcome discussions on the current season, just don't want to clutter them with unrelated costumes.
-
That is also a good point, striking placement from the CRL would be a smart choice.
-
Oh nice! The chest/back is really popping! @RAIDER & @tipperaryred check this out!