-
Posts
2,238 -
Joined
-
Last visited
-
Days Won
155
Content Type
Profiles
Forums
Events
Everything posted by nanotek
-
Hey Geoff I didn’t line my armour, I just made sure it was smooth on the inside to prevent wear and tear. Yes there is a lot of sweat, so by not lining it you can simply blast the armour with a hose. You will never get rid of the plastic clanking sound unfortunately. I have put some felt in strategic places to help stop wearing out the paint job as quickly. I think if you add felt to the entire inside of the armour you will end up adding more weight and smell. I hope that helps
-
Awesome! Love 000. Will be great to have another one.
-
Wow! That looks amazing! I'm not fully up to play with the requirements for the Flametrooper, but I think you look on point! Good luck with your approval! Fantastic job mate!
-
Looking really great! You’re making fantastic progress on this!
-
Here’s the link to his Facebook page for TDK props. You can message him direct through there I have both his blaster kits and they are superb! TDK Props
-

Can you paint armor red to make magma armor?
nanotek replied to Zugor's topic in Miscellaneous Tips and Tricks
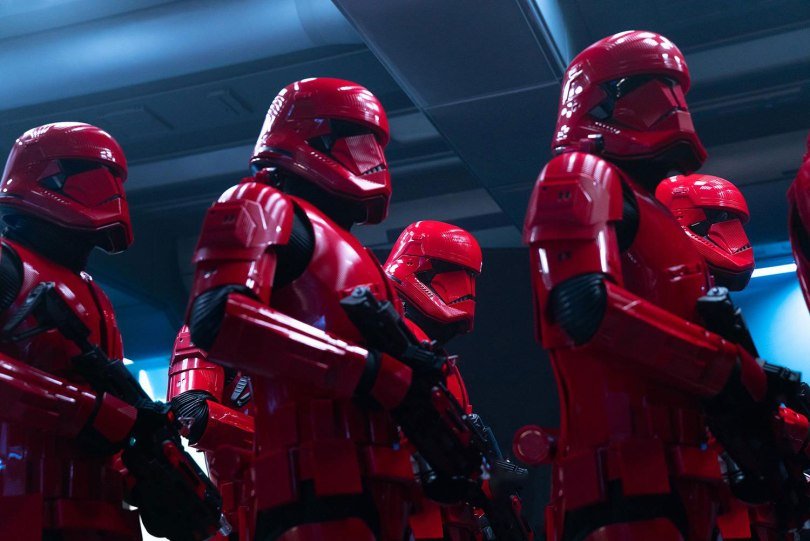
The CRL states: “The armor parts shall be gloss red and made from one of these types of materials or like materials: Fiberglass, ABS (Acrylonitrile Butadiene Styrene), or HIPS (High Impact Polystyrene” So I think as long as the paint you use is gloss red you should have no problem. You may need to do some colour matching on the red, and you will likely have to clear coat to give the finish some durability. Please bear in mind I am not an expert in the Magma costume! @DeathMOS30 maybe able to provide more accurate assistance -
Both of those guys are reputable sellers. You can also purchase blaster kits from Tom Campbell @ TDK Props on Facebook. That is where I got mine
-

Tommy's DT Blastech E-11D Blaster build
nanotek replied to TommyC1138's topic in Imperial Death Trooper
Yeah. Those will do fine! -
You can go to TDK props on Facebook, message him there
-
It also depends on where the kit is coming from in terms of accuracy. Tom’s files are the most accurate to date. My kit is 3D printed (my bucket Anovos), I have reinforced the armour with Fibreglass in certain areas, have trooped it over 40 times without serious incident. It is strong enough for me to run, sit and well... troop. In terms of weight, because I didn’t fiber the whole kit, it is still very light. So pros: lightweight, accurate, durable (if you build it right) Draw backs: lots of sanding and prep work, smaller items can break (but easily fixed). Regular spruce ups are required on the paint job. Do not underestimate the level of effort and cost of this build. You will get called Darth Vader Good luck with the build!
-
You’re doing a great job. Keep it up
-
As far as we can tell, yes. It’s on alternating parts, so not symmetrical
-
So far I have only noticed it in sections of armour. Not all lines. We will continue to work on these guides in the meantime
-
Sorry for being silent. I don’t know exactly what the changes are in the software or what the default system settings are. The rule for all the forums has always been use an external image provider though. This helps to keep the storage overheads at manageable levels I’ll do some digging around when I get a chance.
-
Looking really good Nick! Keep it up!
-
I agree with Woodoo, check with your GML but looking at some of the parts you will get knocked back.
-
Hi Oki My kit is the ArmoryShop raw kit. There is A LOT of work involved in getting to an approvable state. I have seen all the different kits on offer and at the time I was buying, that one was the most accurate. I hope that answers your questions. Feel free to hit me up if you would like to discuss more
-

Is the ANOVOS helmet the best, or overpriced?
nanotek replied to DeathTrooperJim's topic in Imperial Death Trooper
Yes Lancer is 1000% correct -
Yes
-
I'll get back to you about question one, but question two was confirmed by the costume designer to be a very very dark grey gloss. But you can go with a matte black.
-
I built a kit printed by Tom of TDK Props. https://www.facebook...37706609725029/ The quality is great and pretty darn accurate In terms of closeness I think this guy is closest to you https://www.facebook.com/3DPropsNL/ He seems to have a pretty good kit too.
-
Hey Geoff, before cutting into the armour, make sure you check the following: 1. In Pink - the should should sit very flush. I have circled the gap, but placed a curved line to illustrate that it should be more of a flowing curve so: This is hard to explain but the blue and red are related 2. In Blue - I have indicated that you need to extend the back and chest away from each other thus" 3. In red - extends the length of the side plate and the neck tusks should come down more. One thing I did with my chest armour was to heat it with a decent hair dryer to reshape it more. I think I showed you a pic previously of how it all went together. Basically I made sure the tusks sat almost flush with the chest plate first. Then worked the rest of the armour around that. I had to reshape the chest plate a little to line up correctly.
-
Yeah I think you're right. Those details were a bitch to get right after the resin. I had to redo it all with a Dremel and file set. Your kit is looking great! Watching with great interest
-
Yeah I extended mine by about 1.5 inches. Yeah some of the details are more chunky?


