-
Posts
2,238 -
Joined
-
Last visited
-
Days Won
155
Content Type
Profiles
Forums
Events
Everything posted by nanotek
-
You're most welcome! For the rubber bands, my first question is: are the forearms fixed? Mine have a split opening so it can stretch open to get my hands through. I find that this creates the same issue. If the opening closes the bands become loose. If I fix them to the armor then I won't be able to get my hand through! To combat this I am thinking of using a small plastic strip to wedge in underneath both straps. I'll post what I mean at some point. I have to totally redo my undersuit as the one I bought from ArmoryShop is getting too worn out after 50+ troops. It was lovely of your mother to make your undersuit! She did a wonderful job
-
Looks great. The canvas pouches are hard to get right. I have find by attaching them direct to the belt, I can get better placement. attaching via a belt loop doesn't work so great. Your leather pouch needs to come around the front more, it shouldn't be sitting near the kidney box. Again secure it to the belt will fix it. Kind of same for the holster as well. They should be evenly spaced around the belt (if that makes sense) The rubber rings on the left forearm also look loose. I think these are the most annoying in terms of getting them right. The undersuit/gaskets is something I want to work on next personally as I don't think anyone has got this right yet and requires a lot more research. Specialist applications won't be taken until we have the L2 requirements mapped out in the forthcoming CRL update (currently being rewritten)
-
Welcome aboard and thank you for sharing your journey. The CRL is under development and won't be live until some time after the release of the film, so approval won't be likely until early next year. If you have any questions please do not hesitate to reach out. Good luck with your build I have also moved this to the appropriate area of the forum Also as a starting point you can check to see what requirements have been drafted so far here https://forum.specops501st.com/index.php?/topic/6791-sithtrooper-draft-crl-checklist/
-
Hey dude, the armor looks great! The only thing you need to bear in mind with weathering is that it needs to be consistent across all parts of the kit. I couldn't see any shots of the lower regions so cannot comment, other than keep up the good work
-
you can get a great pair from Imperial Boots which includes the covers.
-
Here is what I posted originally: Green = Gloss Black Yellow = Dark grey TS-48 Gunship grey possibly?!) except for the tubes which are flat black or rubber like (TS-82 Rubber black) Red = Metallic Black (Tamiya TS-40) Blue = Aluminium (Tamiya TS-17) weathered with flat black
-
Please do not forget the Tamiya TS-40 Metallic Black! That is the most important one!
-
I assume you could search for a stainless steel mesh on AliExpress and find suitable one? https://www.aliexpress.com/item/32973627630.html?spm=a2g0o.productlist.0.0.4b92129bW37cuE&algo_pvid=7b0102c5-60d1-494f-8870-37379d8f9e29&algo_expid=7b0102c5-60d1-494f-8870-37379d8f9e29-4&btsid=09446bcb-e413-4ba1-ad7e-be70a40ab66d&ws_ab_test=searchweb0_0,searchweb201602_,searchweb201603_55 The 20 mesh looks about right? @Chaos @WARMACHINE both have Jimi kits, they might be able to help? As for the dark grey, you can try a matte black (which will appear dark grey next to gloss black - Tamiya TS-6) TS-48 Gunship Grey - is a nice dark grey too. I have not tried to do an exact colour match yet but you will get the idea
-
Hi there, the colour scheme you have there is almost correct. The majority of the helmet is gloss black. The red parts are metallic black (Tamiya TS-40). The two tubes flat black or rubber like. The band on the brow should be a very dark grey similar to the traps at the side and back as well as the tears. There are two options for the vents, you can either paint them matte black and weather with an aluminium paint, or paint aluminium and weather with black. I prefer the latter. If you want to get a great finish you are going to have to be super patient. Yes you will have to use primer/filler and you will need to remove all pinholes. You will need lots of sandpaper start with 400 and work your way to 1500/2000. Wet sanding is required. I hope this helps
-
New CRL Proposal - Sith Trooper (TROS)
nanotek replied to RAIDER's topic in First Order Sith Trooper
Also please use this as your starting point as it is an index of all the components -

New CRL Proposal - Sith Trooper (TROS)
nanotek replied to RAIDER's topic in First Order Sith Trooper
I have been doing so where the reference has been great. Yes big thanks to @gmrhodes13 for gathering all the info. I'll be trying to move the posts into the correct places as well. Thanks @Raider for reminding me to do this! -
@Spiel will be able to help you out with your DT armour
-
If you are looking for accuracy, an ABS kit doesn’t compare to 3D printed or some of the fibreglass kits available. The details of ABS are not sharp enough to match the onscreen costumes and to get that sharpness will require a lot of work.
-
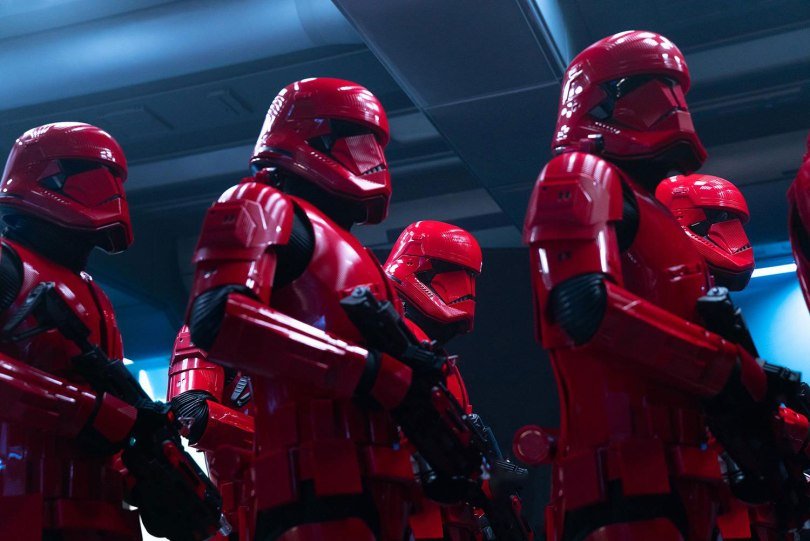
It is entirely possible that there might be slight differences in shades of red between different sections. It could also be lighting. It could also be unintentional due to manufacturing process. We have seen countless arguments about colour variations (notably Vader and Death Trooper) and we might just consider for Level 1 purposes that the entire look and feel of the costume is a gloss red. The only variation I can see in the pics is the abdomen is a slightly more orange-red. I cannot see the variation in the arms. And again it could be lighting sources. I'm open to the possibility, is anyone else?
-
Yeah that's going to be quite a difficult task as I am unsure if the PU was cast in red, or painted after the fact
-
I think ArmoryShop have a chest rig for purchase. There is also a tutorial done by @Chaos that is pretty good if you want to DIY
- 1 reply
-
- 1
-

-
Yeah I had never heard of Gio doing a Death Trooper boot, the only one I was aware of was the Imperial Boots one. I checked his store and there's nothing there.
-

Congratulations TX-62888, the first Army Specialist
nanotek replied to Blackwatch's topic in Imperial Army Units
Congrats! -
It would help if you provided more information, like a link to what you are talking about.
-
Nice work, looks great!
-

sithtrooper Sith Trooper reference pictures
nanotek replied to gmrhodes13's topic in First Order Sith Trooper
We killed Tapatalk back in May due to bugs, support and security issues. -

sithtrooper Sith Trooper reference pictures
nanotek replied to gmrhodes13's topic in First Order Sith Trooper
I am hoping to get together the some money to get one as well. The only issue is that they had to skimp on details due to the downscaling. I have noticed some big differences in line work -

complete Sithtrooper Gloves & Hand-plates CRL Development Discussion
nanotek replied to nanotek's topic in CRL Discussion Archive
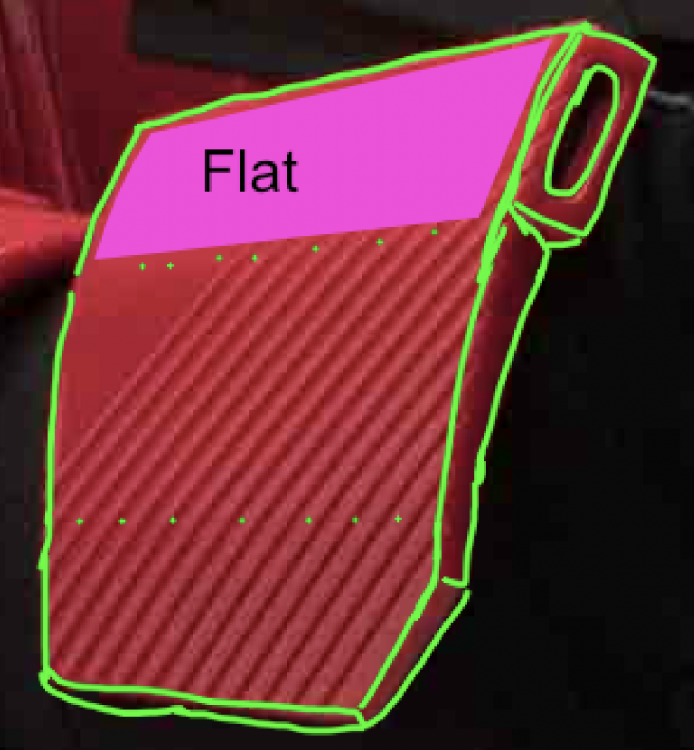
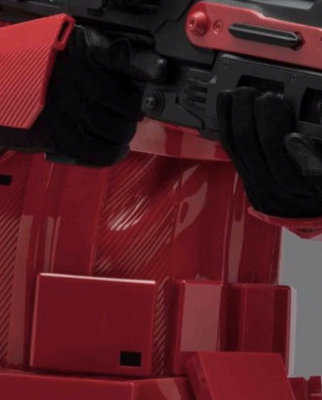
Added some more detail to this. Also there are differences between the toy and the real life costume. The toy has had to drop some of the line detail due to scale. Counted 15 recessed lines on the real life model. Also note that the pill box appears to be angled out. So the top edge is a straight line and the bottom of it angles out to form a small triangle giving the appearance of a "box" that houses the pill recess -

sithtrooper Sith Trooper reference pictures
nanotek replied to gmrhodes13's topic in First Order Sith Trooper
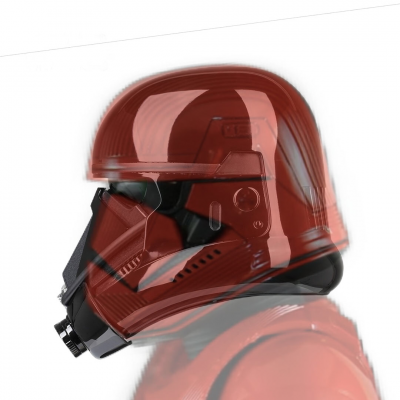
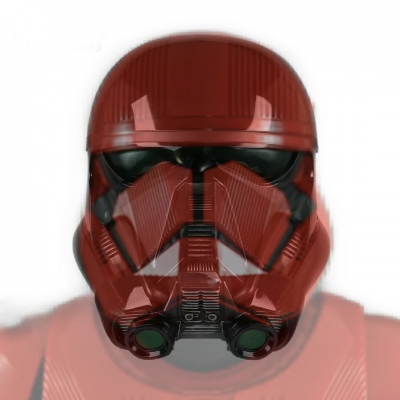
I also tried to do some helmet shape sizing. It’s a weird mix between Deathtrooper and FOTK, I apologise for the sloppiness here, I did this on my phone -

sithtrooper Sith Trooper reference pictures
nanotek replied to gmrhodes13's topic in First Order Sith Trooper
Just a little pic to show just how flexible this material really is! Look at how the ab is bunching up there! This really is a flexible PU!

