IcyTrooper
-
Posts
4,136 -
Joined
-
Last visited
-
Days Won
383
Content Type
Profiles
Forums
Events
Everything posted by IcyTrooper
-
Got ya! We can see if we can get some of the list updated @Blackwatch (and all). As for the Facebook vendors, you hit the nail on the head, starts with a message to get more info most of the time. Usually you won't see prices for vendors on their main pages.
-
Yessssssss!
-
 Which part are we still stuck on?
 -
I'd be okay with that.
-
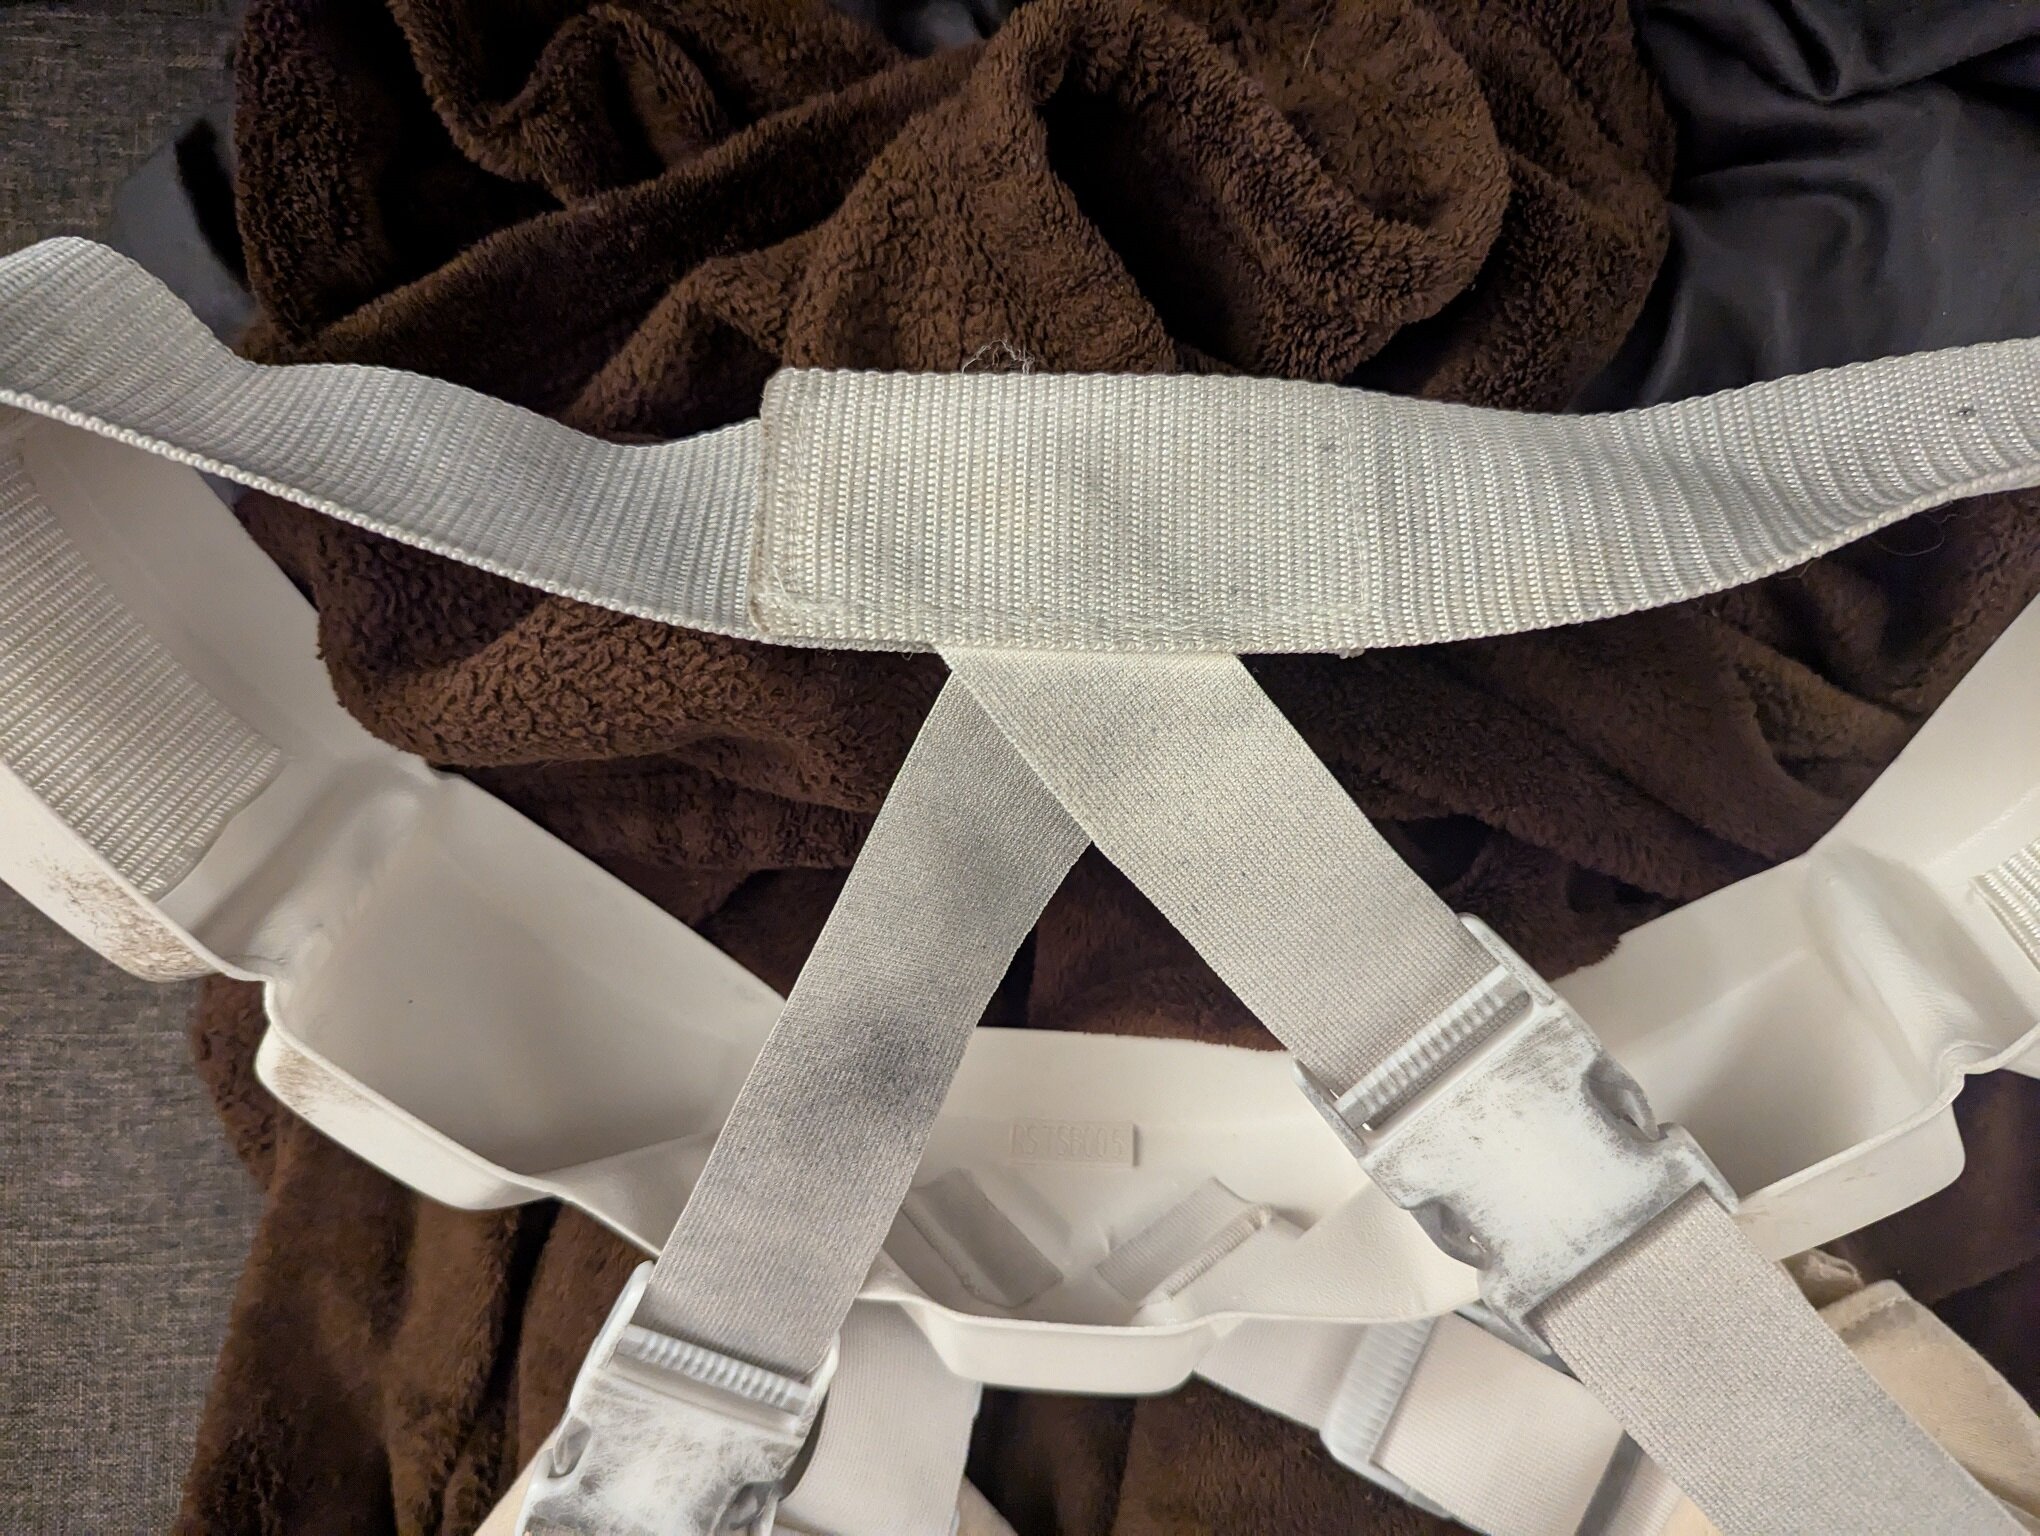
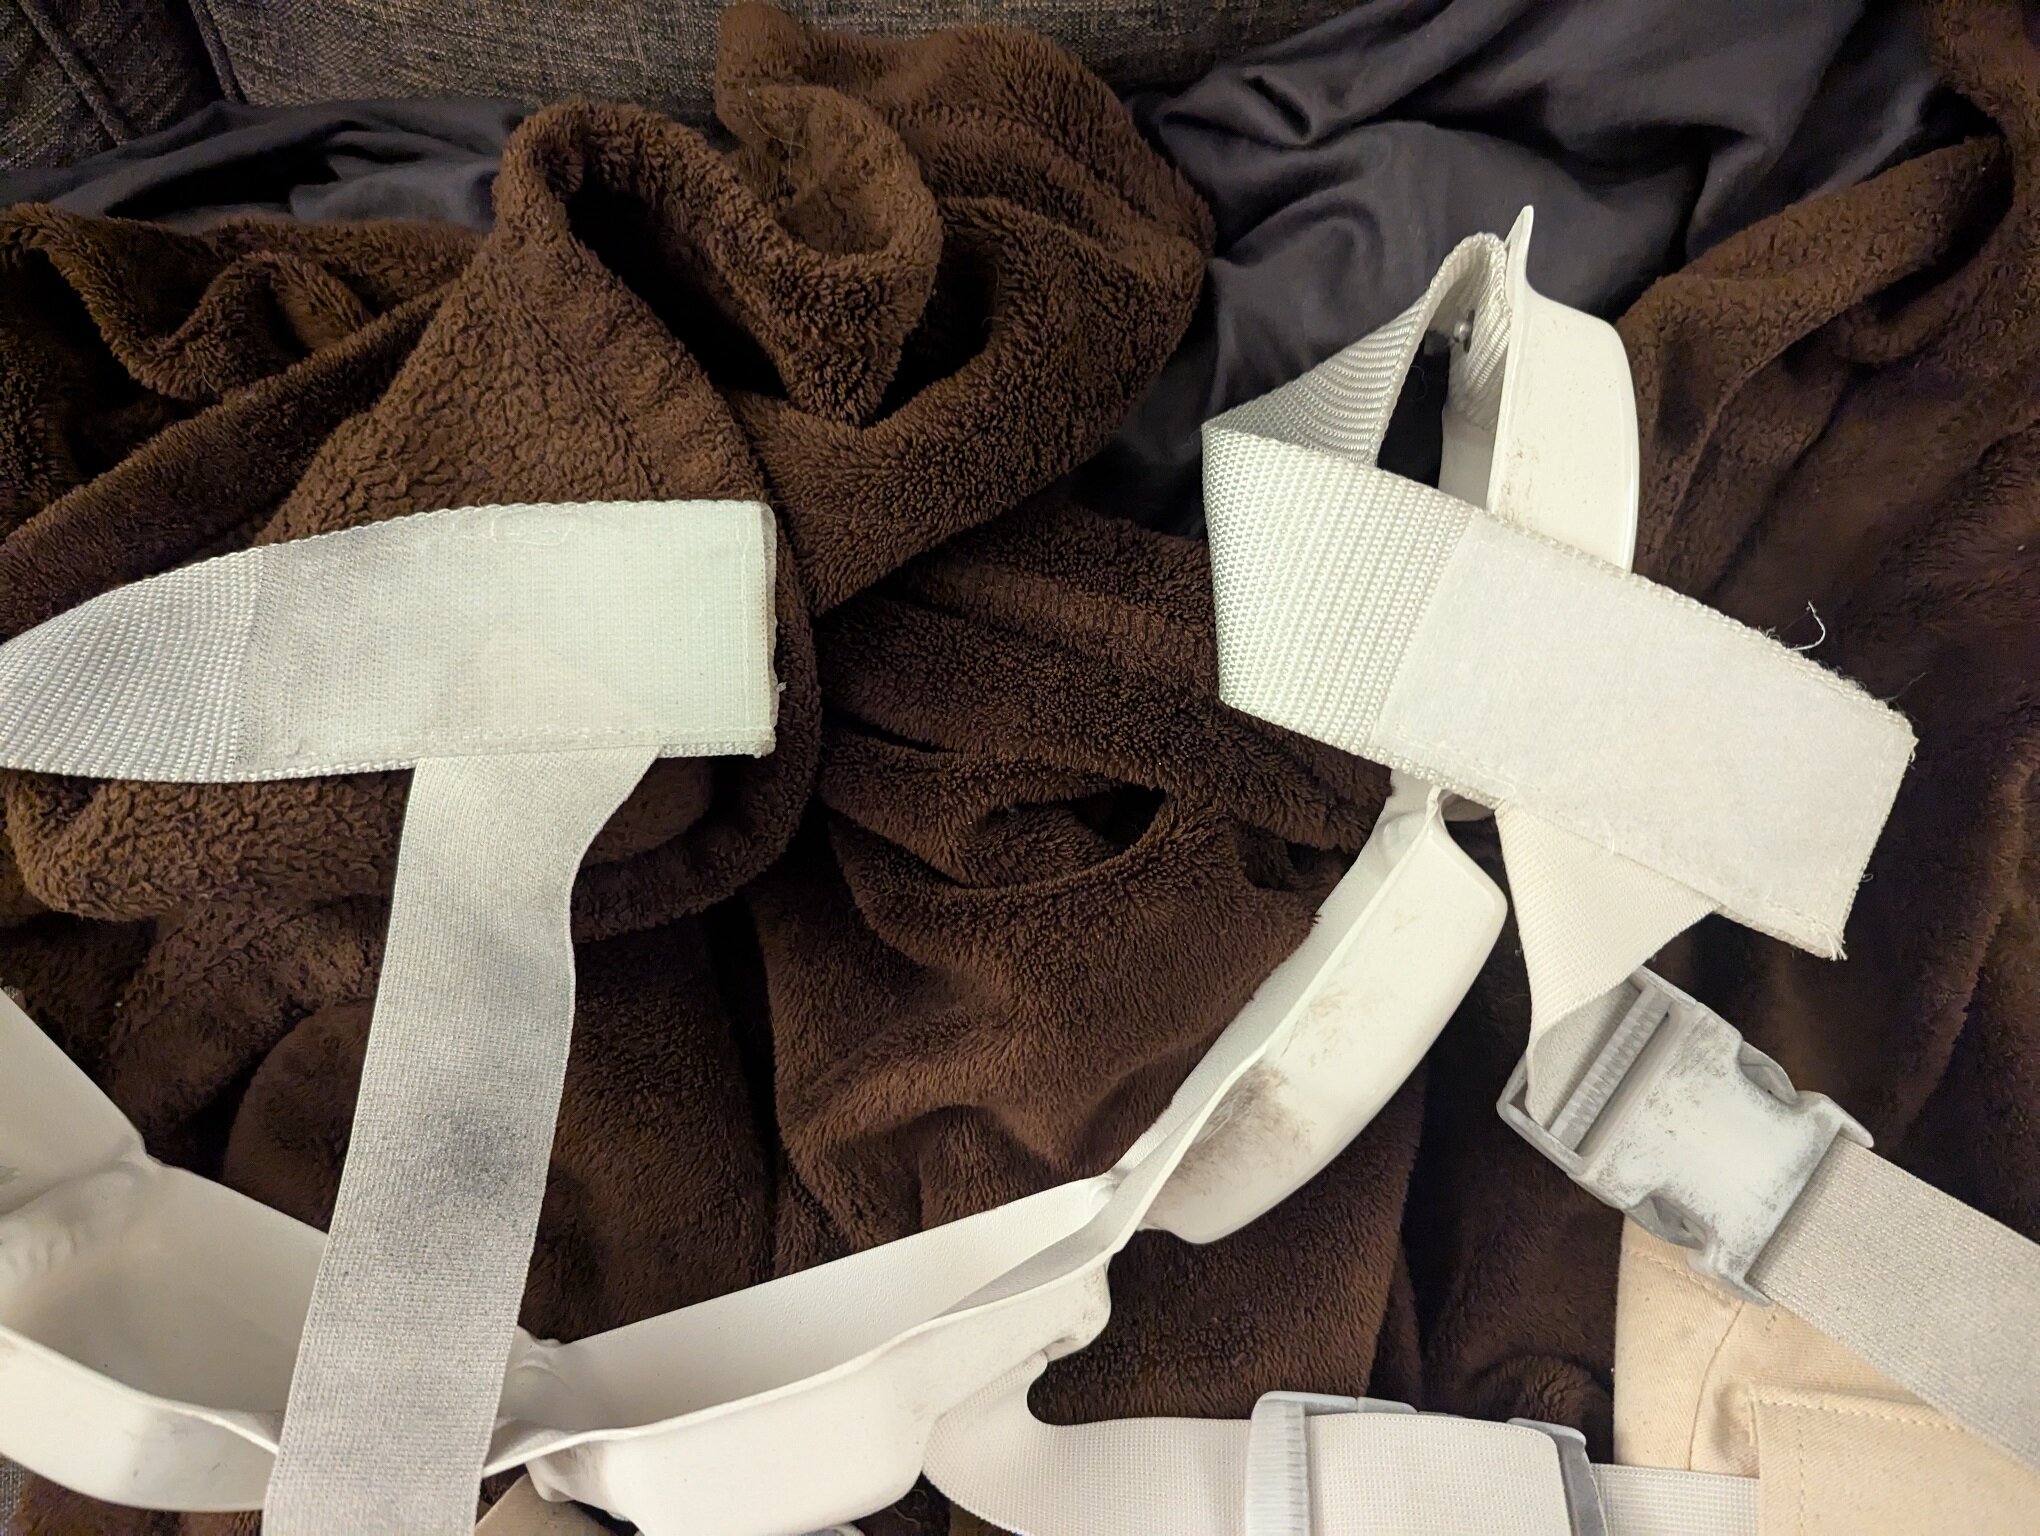
Those are good observations. I'd say that either method is good as long as it provides the correct "hang" of the drop boxes on each side of your armor. I have two pictures below showing how it is on my snow scout. The are sewed into underneath the Velcro which connects at the back. They are sewed in a way that when the two pieces of Velcro come together it looks like the elastic comes together in the center, just liked our shadow scout image (would be okay for General Weir).

-
Hello, Paul! You may check this thread too: ---------------------- Is the thread that isn't updated this one?
-
Got it! We used 59/60 for the version we did, however, we may be able to include this one on the simplicity and the fact that art wise it looks pretty consistent with those other issues. I'm at a work conference now, but should be back home tomorrow to see about a CRL item discussion.
-
I am so sorry for this mess. The permissions weren't correct. I've now updated it so that 501st Members can post topics. Again, I'm really sorry, it shouldn't have been this difficult.
-
A lot of the same vendors who do regular stormtrooper kits have helmets, if you have the black paint to match the armor. Anovos (second hand, eBay) Denuo Novo (US) Walt's Trooper Factory (US) Authentic Props (AP, Canada) RS Prop Masters (UK) RWA Creations (UK) RT-Mod (Canada) Armor Master (AM, US) MTK now sold by Imperial Surplus (US)
-
Hello! We did a forum update and it broke the automation that we had previously. We are going to have to rework the process. For now, just load your profile link from the 501st member page into your profile and title your thread "Access Request - FORUM NAME HERE - Spec Ops Member Access"
-
That looks neat! Do you have which comic panels (issues) you built it from?
-
I think you'd bring the chest armor down a little but and it may hug a little better. Heating to get it to spread a little bit could help, but as you said, you'll want to have the vest and such done prior to just to be safe!
-
Hello! You would have to remove buttons, but that doesn't seem like it would a hard thing to do and cover up
-
I'm good with it and have either changed/added in purple below. Back at it again Upper Back Armor Gloss black in color unless noted below. May be painted in accordance with the Color Scheme Guide. If used, all armor pieces must be painted using the Color Scheme Guide. Proportional to the rest of the costume. The back armor may be slightly weathered but must be uniform with the rest of the costume. Back armor overlaps the abdominal armor. Back armor extends over shoulders to meet chest armor. The chest and back plate meet flush at the sides. The arm area of the back plate has a raised tapered ring that joins with a matching detail on the front armor. The collar extends upward and tapers to the chest armor. The back plate has two large cut out recesses with vent details and greeblies inside. The vent details above the greeblies are cut out and backed with black material matching the rest of the armor. There are roughly 8 cut out rectangles (2 rows of 4 stacked) on each side of these vent details. Each recess has a different and specific set of greeblies inside: Left side recess: A rectangle shape greeblie with an angled right side end with 5 panels. On the right side a heat sink greeblie is fitted. Right side recess: Along the top is a long thin strip with flat ends with approximately 30 cylinder shaped teeth in the middle. Along the bottom is a long thin strip that has angled ends with approximately 28 cylinder shaped teeth in the middle. Below it on the left is a rectangle shape greeblie. Approximately 1/8th of the left side is flat followed by a thin line recess and 7x3 rows of oblong-shaped indents. On the right side is a raised circular ring type hose connector. Below that, along the bottom is a long thin strip that has angled ends with approximately 28 cylinder shaped teeth in the middle. There is an oblong greeblie centered below the 2 large recesses. There is a small, raised circle greeblie centered below the oblong greeblie. Bottom left has a rectangle cut out with the left side stepped. The recesses may be matte or metallic black. There are solid pauldron type shoulder armor that sit on top of each of the shoulders and extend slightly past the shoulder/bicep armor and are attached to a single point on the chest and the back armor. Shoulder armor may be stationary or pivot with shoulder movement. The attachment greeblie is present twice on each shoulder armor (front and back) and is circular in shape with a bracket shaped extension that faces outwards away from the helmet. The bracket shaped extension has four equally spaced raised edges. Within the circular greeblie there is a centered raised circle that is smaller than the circular greeblie it sits on.
-
Death Trooper CRL Version 1 and Version 2 difference
IcyTrooper replied to AngelTroop's topic in Imperial Death Trooper
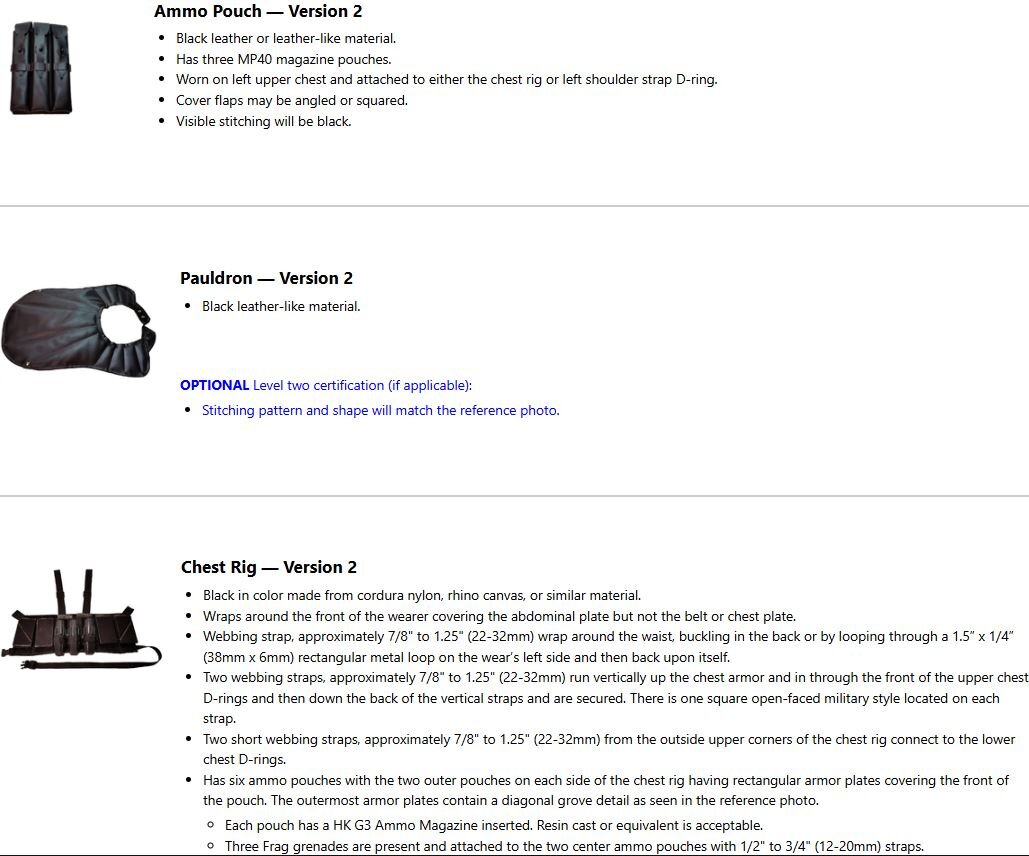
Rob, the differences are identified by the "Version 2" after the CRL costume parts in the CRL. Version 2 is all of the other parts of the CRL items and you add the following (Ammo pouch, pauldron and chest rig):
-
Here are examples from red that I've used to help: Rustoleum Satin Enamel "Heritage Red" ---------------------------------- Rustoleum Gloss "Regal Red" It appears that the regal is probably the same as you have above.
-
Sorry I missed this! That sounds good to me!
-
I'd say it looks good to me!
-
The two holes in the middle seem a little low but they shouldn't prevent approval on it. I think the one on the far side is good.
-
Imperial Security Trooper - Andor - CRL Discussion
IcyTrooper replied to nanotek's topic in Imperial Security Trooper - Andor
Maintain that order!! -
Congrats on the approval! As @Dropkick mentioned, don't forget to request detachment access!
-
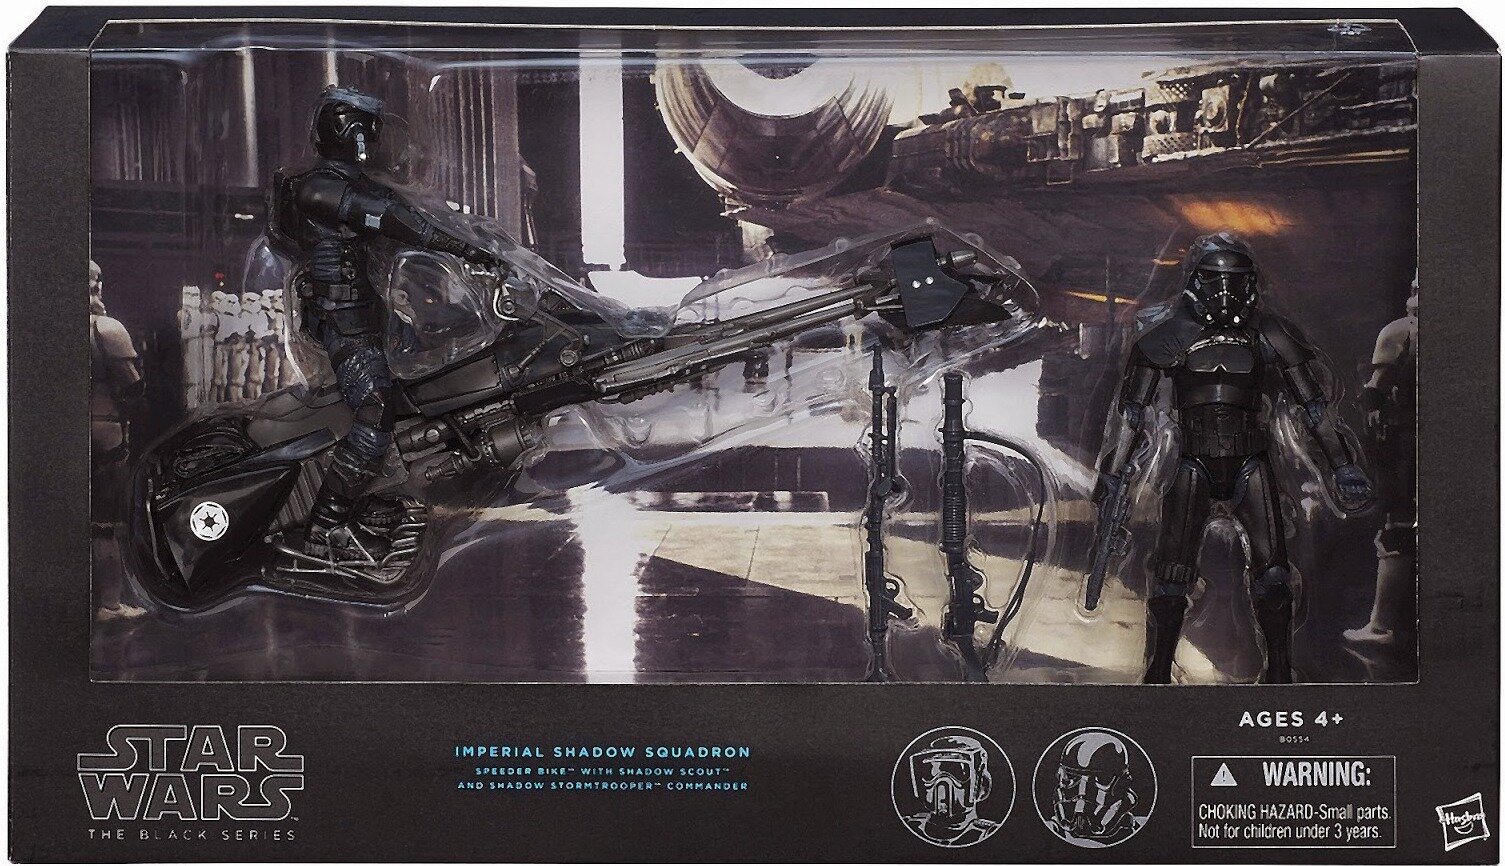
Black Series figures: stock or user enhanced?
IcyTrooper replied to Aesmodan's topic in Shadow Scout
Yeah, what @RAIDER stated, these storm commandos were custom jobs, including the weapons from this guy: https://www.reddit.com/r/starwarsblackseries/comments/13ie3az/star_wars_black_series_6_112_diorama_storm/ The storm commandos were taken from this pack: https://www.actionfigure411.com/star-wars/6-black-series/exclusives/imperial-shadow-squadron-65.php Unfortunately the pauldrons aren't approvable for the shadow scout due to being a custom job.
-
Not sure what it is supposed to be, but looks like some artistic liberty with whatever it is. Not sure we have enough information/reference to really define what it is. I actually have this comic on my Amazon reader, so I'll have to look at it again
-
I don't believe the E-11 (instead of the E-10.5) was used in the scenes, but I could be wrong. I'll have to go back and check out the scenes again. @Dropkick and @Blackwatch do you remember seeing it? Since weapons are optional, I don't see how for most troops (non-LFL) that a GML would balk at it, it would be their discretion for each event anyways...however, from an official reference capacity we'd need to see pics of a regular E-11.
-
Hello, Felix! That is something I want to say that was mentioned at some point by someone, but I can't remember who it was (I don't believe it was someone on staff). That is something that we'd have to discuss with the command team.