
tipperaryred
-
Posts
596 -
Joined
-
Last visited
-
Days Won
24
Content Type
Profiles
Forums
Events
Everything posted by tipperaryred
-
 Those alterations look spot on to me. Nothing else jumps out at this point!
 -
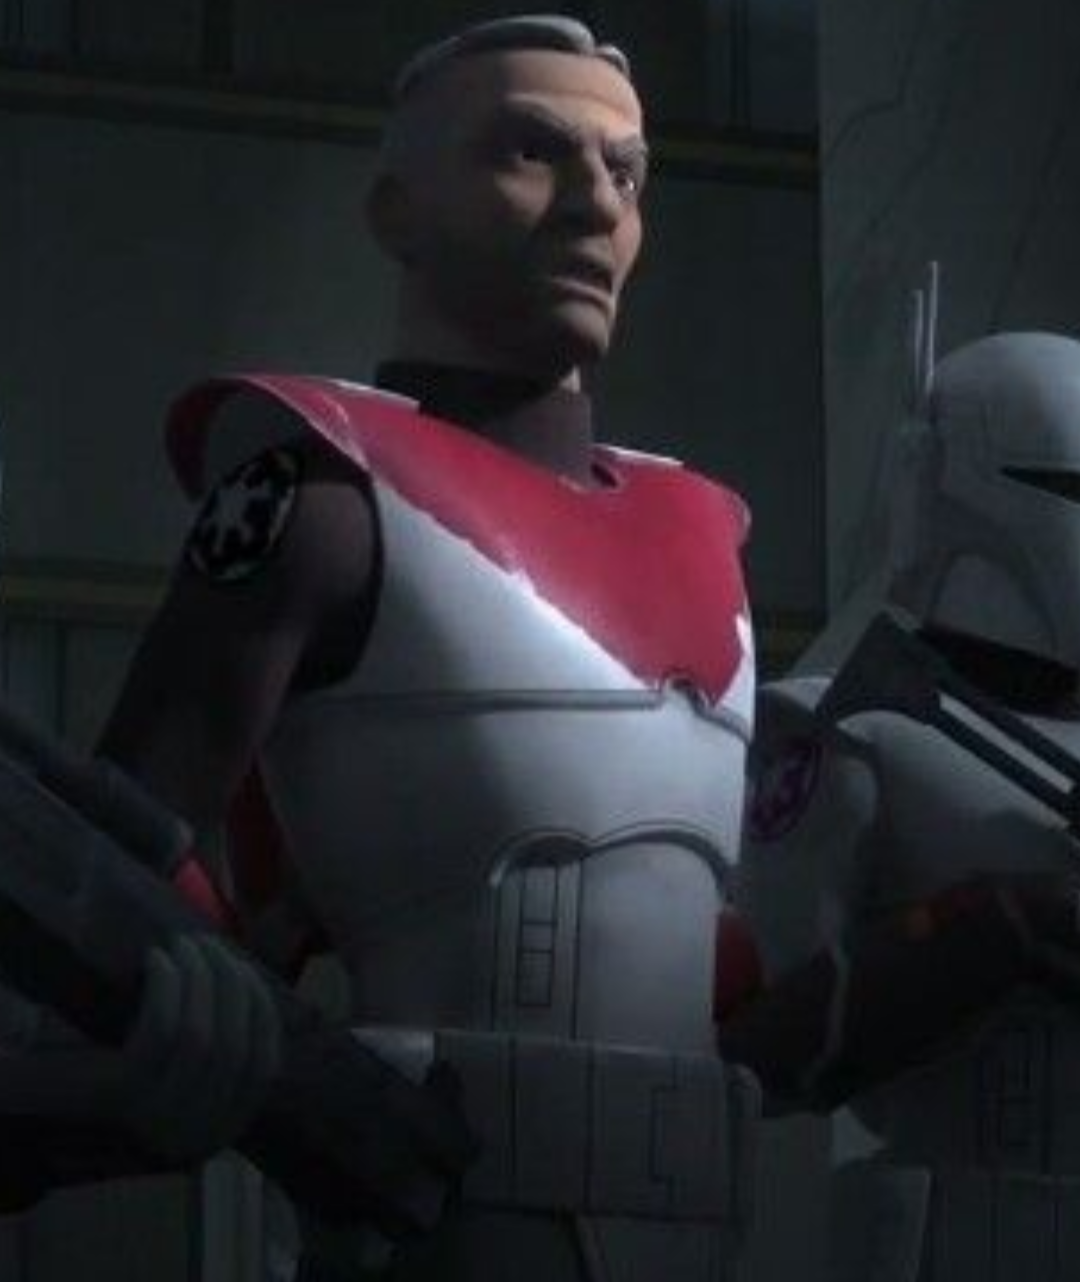
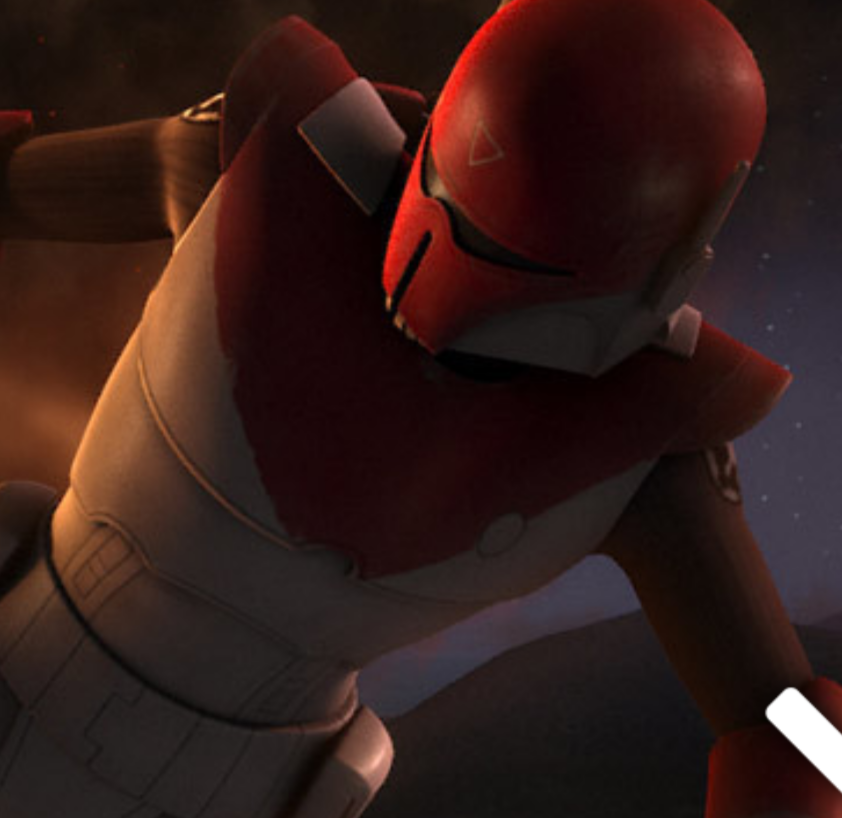
Chest, Shoulder and Abdominal Armour (First Draft) Armour shall be painted white, with a red inverted triangle design painted over the upper chest and shoulder to match the visual references. This red paint scheme continues over the shoulders and is mirrored on the back plate. Oblong shoulder pads shall be painted white. Paint shall be weathered to match the visual references. Segmented construction, wrapping completely around the wearer. The front and back plates should appear to join seamlessly. White oblong shoulder pads sit above both shoulders, made of the same material as the chest armour. Edges should be rounded. The curved shoulder armour can be cast as a part of the upper chest, or attached underneath. It should be of the same material as the chest armour in either case, and painted the same red used on the chest armour. The upper and lower chest pieces may be cast together, or separately so that the lower chest sits under the upper chest. Semi-circular notch in the centre front of the upper chest. White circular detail with black outline on the front left of chest. Two semi-circular notches at the bottom front of the lower chest. Abdominal plate is overlapped by the lower chest, and features two rectangular details that align with the notches at the bottom of the lower chest. All detailing matches the visual references.
-
I think those look perfectly fine mate. We have very few good reference images for the boots, but these are entirely consistent with what we can see. I see no reason not to go with them.
-
Gar Saxon Helmet Modeling Discussion
tipperaryred replied to beren88's topic in Gar Saxon (Rebels - Animated)
Incredible work mate, you got that spot on. I've been through the entire list and the only thing I can see that needs fixing is the angled panel line in the bottom corner of the right earcap. You had it in on the early drafts but it is missing in the renders above. Once that is back in, I think you're good to go :-) -
Apologies, I got wrapped up with getting work sorted before I took my holidays. Will get back to this ASAP on my return.
-
Gar Saxon Helmet Modeling Discussion
tipperaryred replied to beren88's topic in Gar Saxon (Rebels - Animated)
Sorry mate, been on my own holidays since Tuesday too! I'm back at the end of next week, so I'll catch up on everything ASAP on my return. -
Tragix's Purge Comander Build
tipperaryred replied to tragix's topic in Purge Trooper Phase I: Commander
Yes, you're correct that there's a grace period alright. It wouldn't be at all fair on members who spend months on a costume only to find the CRL changed right before they finished. The changes won't become official until the revisions go live on the main website anyway, and that's still a fair way away. We'll finish the Electro trooper first, then we'll move on to the commander. So you should be fine, but don't hesitate to reach out any time if you're unsure of anything, or if your GML has questions regarding the update when you finally come to clear it. -
Grand 👍 I should get a chance tomorrow to draft up the text for the torso armour, so we can take it from there.
-
Tragix's Purge Comander Build
tipperaryred replied to tragix's topic in Purge Trooper Phase I: Commander
Great stuff, and a beautiful kit! Do keep an eye on our Page 1 Electrostaff CRL discussion thread: We're currently revising all the Phase 1 CRLs, so just keep an eye on any changes you see there that might be relevant to the commander too. If you have any questions, just ask 🙂 -
Perfect, can't find anything to add or change after going through the references. This part might be done in one 👍
-
Purge Trooper (Phase II) - Kenobi - Discussion
tipperaryred replied to nanotek's topic in Purge Trooper Phase II (Kenobi)
Perfect, thanks mate. Mesh is grand, I hadn't spotted that in the images myself. The first line of your draft text is what applies to the whole of the undersuit: "Black non-textured material, either one-piece or two-piece construction with no visible logos/designs." It is then in the bulletpoints underneath that we specify differences, eg. the addition of ribbed material over the base material. Likewise, lvl2 always builds on the base details from lvl1, only specifying what changes for the next level. In saying that, we can add in mentions of the areas that don't include ribbing if we feel that helps. In this instance I was uncertain about including thighs in this list, because in the undersuit pictures so far it is only a fairly small area of the thigh that isn't covered by the ribbing. Finally, I take your point fully on this undersuit already having a CRL elsewhere in the Legion. At times you might see new CRLs not even bothering with a copy and paste, and instead typing "Rogue 1 TK style undersuit" and expecting builders to go find the detail on that page. I don't like that approach, but we can certainly copy and paste the existing one if we wish. Equally however, we're fully entitled to rewrite the text completely if we feel it would be an improvement. In this case I think the only major area we'd consider for this is whether the ribbed material should be basic, or only required for lvl2. We both seem to be in agreement that this should be a basic requirement, but I'd be curious to see if others feel the same 🙂 -
Purge Trooper (Phase II) - Kenobi - Discussion
tipperaryred replied to nanotek's topic in Purge Trooper Phase II (Kenobi)
Most of that is perfectly backed up by the great photos below, thanks a million. Just a few things from that TK CRL to consider: 1) Mention of "mesh" material on the chest and back. Doesn't seem to be any evidence of this in the photos we have so far? If it's just an option to keep heat levels down in the costume, I'd be okay with it being allowed for basic clearance. 2) "Forearms, waist, thighs and calves may be a black, non-textured material." It has already been specified that the base suit should meet this description - no need to repeat. Also, a portion of the thighs are covered with ribbing, so this might cause confusion. 3) The ribbed material is quite prominent, so I would consider requiring that for basic approval rather than just for Lvl2. I would appreciate some more opinions on this though. -
Purge Trooper (Phase II) - Kenobi - Discussion
tipperaryred replied to nanotek's topic in Purge Trooper Phase II (Kenobi)
So, revising the R1 text below. I took out anything I couldn't see clear detail for in our current references. Is there anything that should be put back in? Eg. Hip section not being ribbed, mesh under armpits? Under Suit Black non-textured material, either one-piece or two-piece construction with no visible zippers or logos/designs. The suit, where visible between hard parts, shall be fully ribbed with all horizontal ribbing, matching the reference images. -
Sound, we can go with the special note for all armour parts. If we get to the end of thos process and there's one or two pieces which we feel don't meet the description, we can amend that. I'm happy with Ryan's last text revision for the shoulders, so are we okay to tackle the next item?
-
Good catch, thanks! We were using MMCC for some of the early reference points, but I forgot to check back on them for this. Their interpretation fits with how I originally saw the 3 layers, but I do still take Kevin's point about the structural integrity of the top layer if it's built as a separate piece. Equally, while some screens clearly show movement between the upper and lower ab pieces, I don't think there's never any real evidence of the chest piece and upper ab piece moving separately? Personally I'd be happy to leave it accessible and allow a build using either method. Potentially narrowing down to one of them for Lvl2?
-
Purge Trooper (Phase II) - Kenobi - Discussion
tipperaryred replied to nanotek's topic in Purge Trooper Phase II (Kenobi)
Yes, exactly so. Lvl2 clearance aims to immitate the screen used costumes as closely as possible, but we want to leave basic clearance as accessible as possible. If someone wears a two piece suit with all the correct ribbing on top, it would be impossible to tell the difference with all the armour worn on top. So if the final appearance is accurate, we don't mind too much how it is achieved 🙂 I know a lot of our own Garrison's TKs can pick up incredibly cheap undersuits from local supermarkets because of this flexibility. Similarly some people might have mobility issues which mean that a two piece suit is much easier to get into. Just a quick question on the ribbing alignment, do we have full agreement that all of it is horizontal? The Hot Toys image above shows horizontal on the neck but vertical on the torso and arms. Have we some clear images of the Japan display to prove this wrong? -
It's a good spot Kevin 👍 From other angles you can see that the "upper" piece is continuous: However I think you're still correct that structurally it would be compromised. From the references, we could approach it from either direction. 2 piece is structurally stronger, 3 piece potentially allows more movement. I'd say we can proceed with it as you originally planned. However do we also leave it open for builders to construct it in 3 pieces if they wish? I can't see anything in the references to contradict either approach.
-
Purge Trooper (Phase II) - Kenobi - Discussion
tipperaryred replied to nanotek's topic in Purge Trooper Phase II (Kenobi)
So undersuit wise, we're looking at a plain black undersuit, with ribbed material attached over the shoulders, arms, knees? I notice the keeptrooping version above also has it around the waist? And the R1 TK CRL photos also show the ribbed material around the neck and upper chest. Is it simplest to specify that the ribbed material must be present anywhere the undersuit is visible? Most importantly the shoulders, elbow, thighs and knees? EDIT: The screen footage is unfortunately much too dark to be much use, but the Hot Toys seems to confirm that the ribbed material should be worn over the undersuit anywhere it is visible. -
I'm sure you'll handle it no trouble 😉 A lot of TKs leave the pieces attached semi-permanently and just leave it open at the sides so they can put the whole piece over their head. It's probably the easiest option for this too.
-
The vertical designs on the abdominal plate seem to always sit inside the cut outs at the bottom of the lower chest plate. So maybe aim for a TK style construction with the lower chest plate fixed under the edge of the upper chest plate with snaps or velcro? Same with the abdominal plate and lower chest plate? Each of the three compromising of a front and back plate joined as invisibly as possible at the sides with snaps or velcro?

-
So with regards to the torso armour, is it safe to summarise it as being in 3 segmented overlapping pieces - upper chest, lower chest, and abdominal? Plus the shoulder plates hinged underneath the upper chest plate?
-
Flight suit text has been amended to allow for a neck seal if a turtleneck is not worn 👍
-
Purge Trooper (Phase II) - Kenobi - Discussion
tipperaryred replied to nanotek's topic in Purge Trooper Phase II (Kenobi)
For lvl2, only two real possibilities stand out: - We've already got it written in lvl1 that the mouth plate can either be a separate part, or be made to appear like it is. For lvl2 we could specify that it must be a separate part? - Potentially with the LEDs, I know it is not unusual for base clearances not to require electronics. Could we do the same here and only require functioning electronics for lvl2? I would suggest to leave the teeth recesses as they are (recessed silver, not cut out), simply because the reference photos seem so clear. Unless anyone has any knowledge of any on set helmets being set up differently? -
Purge Trooper (Phase II) - Kenobi - Discussion
tipperaryred replied to nanotek's topic in Purge Trooper Phase II (Kenobi)
I'm getting page not found errors on both of your last links unfortunately. I'll check it on my laptop later just in case it's my phone playing up. EDIT: Can confirm it's showing as a bad link on my laptop too. -
Gar Saxon Helmet Modeling Discussion
tipperaryred replied to beren88's topic in Gar Saxon (Rebels - Animated)
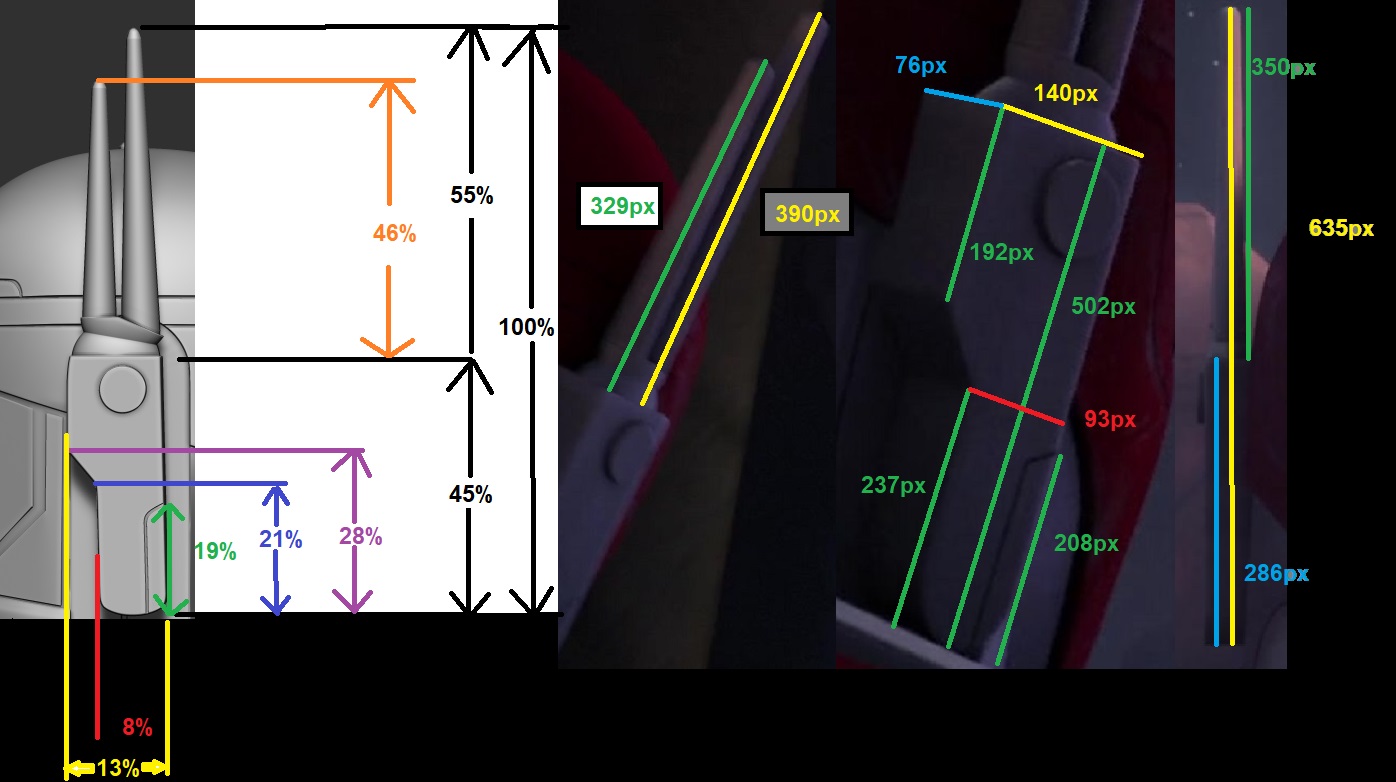
Finally, a detailed breakdown of the right ear cap and antennae. I was able to get good measurements for these, so I've broken everything down as a percentage of the total height of the ear cap and antennae combined: I tried to make it as clear as I could, but please let me know if anything doesn't make sense! EDIT! I forgot to include it on the diagram, but the percentage for the depth (blue line marked 76px) is 7%