
tipperaryred
-
Posts
596 -
Joined
-
Last visited
-
Days Won
24
Content Type
Profiles
Forums
Events
Everything posted by tipperaryred
-
 Also, the way that the light is hitting that top button makes it look like there is definitely a raised bevelled edge to the buttons (the part that is catching the light at the top there). I wouldn't worry about something so picky for basic clearance, but it could be a Lvl2 detail.
 -
Yeah, in one of the captures it does look like the second bottom is there alright. The bottom one is a little harder to see than the one higher up on the right, but I think that's just the lighting. It looks like it mirrors it exactly to me. Plus I'd like to think that the Empire was catering for left and right handed troopers equally 😄
-
I'll work on the exact CRL wording for both front and back torso plates later, but for now, is the following how everyone else is also seeing this? For the back plate: - The upper chest plate continues around the back at the same level as at the front. The red arrow painted on is a little thicker than it is at the front. The back arrow extends down to the bottom of the lower chest plate, while the point of the front arrow ends at the bottom of the upper chest plate. - The lower chest plate curves down around the sides so that it sits much lower at the back, almost completely covering the rear part of the abdominal plate. There are no cut outs on the bottom edge as seen on the front of the plate. - The abdominal plate has so little showing of it at the rear that we can only really say that it mirrors what we see at the front (minus the greeblies).
-
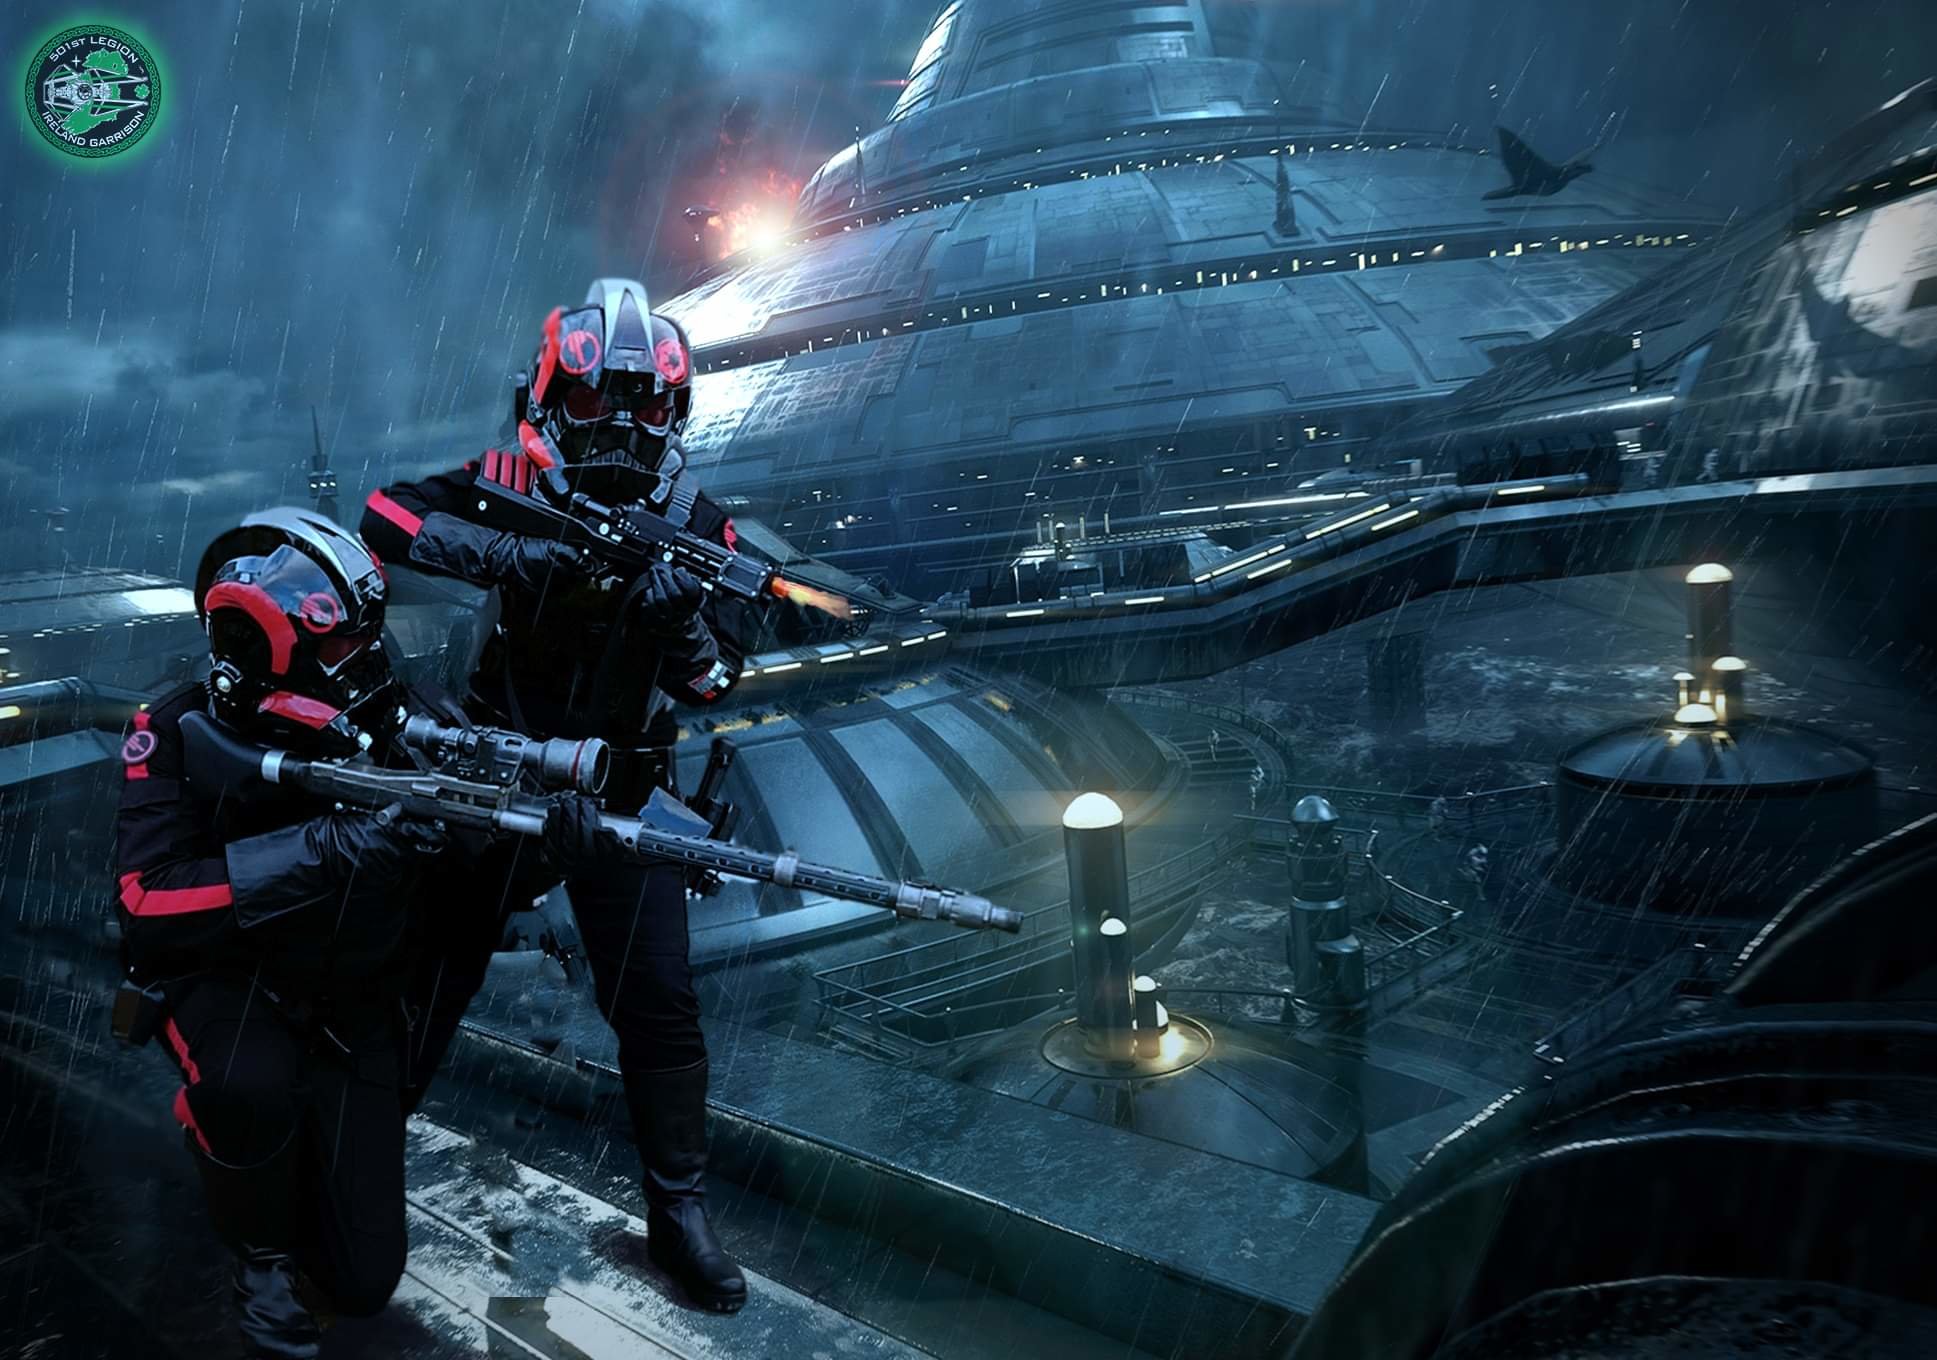
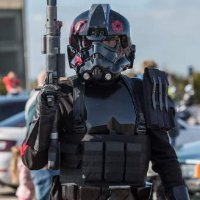
Purge Trooper (Phase II) - Kenobi - Discussion
tipperaryred replied to nanotek's topic in Purge Trooper Phase II (Kenobi)
The kama was one that I reviewed myself at the end of the discussion and was happy with, but it would definitely be worth having @IcyTrooperor @Dropkickcast an eye over it just to make sure the wording is consistent and that we didn't miss anything obvious. -
Purge Trooper (Phase II) - Kenobi - Discussion
tipperaryred replied to nanotek's topic in Purge Trooper Phase II (Kenobi)
Good spot on the gap. It looks very much like the Inferno armour, where a small plate joins the front and back. Elastic, fabric, armour plate or rubber could all be treated as acceptable options for base clearance so long as the visual effect is the same. If we have confirmation of what material was used on set, that could go into Lvl2. Regarding the lights, most costumes will tend to leave those as Lvl2 details even if they are lit up on screen. I think as much as anything that this is to keep kits accessible (builders might be put off by the electronics). So I'd be happy to put the red lit up LED into Lvl2, and simply state that the appearance of an LED must be present for base clearance. This is consistent with how we dealt with the LEDs on the helmet. -
Purge Trooper (Phase II) - Kenobi - Discussion
tipperaryred replied to nanotek's topic in Purge Trooper Phase II (Kenobi)
Nice additions, I like it 👌 -
I like those improvements Ryan, looks great to me. Fair play on continuing to fly through those last few parts folks. I've now updated the finalised CRL text thread to include everything completed to date.
-
Purge Trooper (Phase II) - Kenobi - Discussion
tipperaryred replied to nanotek's topic in Purge Trooper Phase II (Kenobi)
Master CRL thread now updated with completed text. Much of the hard work is now done! Remaining pieces to confirm are as below: Hand Plates Gloves Chest Armor Back Armor Backpack Abdomen Armor Cod Armor Posterior Armor Belt Thermal Detonator Thigh Armor Knee Armor Lower Leg Armor DC-15S Blaster DC-15A Blaster -
Purge Trooper (Phase II) - Kenobi - Discussion
tipperaryred replied to nanotek's topic in Purge Trooper Phase II (Kenobi)
Forearm Armor Painted gloss black. Armor is a two-piece design with a top and bottom. Armor is joined together with visible seams on both sides Both left and right forearms are mirror images of each other. Right forearm has a compad with 8 small buttons and 1 large main button. A second slightly smaller rectangular button sits centered on the main compad. Compad placement matches reference photos. Forearm tops have a flattened triangular area with a ridge that comes to a point at the top center of the forearm. -
Purge Trooper (Phase II) - Kenobi - Discussion
tipperaryred replied to nanotek's topic in Purge Trooper Phase II (Kenobi)
A fair point. Perhaps we can specific that it is positioned as per the reference photos? -
Do you mean using magnets in the lower potions of the plate under the arms? Unless the armour was very thick it might be difficult to find strong enough magnets that fit in the edge. It would be an elegant solution if you can make it work, but I could imagine it being extremely difficult. For the CRL we can leave the attachment method open anyway. Simple nylon webbing or velcro straps might do the job for many people.
-
I think that chest piece looks pretty spot on now, great work! The only remaining question is how it fits with the back piece and how the shoulder straps are applied.
-
Apologies my friend - I know you mention chest and back renders the other day but I forgot you'd already posted up the chest! It's a busy trooping weekend, but I'll get that reviewed ASAP!
-
Looking forward to seeing the new renders, it will be great to get this costume over the line in the near future. It's brilliant how much work has already been done here, and once we have an approved CRL we can copy and paste the majority of it into the ISC grunt CRL too.
-
Purge Trooper (Phase II) - Kenobi - Discussion
tipperaryred replied to nanotek's topic in Purge Trooper Phase II (Kenobi)
I'd agree with you that it isn't an especially gloss finish, but the close ups from that display definitely seem to show a metallic finish to my eye on the teeth and nose. I'd be happy with any kind of silver or gunmetal description for basic clearance. If we find new evidence in the future, we can always add in a Lvl2 description for maximum accuracy. -
Purge Trooper (Phase II) - Kenobi - Discussion
tipperaryred replied to nanotek's topic in Purge Trooper Phase II (Kenobi)
Good with me too -
Great to see the ball back rolling here again! I'm setting aside time this week for a massive CRL catch-up, so I'll double check the new renders then mate, and we can see what to tackle next.
-
Purge Trooper (Phase II) - Kenobi - Discussion
tipperaryred replied to nanotek's topic in Purge Trooper Phase II (Kenobi)
Sorry for the absence from this thread, December ended up being a lot more hectic than expected. I'll be clearing some time either tonight or taking a couple of hours in between jobs on Wednesday to help Ryan bring this current. I appreciate the frustration at the slow pace in recent months, and we'll do our best to get this over the line ASAP. We all want to see this amazing kit out there. And please don't think all the hard work by you guys has gone unnoticed. My last full review was back in November, when I made some tweaks and finalised everything that had been completed to that point. All the finalised text was uploaded to the separate CRL text thread that Mark created at the beginning. Ryan and Shane may need to make some extra tweaks as above, but by and large the hard work is done on those pieces. I'll pick up where I left off there and jump in to help where needed. -
Strictly speaking that slot isn't visible on the actual belt, so a GML could call you up on that. Ultimately GMLs are the only ones who have a say in this though, so I'd recommended having a chat with whoever holds that position in your local garrison or squad. Because it is so difficult to see that area clearly in any reference images, they may be happy to let you proceed with that.
-
Hi Tony, No, no need for them to be functional at all. It would be perfectly acceptable to glue them on top. As for the attachment of the hard part of the outer belt to the belt itself, that's one that can be done a few ways. On my own Del kit I've already used two methods, but I've never been entirely happy with either: 1) I attached a strip of leather to either end of the hard belt, then stuck velcro to the other ends so that they can close behind my back. 2) I attached buckles/D-rings to the inside of the hard belt, and then fed a regular leather belt through and buckled it up out of sight behind the hard belt. Another option I've seen done: 3) Have functional pop rivets on the hard belt, and use these to attach the hard belt to a regular leather belt.
-
Purge Trooper (Phase II) - Kenobi - Discussion
tipperaryred replied to nanotek's topic in Purge Trooper Phase II (Kenobi)
Brilliant work with keeping this moving forwards folks. When I finally get a chance I'll review the latest and add it to the finalised text. -
Looks good to me!
-
A few possible tweaks above (in green)?
-
Purge Trooper (Phase II) - Kenobi - Discussion
tipperaryred replied to nanotek's topic in Purge Trooper Phase II (Kenobi)
Are you able to upload any photos of your pauldron Scott, to help illustrate the elements being discussed? -
Yep, all looks good there. I'd also tend to agree with putting weathering instructions in each section. While all the weathering looks the same wherever it occurs, it features in some parts much more than on others. It is also quite localised to specific areas at times, eg. at the top of the helmet. It might be worth even sticking some of those points into level 2 requirements.

